

KI Genesis Desking Repair & Replacement Instructions
REPAIR & REPLACEMENT INSTRUCTIONS
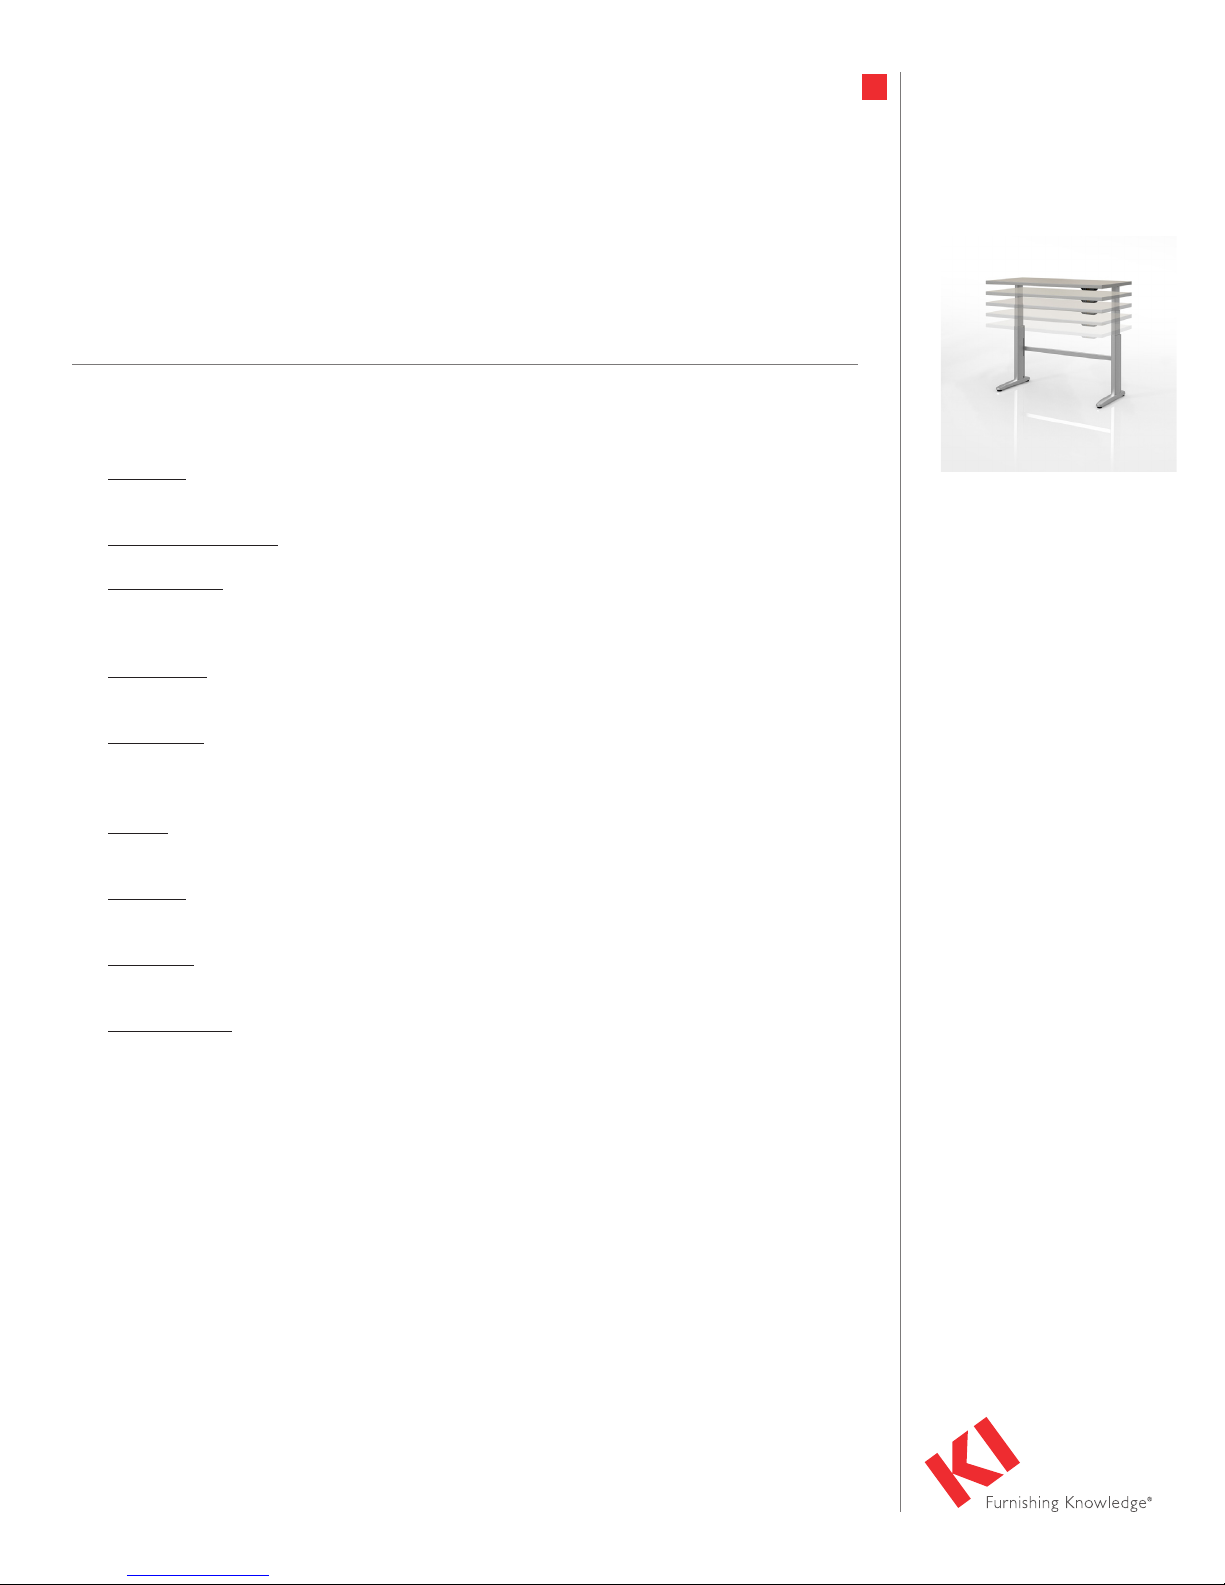
Genesis® Desking
Lift System
January 2019
Before servicing, please carefully read these instructions and keep for future reference.
Control box programs are protected under US and International Copyright Law.
Reproduction without written consent of LINAK Inc. is strictly prohibited.
Some of the components of this system or their usage may be protected by US and foreign patents.
GLOSSARY
Components
• Desk Legs - The supporting and lifting columns, responsible for moving the working load of the
application up and down. Finished with powder-coat paint.
• Control Box (CBD6S) – Is the computer and power supply to the leg lift system.
• Control Switch – The user interface. Depending on the model, it is used to activate the
application, set memory positions, display the height, display error codes and give reminders to
the user.
• Motor Cable – Transmits low voltage power (18-39 VDC) from the control box to the desk legs,
and also transmits Piezo signals when available from the desk leg.
• Power Cord – Transmits high voltage power (120 VAC in US and Canada) from the building
source power to the control box.
Other
• Initialize – Procedure to reset all desk legs to the fully retracted position so that the control box
knows where the legs are positioned.
• Reference – Any group of desk legs that run in parallel when an “up” or “down” command is sent
to the control box.
• Duty Cycle - A ratio of “on time” to “off time” of a system that will prevent overheating of the
electronics.
• Mechanical Stop - A condition in which motor rotation is prevented.
1

IMPORTANT SAFEGUARDS
When using any motorized electrical device, basic precautions should always be followed, including
the following:
• This system of components is designed to make office desks height-adjustable. Do not use for
anything other than its intended purpose.
• Inspect the system for damage from shipping before installing or connecting to power.
• Do not attempt to disassemble the control box for any reason. Repair must be done by
authorized service personnel only.
• The final location of the desk must be on level, solid flooring.
• Do not locate or operate the system where it is humid, dusty, poorly ventilated, exposed to
vibrations or exposed to extreme temperature changes.
• Locate the desk at least 2 inches (50mm) away from any walls, from under any cabinet, or
anything that can interfere with the movement of the desk.
• Do not use outdoors.
• Make certain all cables and power cords are able to move freely and do not become stretched
or pinched during full movement of the table.
• Do not insert anything into the control box as that may create a risk of fire or electric shock.
• Close supervision is necessary when any electrically powered device is used near children.
• Ensure that desk loads are evenly distributed, and that load specifications are not exceeded.
• Make sure frequency of use does not exceed the specified duty cycle.
• Be certain to connect the power cord to a power outlet that meets specified voltage and current
requirements.
• When the unit is plugged in, it is on and fully functional. For complete electrical disconnection,
pull the power cord out of the power outlet.
• Do not use the desk to lift, move or support people.
• To prevent overheating, be certain the control box and motors are not covered.
• Do not disconnect the control switch or motors from the control box while the system is
connected to power.
2

GENERAL INFORMATION
• The controller, cables and switch do not require regular maintenance.
• Most service issues that may arise can be addressed by the customer with the help of the
“Standard Troubleshooting Procedures” on page 4.
• A loss of power during the operation of the desk will have no impact on its operation once
power has been restored.
• If one of the switches, motors or cables fail, or if the connections between these components
become disengaged, the desk will not move up or down.
• Conditions when the control box will stop during normal operation are:
• Current Limit - when the current delivered to the motor exceeds a specific limit.
• Overheating - when the desk is cycled up and down repeatedly and exceeds its duty cycle.
• Timeout - when the control box detects that the motor is not moving at the programmed
speed. When the conditions which caused the control box to stop no longer exist, the
control box will resume normal operation.
Initialization
Initializing a control box will bring the box to a state that it was during initial manufacture of the table
assembly. A box that has been initialized expects the table to be in its lowest position (against hard
stops at the bottom of the table stroke).
Field Service is Required for the Following:
• Faulty Motor/Faulty Cable
• Faulty Control Switch
Components Necessary for Field Services:
• Test Control Boxes (with the correct program)
• Test Motors/Cables
• Test Switches
• Voltmeter
• Screwdrivers
3

TROUBLESHOOTING
Procedure 1: Initialize the Control Box (Reset):
Note: This is commonly the solution when a desk will move down but not up. This is how the
system is programmed to behave when a control box requires initialization.
1. Hold the “down” button on control switch to ensure the desk is retracted to its lower limit
(whether it’s the fully retracted hard stop, or a configured lower limit).
2. Briefly release the “down” button.
3. Press and hold the “down” button again for 5 seconds, wait until all desk movement has stopped,
then release.
a. If initialization is successful, you should see a slight up/down “handshake” movement of the
desk legs.
b. If you have a deluxe switch with a digital display, you should see the E01 error code being
displayed during this part of the procedure.
Procedure 2: Check All Cable Connections:
1. Check that the power cord is connected to both the control box and the power outlet.
2. Check that all motor cables are connected to both the control box and the desk leg.
a. If table is utilizing a standard control box configuration, motor cables must be connected
in channels 1 and 2, or channels 1, 2 and 3 for a 3-leg desk. Cables can’t be connected in
channels 1 and 3 or 2 and 3 unless there is a configuration on the control box specifying this
arrangement.
3. Check that the control switch cable is connected to the control box in either port A1 or A2 (it
does not matter which of the two ports is used)
Procedure 3: Check for Obstructions:
1. Check under, above and on the sides of the desk for any obstructions that could prevent
movement in either direction.
Procedure 4: Check for Faulty Components with Error Codes (Deluxe Switch
with Digital Display)
Note: For the trouble shooting procedure to follow, one would need to have an extra, known
good version of the components listed in the “Glossary-Components” section at the beginning
of this document. It is not necessary to have the exact same item numbers as those that are
being evaluated, unless one is replacing a single desk leg. However, it is possible to do some
troubleshooting with a different type of desk leg.
Note: Check the Error Code section on page 10, for assistance. The code should read E##.
Some error codes are channel-specific which can help pinpoint the problem.
Symptom Procedure
Desk moves down
but not up.
Desk is unresponsive
(no power to the
deluxe switch display
when a button is
pressed).
1. Initialize the control box (Procedure 1).
Note: After each step, if the digital display activates, initialize the
system.
1. Check power cord connection. Test power outlet using another
device (lamp, phone charger, etc.)
2. Plug in a new deluxe switch with digital display.
3. Connect all existing cables to a new control box.
4

TROUBLESHOOTING (cont.)
Symptom Procedure
Desk is powered, but
will not initialize.
Channel-specific error
(Ex: E41 – Channel 1
overload) – Everything
except Piezo errors
(E59-E63).
1. Try pressing and releasing the “down” button a few times before
pressing and holding for five seconds.
2. Take note if the control box has a special configuration. If the desk
is programmed with a lower stroke limit, to avoid collision with
something like a filing cabinet, it is possible that it has a custom,
longer Forced Initialization Time. This is the time required to hold
the down button before initialization begins. Sometimes this is ten
seconds or longer.
3. If you have a standard control box without a special configuration
(i.e. “Plug & Play”), try to initialize each leg in Channel 1 by itself,
with nothing else plugged into the motor channels on the control
box. Swap the motor cables so that a different motor cable is used
to initialize Channel 1 by itself. The problem could be a faulty desk
leg or a faulty motor cable.
1. Swap the motor cable connections at the control box (Motor cable
#1 from channel 1 to 2, motor cable #2 from channel 2 to 1).
If error code remains E41 on the digital display, there could be a
problem with the application (load or obstruction on one side) or a
bad control box. If the error changes to E42, reference
Procedure 4, symptom “Desk is powered, but will not initialize”.
2. Swap the motor cable connections at the desk legs, so that the leg
that was originally connected to Channel 1 is back in Channel 1, but
with the motor cable that was originally connected to Channel 2. If
the error code remains E42, it is most likely a bad motor cable, now
connected to Channel 2. If the error code goes back to E41, it is
most likely a bad desk leg, now connected to Channel 1.
Desk is uneven. 1. Initialize the control box. If both legs begin to run down, complete
the initialization. If only one leg moves, stop and move to step 2.
2. Check motor cable connections. Check to ensure motor cables are
able to move freely and do not become stretched or pinched during
movement. With a standard control box (i.e. “Plug & Play”), it’s
possible that only one leg is connected, and connected to
Channel 1. In this case, it will initialize and run Channel 1 only. If
there is only one leg but it’s connected to Channel 2, it will not
initialize.
3. If a motor cable was disconnected, try initializing again.
4. If unsuccessful, connect the desk leg from Channel 2 into Channel 1,
with nothing in Channel 2, and initialize.
5. Try initializing the same leg that’s in Channel 1, but with a different
motor cable. If it still won’t initialize, replace the desk leg.
5
 Loading...