

KI Extol Assembly Instructions And User's Manual
Assembly Instructions
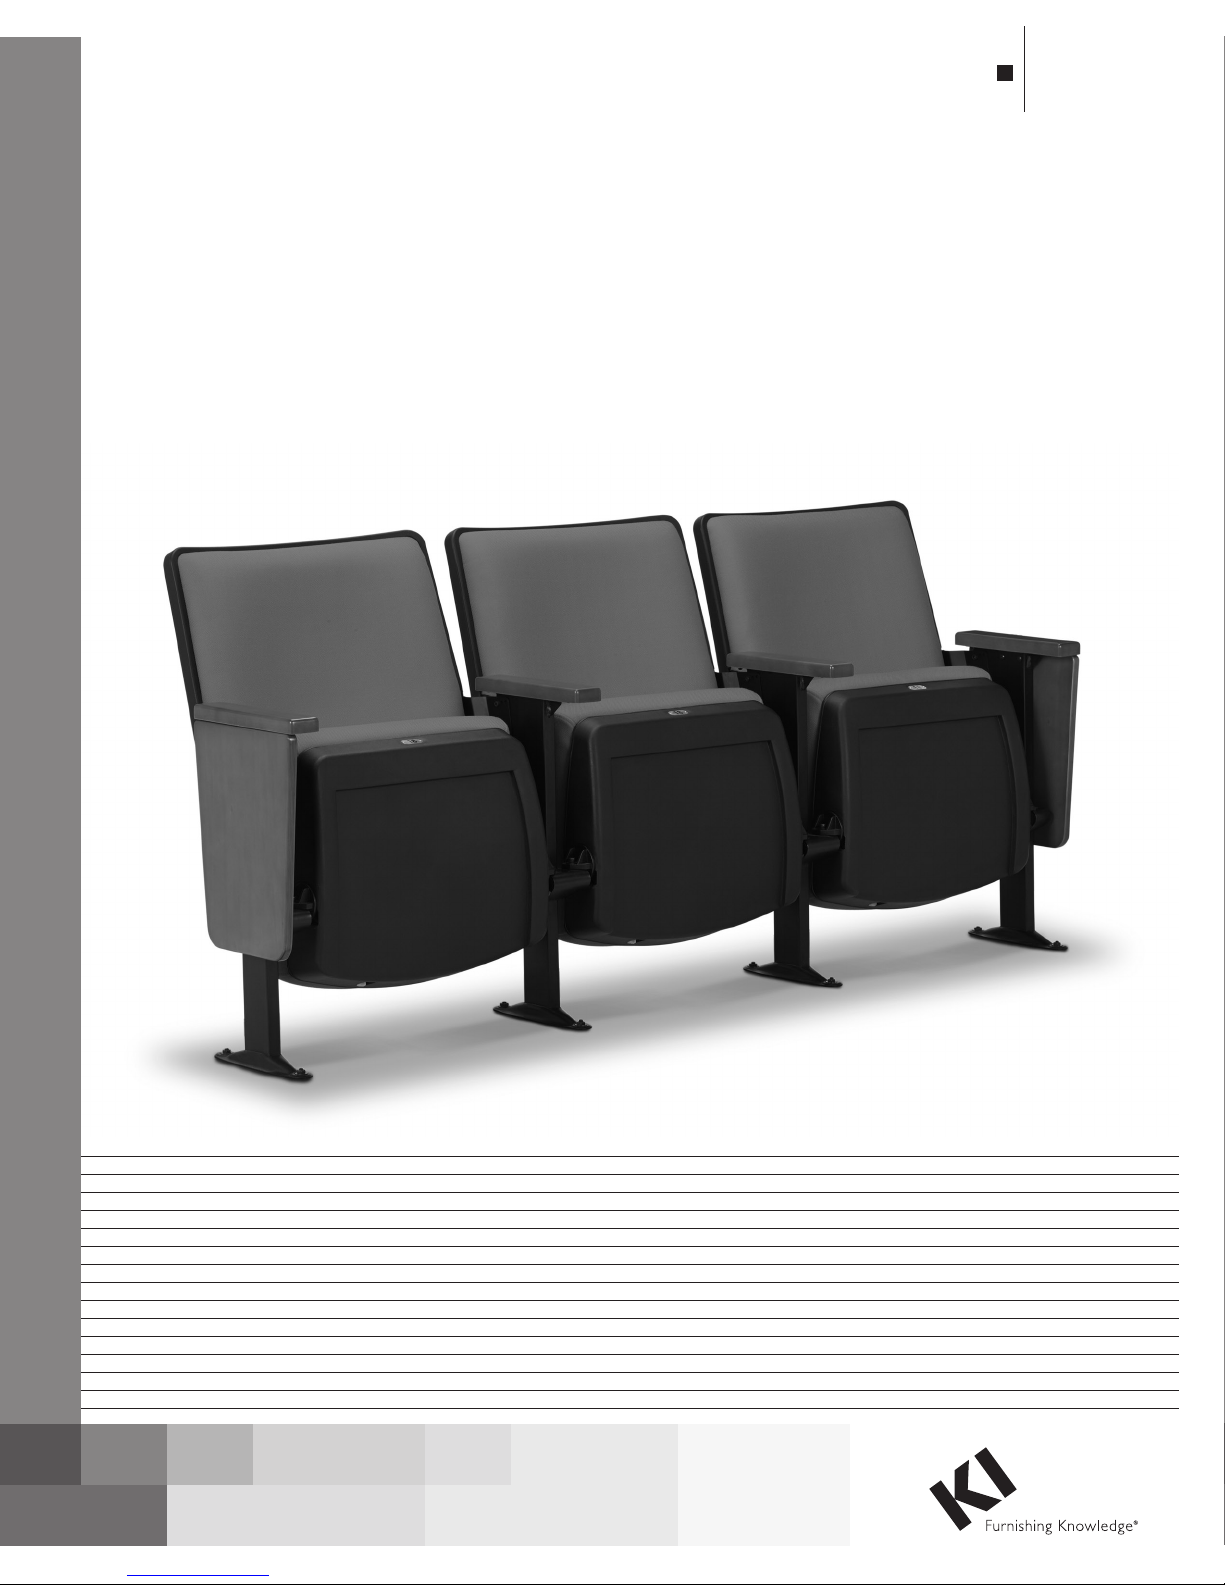
Extol™ Auditorium Seating
January 2015

Extol™ Auditorium Seating
Assembly Instructions
Assemble units as described herein only. To do otherwise
may result in instability. All screws, nuts and bolts must be
tightened securely and must be checked periodically after
assembly. Failure to assemble properly, or to secure parts
may result in assembly failure and personal injury.
Tools Required:
• Hammer drill and bit for
concrete anchor holes
• Drill and bit for pilot holes in
wood floor
• 5mm & 6mm Allen wrenches
•9⁄16” deep well socket with
ratchet
•7⁄16” open-faced wrench
•9⁄16” open-faced wrench
• Chalkline
• Tape measure
• Torque wrench
Note: Read these assembly
instructions carefully prior to
product installation. Electrically
interconnected furnishings must
also be mechanically interconnected.
Product failure and personal injury
may result if instructions are not
followed.
Minimum Construction
Required For Upright
Installation
Wood Floors
• Minimum two layers of 3⁄4”
thick plywood
• APA rated grade plywood
• Allow minimum embedment
11⁄2” with lag screws
• Use toggle bolt if less than
11⁄2” embedment
Concrete Floors
• 3000 psi concrete compressive
strength
• 3” thick free of obstructions
for 11⁄2”
• Riser to be plumb within 1⁄8°
• Minimum anchor embedment
11⁄2”
Wood Floors
• 5⁄16” x 13⁄4” lag bolts; grade 5
•5⁄16” flat washers
•3⁄8” toggle bolts
• All hardware to be plated
• Two bolt assemblies required
per upright
Concrete Floors
•5⁄16 -18 or 3⁄8 -16 grade 5
expansion anchors
• Standard flat washers, plated
• LockTite (red) thread lock or
equal
• Two screw assemblies required
per upright
Steps For Installation
1. Read and review Extol
Auditorium Seating Assembly
Instructions.
2. Review space-planning layouts.
3. Review job site and verify
field conditions.
4. Verify floor structural conditions.
5. Stage product for installation.
6. Locate and mark layout
reference points per site specific
space planning layout.
7. Locate and drill upright holes
into floor.
8. Attach uprights to the floor,
following the space-planning
layout. Install anchor bolts
loosely to allow for adjustment.
9. Attach backs to the uprights.
Refer to the space-planning
layout to determine location of
sizes and which top hole should
be used on the back bracket
(to determine the back angle)
(center hole is standard).
Note: Optional powered aisle lights
should be installed before the seats
are assembled.
10. Install aisle light tube and
housing (optional).
11. Install the seats.
12. Tighten floor anchors.
13. Install ADA removable bases
(optional).
14. Mount row and seat numbering
(optional).
15. Clean product and site.
16. Walk through with installation
crew to assure the product has
been installed per Extol
Auditorium Seating Assembly
Instructions and space-planning
layout.
17. Perform final walk through with
the customer. Receive sign-off.
Note: Dimensional spacing
referenced is centerline to
centerline unless otherwise noted.
Note: Warranty null and void if
KI Extol Seating product line is
installed on flooring not meeting
minimum structural requirements
stated above.
Floor Fastener Requirements
2
Extol™ Auditorium Seating
Assembly Instructions
Assemble units as described herein only. To do otherwise
may result in instability. All screws, nuts and bolts must be
tightened securely and must be checked periodically after
assembly. Failure to assemble properly, or to secure parts
may result in assembly failure and personal injury.
3
Extol™ Auditorium Seating
Assembly Instructions
Assemble units as described herein only. To do otherwise
may result in instability. All screws, nuts and bolts must be
tightened securely and must be checked periodically after
assembly. Failure to assemble properly, or to secure parts
may result in assembly failure and personal injury.
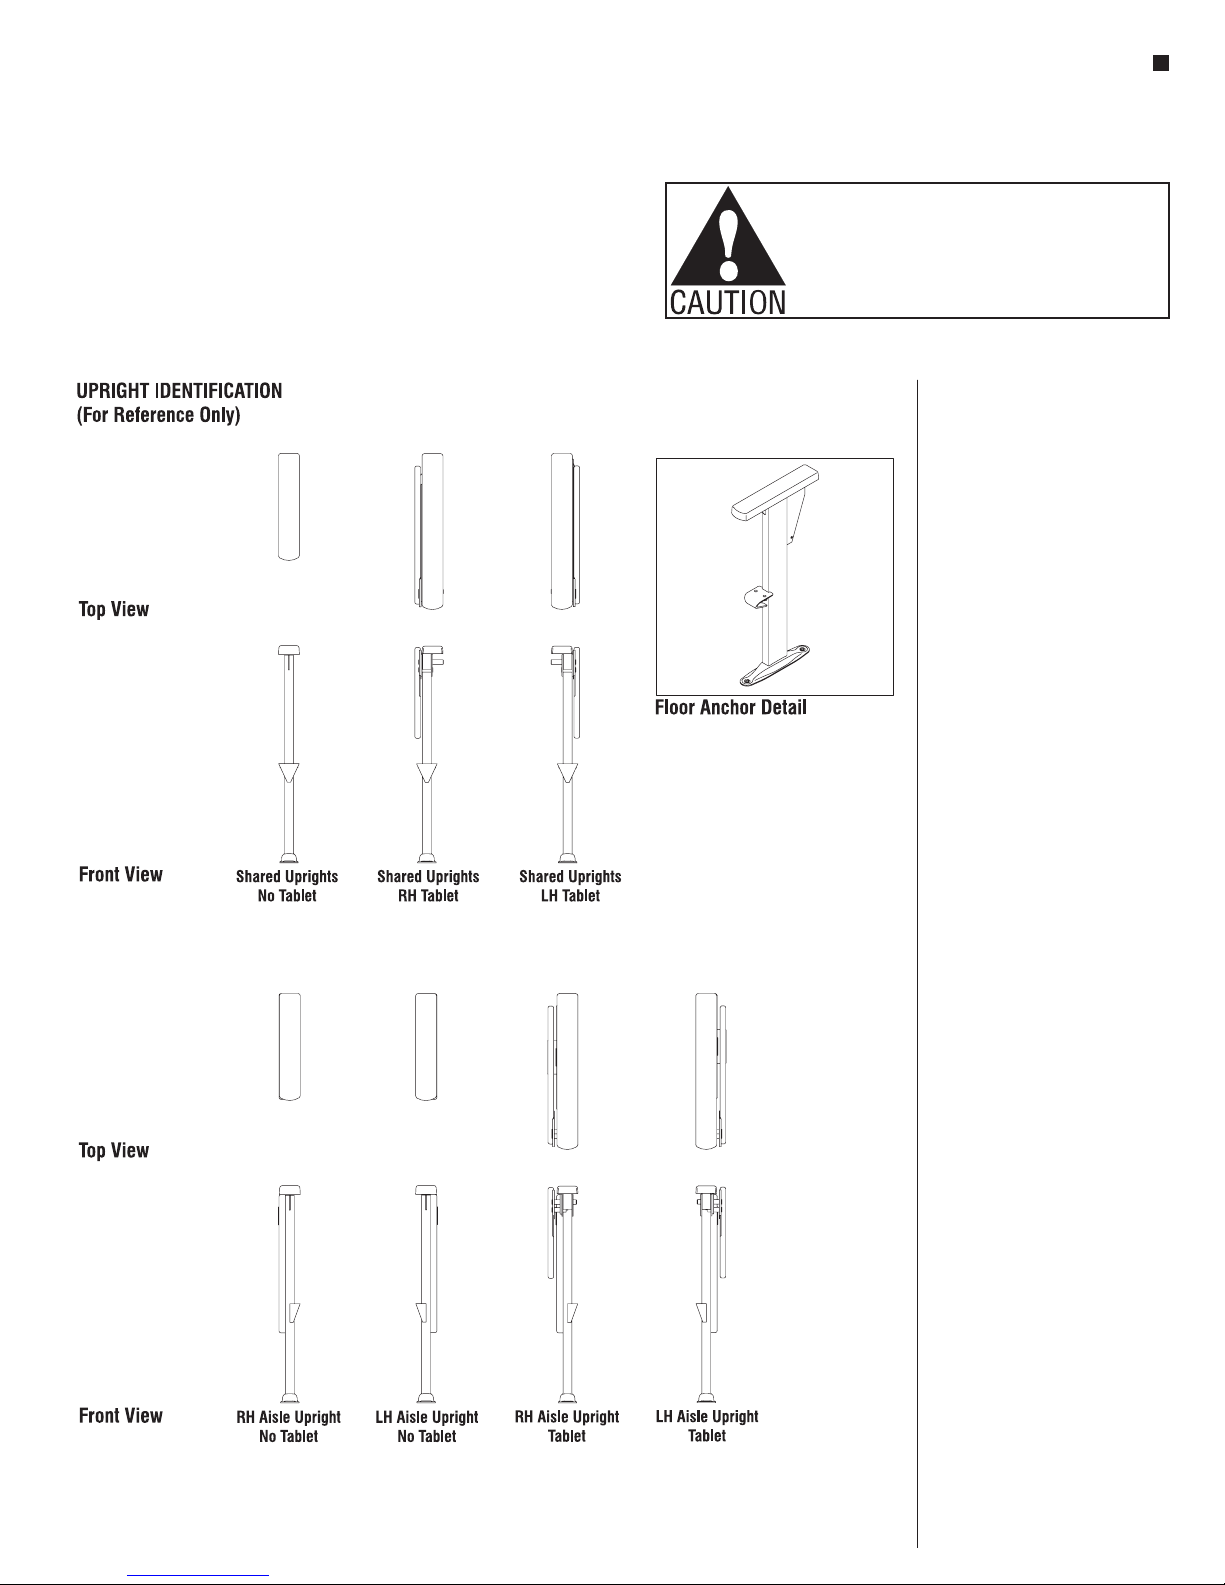
Upright Installation
1. Per the space-planning layout,
stage uprights to appropriate
locations on the floor.
Note: Each row will consist of
right- and left-end uprights, with
shared uprights in between.
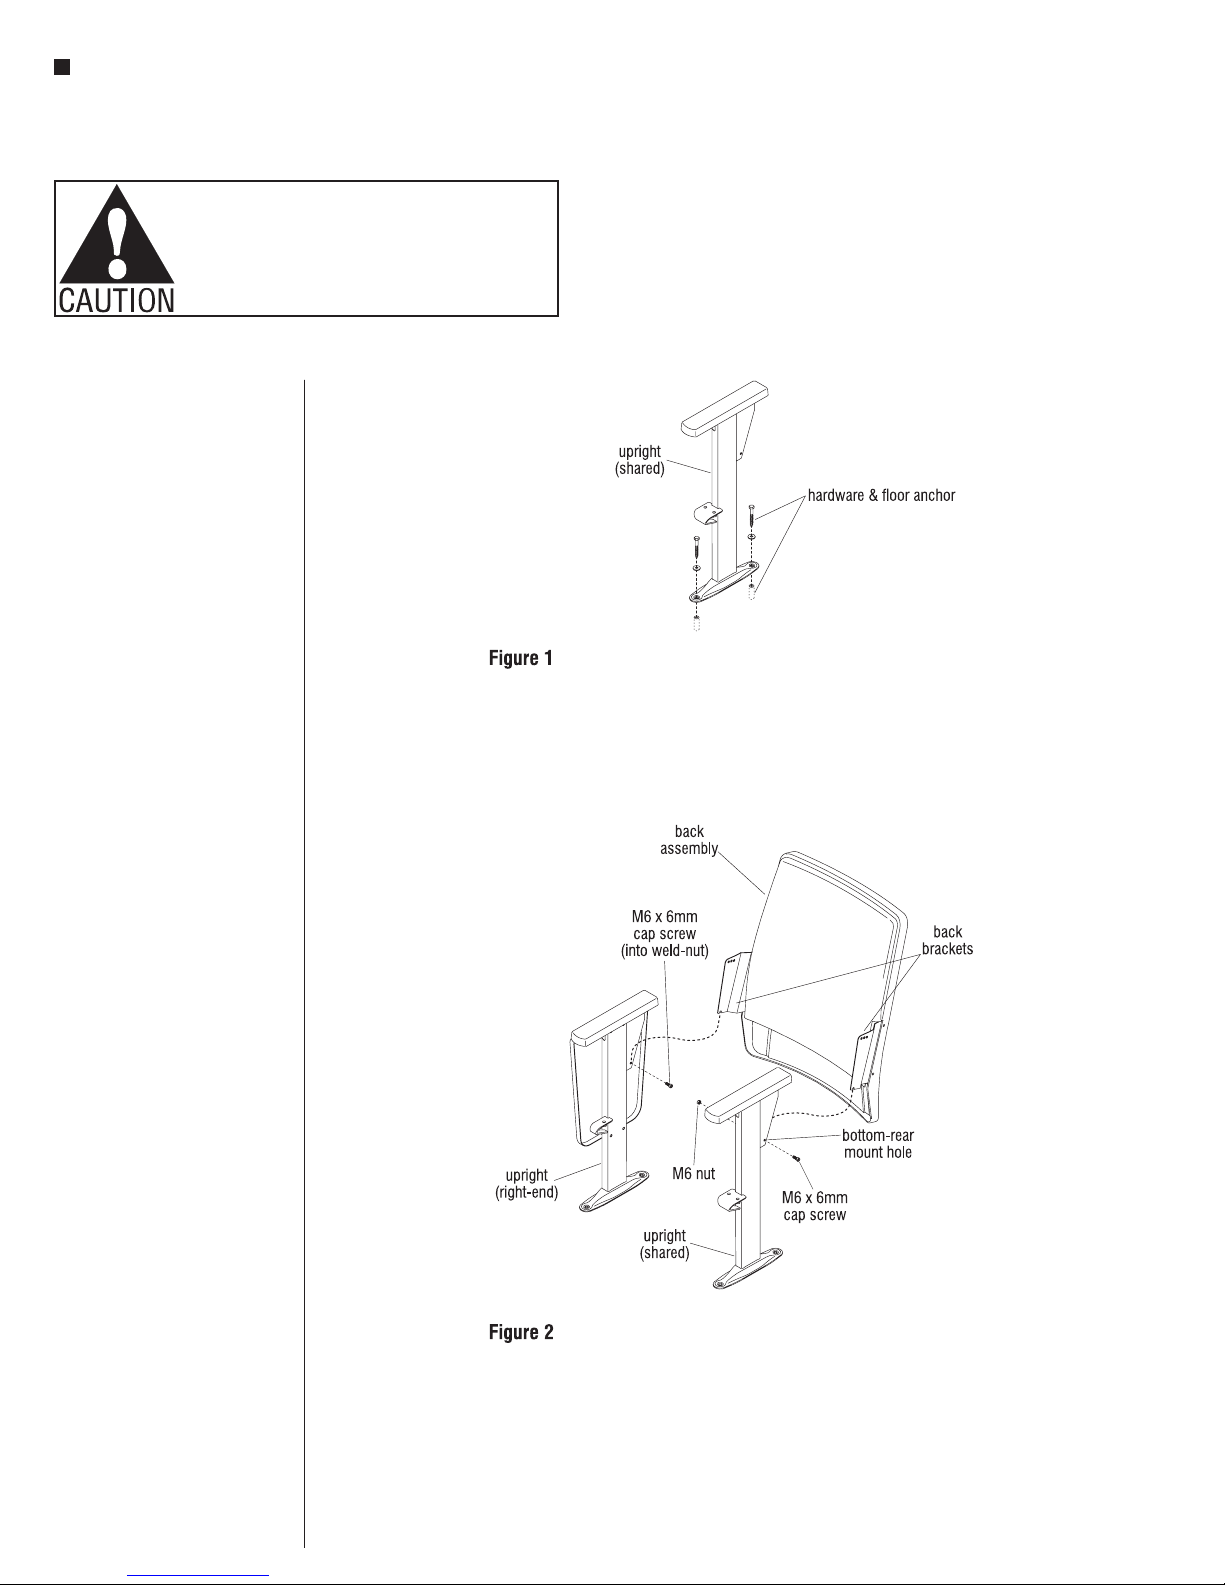
2. Align the mounting holes in the
upright with the site appropriate
and properly installed floor
anchors. Insert site appropriate
fasteners with flat washers
through to the floor. Do not
tighten uprights to the floor
at this time. Leave head of
fastener approximately 1/16” loose
from contacting the upright
(Figure 1).
Back Attachment
1. Per the space-planning layout,
stage back assemblies by size to
appropriate upright locations on
the floor.
Note: Left- and right-end
uprights (right-end shown) have
a set of weld-nuts attached to the
uprights for attaching the back
assembly with M6 x 6mm cap
screws. Shared uprights use M6
nuts and M6 x 6mm cap screws
to secure the back assemblies at
the top and bottom.
2. Starting at either end of the row,
loosely twist in a M6 x 6mm cap
screw into the bottom rear hole
in the end-upright back bracket.
Then insert a M6 x 6mm cap
screw through the bottom rear
hole in the shared upright and
loosely twist on a M6 nut
(Figure 2).
3. Lift up and position the back
assembly in between the two
uprights until the appropriate two
slots in the lower part of the back
brackets nest onto the two loosely
attached M6 x 6mm cap screws
in the upright’s back bracket
(Figure 2).
4
 Loading...