


HP 11722A
SENSOR
MODULE
SERIAL NUMBERS
This manual applies directly to instruments with
serial numbers prefixed 232OA.
For additional important information about
serial numbers, refer to “Instruments Covered by
Manual” in Section I.
@HEWLETT-PACKARO COMPANY 1983
EAST 2400, MlSSlON AVENUE, TAF C-34, SPOKANE, WASHINGTON. U.S.A., 99220
HEWLETT
PACKARD

COPYRIGHT AND DISCLAIMER NOTICE
Copyright - Agilent Technologies, Inc. Reproduced with the permission of Agilent
Technologies Inc. Agilent Technologies, Inc. makes no warranty of any kind with regard
to this material including, but not limited to, the implied warranties of merchantability
and fitness for a particular purpose. Agilent Technologies, Inc. is not liable for errors
contained herein or for incidental or consequential damages in connection with the
furnishing, performance, or use of this material or data.

This supplement contains important information Par correcting tianual *rrors and Par
adapting the manual
manual.
to instruments containing improvements made after printing the
To use this,supplement, first. make all ERRATA corrections
serial number related changes indicated ,in the tables below.
MAKE MANUAL CHANGES
1
:&RIAL PREFlX OR NUMBER MAKE MANUAL CHANGES
and
then all appropriate
>> NEW ITEM
;;:;;;tchan e
odically T:quest the latest editian of this supplement. Free copies are avail-
able from all HP offices. When requesting copies. quote the manual identiflca-
tion information fram your supplement or the model number and print date from
the title page bf the manual.
supplements are revised a5 often as necessary to keep manuals as
1
accurate a$ pos!.ible. Hewlett-Packard recommends
NOTE:
that you per*-
t 1986
Text
MnAel 117228
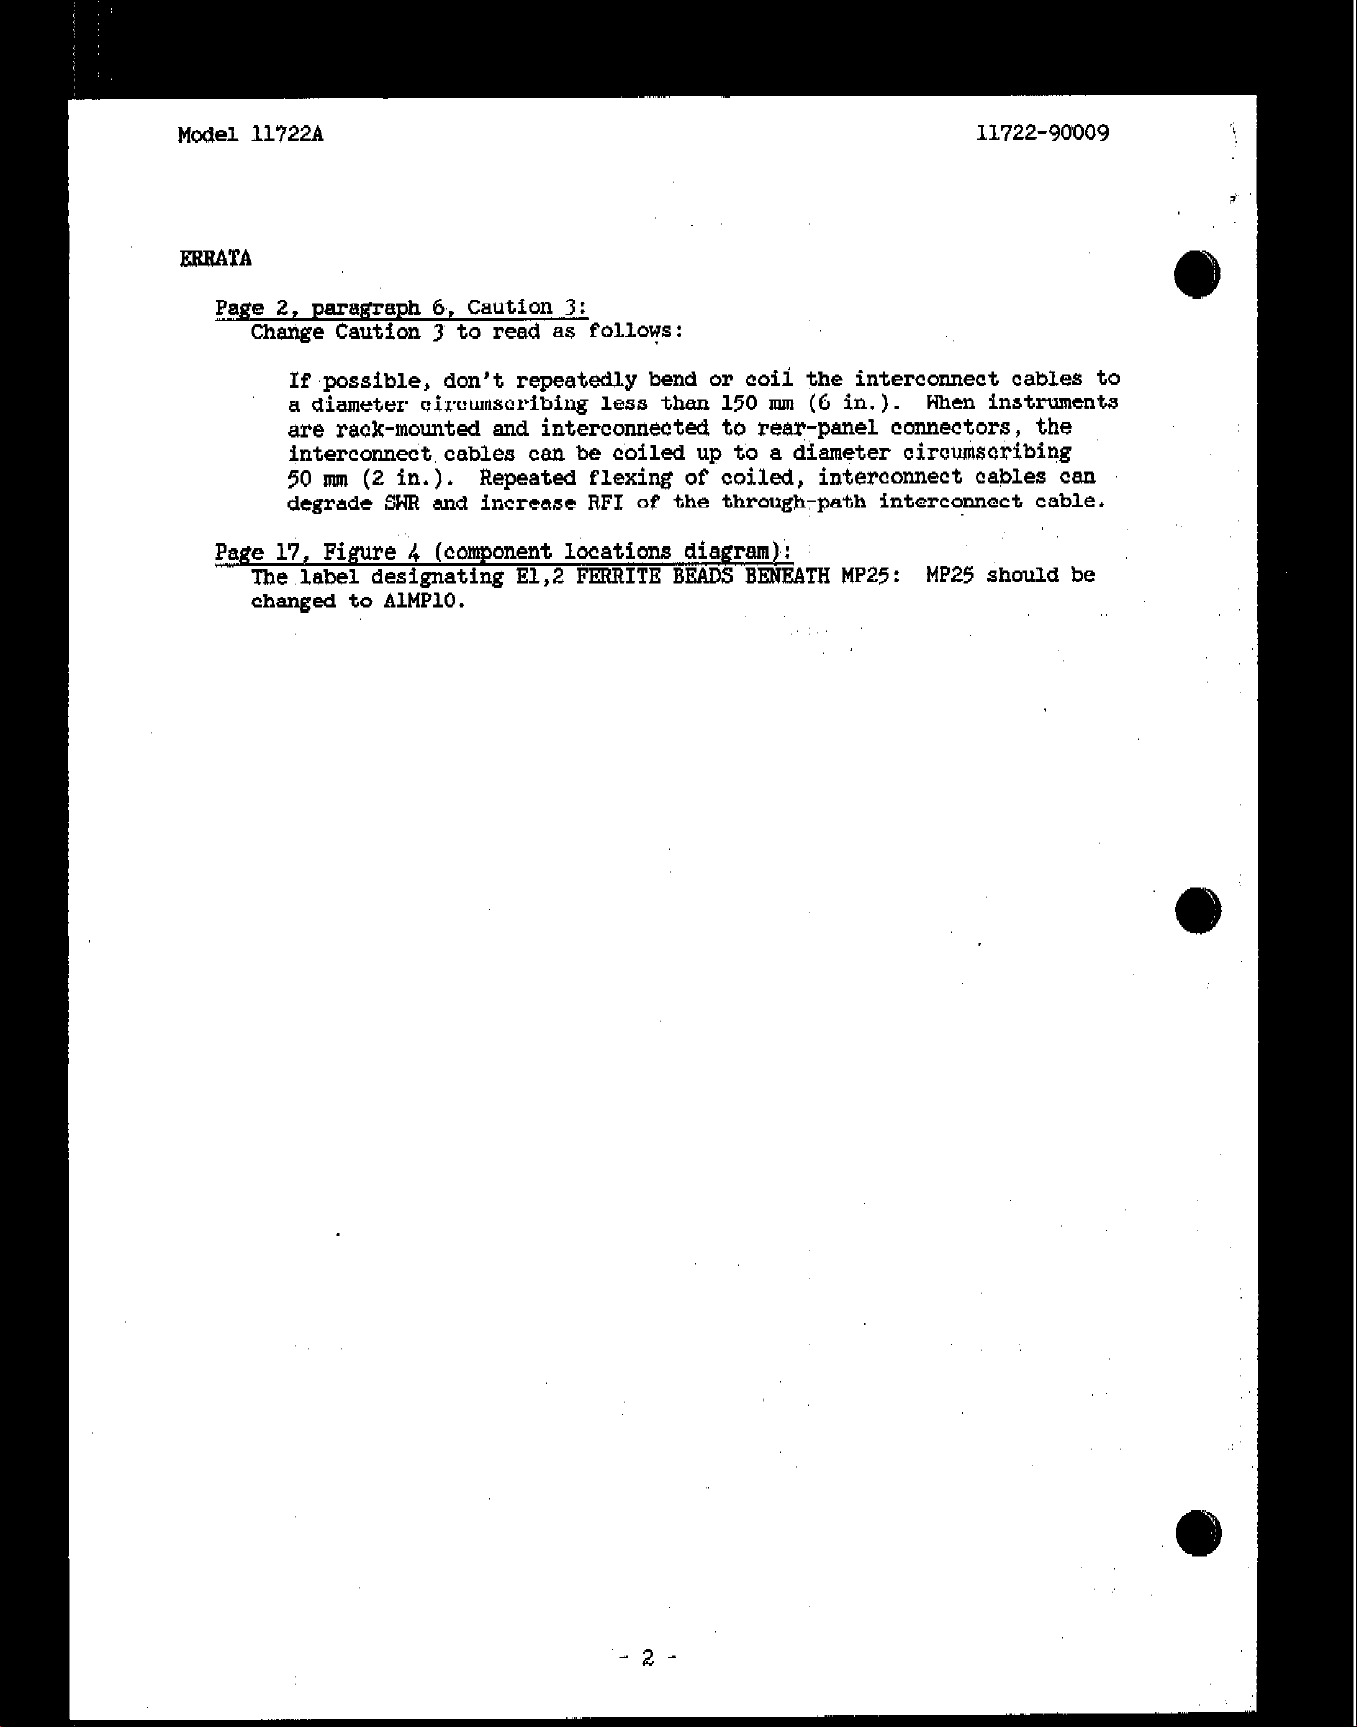
Page 2, paragraph 6,. Caution 3:
Chaxige Caution 3 to read as follows:
If,possible, don't repeatedly bend or coii the interconnect cables to
a diameter circumscribing less than 150 mm (6 in.). when instruments
are reck-mounted and intercotiected to rea~ypanel mnnec~or~, the
interconnedt,cables can be Coiled up to a
50 mm (2 in.).
Repeated flexing of coiled, interconnect cables can
degrade SWR and increase RFI of the through:peth interc?nnect cable.
Page 17. Figure 4 (component lmations diagram):
The,label designating El,2 FEFlRITB BEADS BENEATH
changed
to AlMPlO.
diameter
MP23:
LL722-90009
circumscribing
MP25 should be

Mdel
11722A
<~CHANGEl - SERIAL PREFIX 26318
PAGX 6. TARLR 5:
Chance Sl to 7106-00~0 CD5 RF COAXIAL SWITCH.
Add MI'7 1172%00005'CD7 SRITCH MOUNT PLATE.
Under MPl, change the quantity of 2260-0009;NUT-REX 4-40: from 2 to 4.
PAGE 12, Paragraph 27, Cleaning the Control-line Contacts of Sl:
Change Paragraph 27 to Read:
"The new $1 is a sealed unit that does not
reouire cleaning".
PAGE i2, Paragraph-28, Sensor Module Disassembly Procedure:
Change Paragraph 28 Step 15 to Read:
deck plate MPl
by
removing bolts 8 and 9 from their respective nuts.
"Remove Switch Mount Plate MP7 from
Remove Sl from MP7 by removing the two hex nuts from the threaded standOffs".
PACE: 13, Paragraph 29, Sensor Module Reassembly Procedure:
Change Paragraph 29 Step 1 to Read: "la. Set switch Sl label up (facing
you)-onto Switch
Mount
Plate MP7, then connect two hex nuts to-the
threaded stand-offs and tighten. lb. Place chassis deck plate MPl
against the back of MP7. Position the deck plate so that the mounting
hole of RF connector Jl is in line with SlJl (the center, input port of
Sl). (See Service Sheet A.)
11722-90009
- 3 -

The calibration data for the Sensor Module (Serial No. z&?/d 8 /3@ g ) shipped 7,
with this instrument (Serial No. a278 0 //.C% ) have already been entered into
this instrument’s non-volatile memory. This calibration data will remain valid unless you use this instrument with another Sensor Module or change the calibration
factors for this Sensor Module (as a result of repair or recalibration.)

Model 11722A
Sensor Module
1. GENERAL INFORMATION
This Operating
and
Service Manual contains information about initial inspection, operation, performance
tests, adjustments, troubleshooting and repair of the
HP Model 11722A Sensor Module.
2. Specifications
Instrument specifications are listed in
Table I. These
specifications are the performance standards or limits
agninst which the instrument can be tested. The sup-
plemental characteristics listed in Table 2 are not
specifications but are typical characteristics included
as additional information for the user.
3. Instruments Covered by Manual
This inst.rumenl, has a two-part serial number. The
first four digits and the letter comprise the serialnumber prefix. The prefix is
the
same for all identical
instruments; it changes only when a change is made
to the instrument,. The last five digits form a sequential suffix which is unique to each instrument. The
contents of this manual apply directly to instruments
having the serial prefix l&red under Serial Numbers
on the title page.
An instrument manufactured after the printing of this
manual may have a serial prefix that is not listed on
the title page. This unlisted serial prefix indicates that
the manual for this instrument is supplied with a
Manual Changes supplement that documents the
differences.
In addition to change information, the supplement
may contain information for correcting errors in the
manual. To keep this manual aa current and accurate
as potsible, Hewlett-Packard recommends that you
periodically request the latest Manual Changes supplement. The supplement is identified with the manual print date and part number that appear on the title
page. Complimentary copies of the suppXcment are
available on request from your nearest Hewlett-
Packard office.
For information concerning a serial prefix not listed
on the title page or in the Manual Changes supplement, contact your nearest Hewlett-Packard office.
4. Description
The HP Model 11722A Sensor Module is essentially
an RF power sensor with an RF switch at its input.
The RF input to the Sengor Module can be remotely
switched between its power sensor and a through path
RF cable. The power sensor is used to measure the average power from an external RF source.
In use, the Sensor Module input is connected to an
RF source. The Sensor Module’s two output cables are
connected to a compatible power measuring instrument such as the HP 8901B Modulation Analyzer of
HP 8902A Measuring Receiver. The power sensor
input is a 5OQ load to the
RF w>urce.
The power mea-
suring instrument indicates the power dissipated in
Characteristic
Power Range
Frewencv Ranae
Linearity
Input SWR
Reflection Coefficient
RF Power
Tuned RF Level”
Performance Limits
-20 to t30 dBm
(IOpW to 1W)
100 kHz to 2.6 GHz
Cl.15
Cl.33
<i .5
<1.33
Conditions
+20 to +30 dBm
Sensor Module connected to an HP 89018 or
HP 8902A
RF range 1 and 2
RF range 3
RF ran98 3 with Special Function 1.9 (10 dB RF and
RF amulifier inserted)


 Loading...