

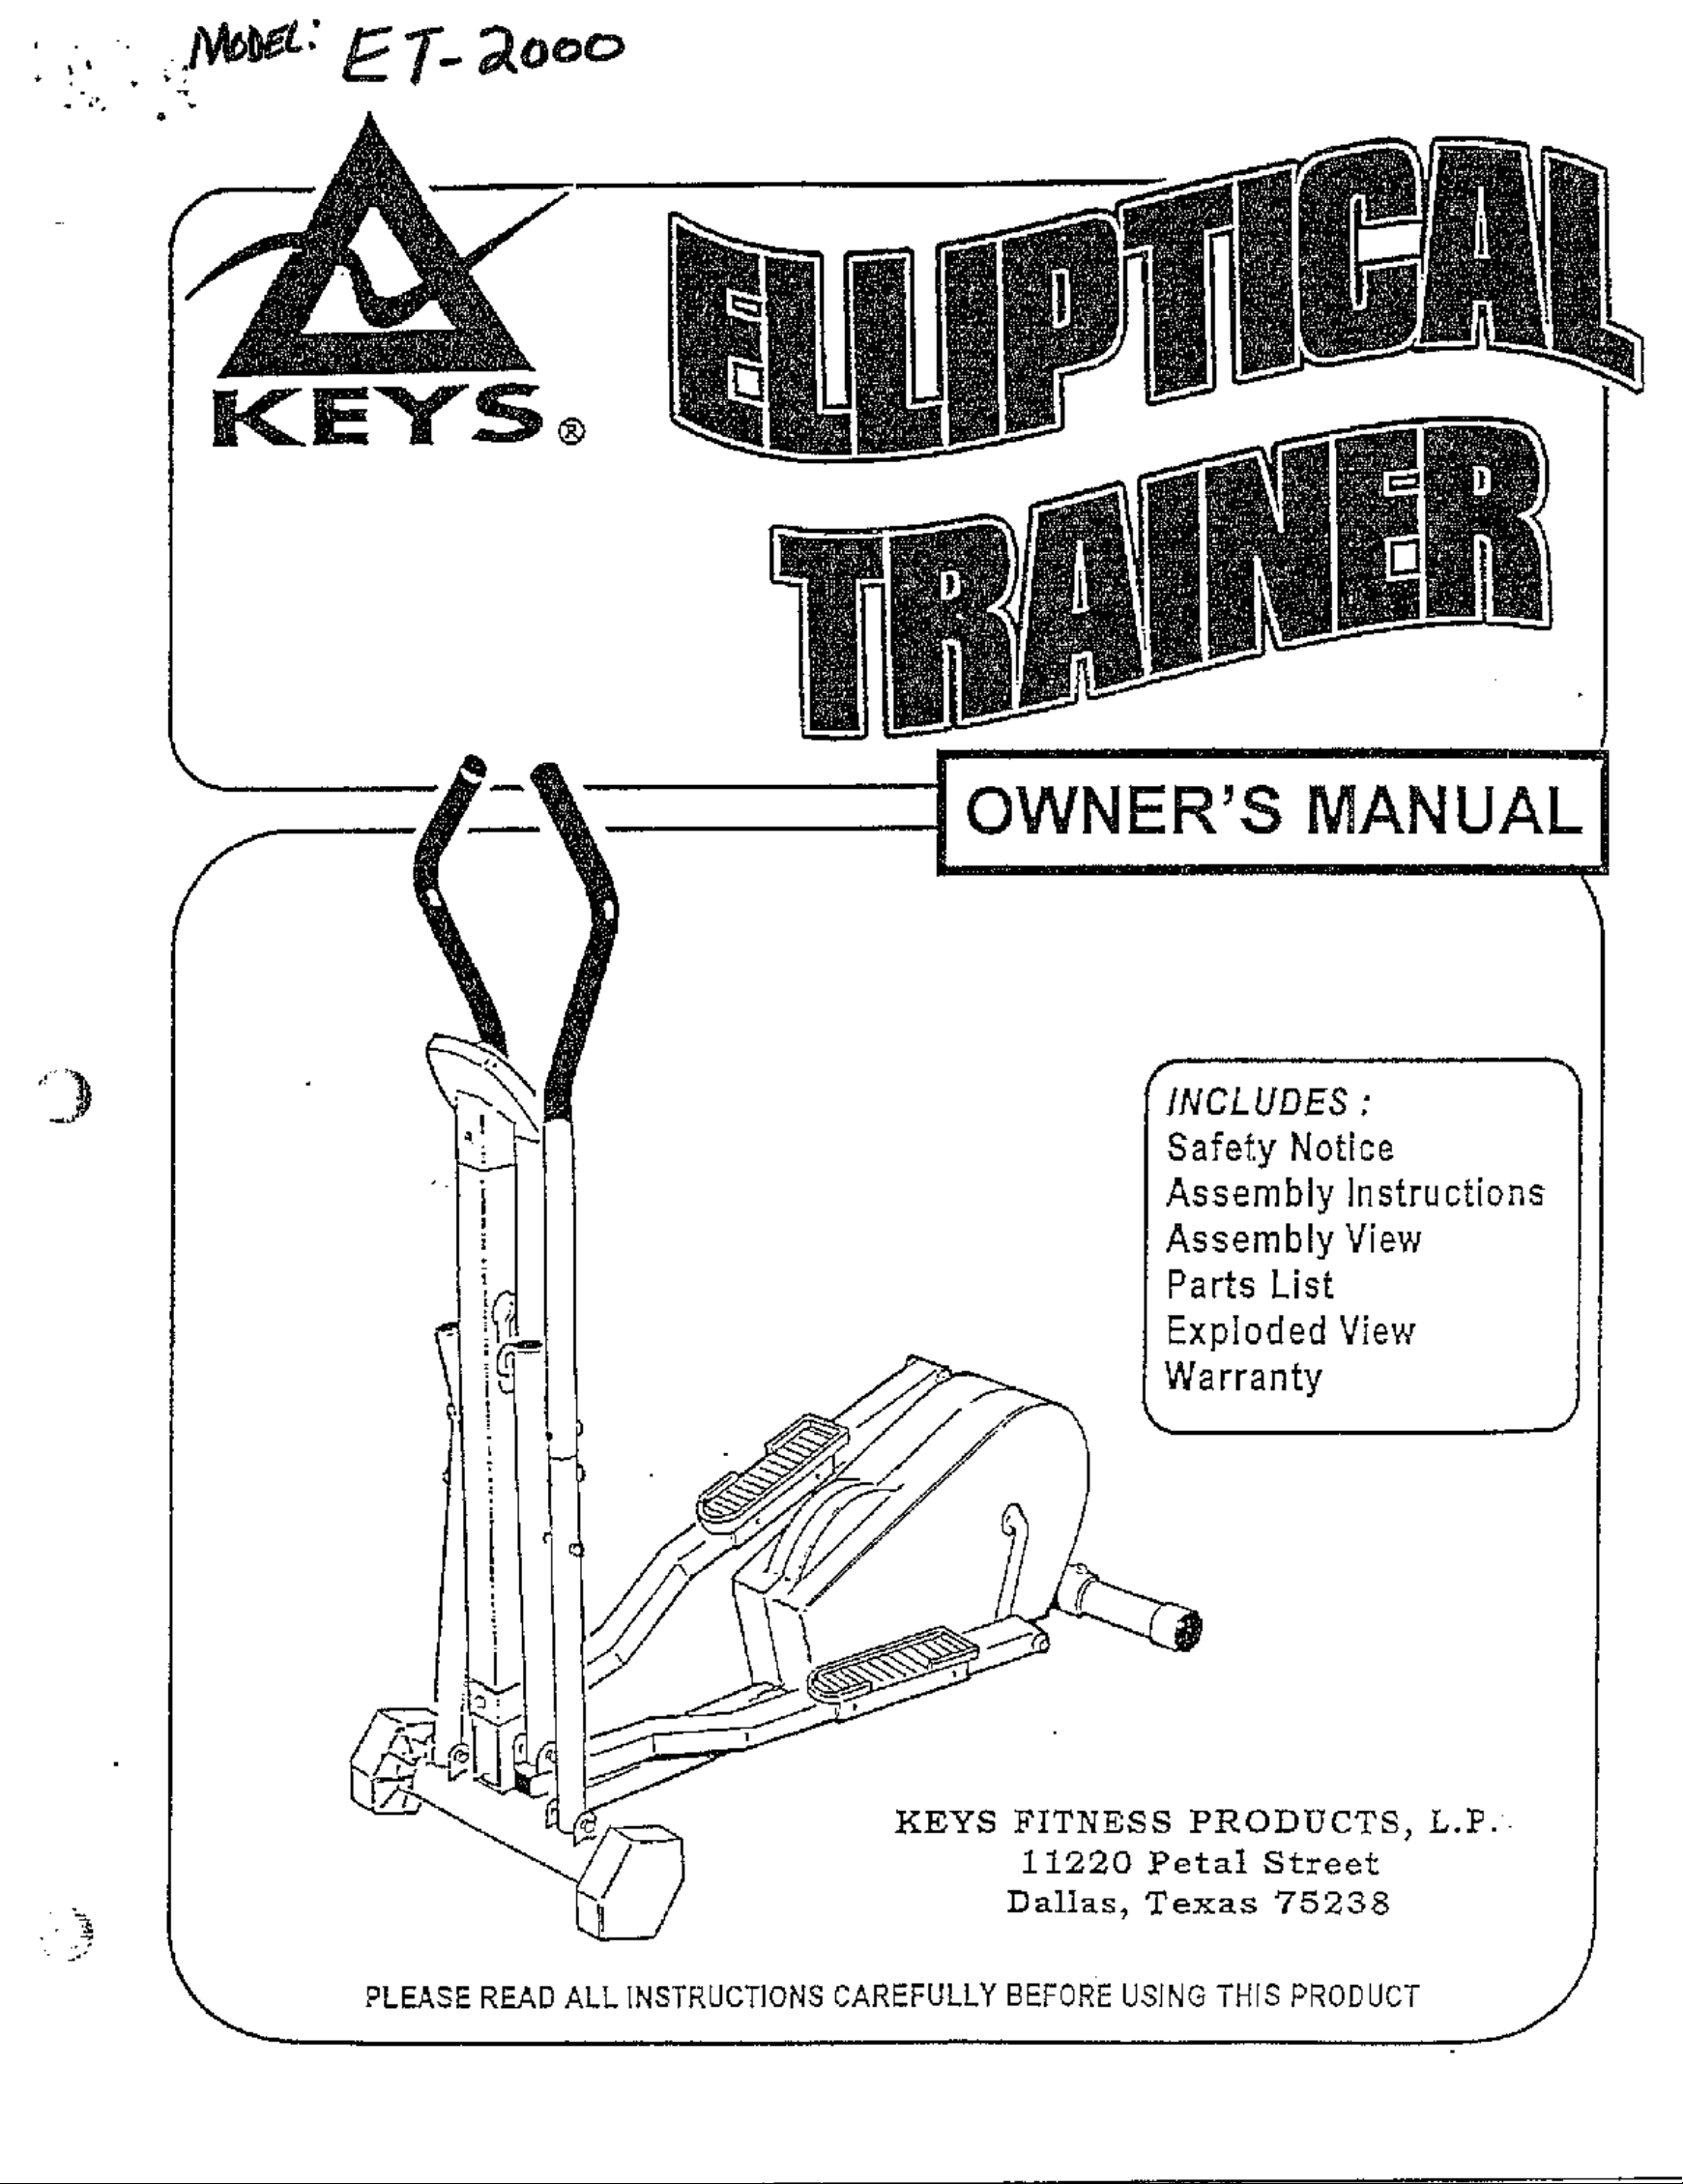
Keys ET-2000 Owner’s Manual
' ,, .l_: ET- _ooo
6
KEYS ®
"3
OWNER'S
rJDES:
y Notice
Assembly Instructions
Assembly View
Parts List
Expioded View
Warranty
KEYS FITNESS PRODUCTS, L.P.
11220 Petal Street
Dallas, Texas 7S238
PLEASE READ ALL INSTRUCTIONS CAREFULLY BEFOREUSING THIS PRODUCT
INTRODUCTION
8AF_'I'Y TIPS:
Consuit witn your physician before engaging in any vigorous exercise. Know your heart: rate
and lor pulee as well as your physician-recommended heart rate training zone. Proper medi-
cal cieeran_ is recommended for anyoae beginning an exerdse program espedally if you
ere over 35 ye_s of age or suffer from heart or respiratory problems.
• Wa.m'3-upbefore any exercise program with 8 minutes of aerobicqike activity, followed
by .e_retchingfrom head to toe.
• Wee..-_onsbre clothes that arlew freedom of movement and are not tight
or rest,'fc'_r_g.
@ Wear ccmf.ortable shoes made with good support,,and non-slip soles.
i}
• Breathe naturally, never hold your breathe during an exercise.
• P-3ff.cr'-,.exerciseseonsistentlywithproperteohniqueandpassthroughwith
a f_ll range of motion.
• Ai',vays use a spotter for safety.
41 Avcid over i,'-a[ning. You should be able to carry, on a conversation while exercising.
• After -_nexercise session, cool down with slow stretching, cyct[ng, or walking.
EXERCISE DEFINITIONS:
Sets: A set is one complete routine of exercises. Complete 1-3 sets for each exercise.
Repe_tfons: Referred to as Reps, are the number of times you perform an exercise in a
row,
"we recommend beginning with 3 raps and increasing up to 12 reps as indicated below.
Novice: Start v,4th one set of of 8-12 rep$. Once you can comprete the entire set of 12 raps
coneec_.,@,tely, progress to the intermediate level.
Intermediate: Complete 2 sets of 8-12 raps. Once you can complete two sets of 12 raps
consec.L_'.Jvely, progress to the advanced level.
Advanced: Complete 3 sets of 12 raps,
DISCLAIMER:
Keys Fitness Prcducts is not responsible for the misuse of any Keys Fitness products, nor for
any Injury sustained while using any Keys Fitness products. The consumer, the buyer, uses
any or all of Keys Fitness products at their own risk.
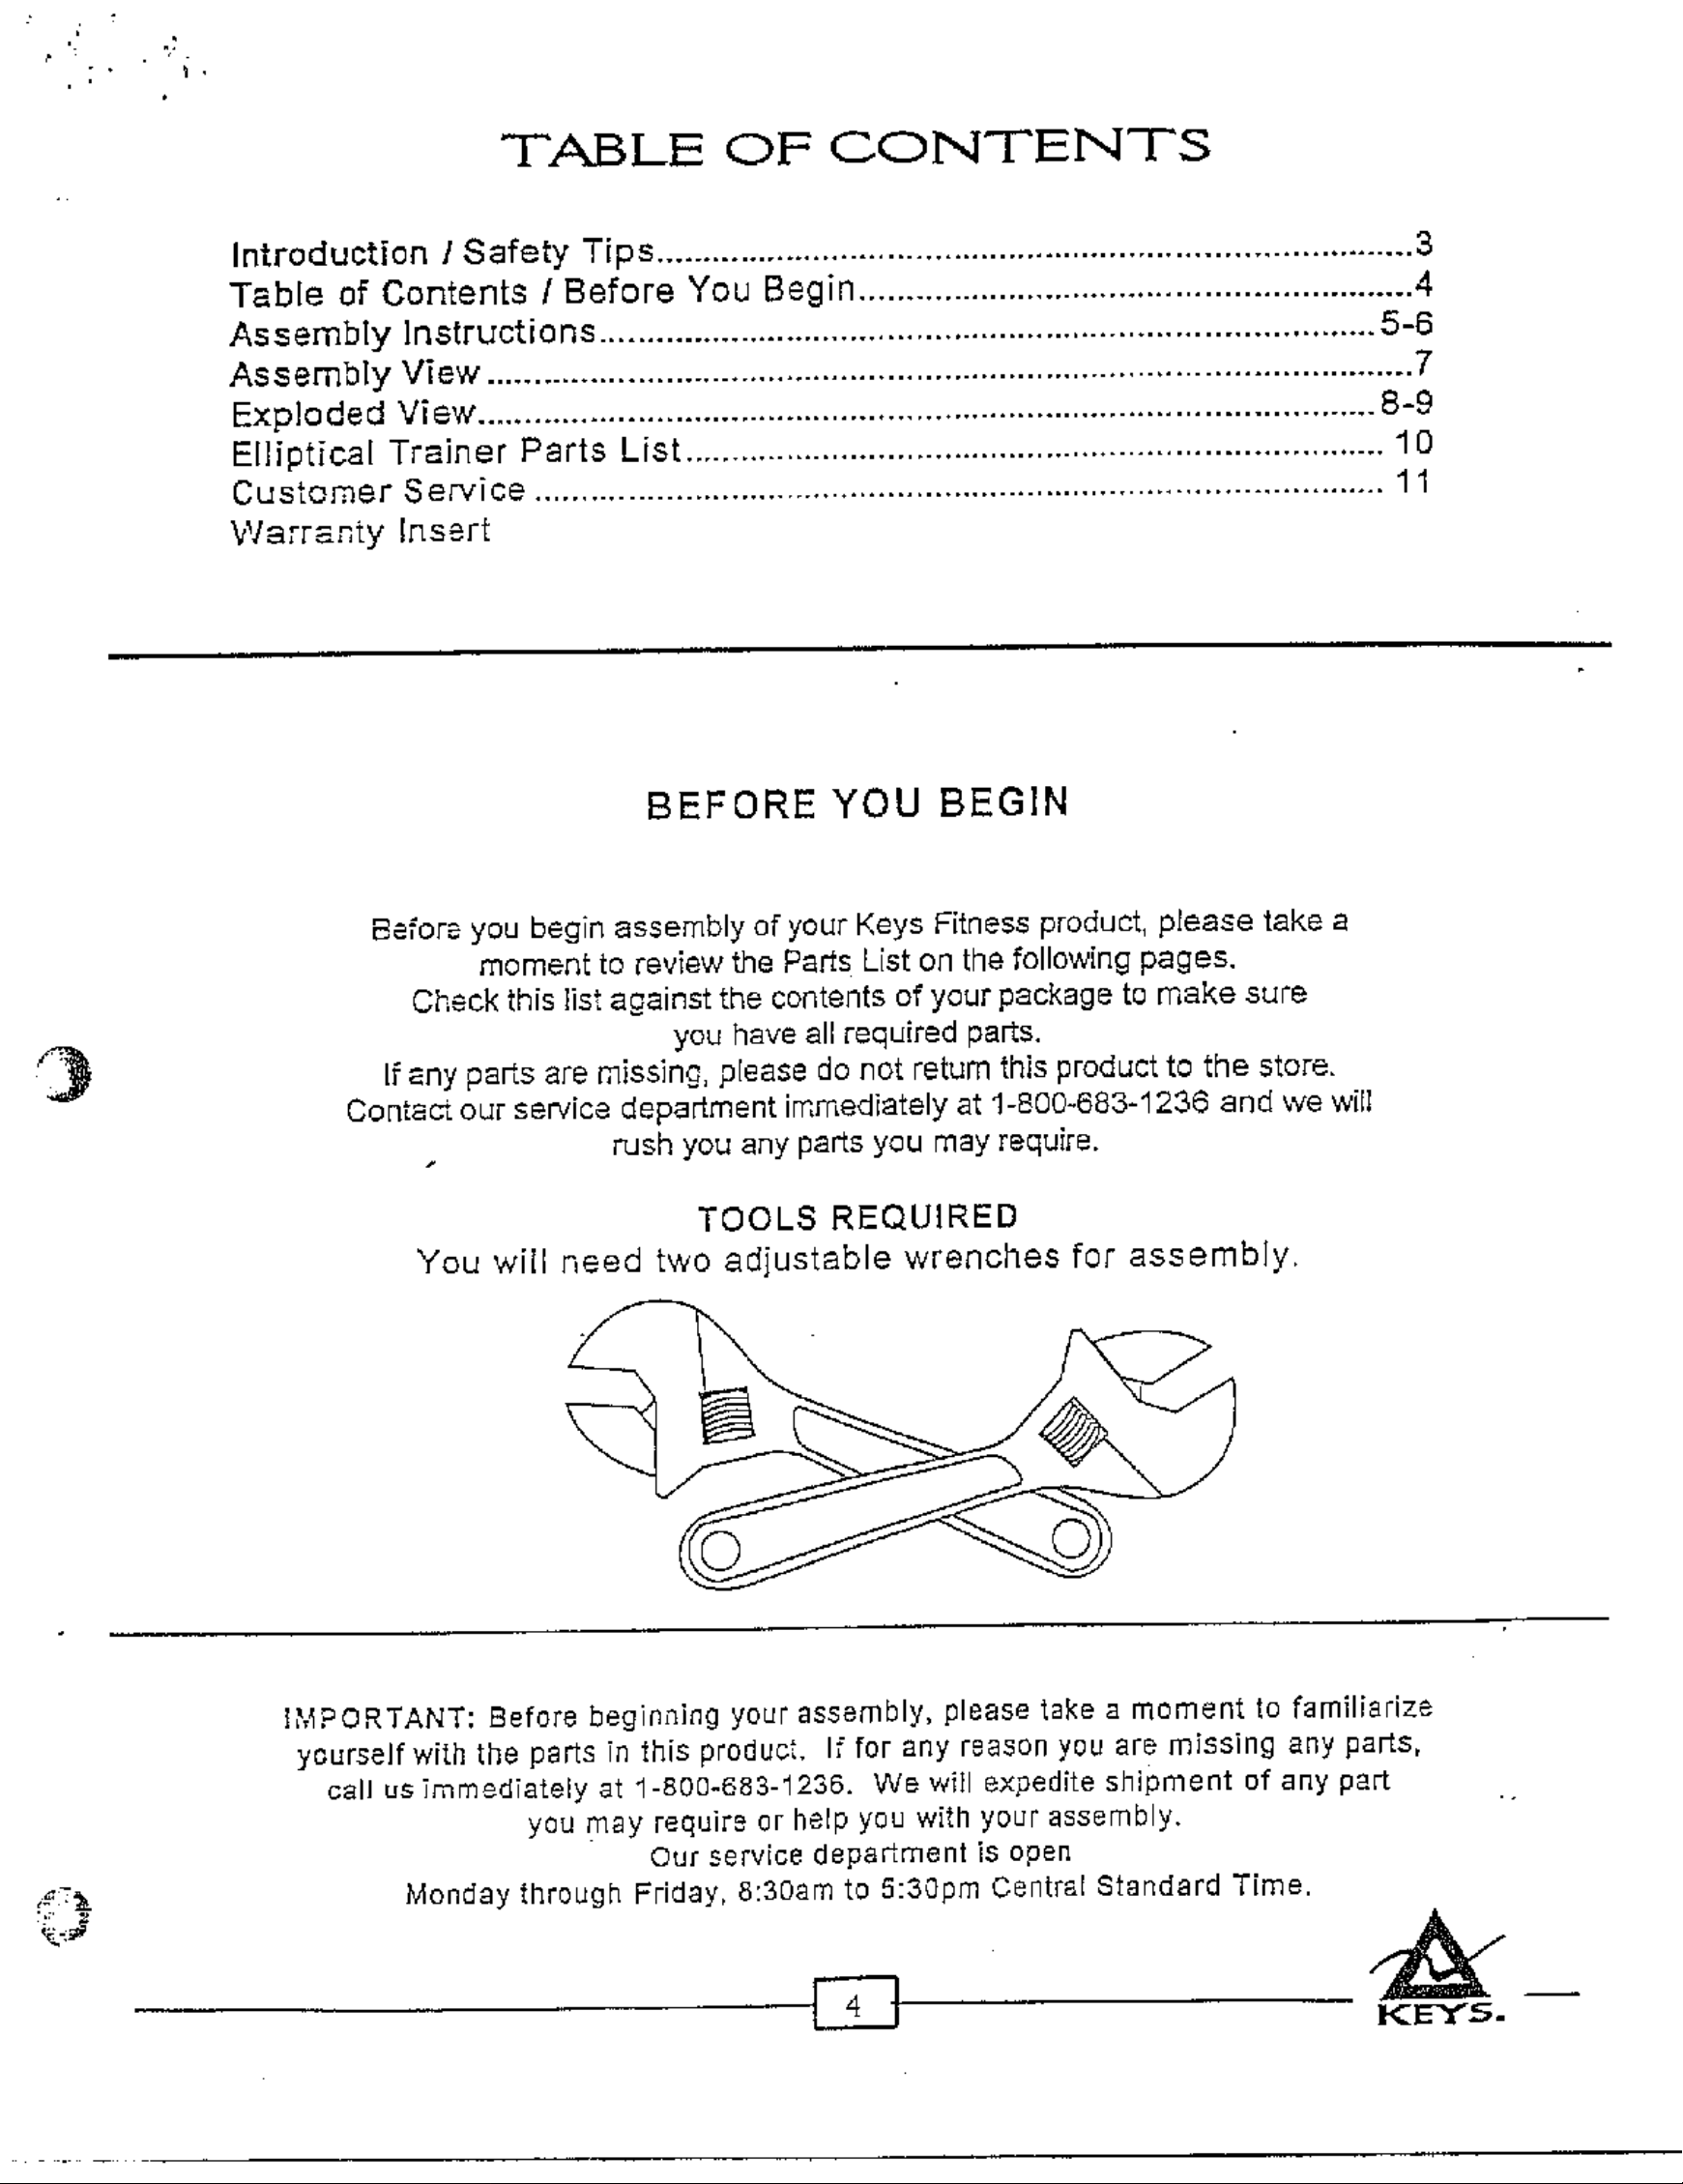
TABLE OF CONTENTS
Introduction 1Safety Tips ................................................................................. 3
Table of Contents / Before You Begin ........................................................... 4
Assembly instructions ................................................................................... 5-6
Assembly View ................................................................................................... 7
Exploded View ................................................................................................ 8-9
Elliptical Trainer Parts List ........................................................................... 10
Customer Service ........................................................................................... 11
Warranty Insert
BEFORE YOU BEGIN
Before you begin assembly of your Keys Fitness product, please take a
moment to review the Parts List on the following pages•
Check this list against the contents of your package to make sure
you have all required parts.
If any parts are missing, p[ease do not return this product to the store.
Contac_ our service department immediately at 1-800-683-1236 and we w_It
rush you any parts you may require.
TOOLS REQUIRED
You will need two adjustable wrenches far assembly.
iMPORTANT: Before beginning your assembly, please take a moment to familiarize
yourselfwith the paRs Tnthis product. If for any rsaaon you are missing any parts,
call us ;mmedfately at 1-80a-683-1236. We will expedite shipment of any part
you may require or heEp you with your assembly.
Our service depaRment is open
Monday through Friday, 8:3Dam to 5:3Ogre Central Standard Time.
E23
KE_5.
ASSEMBLY INSTRUCTIONS
i I
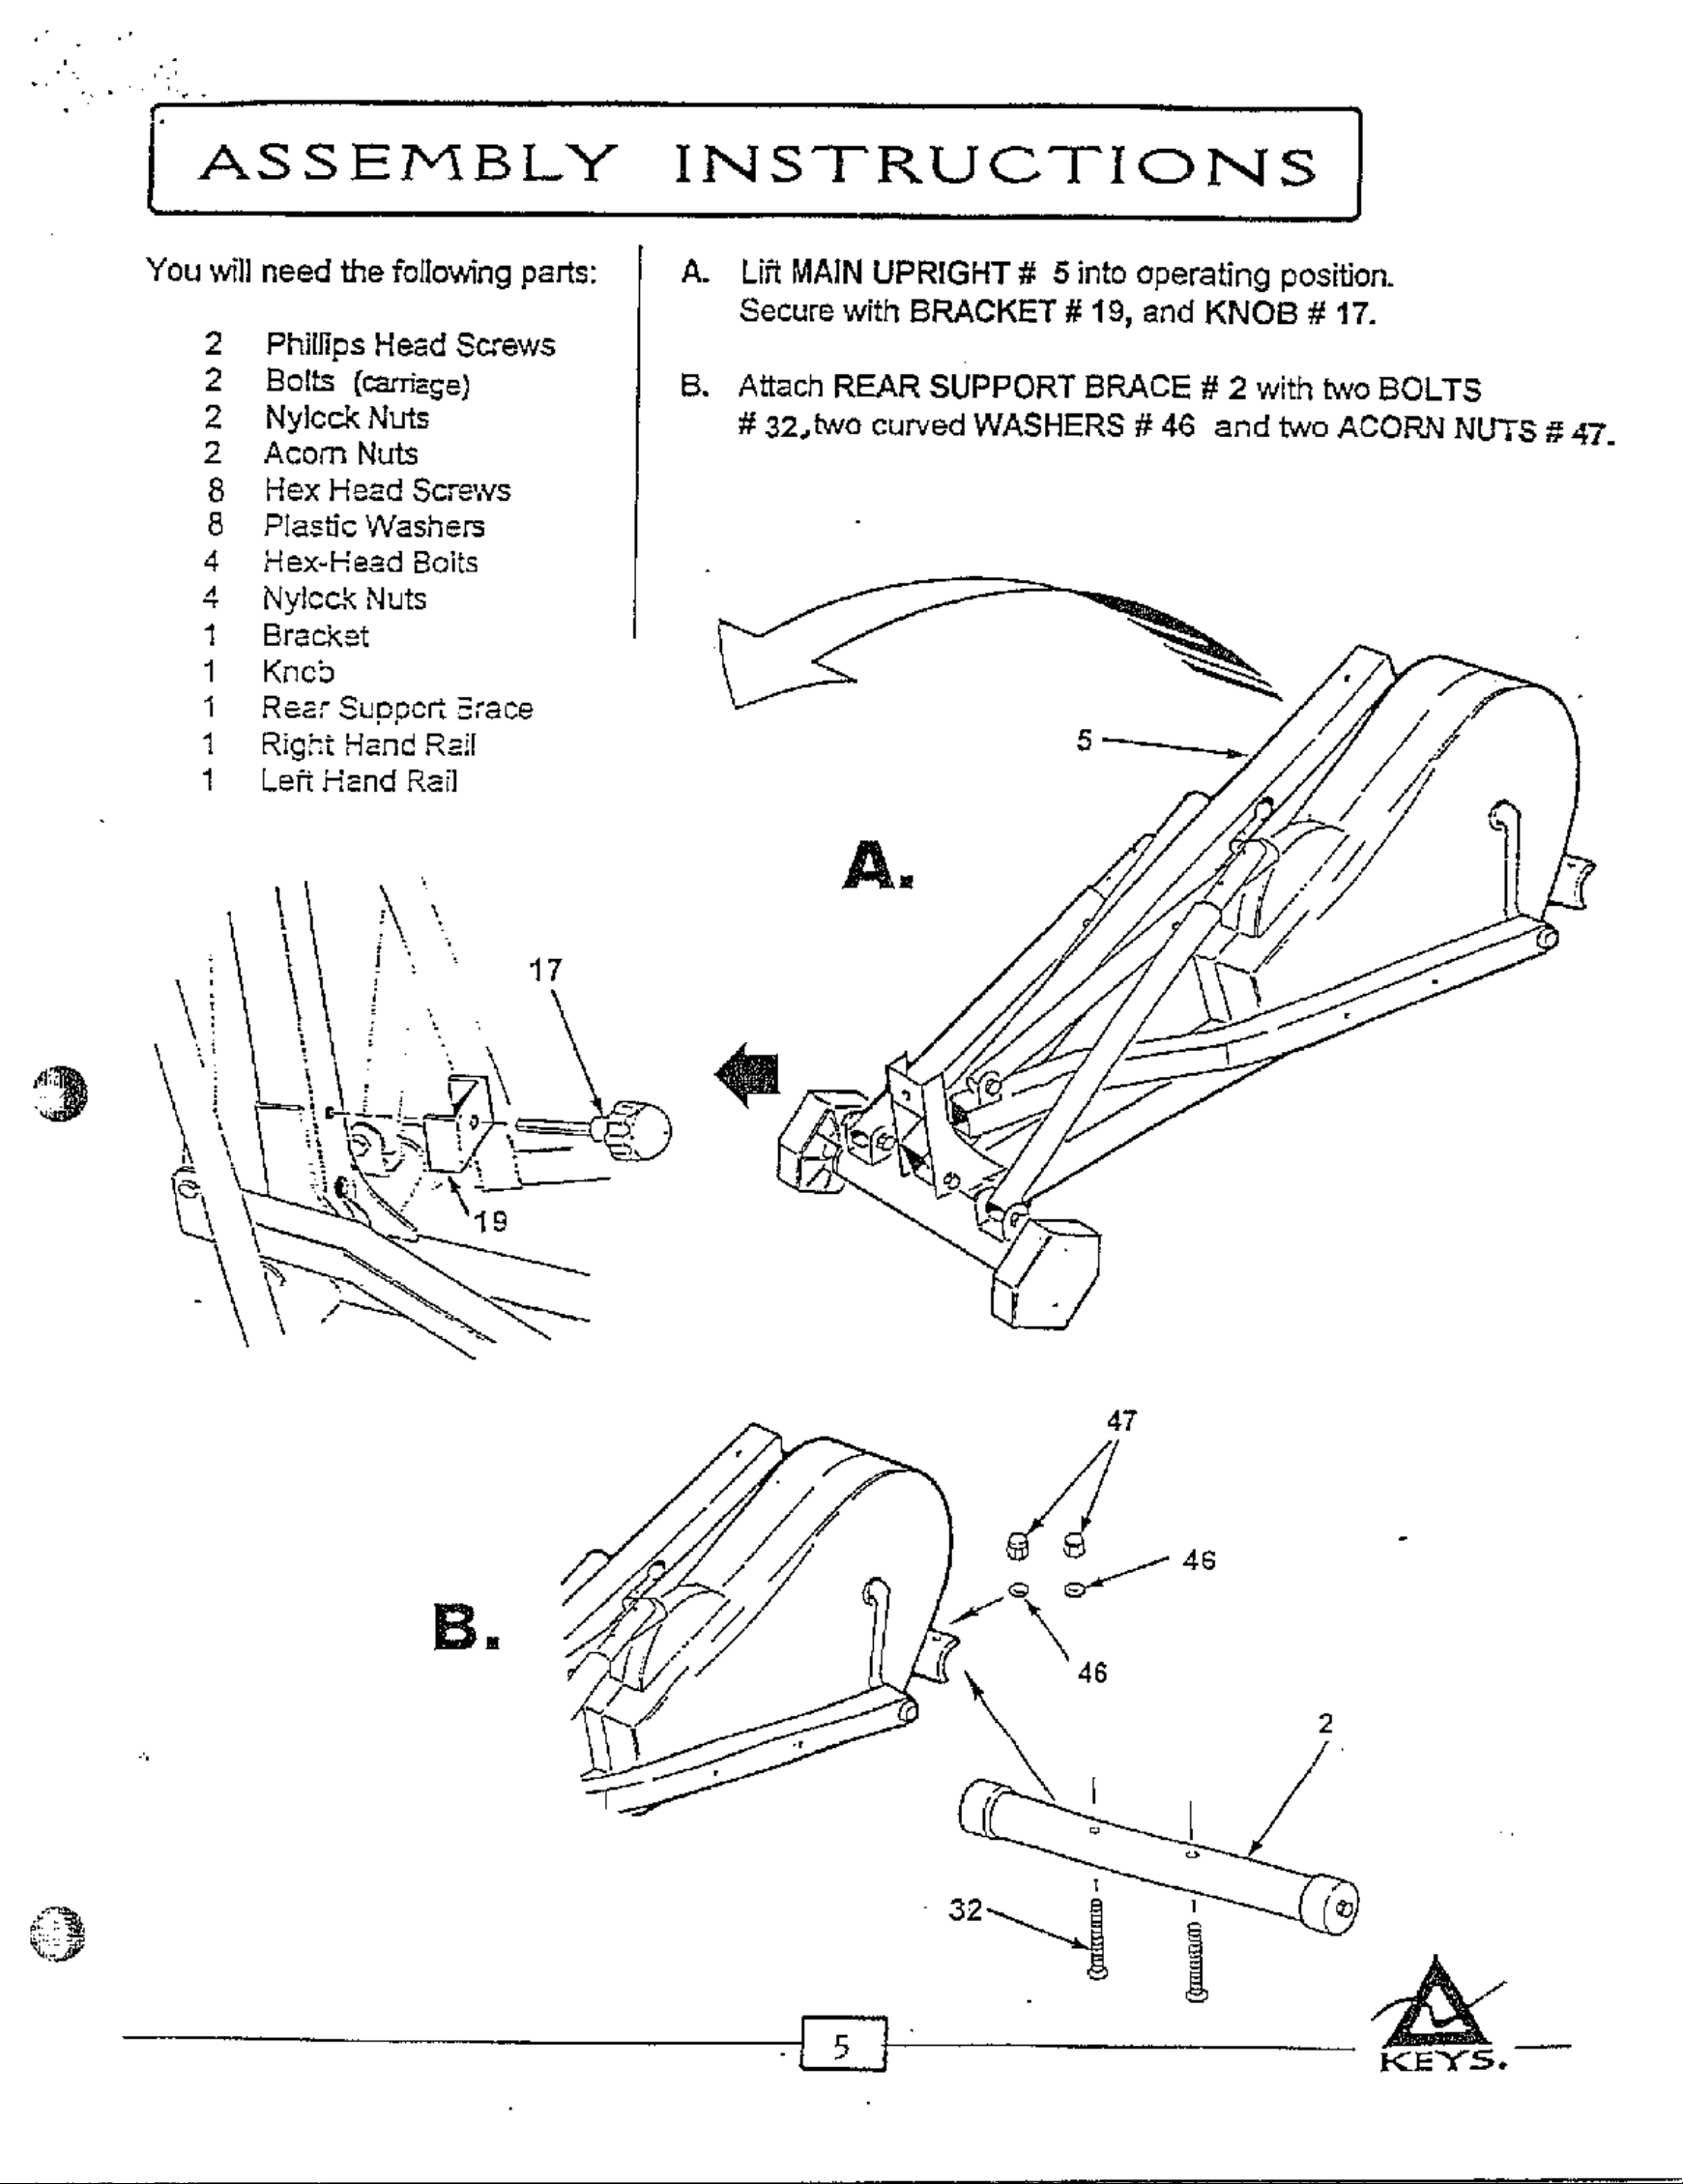
You w_]]need the follov,'ing par_s:
2 Phillips Head Screws
2 Bolts (_e)
2 Ny]cck Nuts
2 Acorn Nuts
8 Hex Heed Screws
8 PIa_fic Washers
4 Hex-Haad Bolts
Nyiock Nuts
1 Bracket
1 Kncb
1 Rear Suppc_ .=,race
1 Right Hand Rai!
1 Left Hand Rail
AI
B.
Lift MAIN UPRIGHT # 5 into operating position.
Secure with BRACKET # 19, and KNOB # 17.
Attach REAR SUPPORT BRACE # 2 with two BOLTS
# 32,two curved WASHERS # 46 and two ACORN NU'i-S # 47.
"= !_i,-----
19
Sl
46
2
O
 Loading...