

Kettler SM 8820 – 83 Operating Instructions Manual
Computer- und Trainingsanleitung
SM 8820 – 83
D
GB
P
DK
F
NL
E
I
PL
8
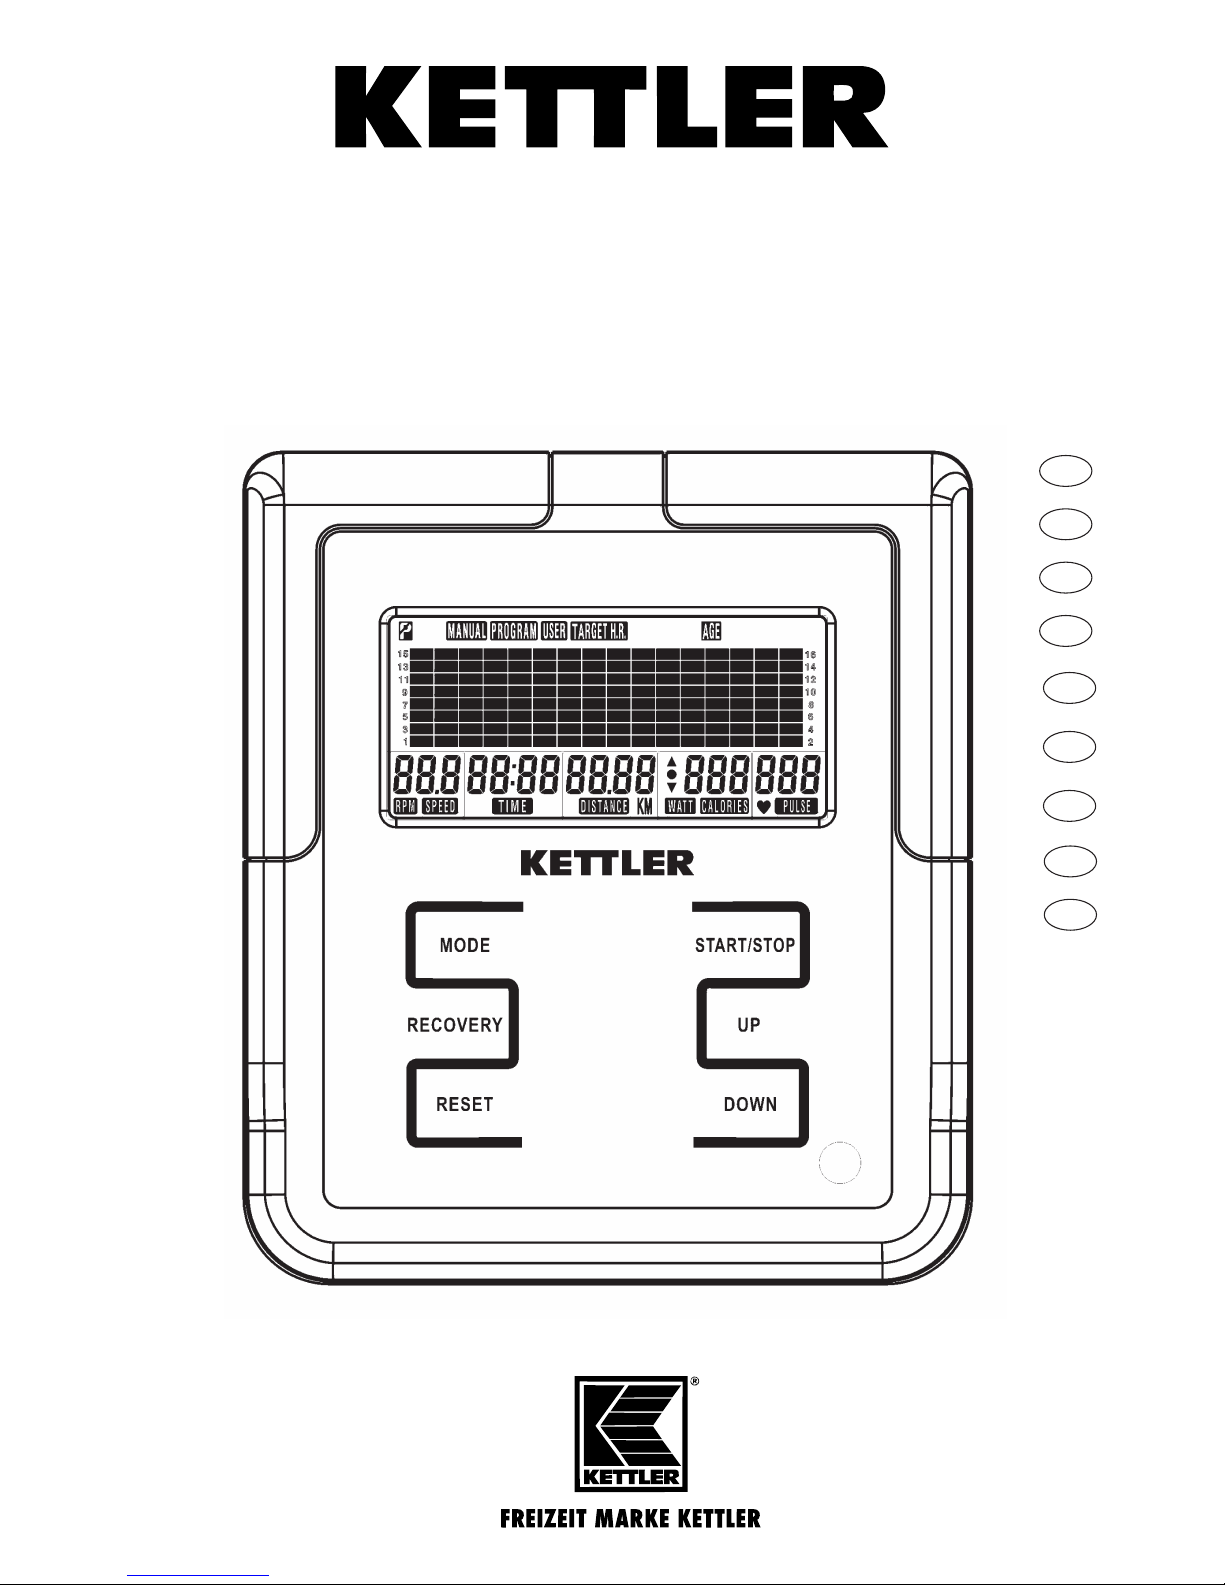
Functions and Operation of the Training Computer
GB
Operating Instructions for the training computer with
digital display
1. Start Without Previous Knowledge
You can start your training without requiring any previous knowledge. The necessary information will be displayed in your
display. For effective training and for setting your personal training
defaults, please read and follow these operating instructions.
Read also the general tips in the training instructions.
After switching on the unit (mains connection or starting via
RESET, the complete display information will appear = segment
test with an audible signal. Afterwards, the time is shown
briefly. Time can be adjusted via the UP and DOWN keys: First,
set hours UP / DOWN, then confirm via MODE , then set minutes,
and confirm time setting again via MODE Afterwards the user
display (U 1-4) U = USER will appear.
Data for up to 4 different users can be stored which can be
retrieved upon restart. The individual training can be continued
by 4 different people with their personal data being stored over
a longer period of time.
You can select your user memory via the UP or DOWN keys
and confirm your choice via the MODE key.
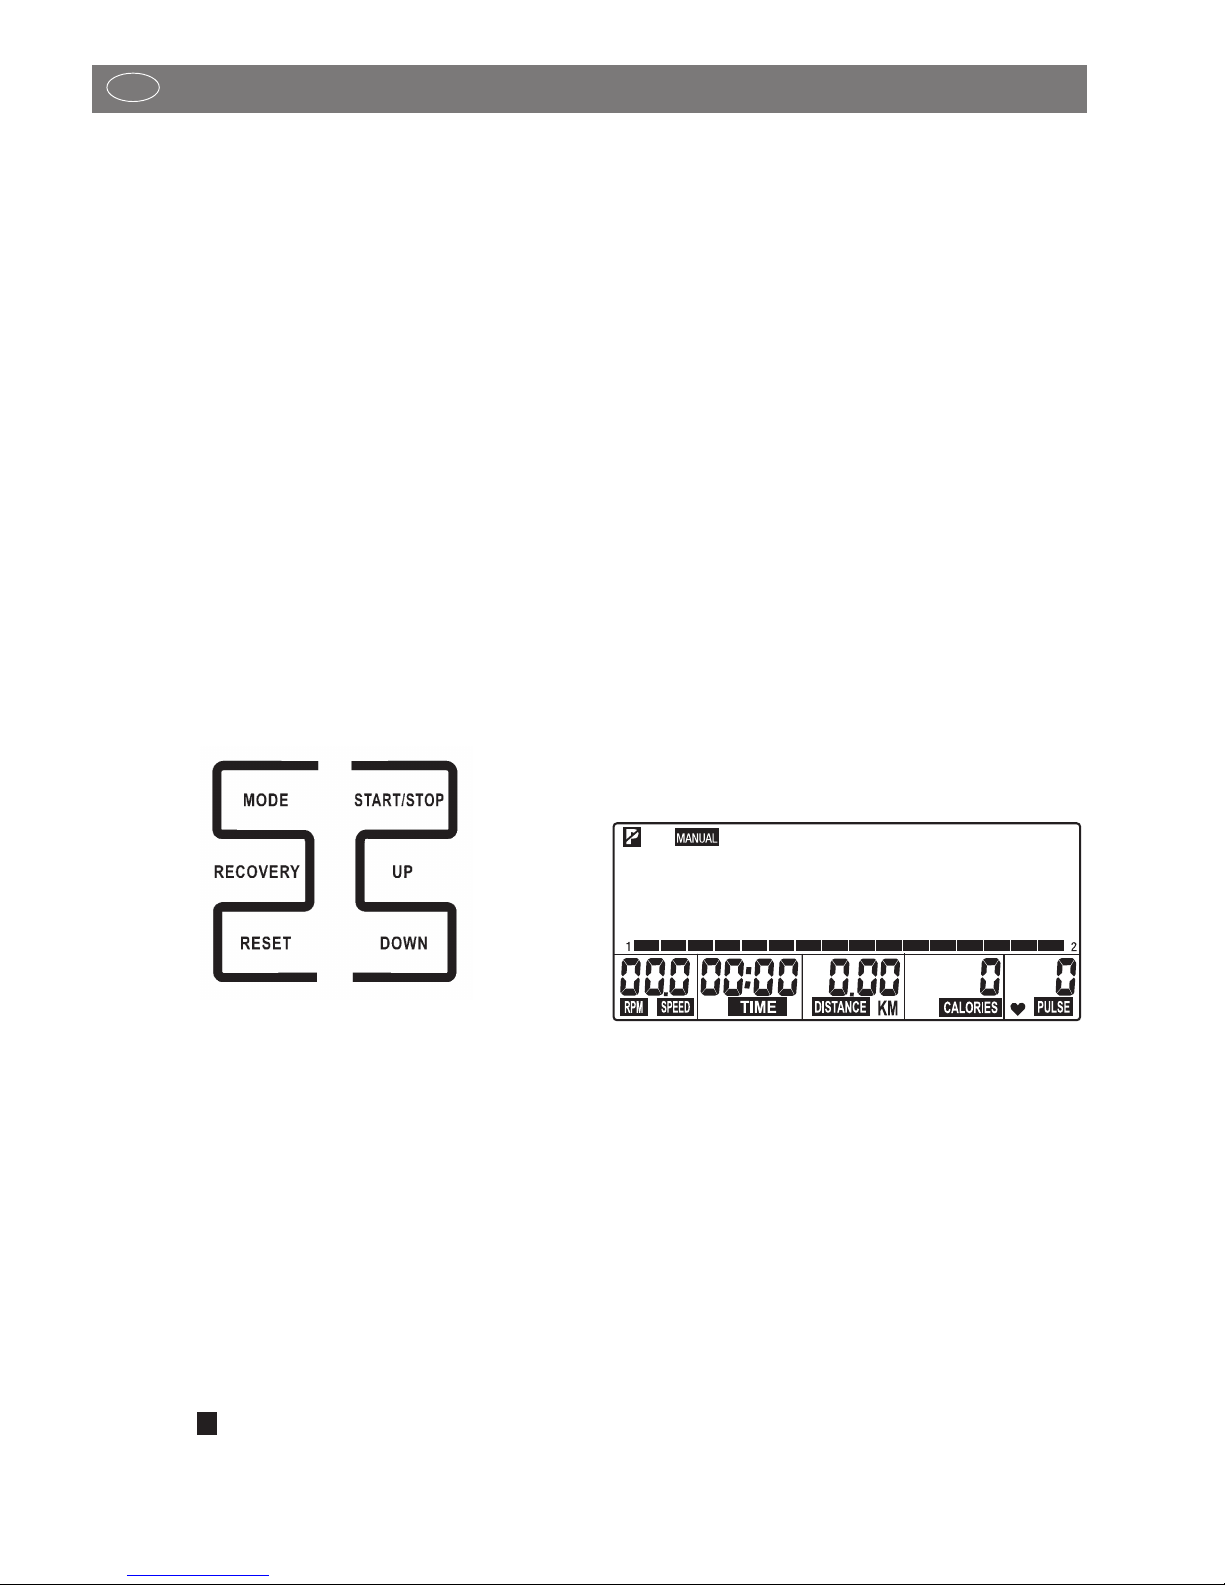
2. Function Keys
START / STOP
Via this key, you start your training without any pre-setting, or
after entering certain default values and/or selection of one of
the automatic training programs. Pressing this key again causes
the computer to stop the counting function. Settings can be
changed without interrupting your training. If START is pressed
again, the computer starts counting again after the new setting
has been fixed.
MODE
In order to display information or to input your personal settings,
choose between the functions [TIME, DISTANCE, CALORIES and
PULSE] by briefly pressing the MODE key.
DOWN / UP
– the default values are set via the DOWN or UP keys. To this
end, the unit must be in a STOP position; > top left symbol
will blink.
– During your training, you can reduce or increase the overall
performance range via these keys > graphic display.
P
– In the pre-selection, the desired user setting (USER) can be
selected via DOWN or UP .
– The training program selection (MANUAL, PROGRAM,
USER or TARGET H.R.) is also carried out via the DOWN
or UP keys.
DOWN downward setting of default values.
By briefly pressing the DOWN key, you reduce the setting
values of the various functions > [TIME, DISTANCE, CALORIES
and PULSE]. If you press the DOWN key for a longer period
of time, the setting value can be reached in a faster counting
sequence.
UP upward setting of default values.
By briefly pressing the UP key, you increase the setting values
of the various functions > [TIME, DISTANCE, CALORIES and
PULSE]. If you press the UP key for a longer period of time, the
setting value can be reached in a faster counting sequence.
RESET
By briefly pressing the RESET key, you reach the selection of the
different training program settings > top bar in the display
[MANUAL, PROGRAM, USER, TARGET H.R.]
Keeping the RESET key pressed causes the computer to restart:
time setting and user selection (U1-4)
RECOVERY
With the RECOVERY key, you reach a recovery pulse measurement at the end of the exercise session.
3. Display Information
General: the display is divided into three fields:
1. In the top line, the status or selection of the training program
and the status symbol for age are displayed.
2. The large display area represents the graphic display of the
performance range (route profile) and serves for simple orientation within the training sequence. One bar segment =
low performance; eight bar segments on top of each other
= maximum performance. The braking levels are shown next
to the bar display, on the left as odd numbers (1, 3,...,15)
and on the right as even numbers (2, 4, ..,16).
3. In the bottom display area, several segment displays can be
found next to each other where the different training functions are shown. If these functions are pre-set, the respective
function description will blink > e.g. TIME.
After finishing your training, the training data is stored and can
be retrieved when starting a new training sequence. The new
data is then added.

9
Training program (top display line)
The different training programs are chosen by pressing the
RESET key and then selected via the UP or DOWN keys. Afterwards, the selection must be confirmed via MODE . The differences in the programs are defined as follows:
MANUAL Manual training
This setting is selected for a simple training sequence.
The route profile remains linear and can be increased or reduced
during your training via the UP or DOWN keys.
PROGRAM Pre-set programs for training
Here, 6 factory pre-set training programs are available. By
means of the route profile you can see the difficulty level of each
setting.
USER training program via user setting (User)
This program selection allows to you set your individual route
profile. At least one default value must be selected > [TIME,
DISTANCE, CALORIES or PULSE].
TARGET H.R. Training by means of target heart rate (THR)
In this program, setting the performance is controlled by the preset heart rate. To this end, your pulse must be registered during
your training.
See > 6. Possibilities for pulse measurement
Default values (bottom display line)
The bottom display line includes individual segment displays with
various default values and units.
RPM / SPEED (left)
Speed
This alternating display (display interval of 6
seconds presents the step frequency as RPM
(Round per minute = revolution per minute)
and the speed as SPEED in km/h. Display range: min. 0.0 to
max. 99.9 km/h
TIME (2nd on the left)
Training period
In this display, the training period is mea-
sured in minutes and seconds. Display
range: min. 00:00 to max. 99:00
DISTANCE (centre)
Training distance
The covered distance is measured in km. The
counting of the distance starts with >0< and
can be continued up to a maximum of
99.99 km. Gradation for counting is
effected in intervals of 0.01 km = 10 m.
CALORIES (2nd on the right)
Calorie and energy consumption
This display shows the calculated calorie
consumption. The value is established
during the training by means of the resistance and time measurements. Display range: min. 0 to max. 990
The data only serves as a rough guideline when comparing the
different exercises and cannot be used for medical purposes.
PULSE (right)
Pulse / heart rate
If the pulse is measured during training, the
heart symbol in this segment display will blink
and the pulse rate displayed as heartbeats per
minute. Display range: min. 30 to max. 240.
If the target pulse rate is reached during your training, the computer will send an alarm signal.
Sleep Mode (empty)
If no RPM or PULSE is registered or if no manual settings are
made within 4 minutes, the unit will switch to sleep mode.
4. Personal Training Defaults
General
– Without any special pre-settings, the values in the individual
defaults [TIME, DISTANCE, CALORIES and PULSE] count
upwards, starting from >0< .
– For effective training it is sufficient to only set one target value
in one of the defaults [TIME, DISTANCE, CALORIES or
PULSE].
– If a personal target value is set as a training default, the com-
puter will count downwards from this value. When reaching the target value >0<, an audible signal will sound. If
the training is continued after this -without setting a new target
value - the computer will again count downwards from the
pre-set value in this mode on the pressing of the START key.
– Once set, target values cannot be changed during your
training. They can only be changed if you press the STOP
key first.
Target default value
Setting a target value is identical for all defaults:
e.g. DISTANCE
1. Press the MODE key until the designation >DISTANCE< is
blinking in the display segment.
2. By pressing the UP key briefly, you increase the value, e.g.
DISTANCE in 0.1 km intervals. If you keep the UP key
pressed, the setting value is counted more quickly.
3. If you want to reduce the target value again, press the
DOWN key briefly (or long . The value is again counted
downwards.
4. If you have set the target value, press the MODE key. The
value is then stored in this function and you reach the next
function, e.g. CALORIES.
5. If possible, enter only one default value, as otherwise the
training targets will overlap. For example, you might reach
the pre-set target time earlier than the pre-set target distance.
6. The other defaults [TIME, CALORIES or PULSE] are also
entered as described in items 1-4 via the keys SET, RESET
and MODE.
Functions and Operation of the Training Computer
GB
 Loading...