

Page 1

KERN & Sohn GmbH
Ziegelei 1
D-72336 Balingen
E-Mail: info@kern-sohn.com
Service manual
Precision balance
KERN PFB
Version 1.0
1/2010
GB
Tel: +49-[0]7433- 9933-0
Fax: +49-[0]7433-9933-149
Internet: www.kern-sohn.com
PFB-SH-e-1010
Page 2

GB
KERN PFB
Version 1.0 1/2010
Service manual
Table of Contents
1 Basic information .................................................................................................. 3
2 Transportation lock ............................................................................................... 3
3 Keyboard description ............................................................................................ 4
4 Battery operation ................................................................................................... 5
5 Calibration .............................................................................................................. 6
6 Parameter setting (incl. linearity adjustment) ............................................................ 7
6.1 Navigation in the menu ............................................................................................... 7
6.2 Parameter table ........................................................................................................... 8
7 Error messages.................................................................................................... 10
8 Trouble shooting ................................................................................................. 11
9 Countermeasures for each trouble .................................................................... 12
Precision balance
10 Schematics ........................................................................................................... 17
11 Exploded drawing ................................................................................................ 23
11.1 Capacity 120g~3000g ................................................................................................ 23
11.2 Capacity 6000g .......................................................................................................... 25
12 LCD display – numeric and alphabetic characters ........................................... 27
2
PFB-SH-e-1010
Page 3

1 Basic information
Grundlegende Hinweise
The device must be repaired only by trained specialist staff or personnel with
professional formation (such as a repair-specialist accredited by law concerning
verification).
The service manual is obligatory for repair work.
After repair, original conditions of the device have to be restored.
Only original spare parts should be used.
Das Gerät darf nur von geschultem oder beruflich ausgebildetem Fachpersonal (z. B.
eichrechtlich anerkannter Instandsetzer) repariert werden.
Die Serviceanleitung ist bindend für Reparaturen.
Das Gerät muss nach erfolgter Reparatur wieder in den Originalzustand zurückversetzt
werden.
Es dürfen nur Originalersatzteile verwendet werden.
2 Transportation lock
The balance must be installed in a way that the weighing plate is exactly in horizontal
position.
Remove the transportation lock [ 1 ] (PFB 120-3, PFB 200-3, PFB 1200-2, PFB 2000-2):
[1]
PFB-SH-e-1010
3
Page 4

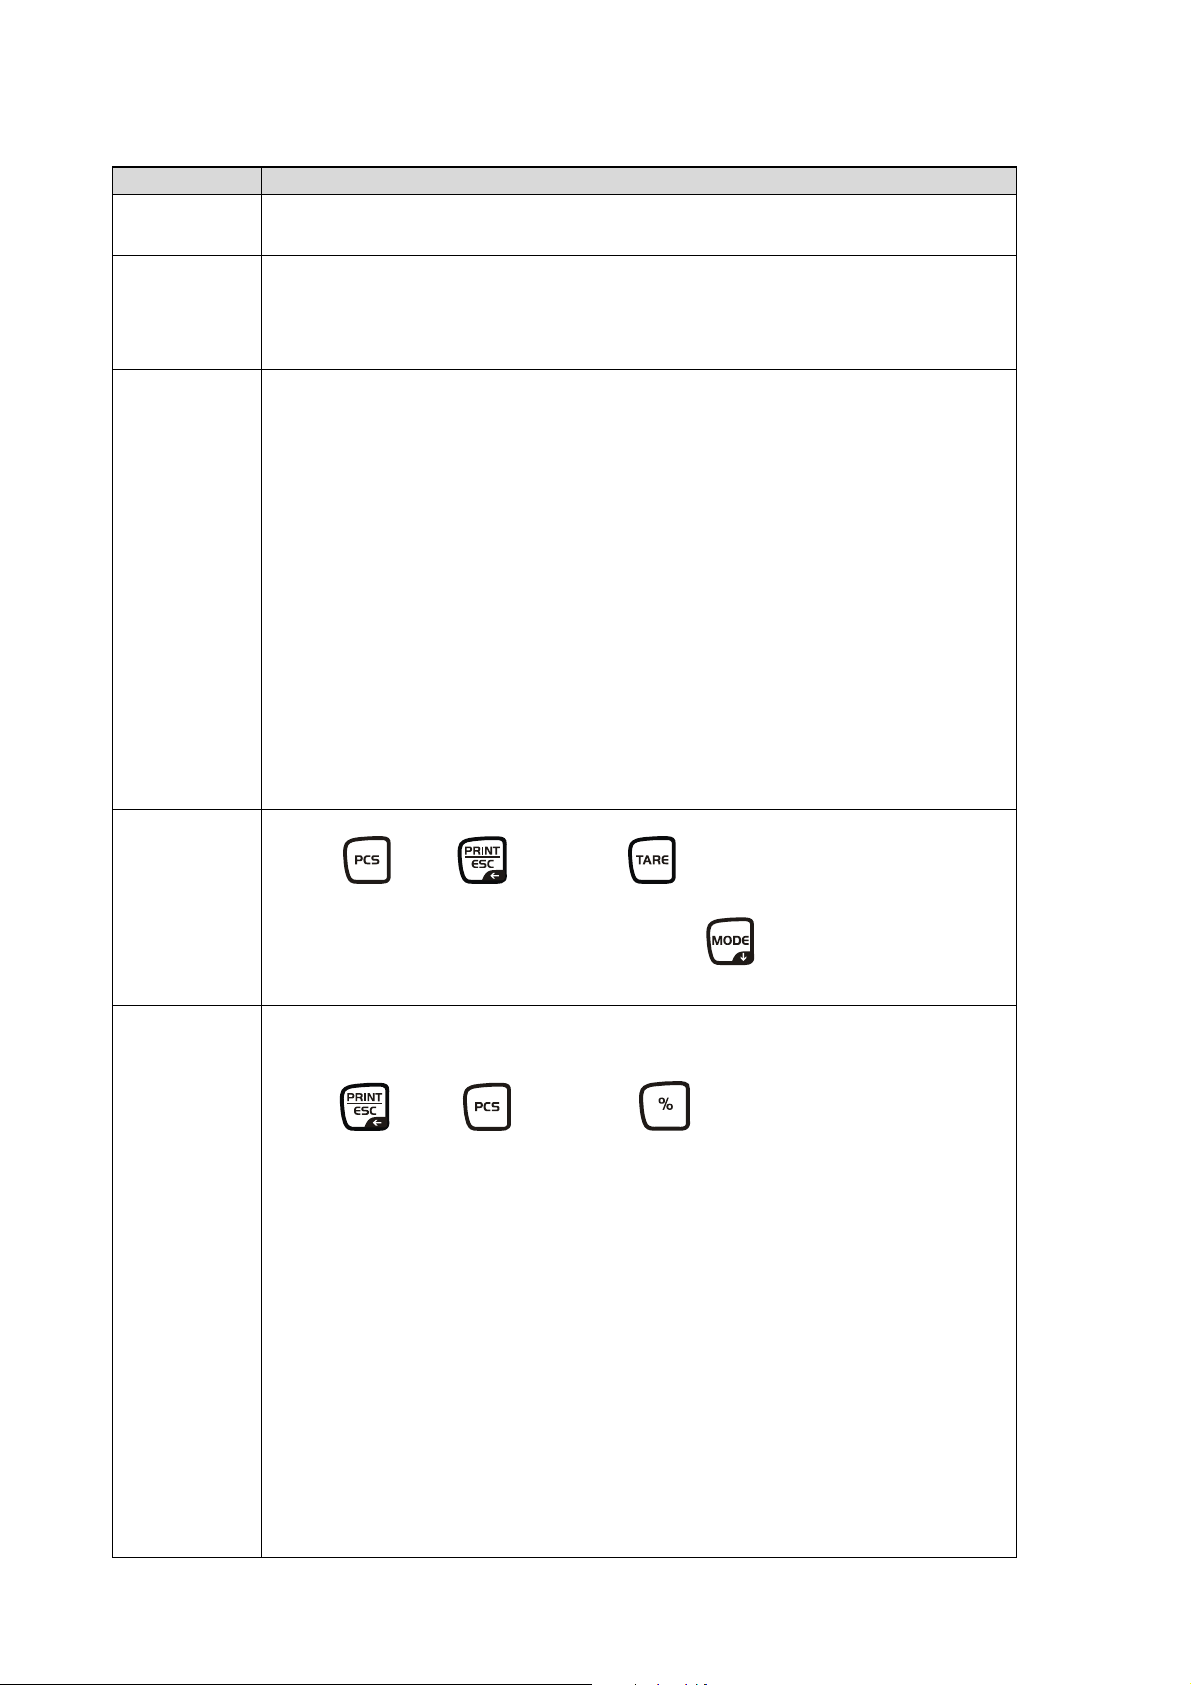
3 Keyboard description
Key Designation Pressed once and released
ON
OFF
[ON/OFF]
Ö Turn on/off
[ZERO]
Ö Set weight display at zero
Ö Activate the current element in the menu
Ö Select in Weighing units (menu F UNIT):
change to the next unit
[TARE]
Ö Taring
[%]
Ö Call-up %-function
Ö In the percent mode back to weighing mode
Ö Only % function
[PCS]
Ö Call-up piece counting mode
Ö In the piece count mode back to weighing mode
[MODE]
Ö Weighing units switch-over;
Ö At weighing unit switch-over (menu „F UNIT“):
Set weighing unit on/off
Ö Counting up in piece counting mode
Ö Select menu and pass through menu items
from top to bottom
Ö Changing readability
[PRINT/ESC]
Ö Print out weighing result
Ö Exit menu (jumping back to weighing mode)
4
PFB-SH-e-1010
Page 5

4 Battery operation
The balance come with a rechargeable battery, can be operated from the battery if
desired. The battery life is approximately 40 hours.
There is a battery symbol on display used to indicator battery status
Flick: charging battery
Full: battery full or charge finished
Half: battery with half power
When battery symbol become blank, please change battery or use AC adapter, the
scale does not need to be turned on. The battery should be charged for 12 hours for
full capacity.
As the battery is used it may fail to hold a full charge.
Note: new batteries are shipped partially charged. Before you can use your scale,
you need to charge the battery, as indicated by the following instructions.
Some batteries perform best after several full charge/discharge cycles.
Battery performance depends on many factors, including your backlight setting and
operate.
To maximize your battery’s performance:
• Always use original batteries and AC adapter. The scale warranty does not cover
damage caused from using non original batteries and/or battery chargers.
• New batteries or batteries that have been stored for long periods of time may
require a longer charge time.
• Maintain the battery at or near room temperature when charging.
• Do not expose batteries to temperatures below -10°C (14°F) or above 45°C
(113°F).
• Over extended periods of time, batteries gradually wear down and require longer
charging times.
This is normal. If you charge your battery regularly and notice a decrease in operate
time or an increase in charging time, then it is probably time to purchase a new
battery.
Blank: need be charged
Never use any charger or battery which is damaged.
Do not short-circuit the battery. Accidental short-circuiting
can occur when a metallic object (coin, clip or pen) causes
direct connection of the + and - terminals of the battery
(metal strips on the battery).
Do not dispose of batteries in a fire
Dispose of batteries according to local regulations (e.g.
recycling). Do not dispose as household waste.
Avoid charging under airless conditions
PFB-SH-e-1010
5
Page 6

5 Calibration
Observe stable environmental conditions.
A warming up time of approx. 2 hours is required for stabilization.
Ensure that there are no objects on the weighing plate.
Balance display Operation
Ö In weighing mode press approx. 3 sec. until
When display „LoAd“ appears, put the necessary
calibration weight on the center of the weighing plate.
PFB 120-3: 100g (F1)
PFB 200-3: 200g (F1)
PFB 1200-2: 1000g (F1)
PFB 2000-2: 2000g (F1)
PFB 6K0.05: 5000g (F1)
PFB 6000-1: 5000g (F1)
„UnLoAd“ appears.
Calibration will be carried out automatically after dead
stop control.
Ö Wait for stability display
„Pass“ appears, the calibration process has been
finished successfully.
Ö Take away calibration weight
Wait until the balance is again in the weighing mode.
6
PFB-SH-e-1010
Page 7

6 Parameter setting (incl. linearity adjustment)
The scale has 9 parameters (include 6 technical parameter) plus a method of
entering the calibration section.
The menu is called-up by pressing the key during self
test.
The display appears the first parameter "F1 UNT".
6.1 Navigation in the menu
Key Direction in the
Description
menu
Select menu and pass through menu items from
top to bottom
Select current element
Exit the current element, return to weighing mode
Note: When display shows “tECH”, press key to enter. Display shows “Pin”.
Press , then and finally key to enter technical parameter setting mode.
The display appears “P1 L in”. With the key you can select the desired pa-
rameter.
PFB-SH-e-1010
7
Page 8
6.2 Parameter table
)
FUNCTION DESCRIPTION
Selection of weighing units
F1 Unt
ct / lb / oz / d / gn / ozt / dwt / mom / tl.T / tl.c / tl.t / t / bt / n
Backlight on/automatic/off
F2 bL
EL on
EL AU
EL oFF
: backlight always on
: backlight switches on automatically
: backlight always off
RS-232-interface (ASCII code, 8 data bits, no parity)
F3
Con
Select RS-232 or USB (not used):
S 232
S USB
: RS-232 interface
: USB interface (not used)
Select communication mode:
P Prt:
data output via Print-key (After each weighing unload the pan)
P Cont:
P AUto:
beep. Remove the weight immediately. The automatic printout – number + weighing
value – starts.)
WirELE
Select interface settings:
b
xxx: baud rate 600/ 1200/ 2400/ 4800/ 9600bps
tP
or
LP-50
Pin:
tECH
Press , then and finally key to enter technical parameter setting mode.
continuous data output
autom. Printout (After the stability marks appears, there is a
: wireless (not used)
: tP: normal printer / LP-50: label printer (not used
P1
Lin
The display appears “P1 L in”. With the key you can select the
desired parameter.
Linearity adjustment:
Pin:
Press , then and finally key.
Display will show
LoAd 0.
Remove
all weights from the pan
and wait until display shows next step.
Display appears
LoAd
1.
Put the first weight on the pan and wait for next step.
Display appears
LoAd
2.
Put the second weight on the pan and wait for next step.
Display appears
LoAd
3.
Put a weight of full capacity on the pan.
Short time later the balance automatically returns to weighing mode.
During that time remove the weights.
Note: Calibration weights of LoAd1, LoAd2 and LoAd3 must be
integer.
Example: PFB 6000-1: LoAd 1: e.g. 1kg, 2kg or 3kg
LoAd 2: e.g. 3kg, 4kg or 5kg LoAd 3: maximum weight (6kg)
8
PFB-SH-e-1010
Page 9

P2 CAL
P3 Cnt
Calibration procedure:
The display appears "UnLoAd
Remove all weights from the pan and wait for stabilization.
When display „LoAd“ appears, put the necessary calibration weight
on the center of the weighing plate.
PFB 120-3: 100g (F1)
PFB 200-3: 200g (F1)
PFB 1200-2: 1000g (F1)
PFB 2000-2: 2000g (F1)
PFB 6K0.05: 5000g (F1)
PFB 6000-1: 5000g (F1)
Calibration will be carried out automatically after dead
stop control.
„PASS“ appears, the calibration process has been finished successfully. Take away calibration weight.
Display will show the internal counts, e.g. 74130.
Press key to escape.
".
P4 AZn
P5 GrA
P6 CAP
Autozero function:
Options: oFF, 0.5d, 1d, 2d, 4d
Gravity adjustment:
When the balance is first used or has been moved to different
place, it should be calibrated using a calibration weight.
When a calibration weight is not available, the correction of the
gravity factor will compensate the balance. Change the gravity
factor of the balance to the value of the area where it will be
used.
For example:
Local latitude= 9.85, latitude of calibrated place= 9.75
Input new gravity factor (9,85 : 9,75). In this case 1.01025.
Note: After you do the calibration “P2 CAL”, the gravity
factor will reset to 1.00000
Set scale capacity
For example PFB 6000-1= 6000 G
Note: This parameter is not available at all software versions.
PFB-SH-e-1010
9
Page 10

7 Error messages
Err 3
Calibration error
• Incorrect calibration weight
• Put on correct calibration
weight
Err 4
Err 5
Err 6
Err 7
Err 8
• Remove load and press
Zero range exceeded/
Initial zero error
(> 4% of maximum capacity)
Keyboard error • Inadmissible input
A/D count outside range when
turning on the balance
Percentage setting error • 0.01% must be > 0.5d
External calibration weight error
to reset balance to zero.
• Improper calibration of the
balance
• Load cell damaged
• Electronics damaged
• Weighing pan not installed
• Load cell damaged
• Electronics damaged
• Difference of calibration
weight to stored value more
than 4%
10
PFB-SH-e-1010
Page 11

8 Trouble shooting
Problem Possible cause
Display is blank
Unit does not turn on
Power supply faulty
Internal battery not charged
Electronic defective
Unit turns on but the display appears
an error message or stays on self test
Balance shows OL or ---- Maximum capacity exceeded
Balance shows ---- or NULL
Unstable readout
Balance shows wrong weight
Cannot use full capacity
Pan not installed correctly
Unstable readout
Load cell damaged
Load cell damaged
Power supply faulty
Pan has been removed
Pan support not installed correctly
Power supply faulty
Load cell damaged
Air drafts or vibration or unstable table
Pan rubbing against case or not installed correctly
Sample is moving (animal weighing)
Load cell damaged
Power supply faulty
Calibration error
Linearity error
Balance have not been leveled
Selected wrong weighing unit
Overload stopper adjusted incorrectly
Transportation lock not removed
Electronic problem (A/D)
Set-up of parameters incorrectly
Load cell damaged
Linearity error
Off-center load error
Battery will not charge
Wrong linearity adjustment
Load cell damaged
Overload stopper adjusted incorrectly
Load cell damaged
Power supply faulty
Charging circuit board failure
Battery defective
PFB-SH-e-1010
11
Page 12

9 Countermeasures for each trouble
Some abbreviations:
M/B means main board
D/B means display board
CHK means check
A - No function
12
PFB-SH-e-1010
Page 13

B – No display readout / display is blank
PFB-SH-e-1010
13
Page 14

C – Battery will not charge
14
PFB-SH-e-1010
Page 15

D – No weighing value
PFB-SH-e-1010
15
Page 16

E – Unstable reading
F – Keyboard without function
16
PFB-SH-e-1010
Page 17

10 Schematics
Main board
PFB-SH-e-1010
17
Page 18

ADC
18
PFB-SH-e-1010
Page 19

Display board
PFB-SH-e-1010
19
Page 20

Power supply
20
PFB-SH-e-1010
Page 21

Interface
PFB-SH-e-1010
21
Page 22

Other
22
PFB-SH-e-1010
Page 23

11 Exploded drawing
11.1 Capacity 120g~3000g
PFB-SH-e-1010
23
Page 24

No Description QtyMaterial Spec
w
A
A
A
A
A
A
A
A
A
A
1
2 toughened glass 1 2 glass 152.5x80x3t
3 pole for glass 4
4 Round rubber spacer 4
5 toughened glass 2 2 glass 138.5x80x3t
6 SST pan 1 SUS304 Ø 80/120
7 "+" screw 1 S18C M4x12, 6.8
ind shield top cover 1
L
L
8 plastic pan 1
10 SST cover 1 SUS304 0.5t
11 internal hexagon screw 4
12 load cell shim 2 SUS304 16x13x1t
13 load cell upper bracket 1
14 battery 1 lead acid 6v/1.2Ah
15 self thread screw 10 S18C 3x10, 6.8
16 interface PCBA 1
17 "+" screw 4 S18C M4x10, 6.8
18 load cell lower bracket 1
19 washer 2
20 bottom cover 1
21 foot 2 2
22 key panel 1 PC
23 level bubble 1
24 top cover 1
25 dislay PCBA 1
BS Ø 80/120
BS
L
BS
BS
BS
M3x12,8.8
RS232/USB
M3
14.7mm
26 insulative washer 10 EDPM 8x3.1x1.5t
27 "+" screw 1 S18C 4x12, optional
28 L type below weighing screw 1 SUS304 Optional
29 Hexagon nut 1
30 Below weighing pole 1
31 load cell 1
32 "+" screw 1 S18C M3x6,
33 Screw (big head) 1 SUS304 M4x10
34 main PCBA 1
35 "+" screw 4 S18C 4x12,8.8
36 foot 1 2
37 Name plate 1
24
L SPL
BS
M4, optional
optional
PFB-SH-e-1010
Page 25

11.2 Capacity 6000g
PFB-SH-e-1010
25
Page 26

No Description QtyMaterial Spec
A
A
A
A
A
A
A
A
A
1 SST pan 1 SUS304 145x155
2 "+" screw 1 S18C M4x12, 6.8
3 plastic pan 1
4 SST cover 1 SUS304 0.5t
6 key panel 1 PC
7 top cover 1
8 internal hexagon screw 4
9 Pan support 1
10 load cell upper bracket 1
11 washer 2
12 Internal Hexagon screw 2
13 load cell 1
14 load cell lower bracket 1
15 battery 1 lead acid 6v/1.2Ah
16 self thread screw 10 S18C 3x10, 6.8
17 insulative washer 10 EDPM 8x3.1x1.5t
18 interface PCBA 1
19 bottom cover 1
20 foot 2 2
21 level bubble 1
BS 145x155
BS
l
l
L PW6K
L
BS
BS
M6x20
M3
M3x12
RS232/USB
14.7mm
22 load cell shim 2 SUS304 16x13x1t
23 dislay PCBA 1
24 "+" screw 4 S18C M4x20
25 Hexagon Screw 1 SUS304 M4x10
26 Hexagon nut 2
27 Below weighing pole 1
28 main PCBA 1
29 "+" self thread screw 4 S18C 4x12
30 foot 1 2
31 Name plate 1
BS
M4, optional
optional
26
PFB-SH-e-1010
Page 27

12 LCD display – numeric and alphabetic characters
PFB-SH-e-1010
27
 Loading...