

Kenyon FRONTIER, RIO, FLORIDIAN, All Seasons FRONTIER, All Seasons RIO Use & Care Manual - Installation Manual
...
All Seasons™ Electric Grill
FRONTIER FLORIDIAN
RIO
BUILT-IN BUILT-IN
PORTABLE
Use & Care Guide - Installation Manual
Kenyon International, Inc.
P.O. Box 925
8 Heritage Park Road
Clinton, CT 06413 USA
Phone: 860-664-4906
Fax: 860-664-4907
www.kenyonappliances.com
BUILT-IN
PORTABLE
120 and 240 V Models
Part # 143355E
Revised: March 28, 2011
kenyonengineering/manuals/grill/143355E

Table of Contents
Section Page
Important Safeguards ..............................................................................................................
How to Use Grill
Quick Start Tips ...............................................................................................................
Stuffed French Toast .......................................................................................................
Product Specications .............................................................................................................
Installation Instructions
Package Contents ...........................................................................................................
Electrical Requirements .................................................................................................
Countertop Installation ...................................................................................................
Drain Connection ...........................................................................................................
Outlet Location ...............................................................................................................
Final Preparations Prior to Use ......................................................................................
Operation of Grill
Touch Control .................................................................................................................
Power Cord ....................................................................................................................
Grill Parts .......................................................................................................................
Lid Removal ...................................................................................................................
3
4
7
8
9
10
10
13
13
13
15
18
19
20
Warranty Information .............................................................................................................
21
2

IMPORTANT SAFEGUARDS
When using electrical appliances, basic safety precautions should always be followed
including the following:
1. Read ALL instructions prior to using product.
2. Do not touch hot surfaces. Use handles or knobs.
3. To protect against electrical shock, do not immerse cord or plugs in water or other liquid.
4. Close supervision is necessary when any appliances are used near children.
5. Unplug from outlet when not in use and before cleaning. Allow to cool before putting on or taking
off parts.
6. Do not operate appliance with a damaged power cord or plug. If the appliance malfunctions,
discontinue use and contact the nearest authorized appliance dealer or the factory for examination,
repair or adjustment.
7. The use of accessory attachments not supplied by the manufacturer of the appliance may cause
injuries.
8. Do not expose to rain.
9. Do not let cord hang over edge of table or counter, or touch hot surfaces.
10. Do not place on or near a hot gas or electric burner, or in a heated oven.
11. Extreme caution must be used when moving an appliance containing hot oil or other hot liquids.
12. Always attach plug to appliance rst, then plug cord into the wall outlet. To disconnect, turn any
control to “off”, then remove plug from wall outlet.
13. Do not use appliance for other than intended use.
14. Always place a minimum of one (1) cup of water in disposable drip tray prior to grilling.
15. Never leave children alone - children should not be left unattended around the grill at any time.
16. Allow the grill to cool before taking off cooking grates, disposable drip tray or lids.
17. Fuel, such as charcoal briquettes, are not to be used with this appliance.
18. Ensure grill is installed per instructions and properly grounded by a qualied electrician.
19. Do not replace or attempt to repair any part of the grill, unless otherwise noted in this manual.
All other service is to be performed by a factory authorized technician.
20. Do not use water to extinguish a grease re, use dry chemical re extinguisher.
21. Do not store ammable materials near the grill.
22. Do not wear loose tting or hanging apparel when using the grill.
PLEASE READ THESE INSTRUCTIONS IN THEIR
ENTIRETY BEFORE INSTALLATION
SAVE THESE INSTRUCTIONS
AND USE.
3
HOW TO USE GRILL
THE ABOVE TAG IS AFFIXED TO THE LID
HANDLE OF YOUR GRILL.
READ THIS INFORMATIVE PIECE OF
INFORMATION PRIOR TO USING YOUR
GRILL.
IT IS NOT ILLEGAL TO REMOVE THIS TAG
HOWEVER ALL USERS OF THE GRILL
SHOULD READ PRIOR TO REMOVAL.
4
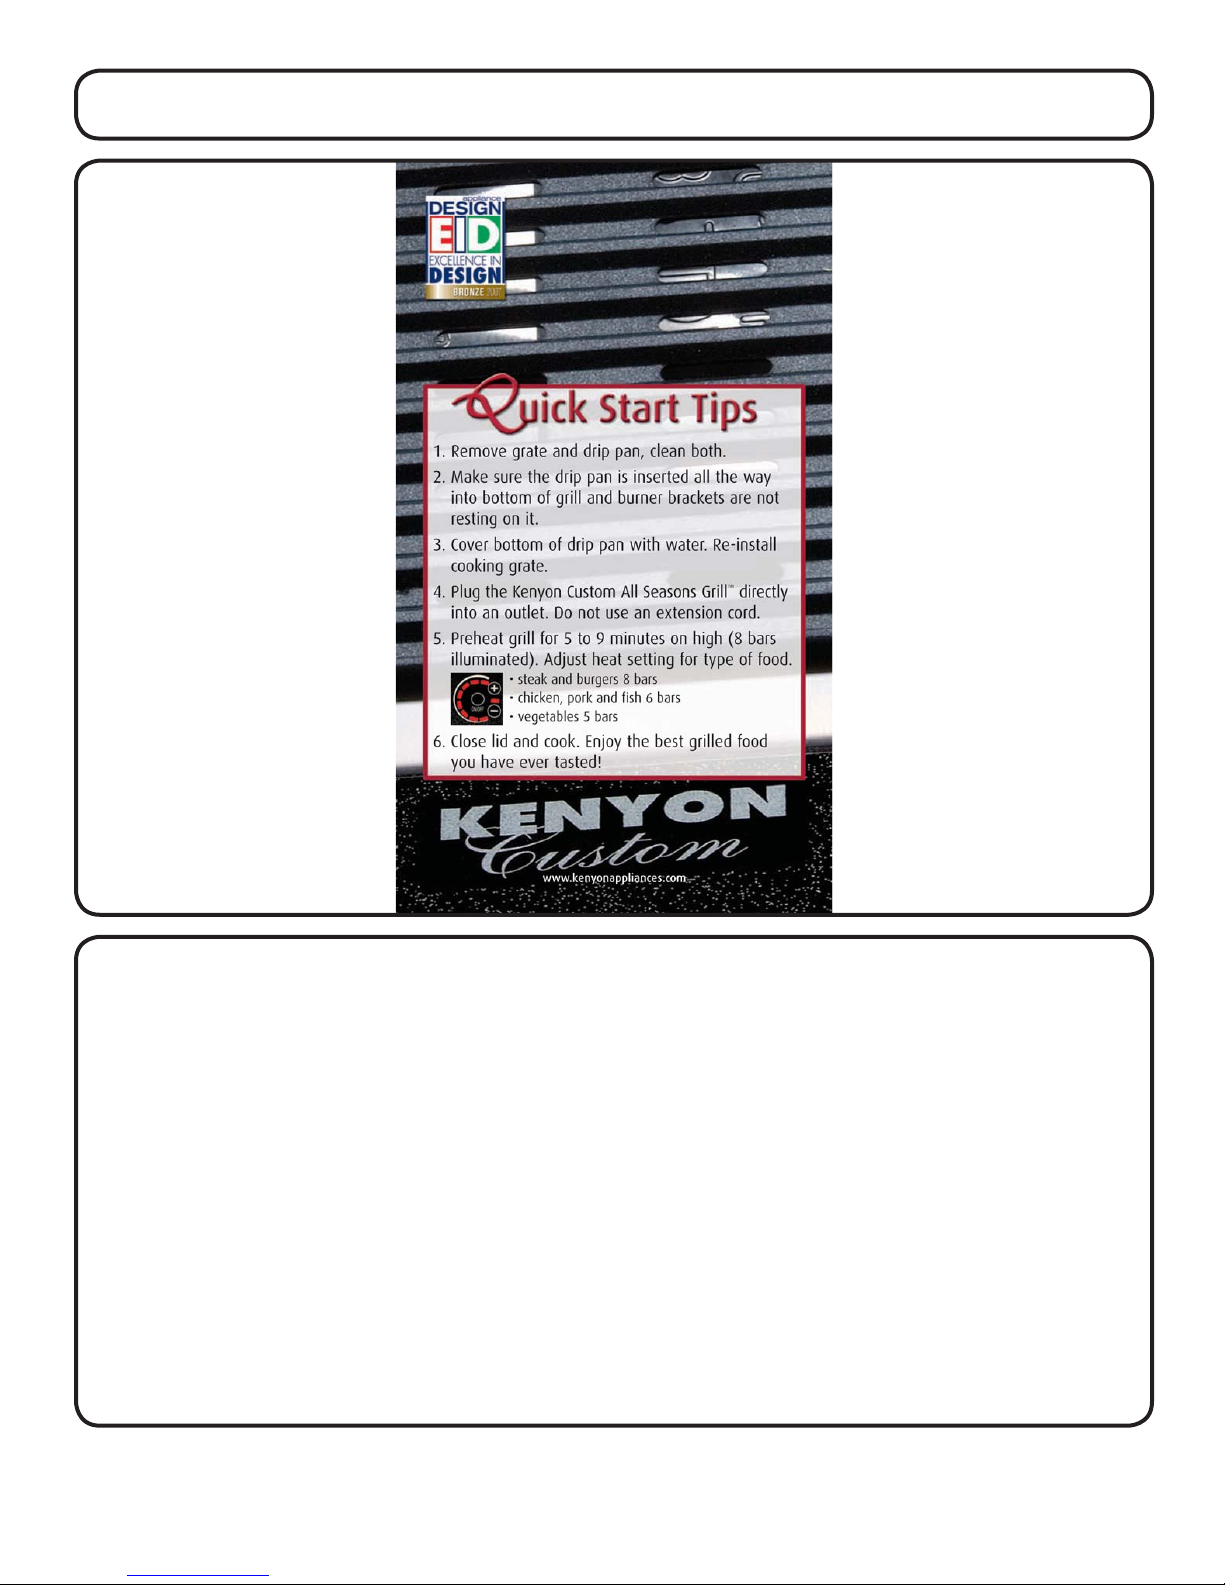
1. Before using your grill, remove the cooking grate and drip tray from the grill. Wash the
grill with warm soapy water using a non-abrasive cloth. USE ONLY HIGH TEMP PLASTIC
UTENSILS WHEN GRILLING. Visit our web site to purchase a set of high quality stainless steel/
high temp plastic grill utensils, www.kenyonappliances.com.
2. Make sure the drip trays are inserted all the way into the bottom of grill
and electric element brackets are resting on the element support bracket.
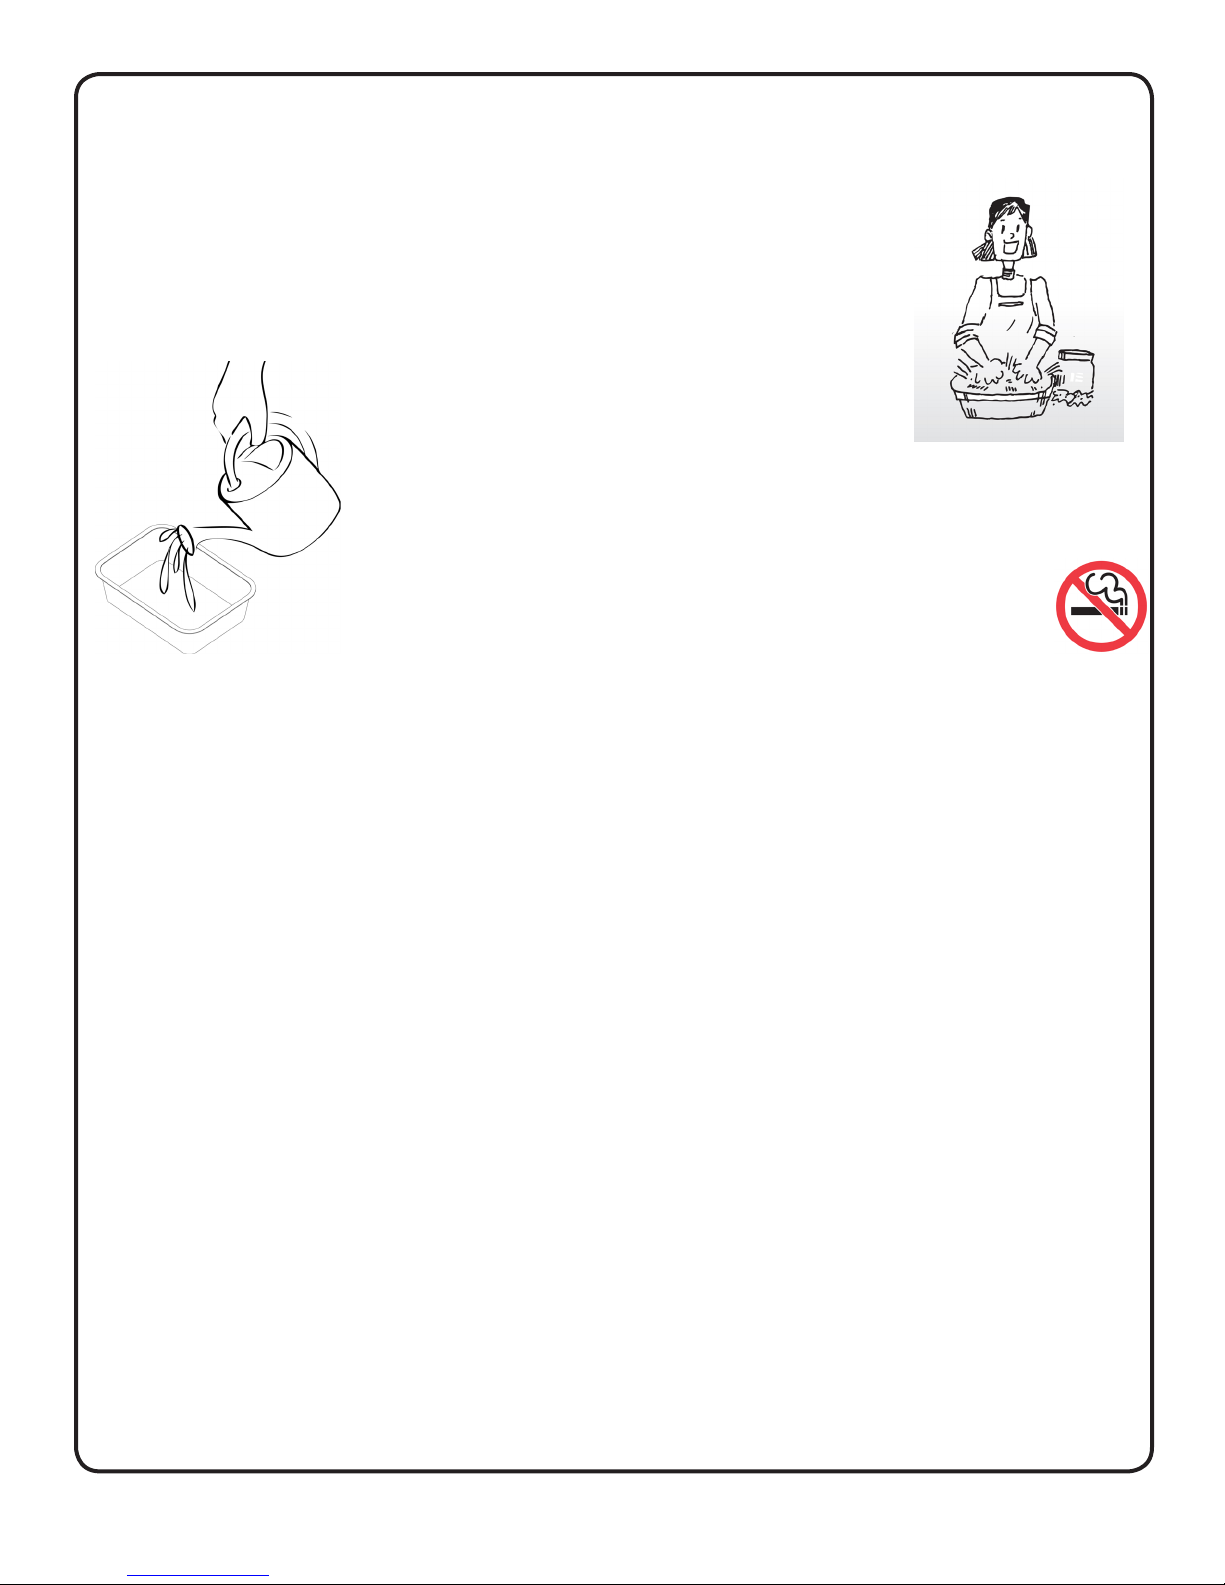
3. Cover the bottom of the drip trays with a liquid. Water is ne. PLEASE
DO NOT USE A FLAMMABLE LIQUID! Doing so
would ruin your cookout. Using apple juice if you are
grilling pork adds a nice avor to the meat. A can of
lime soda is wonderful if you are grilling sh. Try any
kind of liquid that you enjoy drinking. Just remember always add liquid
to the drip tray prior to grilling.
4. To keep your grill smoke free, always clean the grilling surface
after each use. Simply wash with warm soapy water using a
non-abrasive cloth or place in your dishwasher. Empty the drip
trays and wipe with a damp paper towel. The drip trays can be
used multiple times before needing to be replaced.
5. Place your cooking grates or optional griddles (part #B96000) onto the element with drip trays
installed. Use the griddles for foods such as eggs, pancakes or my favorite - stuffed french toast!
6. Preheat grill for 5 to 9 minutes on high (8 bars illuminated). Adjust heat setting for type of food.
• Steak and hamburgers 8 bars
• Chicken, pork and sh 6 bars
• Vegetables 5 bars
7. Close the lid(s) and cook. Enjoy the best grilled food you have ever tasted!
8. Clean up. This is easy to do as you will soon learn. After the grill has cooled to the touch, take
a few pieces of paper towel and place on the grilling surface. Pour about one ounce of water on
the towel and then using your high temperature nylon tongs, swab the paper toweling back and
forth to loosen up the residue from your grilling. Throw the paper towel away and wipe the grates
off with a dry paper towel.
9. Once the grates have cooled sufciently, remove the grates and place in your dishwasher for a
thorough cleaning.
10. With the grates removed, lift up the electric elements and remove the drip trays. Empty the
contents of the drip trays in an appropriate place, please don’t pour it on your neighbors lawn.
Wipe the trays out with a dry paper towel and reuse the trays. The trays can last for many uses.
11. After you have used your grill many times, you may want to wash the lids. They can be
placed in your dishwasher and run on the pots & pans cycle. This will restore your grill to its
original pristine look.
5

12. To clean the grill, rst be sure the cooking surface has cooled enough to handle. Then
remove the grates, lift up the electric elements until they lock in the up position, remove the
middle grate support cross bar, then the drip trays. The grate support cross bar is removed by
lifting the rear and pulling the front notch off of the supporting tab. To install the support reverse
the procedure. Do not cook on the without the support in place!
13. Wipe the stainless steel surfaces with a damp cloth to remove any residue
from previous grilling sessions.
14. Your Kenyon grill came with a sample bottle of stainless steel cleaner.
Use this cleaner once a month to keep your grill looking like new.
15. The touch control area is ceramic glass which is sealed from the effects of rain, snow and
ice. To clean the glass, use a glass cleaner and soft towel. If stains appear, use a ceramic glass
cleaner which can be found in your local grocery store.
6

Stuffed French Toast
16 slices Thin Sliced Bread “any kind but not the white stuff”
1 lb. Cream Cheese (softened)
½ cup Peach Preserves (or your favorite)
4 T. Butter
French Toast Batter:
5 Large eggs thoroughly beaten
1 cup Milk
1 T. Cinnamon, ground
½ t. Allspice, ground
½ t. Coriander, ground
2 oz. Water (Dark Rum, Optional)
In a large bowl place the eggs and beat with a wire whisk. Add the milk and beat again
until incorporated. In a separate smaller bowl pour water or Rum (if you prefer) and add dry
ingredients, mix thoroughly. Once the dry ingredients have been mixed, add to the egg and milk
mixture and beat again until mixed. By doing this you avoid the clumps that come with making
batter.
Method of Preparation:
This will require the use of your griddle. Preheat your ‘All Seasons™ Grill’ on medium high heat
(6 bars) for approximately ten minutes.
Once the cream cheese has softened mix with the peach preserves. Divide equally onto eight
slices of bread and spread evenly. Place the remaining eight slices on top to make a sandwich.
When your griddle has been preheated, add two tablespoons of butter and move around to coat
the griddle. Reserve the rest of the butter for the remaining pieces of French Toast. Take the
sandwich and dip into the mixture and ip it over to coat both sides of your bread.
Quickly do this to three more “sandwiches”. You will now have four pieces of stuffed French Toast
on your griddle.
Be careful not to burn. Flip the sandwiches over and continue cooking until both sides are
browned nicely.
At this point you either serve with some nicely warmed maple syrup and butter, or you can keep
warm in a low oven until you nish the remaining pieces of French Toast.
7
 Loading...