

Kenwood CAW1213-02 User Manual
CAW1213-02
RADIO MOUNTING KIT
INSTALLATION INSTRUCTIONS
DASH DISASSEMBLY INSTRUCTIONS
1) Disconnect the negative battery cable.
2) For automatic transmission vehicles: Remove the small trim ring from
around the gear shift knob. For manual transmission vehicles; Carefully
unclip the console boot(if equipped) or console panel with climate controls
attached, remove the (2) phillips screws securing the climate control
module box (white) pull forward and disconnect the harnesses attached to
the climate control panel.
3) Remove the (2) Phillips screws securing the bottom of the dash/radio trim
bezel located below the factory radio.
4) For vehicles without Navigation, open the upper dash trim pocket and
remove the rubber matt from inside, and remove the (2) Phillips screws
from this location. Pull upward on the pocket to remove. Remove the (2)
Phillips screws from this location securing the radio/dash trim bezel to the
sub-dash. For vehicles with Navigation, Very carefully pry upward on the
navigation control panel, disconnect the harness and remove. Remove the
(2) Phillips screws from this location.
5) NOTE: This is a very delicate dash bezel. Starting from the bottom, care
fully pull radio & dash trim bezel fonvard (radio is mounted to the rear of
the trim bezel), disconnect the upper gauge harness.
6) Carefully unplug and remove the wire harnesses and antenna lead from
the radio and remove radio/dash trim bezel together.
7) Remove the (4) phillips screws securing the factory radio to the trim bezel
and remove radio.
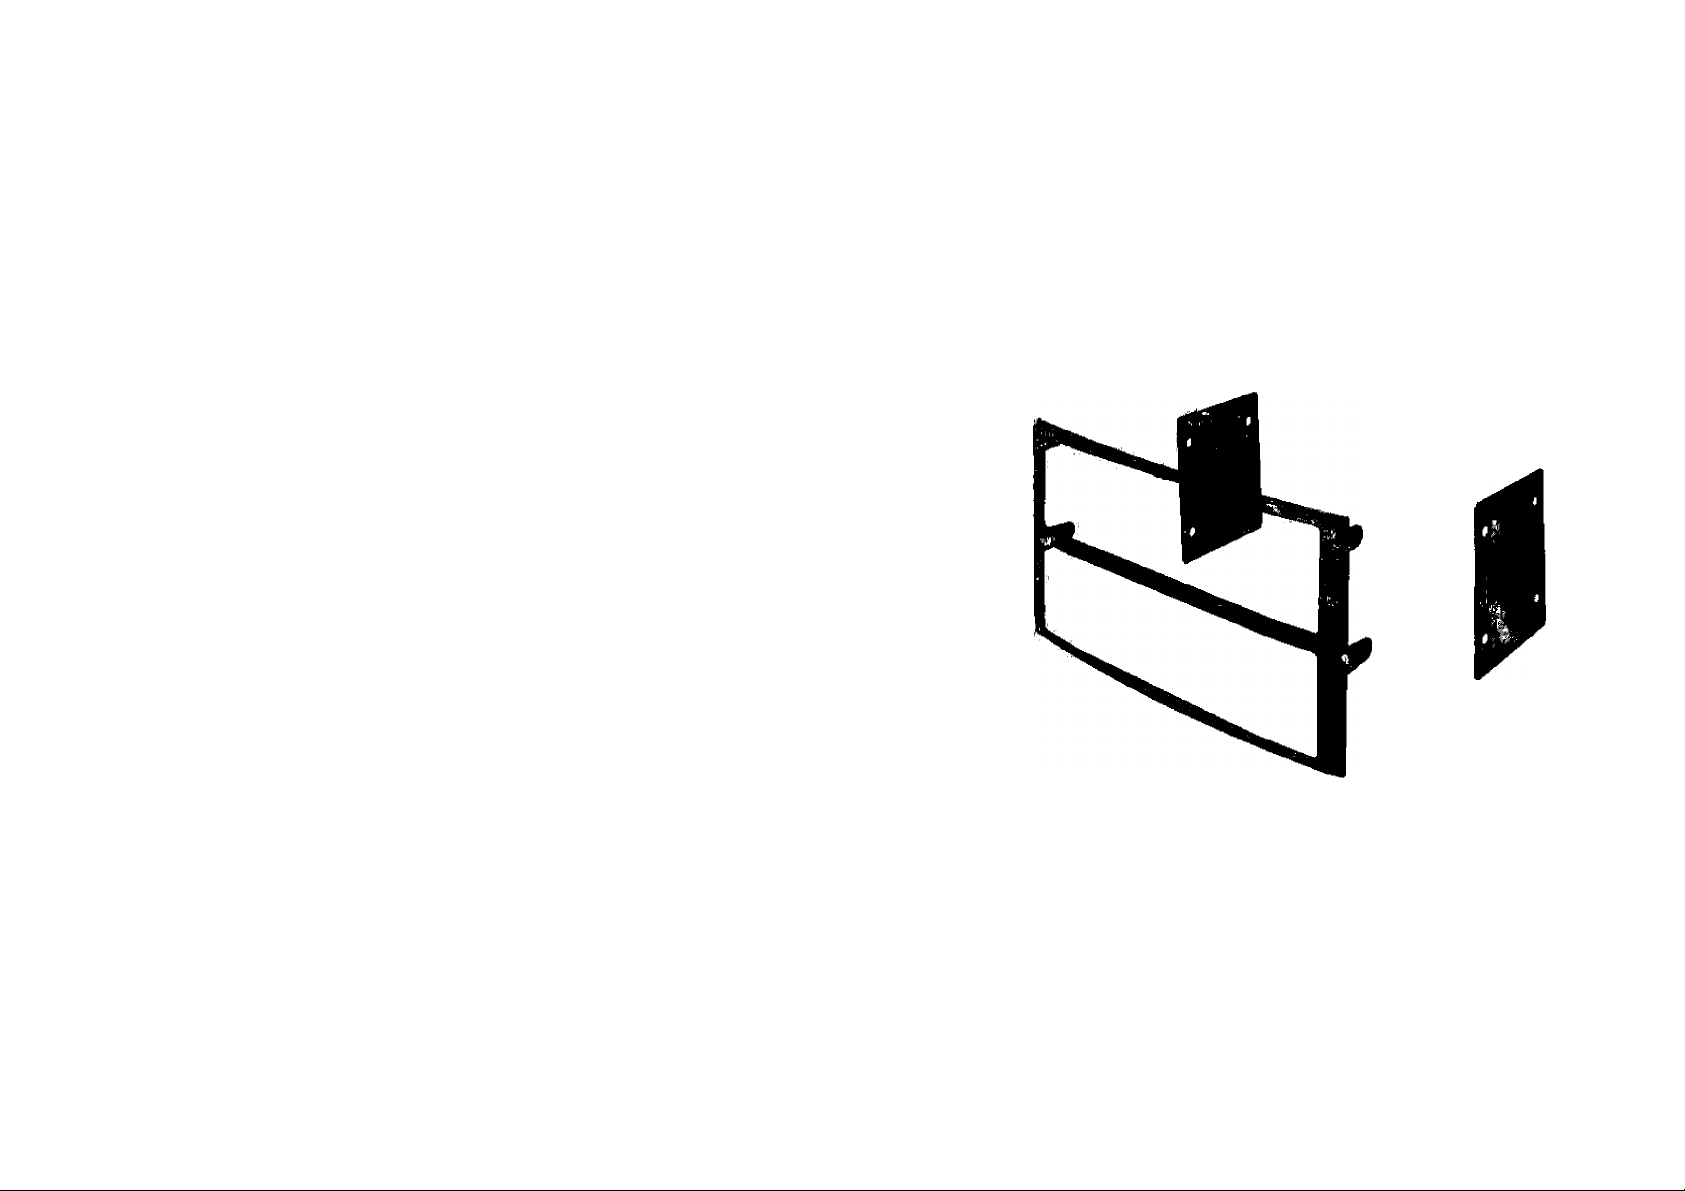
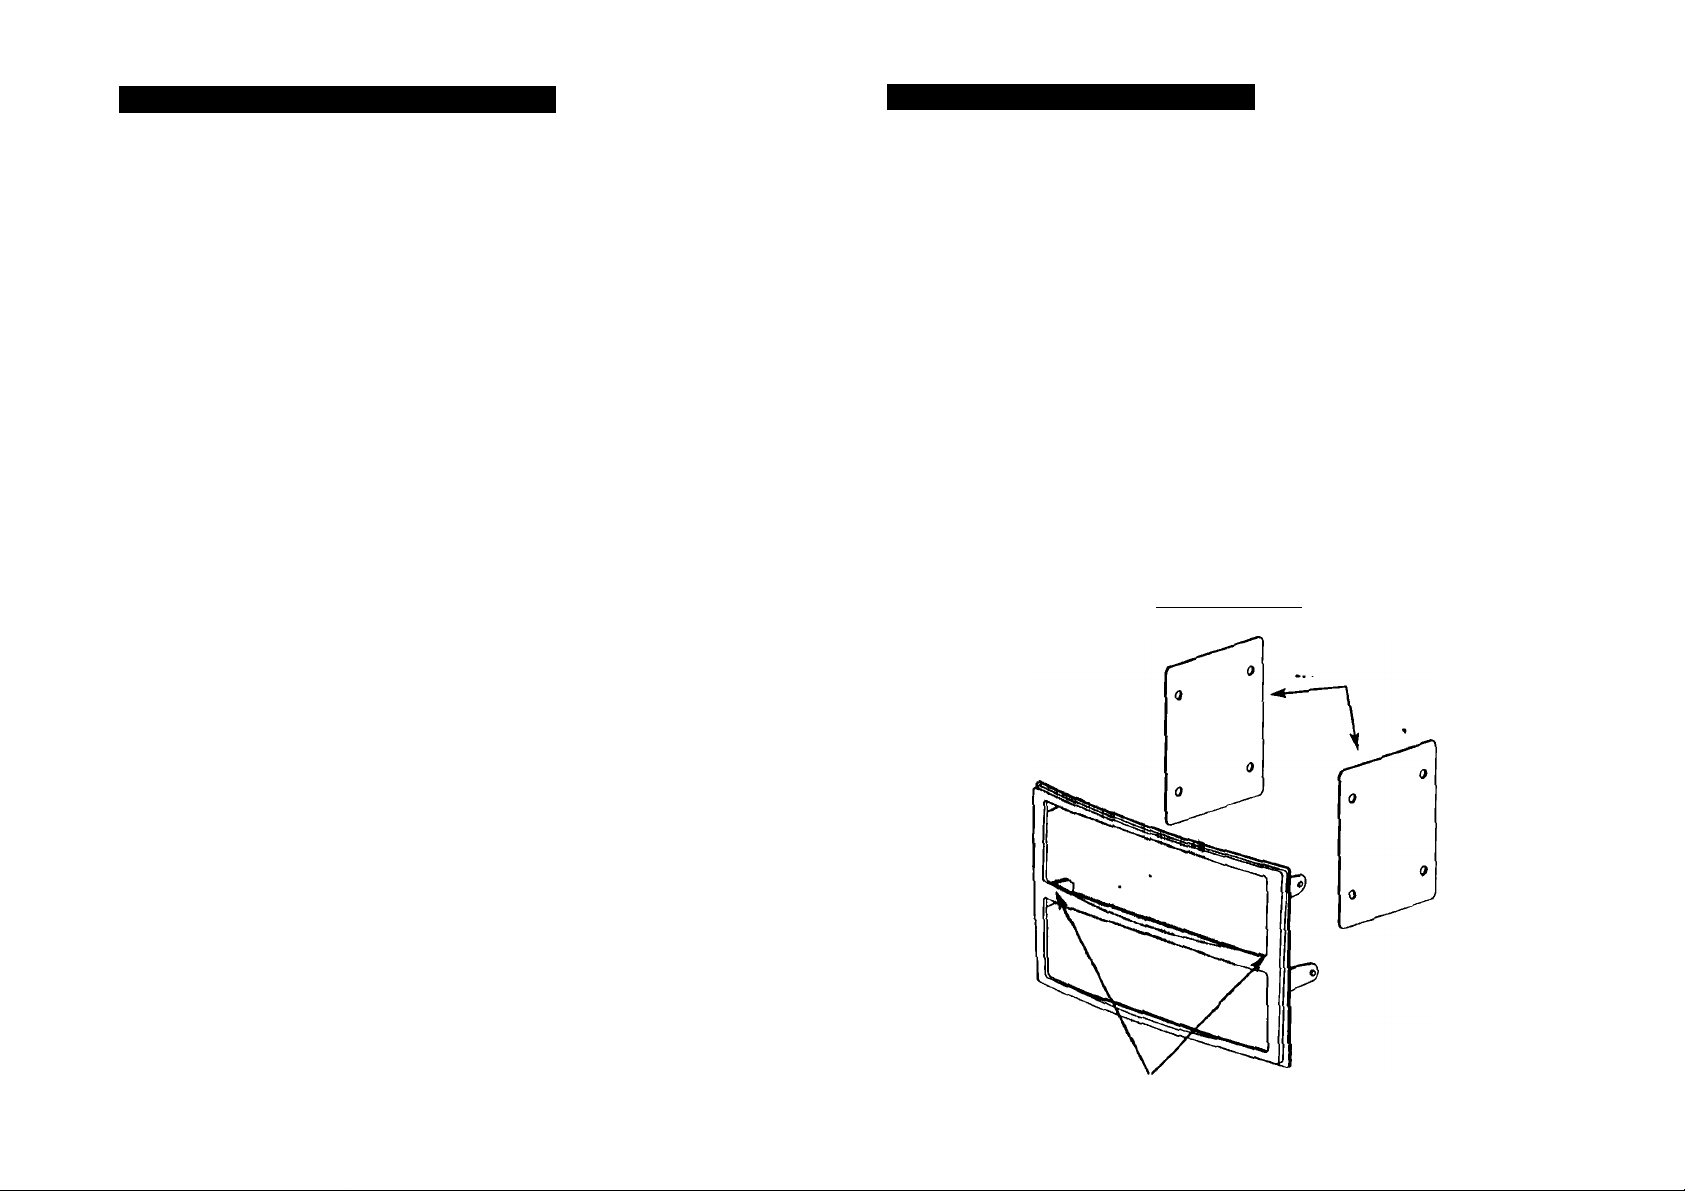
KIT ASSEMBLY INSTRUCTIONS
FOR DOUBLE DIN / 2 ISO MOUNT COMPONENTS
Place the Double DIN / Double ISO trim plate onto the left factory radio
1)
bracket using the alignment pins on the side of the trim plate.
Insert (1) ISO spacer bracket between the left factory radio bracket and
2)
the radio components.
Align the factory bracket holes with the ISO spacer holes and attach to left
3)
side of radio components using screws supplied from factory radio.
Repeal procedures 1-3 above for right side of radio components.
4)
Reassemble dash in the reverse order of dash disassembly instructions.
5)
This kit includes
*FOR DOUBLE DIN RADIO ONLY
CUT & REMOVE CENTER RIB. FILE
SMOOTH INSIDE EDGES
 Loading...