

Page 1
KENWOOD 2-din
Listen to the Future
CAW-1035-06
KIT COMPONEMT5
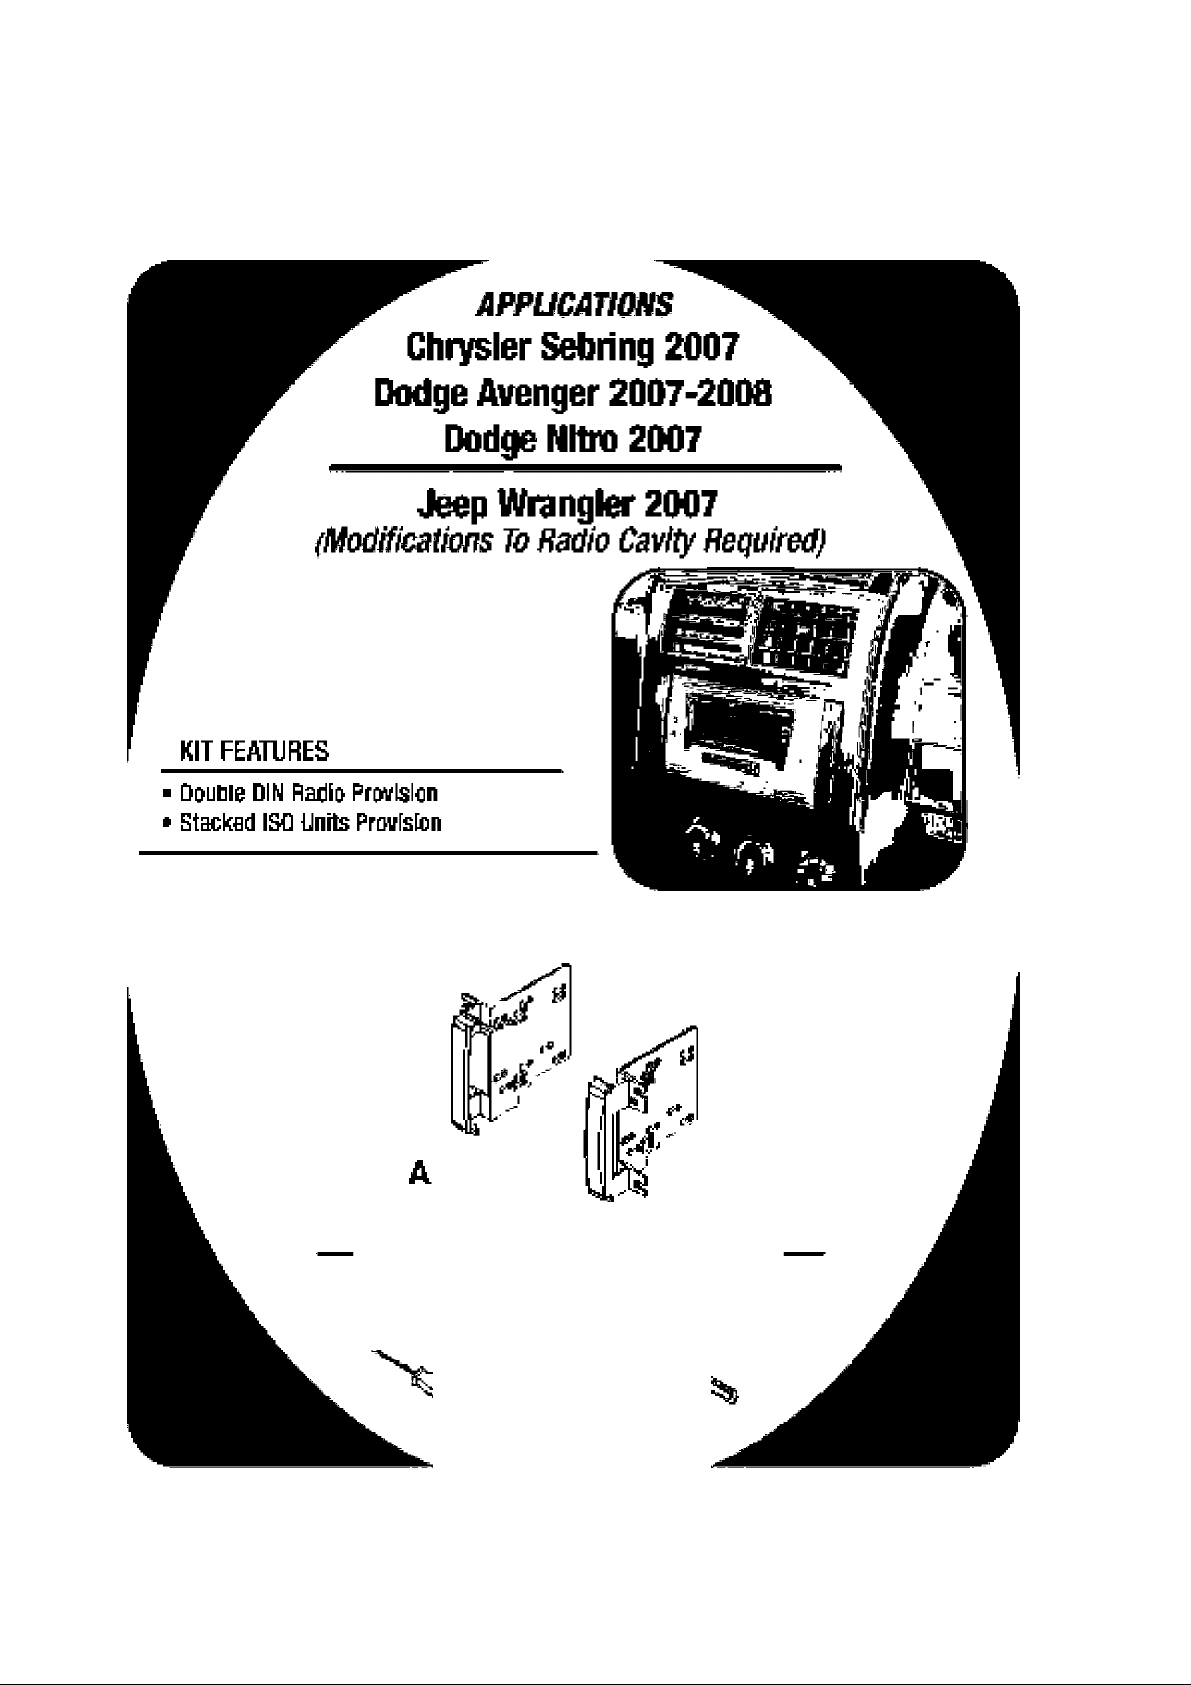
AJ Double DIN Brackets/Trini Ptates
TOOLS BEQUfiED;
Sinai Flat Bbde Saewdriver/ Panel Ranyiual Tool
• fmiUps Sciismtfirar ■ SocKdt sm
Page 2

TABLE OF COrXITEIMTS
Jasft Disassembly
-
Chrysl er Se brin g 2 007
-
Dodge Aven ger 2007 -200 8
..........................................................
......................................................
1
2
- Dodge Hi iro 200 7
...............................................................
• Jee p Wra ngle r 2 007 (Mod ific atio ns t o ra dio cav city req uire d)
KitAss embh f
- Double D IN R adio Pro vis ion
-
Stacke d ISO Un its Provi sio n
RnalAssembly ...........................................7
'Note:
Refer also to the instructions included with me aftermarket radio.
..................................................... 5
......................................................
..............
3
4
6
Page 3
CHRYSLER SEBRIIXIG 2007
1 Disconnect the negative battery ter
minal to prevent an accidental short
circuit
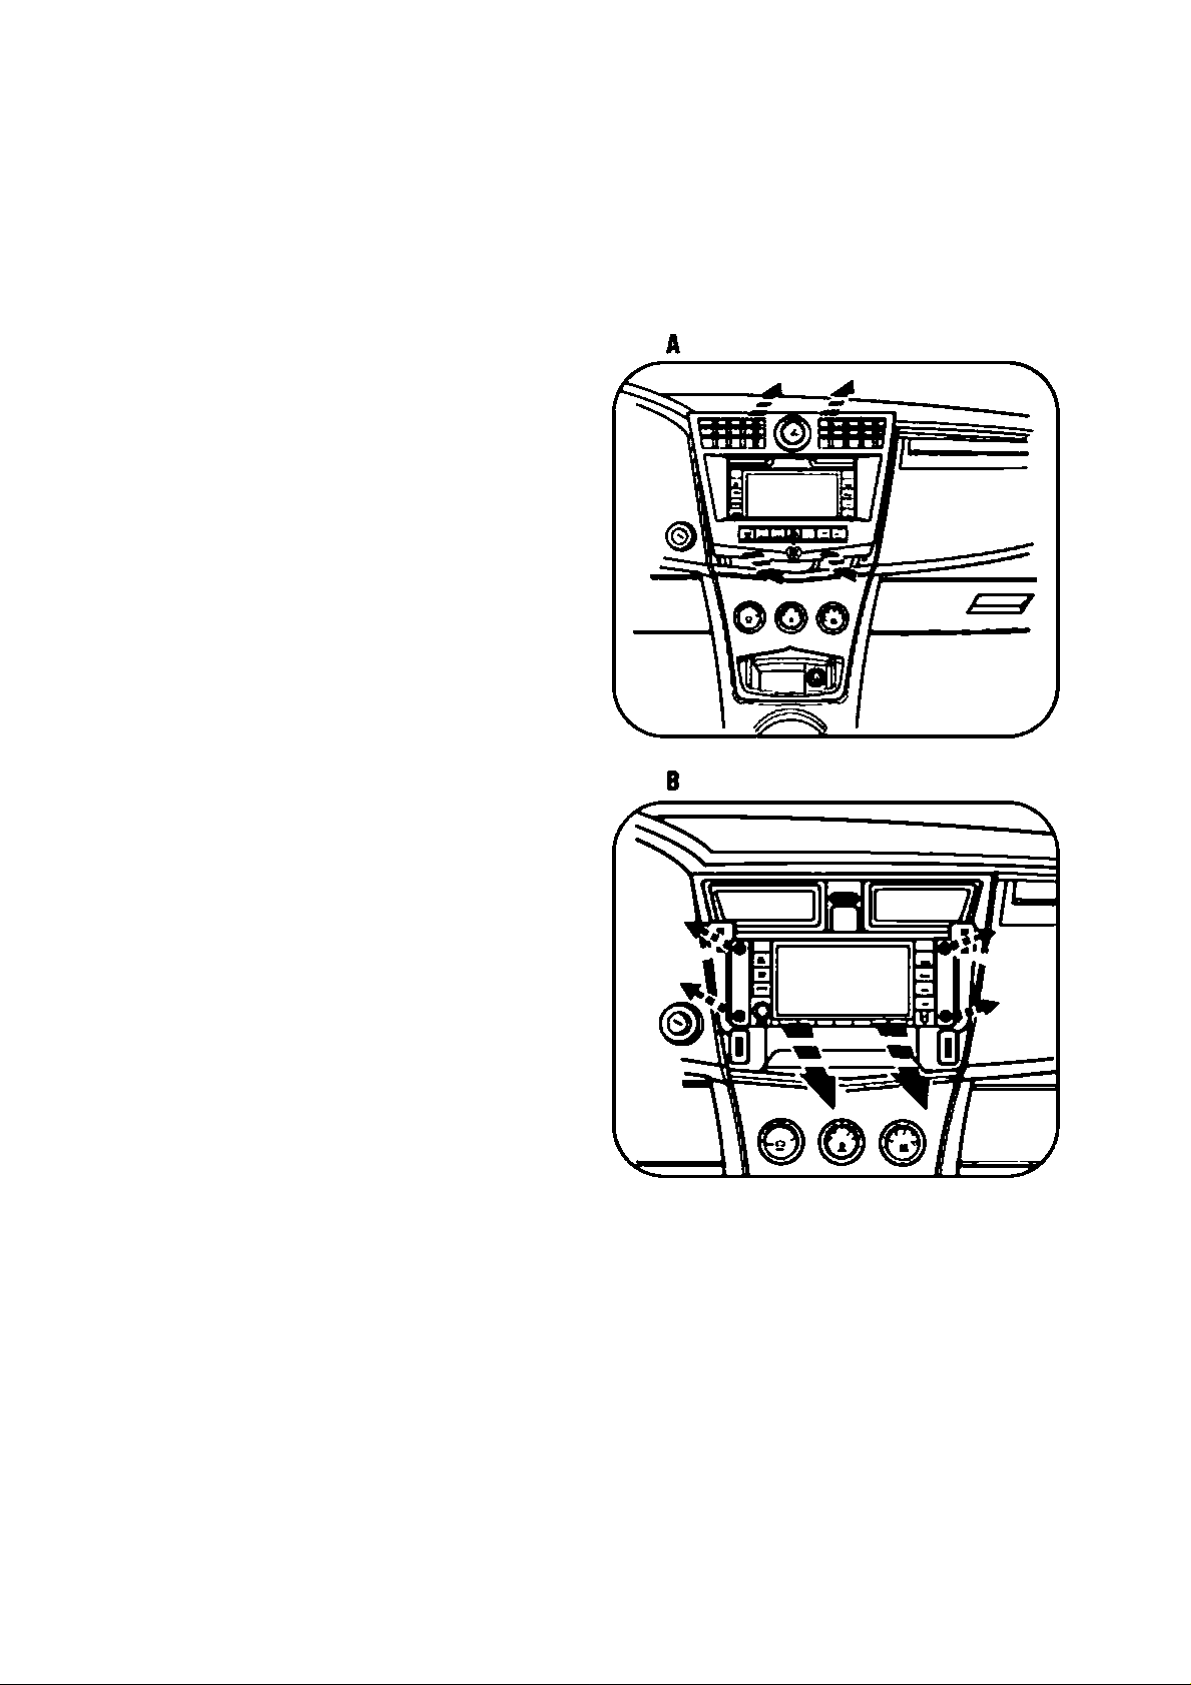
2 Undip entire panel surrounding radio
including a/c vents and clock. Unplug
and remove panel. (Figure A)
3 Remove (4) 7MM screws securing
radio. Unplug and remove radio.
(Figure B)
Continue to kit assembly.
1
Page 4

DODEE AVEMEER £007-2008
1 Disconnect the negative battery ter
minal to prevent an accidental short
circuit
2 Unclip and remove the center console
trim panel. (Rgure A)
3 Unclip the center dash trim panel.
(Figure B)
4 Remove (4) screws securing the
radio. Disconnect and remove the
radio. (Rgure C)
5 Remove (3) screws securing the radio
rear support bracket and remove the
bracket. (Figure D)
Continue to kit assembiy.
\ \ Y
1|
y
c
------K7>
Page 5

DODGE (MITRO SD07
1 Disconnect the negative battery ter
minai to prevent an accidental short
circuit
2 Unciip entire panel surrounding radio
and climate controls, including a/c
vents. Unplug and remove panel.
3 Remove (4) 7MM screvtrs securing
radio. Unplug and remove radio.
(Figure B)
Continue to kit assembly.
B
Page 6

JEEP WRAIXISLER g007
(Modifications To Radio Cavity Required)
1 Disconnect the negative battery ter
minal to prevent an accidental short
circuit
2 Unclip and remove the lower center
trim below a/c controls. (Figure A)
3 Remove (2) Phillips screws exposed
behind lower center panel. (Figure A)
4 Undip and remove the upper center
trim starting towards the rear of the
panel. (RgureA)
A
Of jl/
B
5 Remove (2) Phillips screws exposed
behind upper center panel. (Rgure A)
6 Undip and remove entire panel sur
rounding radio and climate controls,
including a/c vents.
7 Remove (4) 7MM screws securing
radio. Unplug and remove radio.
(Rgure B)
Continue to kit assembly.
Page 7

DOUBLE DIIXI RADIO PRDViSIOIXI
*Note: Refer also to the instructions included with the aftermarket radio.
1 Attach the Double DIN brackets/trim
plates to the Double DIN Radio using
the screws supplied with the Radio.
(Figure A)
Continue to final assembly.
A
 Loading...