

Kenwood 108S - KRC Radio / Cassette Player Instruction Manual

© B64-1540-00 (KW)
CASSETTE RECEIVER
INSTRUCTION MANUAL
AMPLI-TUNER-LECTEUR DE CASSETTE
MODE D’EMPLOI
RADIO CASETE
MANUAL DE INSTRUCCIONES
Take the time to read through this instruction manual.
Familiarity with installation and operation procedures will help you obtain the best
performance from your new cassette-receiver.
For your records
Record the serial number, found on the back of the unit, in the spaces designated on the
warranty card, and in the space provided below. Refer to the model and serial numbers
whenever you call upon your KENWOOD dealer for information or service on the product.
Model KRC-108S Serial number
RADIO CASSETE
MANUAL DE INSTRUÇÕES

— 2 —

— 3 —
2
To prevent damage to the machine,
take the following precautions:
• Make sure to ground the unit to a negative
12V DC power supply.
• Do not open the top or bottom covers of the
unit.
• Do not install the unit in a spot exposed to
direct sunlight or excessive heat or humidity.
Also avoid places with too much dust or the
possibility of water splashing.
• Do not subject the faceplate to excessive
shock, as it is a piece of precision equipment.
• When replacing a fuse, only use a new one
with the prescribed rating. Using a fuse with
the wrong rating may cause your unit to
malfunction.
• To prevent a short circuit when replacing a
fuse, first disconnect the wiring harness.
• Do not use your own screws. Use only the
screws provided. If you use the wrong
screws, you could damage the unit.
2CAUTION
— 4 —
Cleaning the Unit
If the front panel gets dirty, turn off the
power and wipe the panel with a dry silicon
cloth or soft cloth.
Do not wipe the panel with a hard cloth or a
cloth dampened by volatile solvents such as
paint thinner and alcohol. They can scratch
the surface of the panel and/or cause the
indicator letters to peel off.
2CAUTION
Cleaning the Tape Head
After you have listened to many cassettes
over a long period of time, magnetic powder
from the tapes and dust accumulates on the
tape head, causing noise and a deterioration
in sound quality. Clean the tape head using a
cleaning tape or cleaning kit designed for use
in car audio systems.
Handling Cassette Tapes
• Do not play a cassette whose tape has gone
slack. In such a case, wind it tight using a
pencil or the like in one of the spools. Playing
slack cassette tapes can result in the tape
tangling around the capstan and/or pinch
rollers, causing trouble.
• Do not play a deformed cassette or one
whose label is starting to come off, as it can
cause the unit to malfunction.
• Do not leave tapes in hot places, such as on
dashboards and other spots exposed to
direct sunlight, or near heater outlets. They
can deform the cassette.
• Avoid using extremely long cassette tapes,
such as 100-minute-long tapes. Such tapes
are very thin, and can tangle easily around
the pinch rollers or other parts inside the unit,
causing unit failure.
• Remove a cassette tape from the unit when
not listening to it for a while. If you leave a
tape in the unit too long, it may stick to the
tape head and cause unit malfunction.
FCC WARNING
This equipment may generate or use radio
frequency energy. Changes or modifications
to this equipment may cause harmful
interference unless the modifications are
expressly approved in the instruction manual.
The user could lose the authority to operate
this equipment if an unauthorized change or
modification is made.
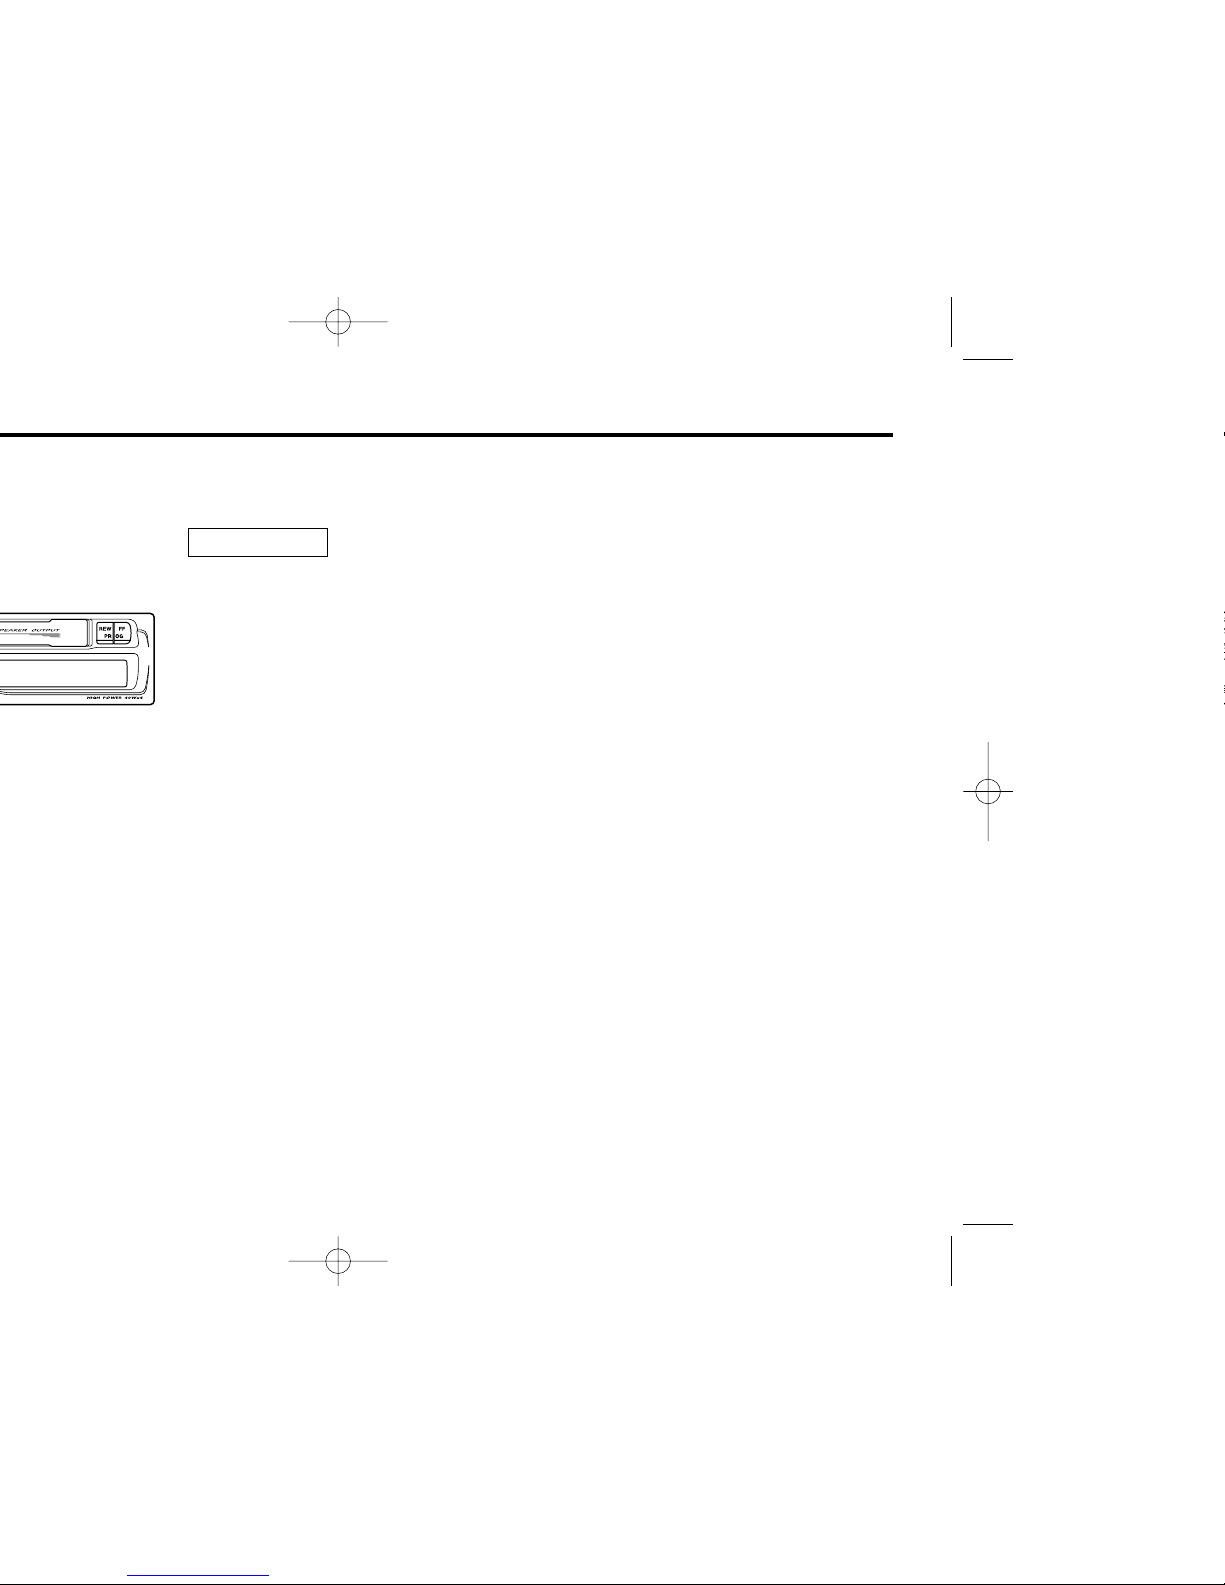
KRC-108S
Switching Modes:
Each time you press the SRC (source) button, the mode
switches as follows:
Selecting standby mode:
Press the SRC button repeatedly and switch to "OFF"
When "OFF" is displayed, the standby mode is activated.
The standby mode turns all functions off while leaving the
power to the unit on. Use this mode when you want to have
the display illuminated but don't want to listen to anything.
The mode switches to the next mode from any mode which
cannot be used.
NOTE
▼
Standby mode
▼
Tuner mode
▼
Tape mode
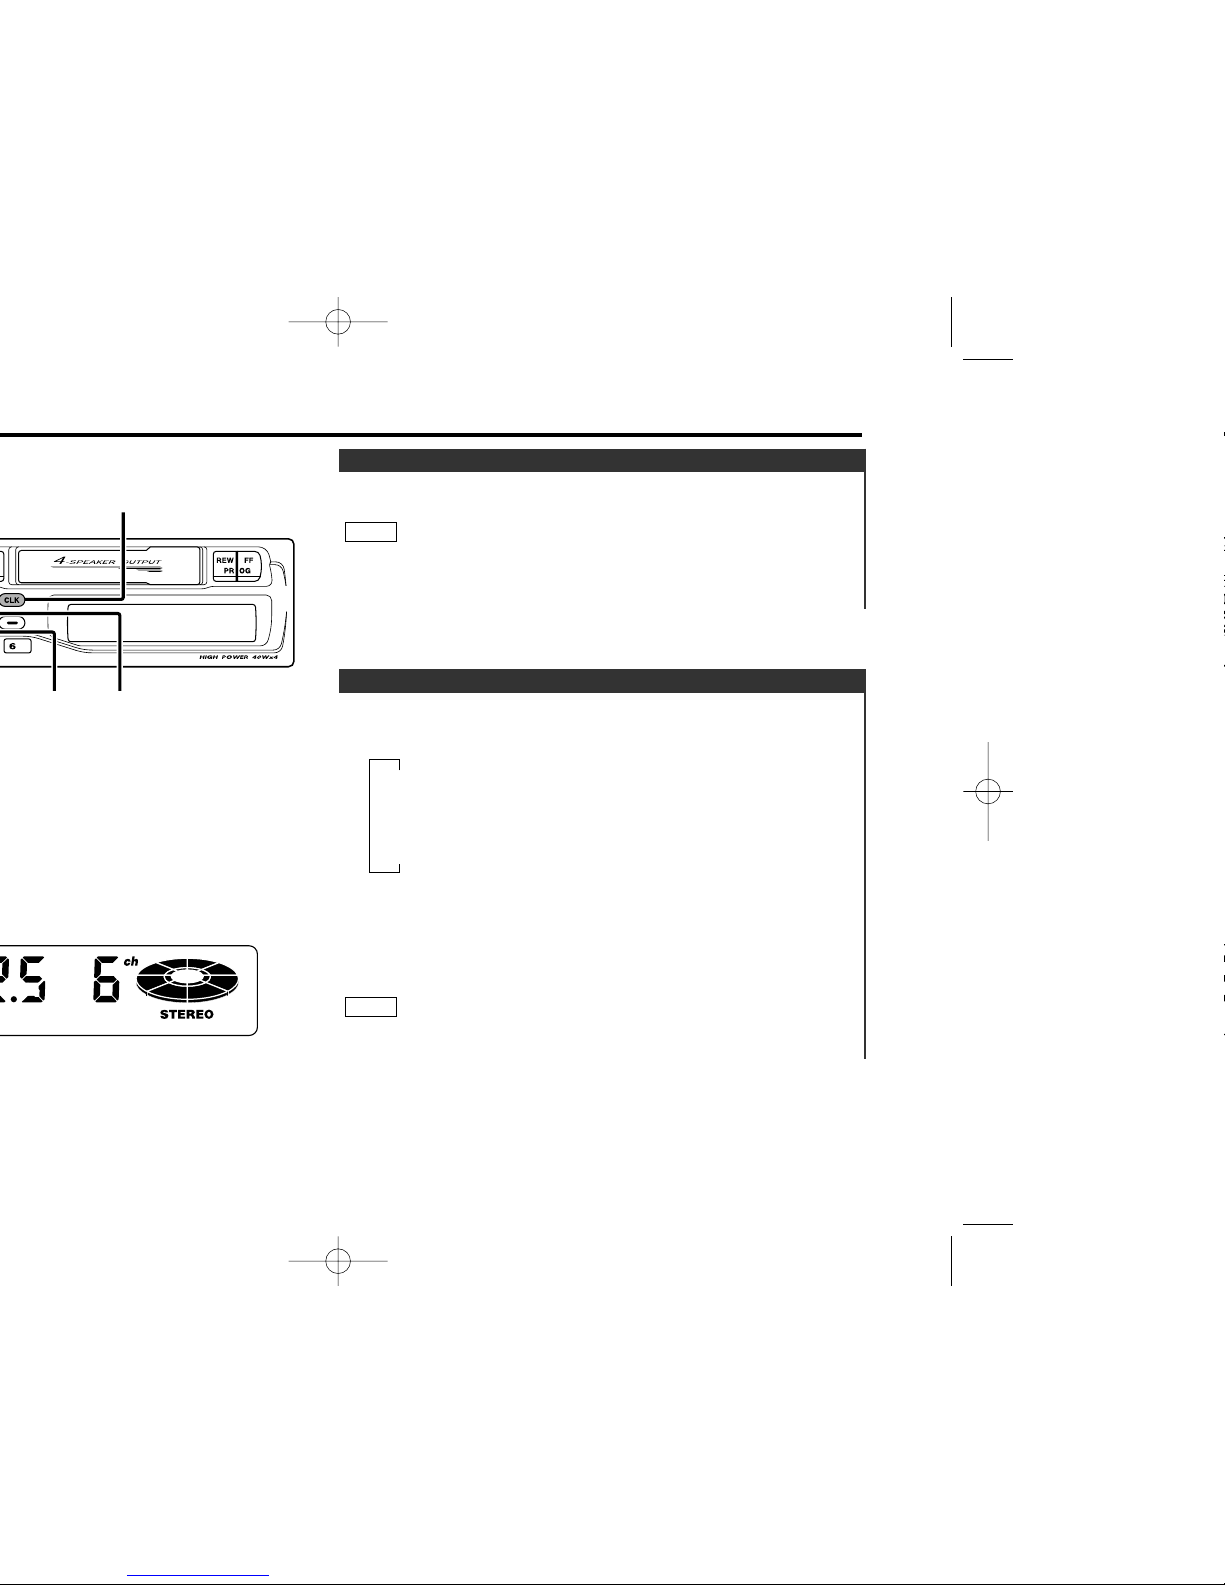
Switching Modes
Turning on the power:
Press the SRC (source) button.
Turn the power on before carrying out the following procedures.
Turning off the power:
Press the PWR OFF button for at least one second.
NOTE
Power
— 5 —
KRC-108S
CLK
BANDAUD

"BL": Adjust the balance level.
Setting values: Left 15 - Right 15
"TRE": Adjust the treble level.
Setting values: - 8 - + 8
"BAS": Adjust the bass level.
Setting values: - 8 - + 8
Press the AUD button for at least one second to enter the
control mode.
Selecting mode
Press either the BAND button.
Each time the button is pressed, the adjustment mode will
change.
Please refer to the following for the contents of the adjustment
modes.
Source tone memory
Each source ( tape, FM and AM ) has its own memory in which to
store the bass and treble tone settings.
The settings made for a particular source are recalled
automatically whenever you use that source ( for example, FM
mode uses the tone settings made for FM, AM for AM, etc.).
Adjust each mode
Press the 4/¢ button.
Please refer to the following for the adjusting values.
Press the AUD button to end the control mode.
4
3
NOTE
2
1
— 6 —
 Loading...