

Page 1
L
LN
ND
LL
NN
MIDI line driver - master & slave pair
DR
DD
R
RR
Operating manual
Page 2

Description
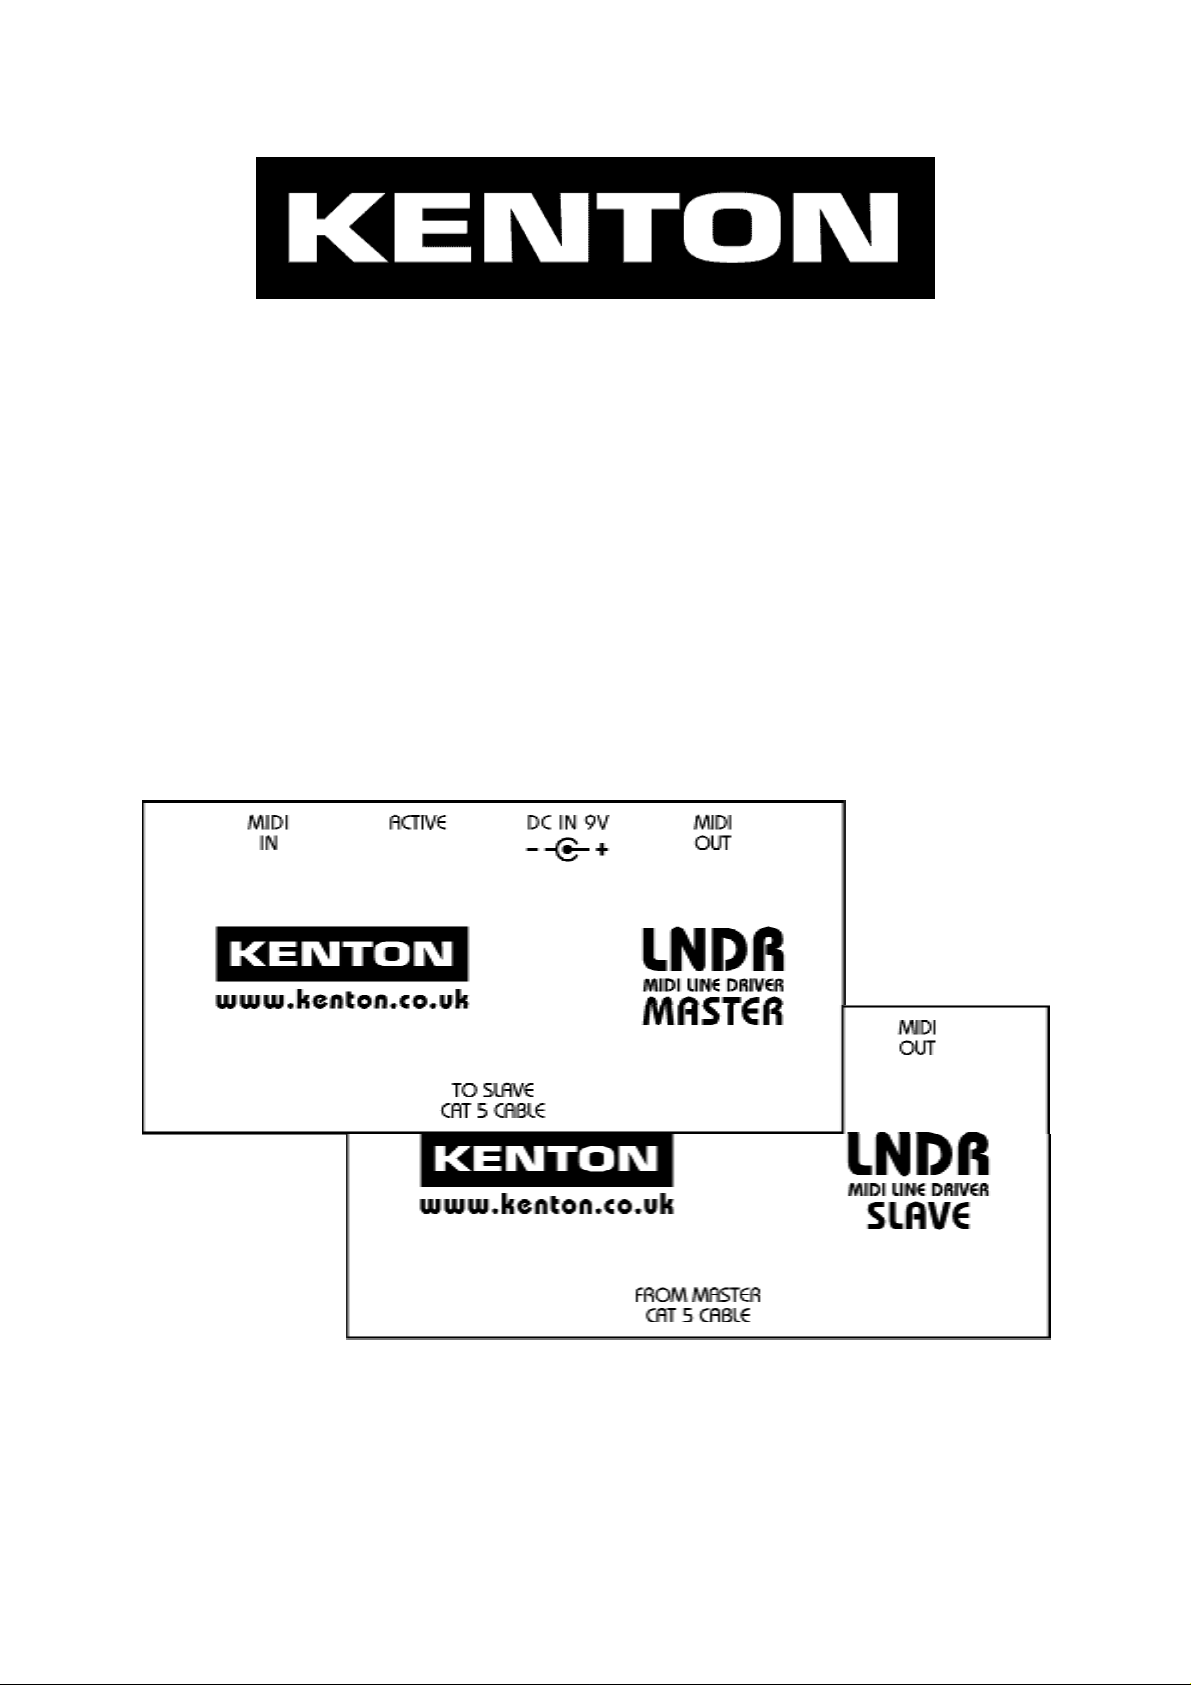
The LNDR MIDI line driver is supplied as a pair of units with a MIDI Input and a MIDI
Output at both ends to enable you to connect MIDI devices to each other over much
greater distances than is usually possible using standard MIDI cables.
A MIDI signal applied to the MIDI IN of the master will appear at the MIDI out of the
slave. Similarly a MIDI signal applied to the MIDI IN of the slave will appear at the
MIDI out of the master. You can send signals in both directions at the same time.
The master and slave units are very similar, however the master supplies power for
both units – the slave unit does not have a power input socket.
The LNDR system is powered by a mains adaptor (supplied), so it doesn’t need
periodic battery changes to keep it working, enabling you to “fit and forget”.
Connecting
Ensure that the power adaptor is plugged in to the master, and the ACTIVE LEDs on
the LNDR master & slave units are both on. Ensure you have a CAT5 cable
connecting the master unit to the slave unit. Connect the MIDI out of your keyboard
or computer to the MIDI IN of the LNDR master and connect the MIDI OUT of the
LNDR slave to the MIDI input of the device you want to control. Alternatively connect
the MIDI out of your keyboard or computer to the MIDI IN of the LNDR slave and
connect the MIDI OUT of the LNDR master to the MIDI input of the device you want
to control.
If possible use MIDI cables no greater than 5 metres in length for the MIDI INs of the
LNDR. The MIDI INs should ideally be driven direct from the signal source, not at the
end of a daisy chain of THRUs. If necessary use a thru box such as the THRU-5.
Note that the CAT5 cable from an LNDR master should only
LNDR slave, not to another master, and NEVER to any other device, even if it has a
similar connector. (e.g. Ethernet)
be connected to an
CAT5 cable info
You should use good quality CAT5 cable. For distances greater than 100 metres you
should use CAT5e cable. Ideally use ready-made CAT5 cables which are available
in many lengths, however if you wish to make you own, it is vital that the cable pairs
are connected to the correct pins. It is not sufficient that pin 1 connects to pin 1 (2-2,
3-3 etc.), it is also essential that pin 1 is paired with 2, 3 with 6, 4 with 5, and 7 with 8.
You will find that the twisted pairs have complementary colours, white/orange with
orange/white etc. Cables should be wired to the EIA-568B standard at both ends.
Don’t use crossover cables. You can find out more about CAT5 wiring on the
internet. Search for “straight through RJ45”.
Although we recommend wiring to the EIA-568B standard, the CAT5 cable can
alternatively be wired to the EIA-568A standard. However, both ends must be wired
to the same standard.
2
Page 3

Troubleshooting
Check that you are using a properly wired CAT5 cable – see above.
Check that you are using a “straight through” cable, not a “crossover” cable.
Check that the “active” LEDs are lit.
If you encounter problems at very long distances, it could be the result of volt-drop in
the CAT5 cable, in which case substituting the power supply for a 12 or 15 volt unit
type will help. Note tha t we have tested the LNDR system to o ver 750 metres using
the supplied PSU without problems.
3
Page 4

Specification
Power Input 9V to 12V DC (regulated or unregulated)
Power 85mA, 2.1mm plug (centre positive)
MIDI 1 x In, 1 x Out on each unit (standard 5 pin DIN connectors)
Interconnect CAT5 cable required with RJ45 connectors
Protocols MIDI and RS485 full duplex
Range 500 metres between master & slave over CAT5e cable
Weight 110g (each unit, excluding power supply)
Dimensions 100 x 46 x 32 mm (each unit)
Power supply Supplied with unit. Specify UK EU or US type when ordering.
Warranty
The LNDR system comes with a 12 month (from purchase date) back to base
warranty, (i.e. customer must arrange and pay for carriage to and from Kenton
Electronics Ltd). In the unlikely event of a problem, contact us by email through our
website or by telephone.
www.kenton.co.uk
Kenton Electronics Limited
Brookfarm House, Station Road, South Wimbledon, London, SW19 2LP, UK
Tel: +44 (0)20 8544 9200 Fax: +44 (0)20 8544 9300
Version # 1v00 e. & o. e. 28TH March 2009
4
 Loading...