

Kennedy Valve K81-D Maintenance Manual
KENNEDY VALVE
GUARDIAN
AWWA UL/FM
K81-D
Maintenance Manual
Index
INSTALLATION ............................................................................................ 3
OPERATION .................................................................................................. 3
MAINTENANCE ........................................................................................ 3, 4
PROBLEMS & SOLUTIONS ......................................................................... 4
REMOVING NOZZLES ................................................................................ 4
EXTENSION ................................................................................................... 5
BREAKING FEATURE REPAIR ................................................................. 6
SEAT REMOVAL ....................................................................................... 6, 7
PART NUMBERS AND DESCRIPTION ................................................... 7, 8
WARRANTY
Kennedy Valve products are guranteed against defects in manufacture. Any products proved
defective within ten years following the date of shipment will be replaced if used in the services for whih we recommend them. No charges will be allowed for labor, damages or other
expenses occasioned by defective material.
This company makes no other warranties expressed or implied except as provided in this
limited warranty.
Note
In accordance with Federal OSHA requirements, replaced hydrant parts should be disposed of
in a manner which is consistent with their materials of construction. We recommend that you
contact the Institute of Scrap Iron & Steel, Inc. at (202) 466-4050 or Kennedy Valve at (607)
734-2211 (Engineering) for recommendations.
Kennedy Valve 7/15/20
K81 O&M 2
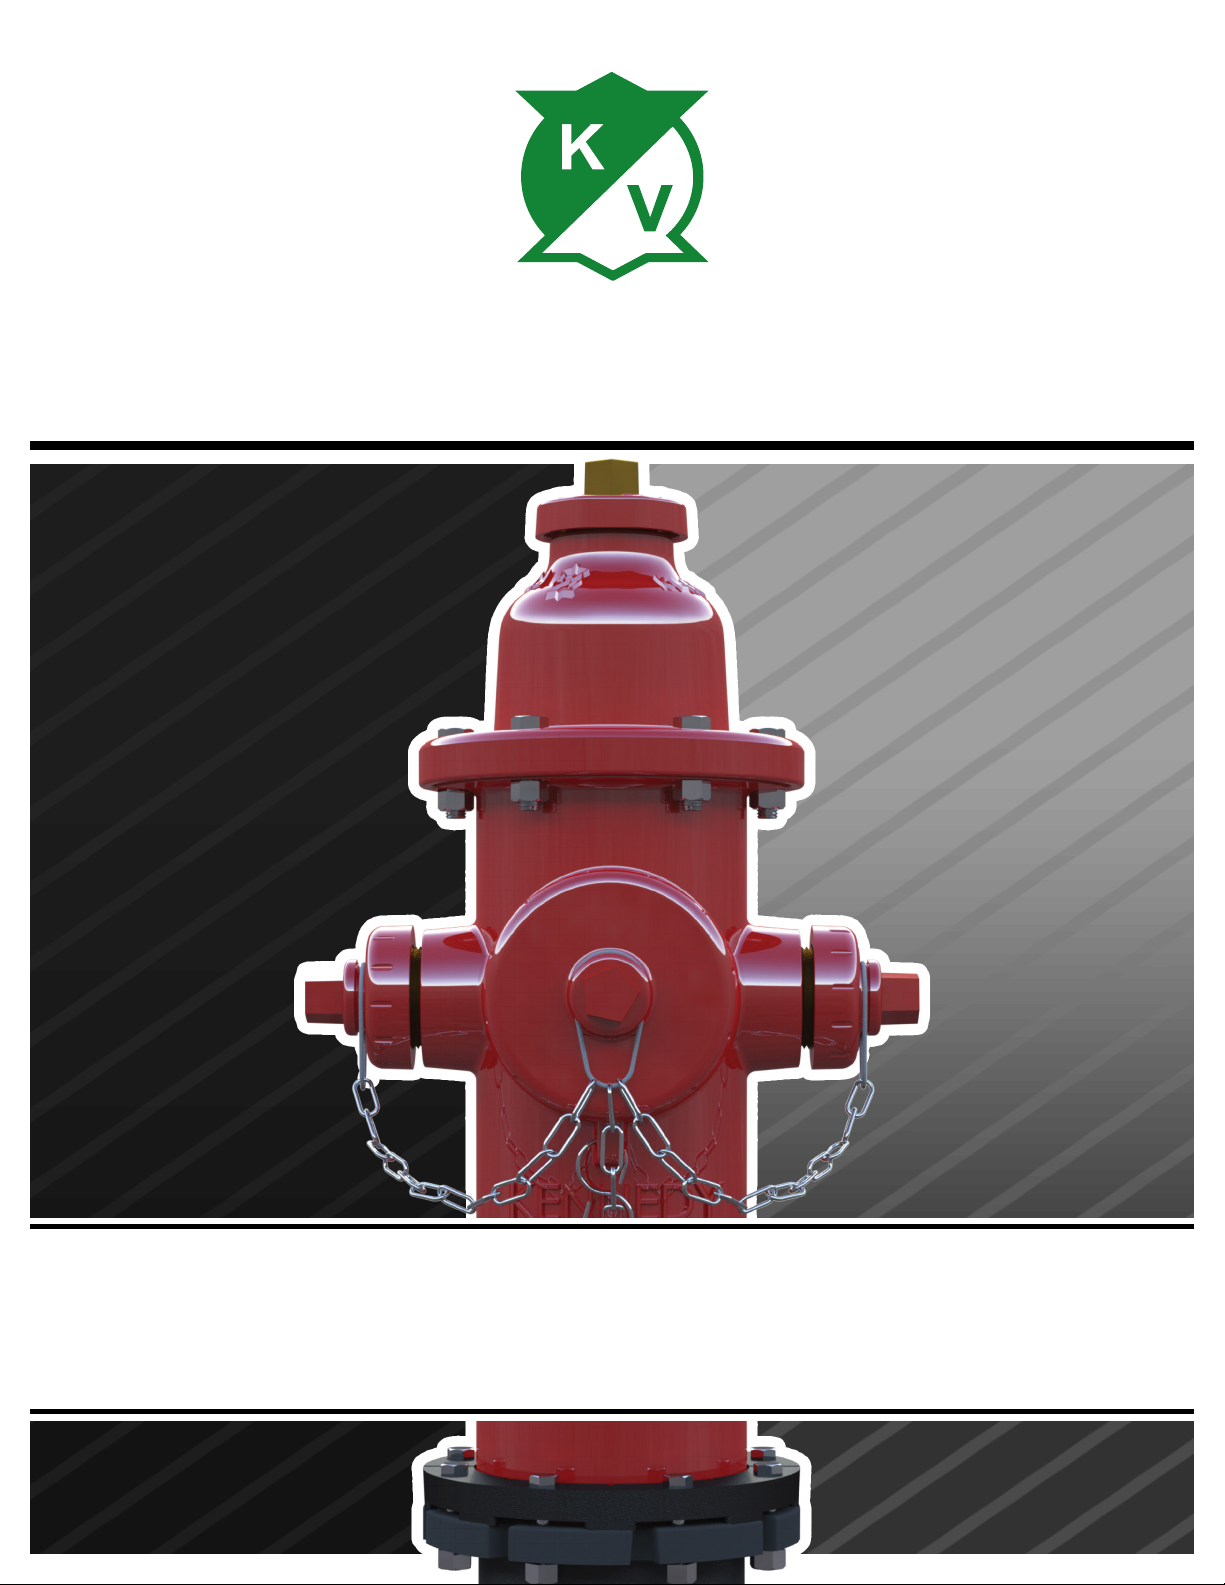
Installation
1. When hydrants are received from manufacturer they should be
handled carefully to avoid breakage and damage to flanges. Keep
hydrants closed until they are installed. Protect stored hydrants from
the elements, if possible.
2. Before installation of hydrants clean piping and elbow of any
foreign matter.
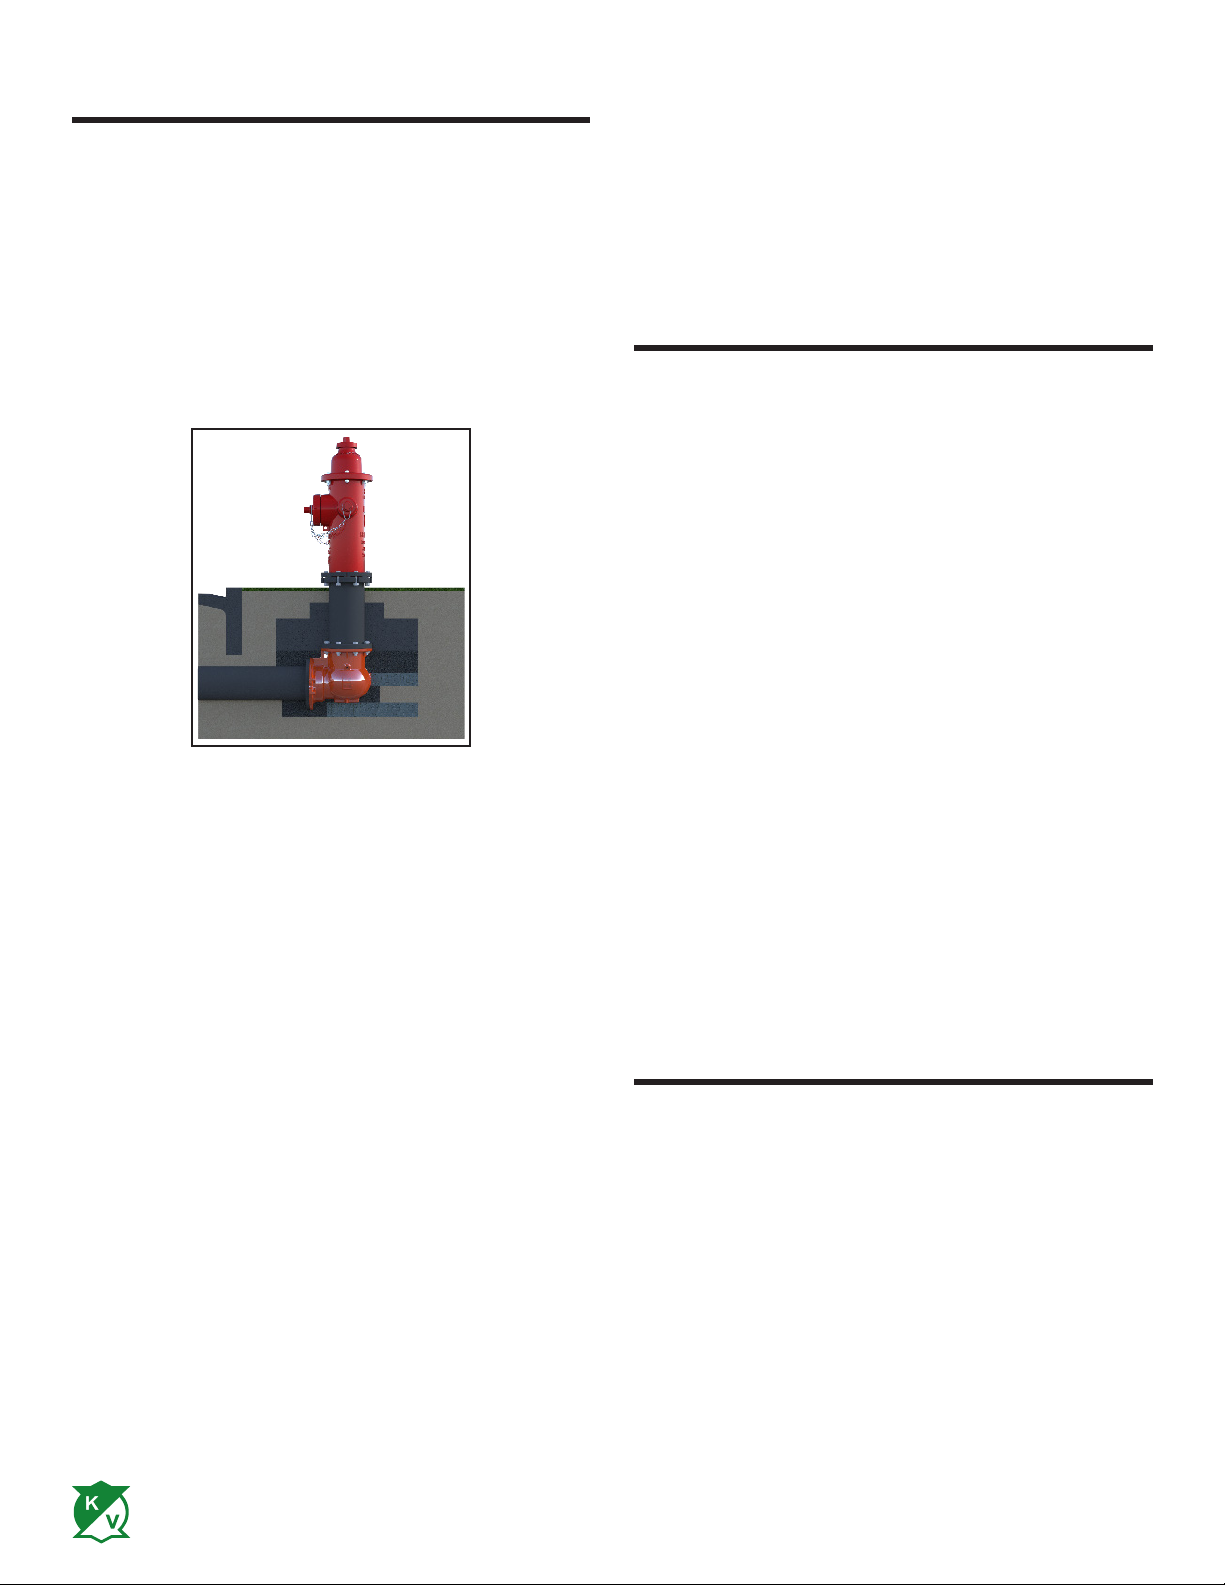
3. Install hydrants away from the curb line a sufficient distance to
avoid damage from or to overhanging vehicles. A set-back of 2 ft. from
the curb line to the point on the hydrant nearest the curb is
recommended. The pumper outlet nozzle should face the street. Make
sure that the outlet nozzles are high enough above the ground line for
hose attachment and that there are no obstructions to prevent operation.
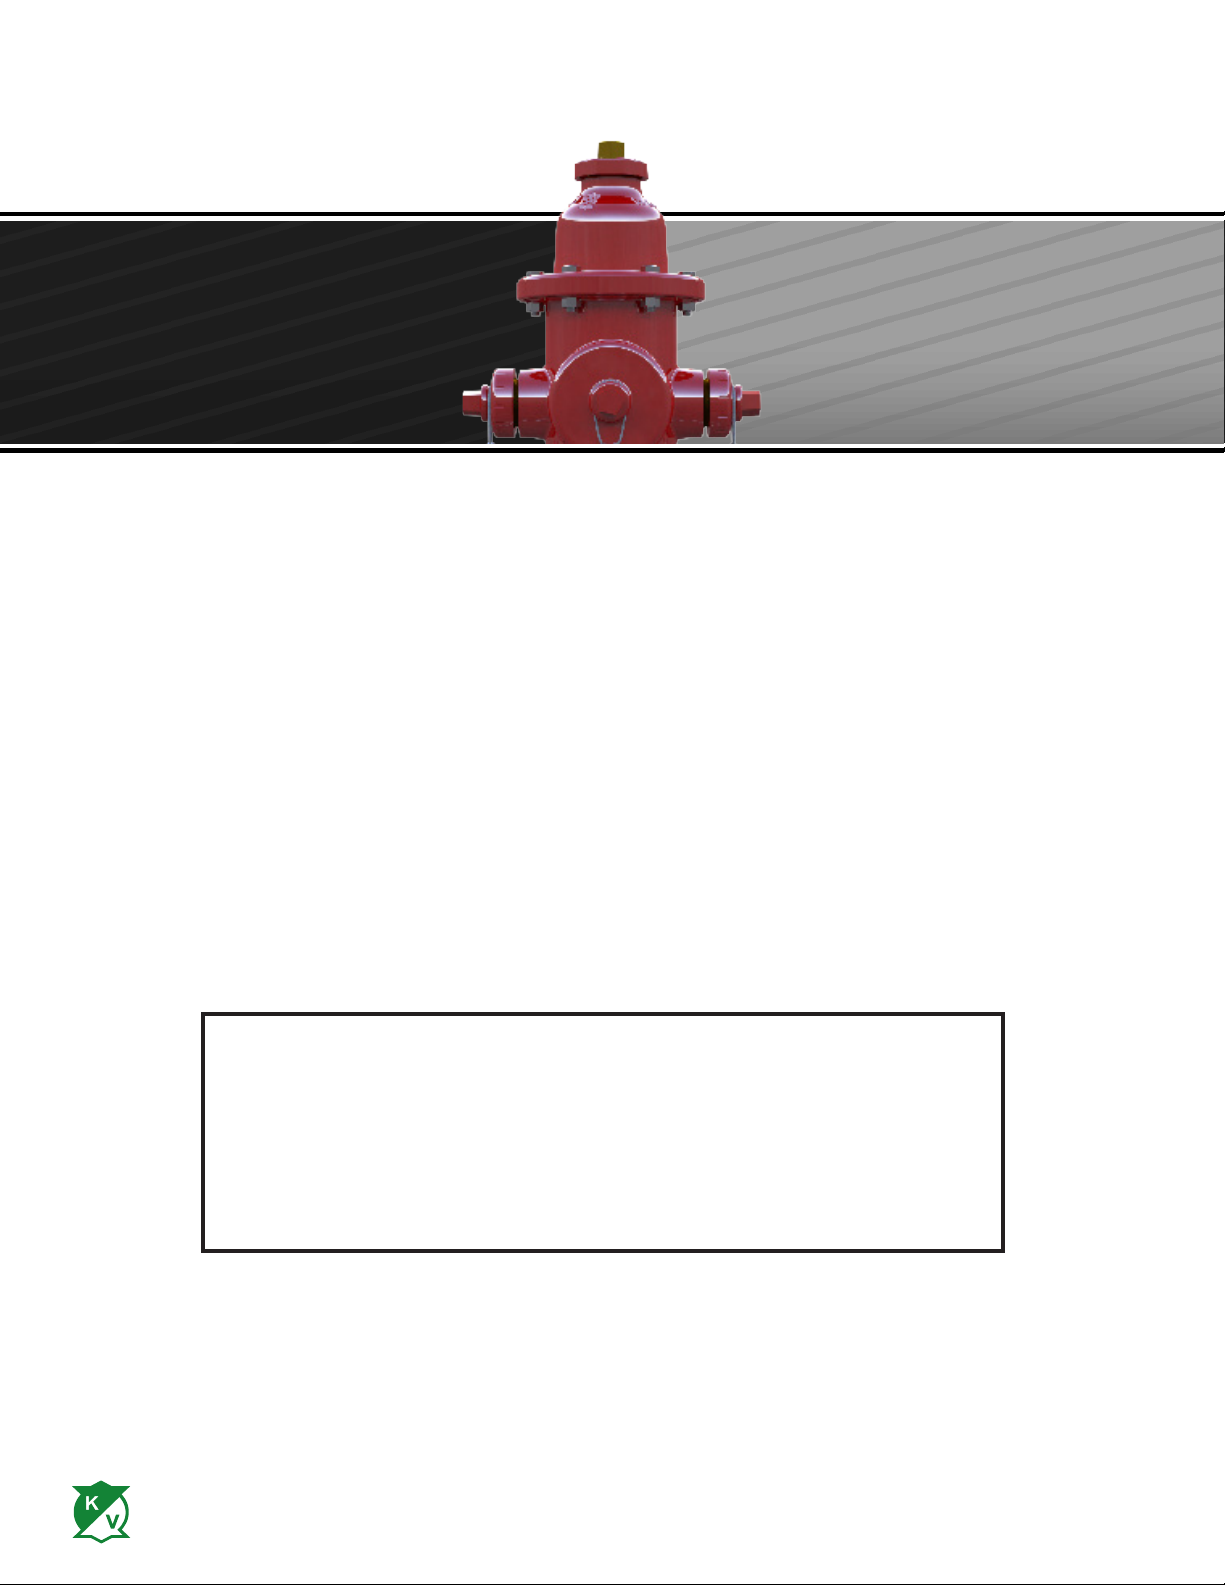
In setting up a hydrant, the elbow should be placed on a flat stone
or other solid foundation. It is good practice to brace the side of the
base opposite the inlet to oppose the stress due to pressure tending to
force the hydrant off the end of the lateral. Hydrants must be firmly
supported underground all around the standpipe, especially where there
is no concrete sidewalk to help support them. This is particularly
important since the proper working of the Safety Breakable Section in
severe impact depends upon unyielding support of the underground
standpipe.
4. The bottom and lower part of the hydrant should be surrounded
with broken stone or coarse gravel so that water released from the
standpipe by the drain valves may escape quickly. The stone-filled area
should contain a volume of water at least twice that held by the
hydrant barrel.
5. Both drainage stone and earth fill above the stone should be
tamped to give firm support to the hydrant barrel.
6. It is recommended practice to install an auxiliary or secondary
gate valve in the lateral between the hydrant and the main. This
permits inspection and repair of hydrant without shutting down mains.
Check the hydrant and auxiliary valve for perpendicular setting.
7. After the hydrant is installed and the line as well as the hydrant
have been hydrostatically tested, the hydrant should be flushed and
then checked for proper drainage.
A. A nozzle cap should be removed, then the hydrant opened fully.
This will flush out any dirt or sediment which may have
accumulated during installation.
After the hydrant is flushed, close it, replace the nozzle cap,
then open the hydrant again and inspect all joints for leaks:
Close the hydrant again, remove a hose cap and/or steamer cap
to test your hose thread for proper fit.
B. Before replacing the hose cap and/or steamer cap, check the
inside of the hydrant for drainage. This can be
accomplished by placing the palm of the hand firmly over the
nozzle outlet. Drainage rate should be sufficiently rapid to
create a suction.
Note:
In certain areas ground water stands at levels above that of hydrant
drains. In such cases it is recommended that hydrant drains be plugged
at the time of installation. If drains are plugged, hydrants in service in
cold climate areas should be pumped out after usage. Mark such
hydrants to indicate the need for pumping out after usage.
Operation
The Guardian hydrant requires a minimum of torque to be operated.
It is possible to damage the hydrant by forcing it beyond the limits of
the operating nut travel with excessive torque; therefore, the following
steps are recommended:
1. CHECK DIRECTION OF OPENING as marked on the dirt
shield.
2. TO OPEN, DO NOT FORCE THE HYDRANT IN THE
OPENING DIRECTION BEYOND FULL OPEN as indicated
by sudden resistance to turning. If water does not flow when
the hydrant is open, it is probably due to a closed valve
upstream from the hydrant.
3. WHEN USING HYDRANT, hydrant should be opened full.
Partially opened hydrant may allow substantial leakage through
the drain valves. This may prevent the hydrant from draining
properly when it is shut down. Operation of hydrant in this
manner over a period of time could also undermine the hydrant
and/or the water main.
4. TO CLOSE, turn the operating nut until the valve closes off the
flow. Always shut off hydrant slowly. In old water mains where
corrosion has taken its toll, or even on new mains where high
pressure is maintained, closing the hydrant too rapidly could
cause a water hammer resulting in damage to the main.
IT IS NOT NECESSARY to OPEN or CLOSE the hydrant
with great force. When closing the hydrant, the closed position
will be evident by a reduction in the effort required to close it.
When that position has been reached, back off the operating nut
in the opening direction one-quarter turn to take the strain off
the operating parts of the hydrant and to make it easier to open
the hydrant when needed again.
Maintenance
It is recommended the hydrant be inspected twice yearly, in the
spring and fall. In extremely cold weather it is advisable to inspect
hydrant after each use.
Maintenance and adjustments are easy and economical with the
Guardian hydrant. All parts which are susceptible to damage or rough
treatment can be reached without excavation or expensive equipment.
The main valve, seat ring, drain valve, drain valve seat and the stem
may all be easily withdrawn and replaced by one man.
Inspection or renewal are practical without disturbing the standpipe,
pavement or mains. Inspection should cover the following points:
1. Physical examination noting condition of operating nut, nozzle
caps and drains, and general appearance.
2. Use an Aquaphone and listen for leakage through main valve.
3. To check for leakage at seals loosen one hose cap one-
Kennedy Valve 7/15/20
K81 O&M 3
 Loading...