


Th__ For
owner's
manual
MODEL NO.
758.148080
FORYOUR
SAFETY
READ ALL
INSTRUCTIONS
CAREFULLY
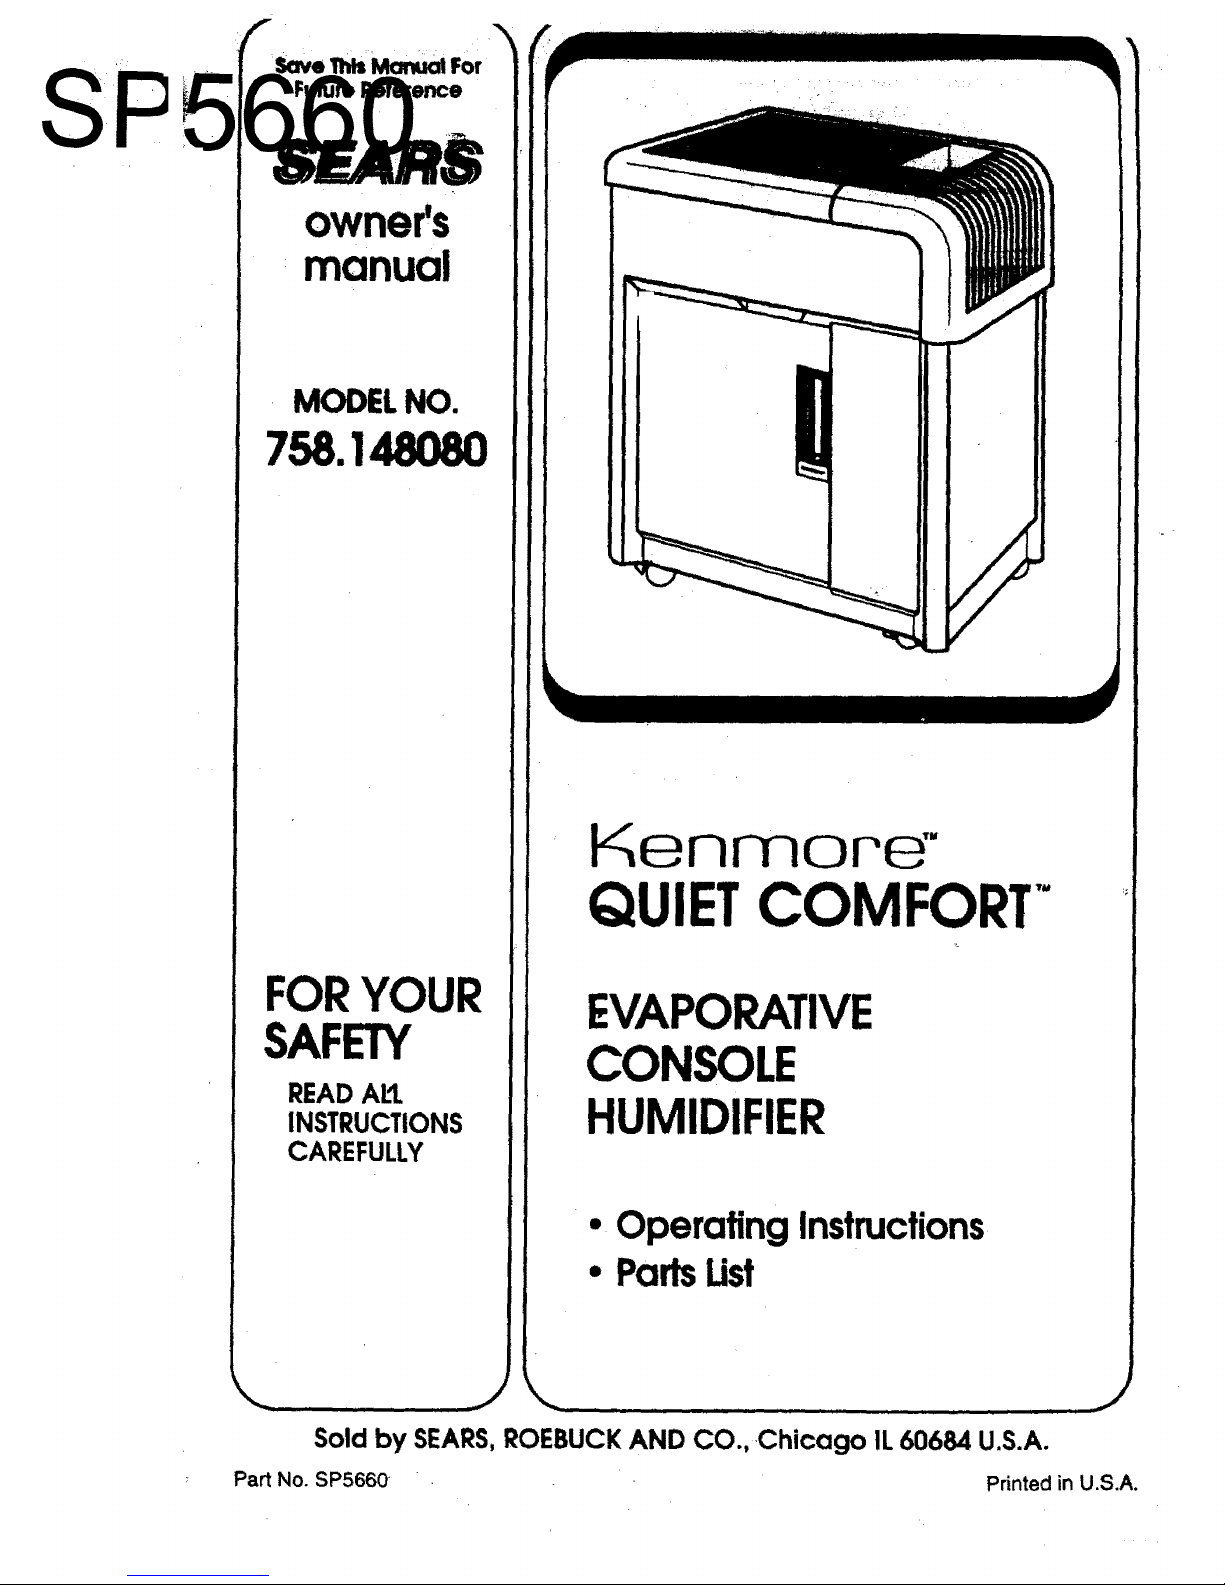
Kenmore"
QUIETCOMFORT"
EVAPORATIVE
CONSOLE
HUMIDIFIER
• Operating Instructions
• PartsUst
iii i J
Sold by SEARS,ROEBUCK AND CO., Chicago IL60684 U.S.A.
Part No. SP5660 Printed in U.S.A.
If, within One 111 , ,;this humidifier fails due to _
_iefect in matej_d or wodonanship, Sears will repair it, free of charge, if, within
two (2) yearsJom _ date of purchase, the motor fails due to defect in mate-
dal or _ip, we wtll _r it free of charge,
This warmlty _ is available by simply retuming the humidifier to the
nearest Sears Service Center/Department throughout the United States.
This warranty applies only while this product is used in the United States.
This warranty gives you specifie legal dghts, and you may also have other
nghts which vary from state to slate.
SEARS, ROEBUCK AND CO.; D817 WA, Hoffman Estates, IL 60195 -
1,
r IllL i i I I I ,|ill ill i II II II
GENERAL SAFETY INSTRUCTIONS
To avoid fire or shock hazard, plug humidifier directly into a 120V, A.C. el_tdcal
outlet.DonotUse extensioncords.
2. Keep the electriccord outoftraffic areas. To avoidfire hazard, never put the elec-
triccordunderrugs, near heat registers,radiators,stoves or heaters.
3. Always unplugthe humidifierbefore moving it, removing the lid or motorsupport
section,before cleaning,or wheneverthe humidifieris not inservice.
4. When filling, be carefulnotto pourwater intothe controlor motorarea.
5. Keep the humidifierclean.
6. To helpkeep waterclean, do notuse humidifierwithoutthe lid in place.
7. Do notputforeign objectsinsidethe humidifier.
8. Never useyour humidifierwhile anypart is missingor damaged in any manner.
9. To avoid electricalhazard or damage to humidifier,do nottilt,jolt or tiphumidifier
overwhile unitis running.
10. Toavoid damage to humidifier,unplughumidifierwhen the tank is emptyor when
the humidifieris notin use.
1t.
To avoid accidental electrical shock, do not touch the cord or controls with wet
• hands.
12. Note the warning label shown below and on the humidifier.
TABLE OF CONTENTS
Warranty ...................................................2
General Safety;Instructions......................2
KnowYour Humidifier...............................3
HumidifierOperations..............................3
Caster Installation.....................................4
LocationInstructions ................................4
ElectricalHook-Up....................................4
Water Fill..J................................................4
OperatingRumidifier Controls.................5
UsingYourHumidifier...............................6
Cleaningof Humidifier..............................6
Care of Filter.............................................8
Troubleshooting ........................................9
Repair Parts.......................................10-11
WARNING ...... _ I
To avoid injury, fire, or shock always I
remove plug from electr,cal outlet]
before filling, servm,ng or cleaning.
[.................... I
TO SAVE A SERVICE CALL:
CHECK FOLLOWlNGtF YOUR HUMIDIFIER
WILL NOT OPERATE.
1. IS POWER CORD ATTACHED TO OUT-
LET?
2. IS THERE ELECTRICAL POWER TO OUT-
LET?
3. IS AIRFLOW CONTROL IN OPERATING
POSITION?
4, IS HUMIDITY CONTROL SET HIGH
ENOUGH?
5. IS WATER LEVEL tN TANK HIGH ENOUGH
TO ACTIVATE FLOAT SWITCH?
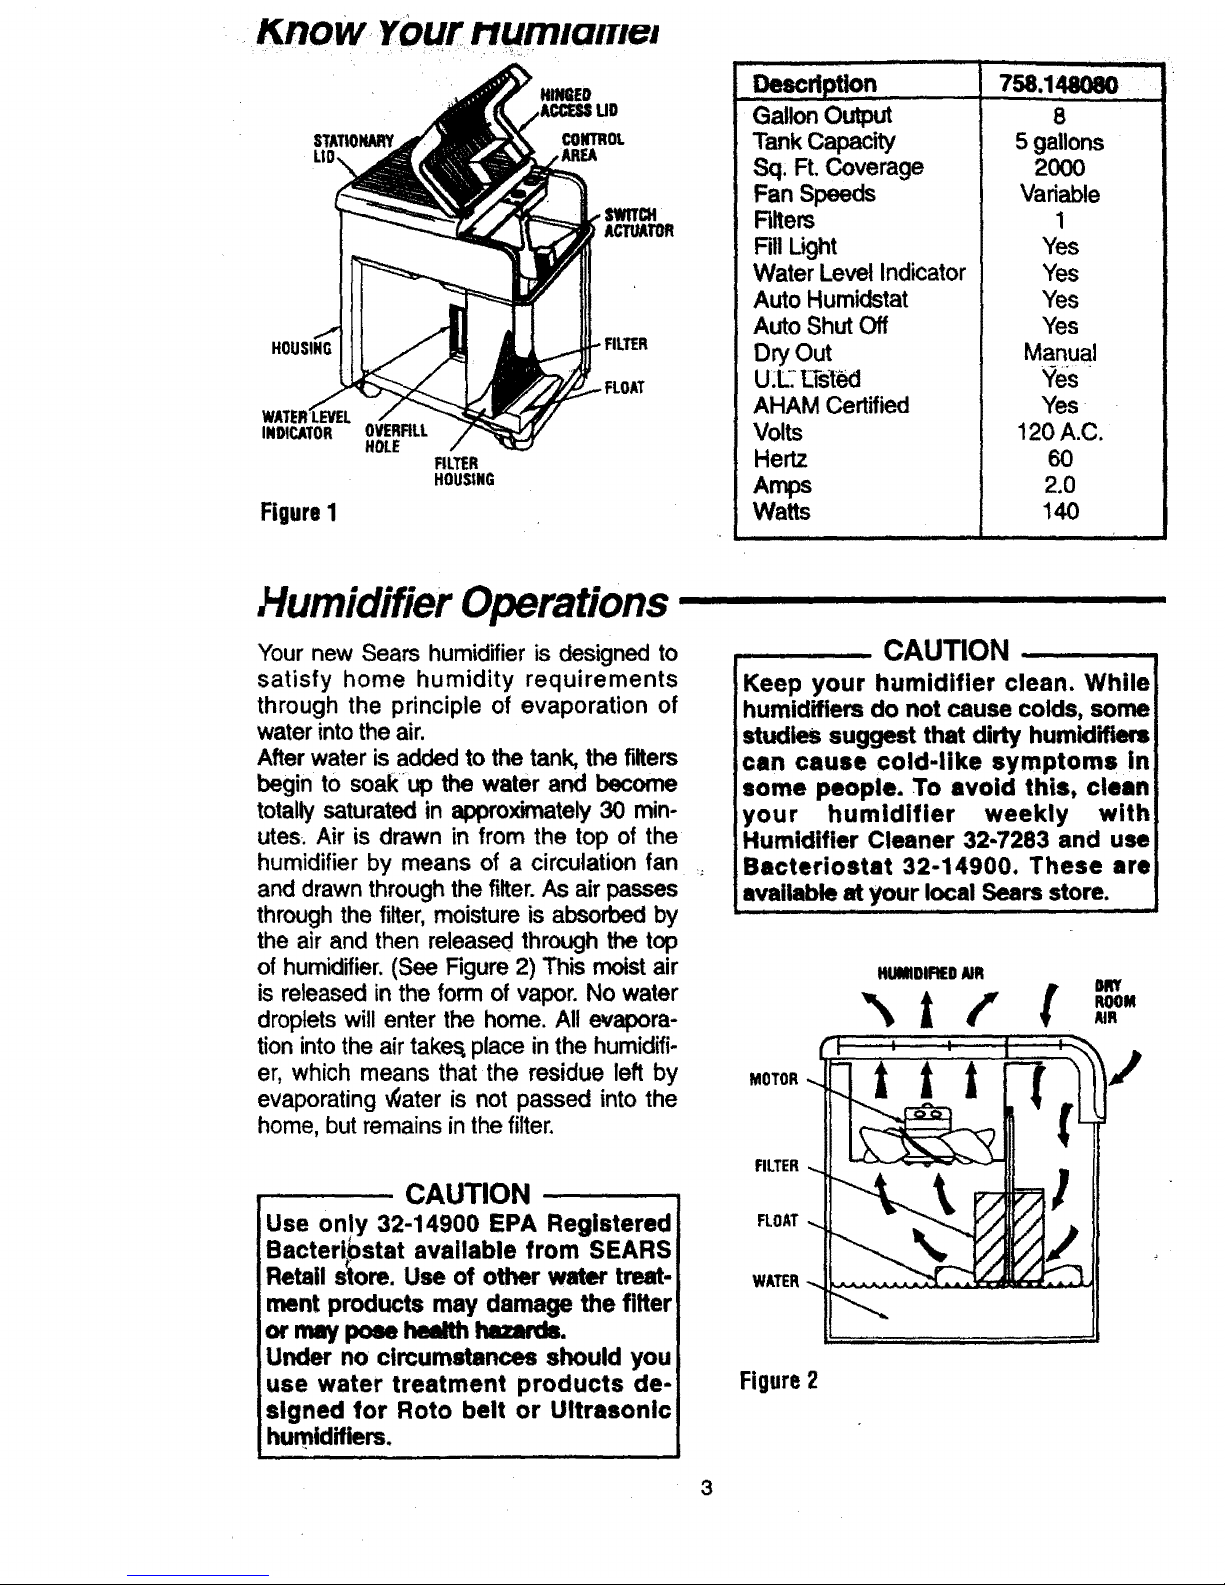
HOUSING .FILTER
INDICATOR OVERRLL
HOLE
FigureI
FILTER
HOUSSNG
...... i i ,,ll,ln,i
oe,c ptzon......
Gallon Output
Tank Capacity
Sq: R. Coverage
Fan Speeds
Filters
Fill Light
Water Level Indicator
m I ,, ]1 J
758.148080
8
5 gallons
2000
Variable
1
Yes
Yes
Auto Humidstat
Auto Shut Off
Dry OUt
U_L_LTst_J
AHAM Certified
Volts
Hertz
Amps
Watts
Yes
Yes
Manual
?es
Yes
120 A.C.
6O
2.0
140
Humidifier Operations
"four new Sears humidifier is designed to
satisfy home humidity requirements
through the principle of evaporation of
water into the air.
After water is added to the tank, the filters
begin to soakup the water and become
totally saturated in approximately 30 min-
utes; Air is drawn in from the top of the
humidifier by means of a circulation fan
and drawn through the filter. As air passes
through the filter, moisture is absorbed by
the air and then released through the top
of humidifier. (See Figure 2) This moist air
is released in the form of vapor. No water
droplets will enter the home. All evapora-
tion into the air takes, place in the humidifi-
er, which means that the residue left by
evaporating ,_ater is not passed into the
home, but remains in the filter.
- CAUTION .............
Use on!y 32-14900 EPA Registered
Bacteri_stat available from SEARS
Retail store. Use of other water treat-
ment products may damage the filter
or .nay pose health hazards.
Under no circumstances should you
use water treatment products de-
signed for Roto belt or Ultrasonic
humidifiers.
3
CAUTION ....
Keep your humidifier clean. While
humidifiers do not cause colds, some
studies suggest that dirty humidifiers
can cause cold-like symptoms in
some people. To avoid this, clean
your humidifier weekly with
Humidifier Cleaner 32-7283 and use
Bacteriostat 32-14900. These are
available at your local Sears store.
MOTOR
FILTER
FLOAT
WATER
#UMIOIREOAIR
DRY
ROOM
• t" !
AIR
,/
il
Figure 2
Step 1
Reference the unlocking instructionson
the uppercarton flaps of the shippingcar-
tonyour Kenmore humidifierwas received
in. The casters and hardware are inside
the humidifiercabinet.
, k • :........... : _'i/¸!':I'•'/:•: ¸: : : •_ "•:'::i •i¸•I • .
NOTE: Only two of the four holes inthe
caster plate will align for proper caster
Installation.
Step2
Carefully place your humidifier upsiCe
down on a soft surface such as a rug or
carpet.Locatethe screwyholeson the bot-
tomcomersof the cabinet.
Step 3
Each caster should be attached with two
(2) screws placed diagonally from each
other. Turnthe unituprightandyou willbe
ready to position your humidifier in the
locationofyour choice.
Location Instructions
I Illl II I IIIIII III lUl IIIIII II
j ..... WARNING j
For your own safety, do not use
humidifier if any parts are damaged
?r missing, i
Step I
Place humidifierin area of house where
most humidity is needed, or one which
would likelyresultin moist air being circu-
latedthroughoutthe house suchas near a
cold air return. Moist air (humidity) pro-
duced willdispeme into the whole house,
but area closestto unitwill have the high-
est humidity.
Step 2
The humidifiermay be positionedwith the
back (cord exit side), or left side (side
opposite hinged lid) flush to the wall, or
away from the wall. Air needs to enter
throughlouversin the hingedaccess lidin
orderfor humidifierto operate at peak effi-
ciency.
NOTE: Due to release of cool, moist air
from humidifier, it is best to direct air
away from home thermostat, it Is best
to position humidifier next to an inside
wall. Hot air registers and cold air from
outside walls can affect the efficiencies
of the controls. Unit should not be
placed where warm air from a hot air
register blows directly on unit.
Electrical Hook-Up
Step I
€
Locate nearest 120V A.C. wall socket in
the location desired, preferably on inside
wall.. Plug in the electrical cord.
HIIIIIIIIIIIIIIII III III I I III II I
.......................WARNING ...........
To avoid fire or shock hazard, humidi-
fier, should be plugged into a 120V
A.C. outlet. Do not use extension
cords.
Water Fill
! WARNING ......................1
ITo avoid shock, always unplugJ
lhumidifier before filling, cleaning, or !
Jservicing. ...............
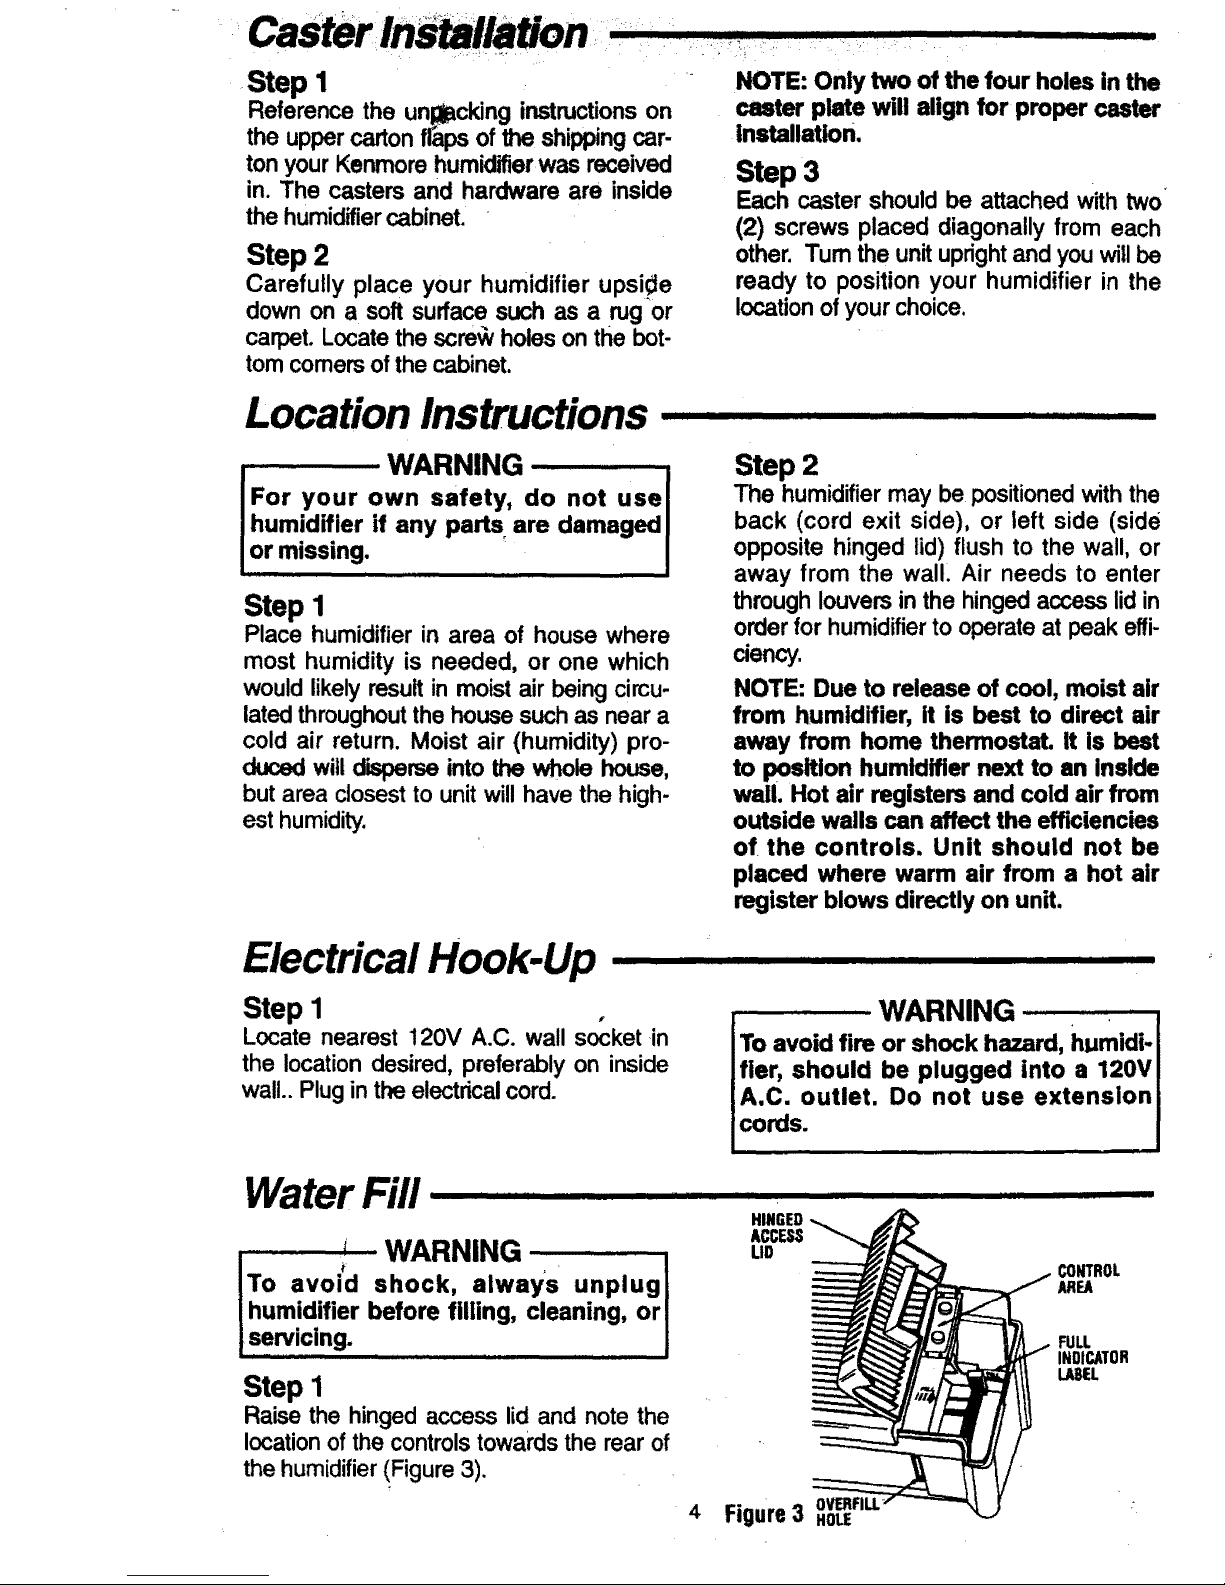
HINGED
LID
I I _ IL
Step 1
Raise the hinged access lid and note the
locationofthe controlstowardsthe rearof
the humidifier(Figure3).
CONTROL
AREA
FULL
INDICATOR
L.ASEL
4 Figure 3 HOLE