

Kenmore 9114942592, 9114942990, 9114942993 Owner’s Manual
CONTENTS
SAFETY
PRECAUTIONS: AVOIDIHG
POSSIBLE EXPOSURE TO
MICROWAVE ENERGY
FEATURES OF YOUR/OVEN
MICROWAVE OVEN
Control ........................................................................................... 7
Timer, Using e Hold Time ......................................................8
To Time Delrost, Hold and Cook .................................. 8
Microwave Time Cooking ....................................................9
Defrosting by Time, Auto Delrost, Stand Time ........10
Conversion Guide, Auto Defrost Guide .....................11
Temperature Cooking, Temperature Probe .......... 12
Auto Roast, Auto Simmering ................................... 13
Auto Cook, Auto Cooking Contro!
Guide ........................................................................... 13, 14, 15, 16
Microwave Oven Shelf ....................................... 17, 19
LOWER OVEN
Control, Clock and Timer ..........................................20, 21
Bake, Delay Bake and Hold Mode .......................21, 22
Broiling ............................................................................. 23
Self-Clean Cycle .......................................................24, 25
Cleaning Tips ............................................................ 26, 27
REMOVABLE PARTS
........................................................................................... ..... 28, 29
Removal o| Packaging Tape .............................................29
BEFORE CALLIHG FOR SERVICE
...................................................................................... 30-32
Thermostat Adjustments ........................................... 33
MODELS 49425, 49429
o oSAFETY
A UAL
MNM085-7 SR10015
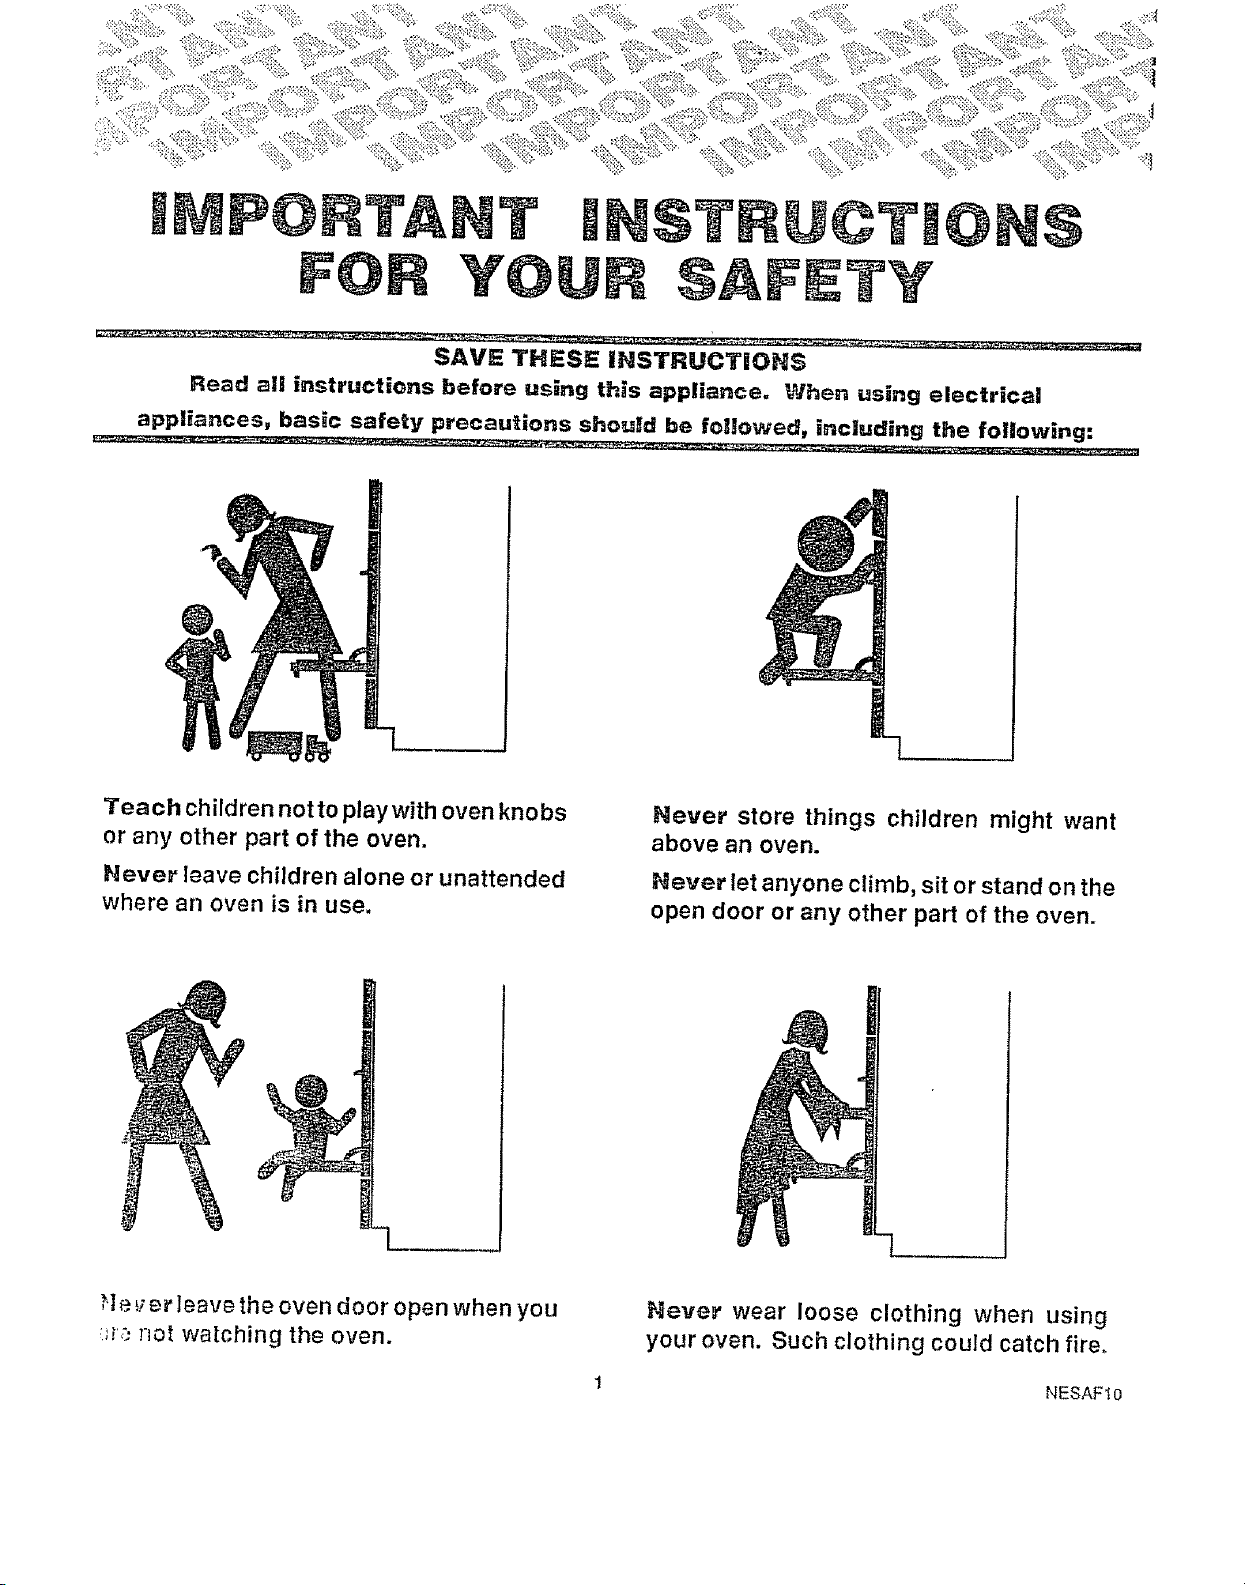
SAVE THESE INSTRUCTIONS
Read all instructions before using th_s appliance. When using electrical
appliances, basic safety precautions should be followed, including the following:
Teach children notto play with oven knobs
or any other part of the oven.
Never leave children alone or unattended
where an oven is in use.
;!e:; er leave the oven door open when you
_._,_not watching the oven.
Hever store things children might want
above an oven.
Never let anyone climb, sit or stand on the
open door or any other part of the oven.
Never" wear loose clothing when using
your oven. Such clothing could catch fire,
1 NESAFtO
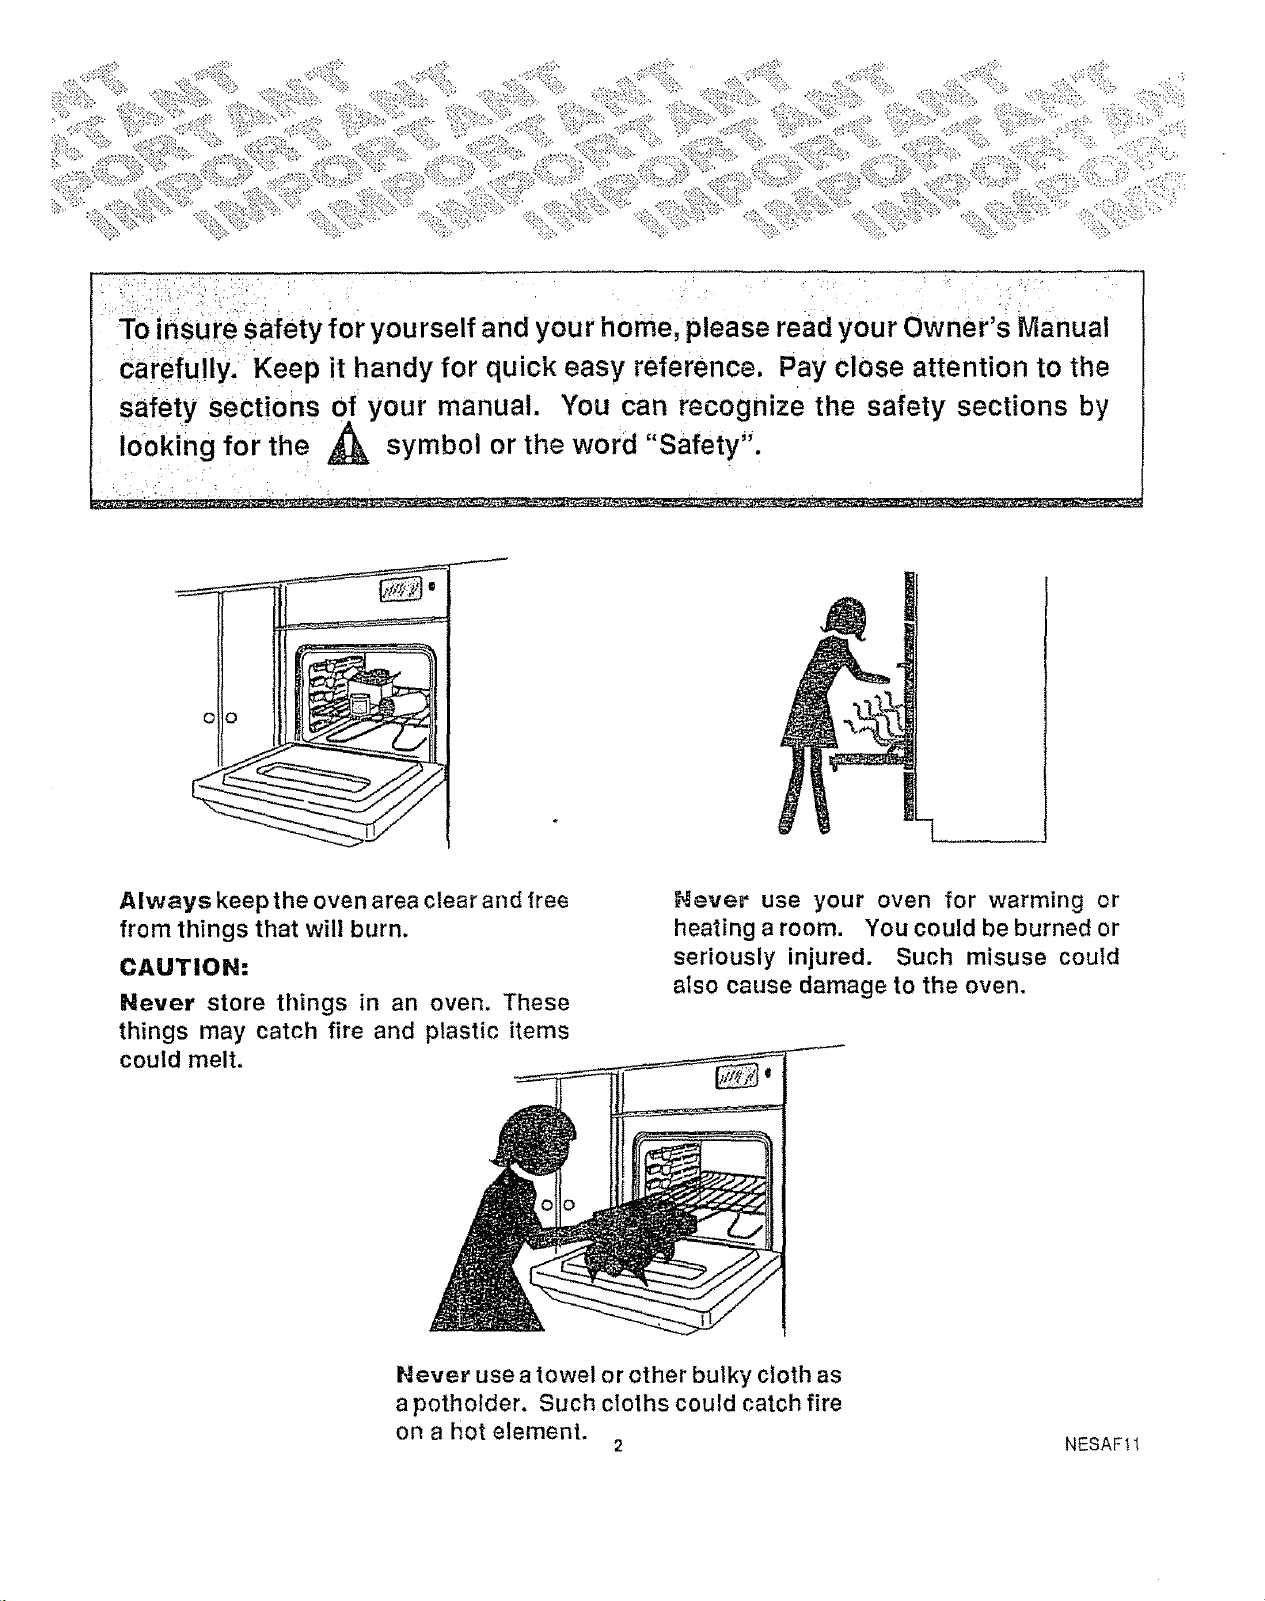
Toi insure safety for yourself and your home, please read your Owner's Manual
Ca_efuiiyl Keep it handy for quick easy reference. Pay close attention to the
safety sections of your manual. You can recognize the safety sections by
looking for the A symbol or the word "Safety".
Always keep the oven area clear and flee
from things that will burn.
CAUTION:
Never store things in an oven. These
things may catch fire and plastic items
could melt.
Never use a towel or other bulky cloth as
a potholder. Such cloths could catch fire
on a hot element.
Never" use your oven for warming or
heating aroom. You could be burned or
seriously injured. Such misuse could
aIso cause damage to the oven.
2 NESAF11
Read all instructions BEFORE using this appliance.
Wh_ using electrica_ appliances, basic safety
precautions should be followed, including the followtn_;
_lways use this appliance only for its intended use as
described in lhis manual.
_ sure your appliance Is properly installed ant
_;ounded b_ a qualified technician In accordance wi_
_h_ insis_l_t!on tn_ructions provtoec,
_eio,'_;. perzormin; any service, DISCONNECT T_-iE
R._.N{._E POWER SUPPLY AT THE HOUSEHOL£
DISTribUTION PANE;. BY REMOVING THE FLISE OF_
SWITCHING O_F THE CIRCUIT BREAKEP,.
LI€_ _f_l_" =._r,_polholders Moist or damp potholders
Dr_h_T_f_'_-.es may result in burns from steam. Do no,
1_p_f_lders touch hot heating elemenls. Do not use
&';_W_I or ¢F_f/_rbulky cloth.
eep oven and vent clean to maintain good venting and
ic_avmd grease fires.
Wh._n cooking pork, follow the directions exactly and
n!w.3ys cool{ the meat to an Internal temperature of at
least 170_F. This assures that, in the remote possibility
that lrichina may be present In the meat, tt will be killed
and the meat will be safe to eat.
Stan_ away irom the oven when opening the oven
door. Hot air or steam which escapes can cause burns
1ohands, face or eyes.
[3o z_ot a/lempt to repair or replace any part of your oven
u:}less it is specifically recommended in this book. All
oliver servicing should be referred to a qualified
technician°
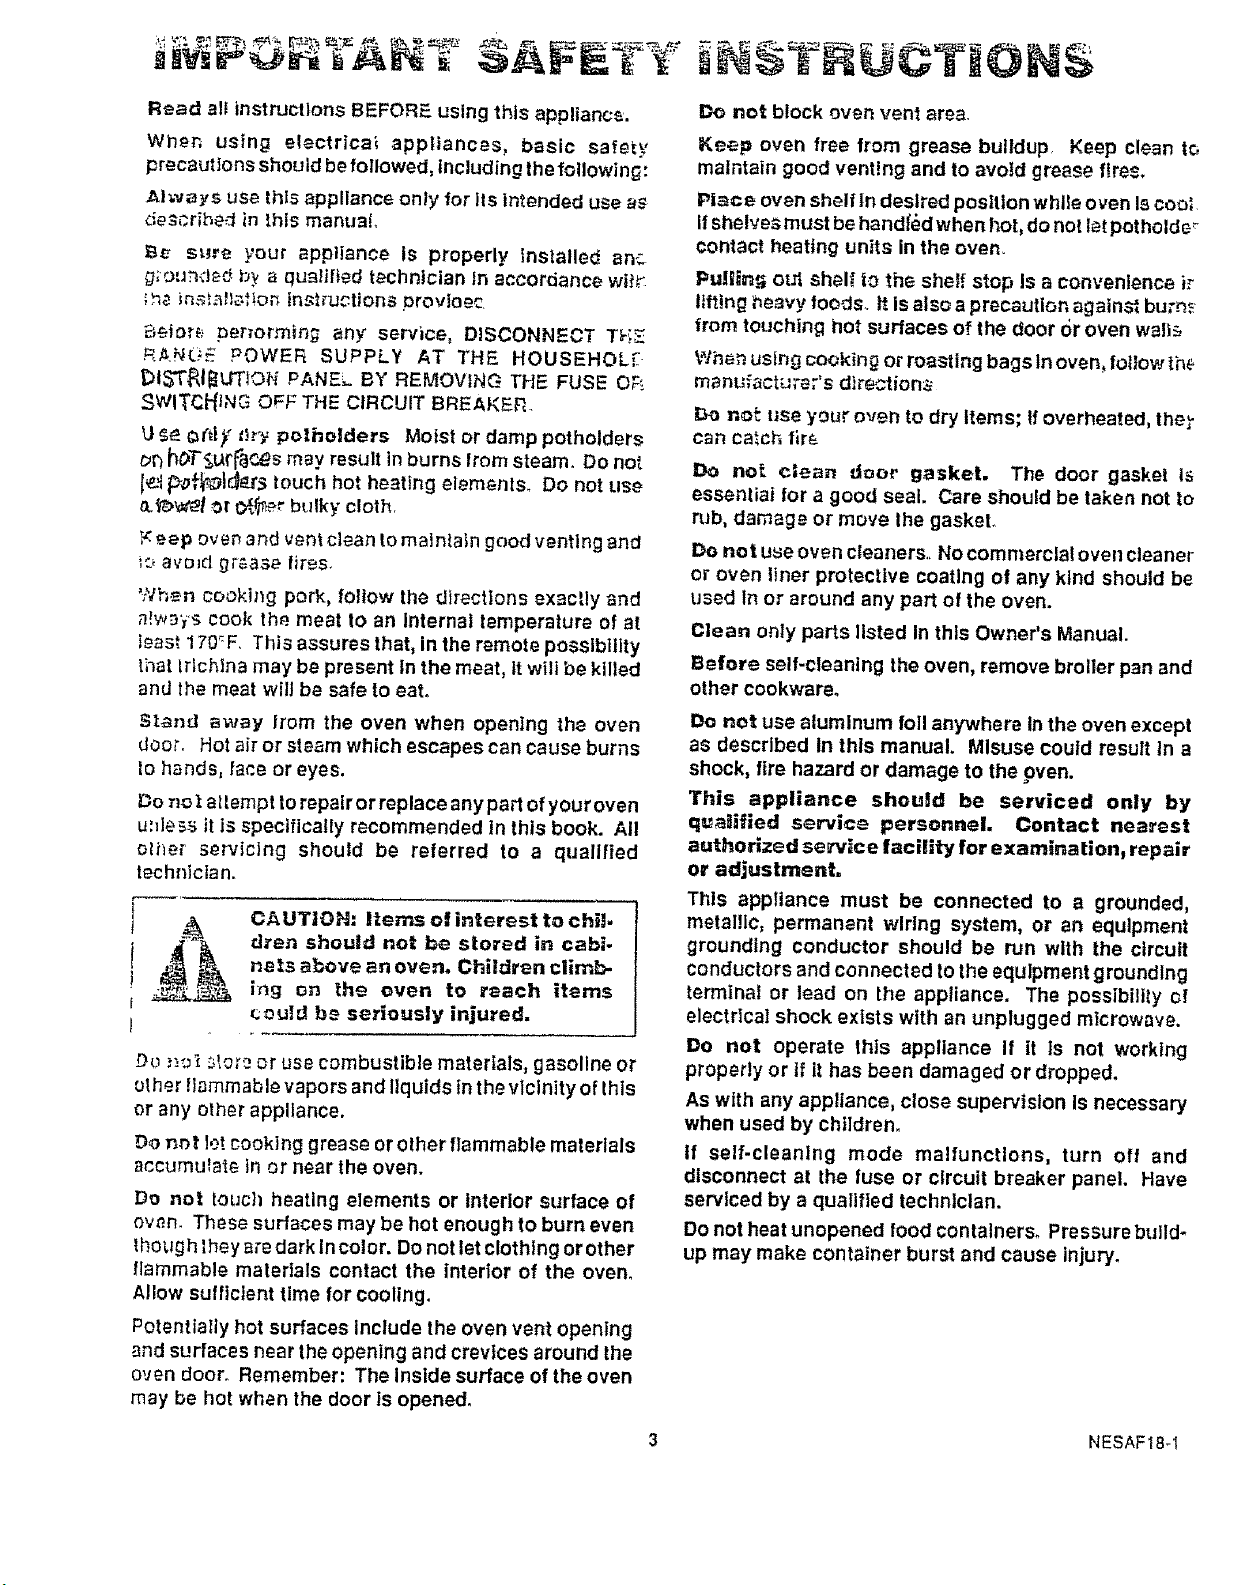
C,_,UTtON: items of interest to chil-
dren should not be stored in cabi-
nels alive an oven. Children climb-
ing on the oven to reach items
_ould b_ seriously injured.
D_ ,,_i store or use combustible materials, gasoline or
uther !lammable vapors and liquids in the vicinity of this
or any other appliance,
Do not let cooking grease or olher flammable materials
accumulate in or near the oven.
Do not tOUCl_heating elements or Interior surface of
ovP.n. These surfaces may be hot enough to burn even
though they _re dark In color. Do not let clothing or other
_Iammable materials contact the interior of the oven.
Allow sufficient time for cooling.
Potentially hot surfaces Include the oven vent opening
and surfaces near the opening and crevices around the
oven door° Remember: The Inside surface of the oven
may be hot when the door is opened.
De no_ block oven vent area.
Ke_p oven free from grease buildup Keep clean t_
maintain good vent!ng and to avoid grease fires.
Place oven shelf tn desired position while oven Is cool
ifshelves must be handl_edwhen hot, do not let potholde _
contact heating units in the oven
PuHin=_ ot_ shelf to the shelf stop Is a convenience ir
lifting heavy foods. It is also a precaution against burn_
from touching hot surfaces of the door or oven walf_
When using cookin_ or roasting bags In oven,,follow the
manufacturer's directions
_,o not: use your oven to dry Items; tfoverheated, they
can catch fir&
Do no_ clean door gasket. The door gasket Is
essentiai for a good seal. Care should be taken not to
rub, damage or move the gasket.
Do not use oven cleaners,, No commercial overl cleaner
or oven liner protective coating of any kind should be
used |n or around any part of the oven.
Clean only parts listed In this Owner's Manual.
]Before self-cleaning the oven, remove broiler pan and
other cookware.
Do not use aluminum fell anywhere In the oven except
as described In this manual. Misuse could result In a
shock, fire hazard or damage to the oven.
This appliance should be serviced only by
qualified service personnel. Contact nearest
authorized sentice facility for examination_ repair
or adjustment,
This appliance must be connected to a grounded,
metamc, permanent wiring system, or an equipment
grounding conductor should be run with the circuit
conductors and connected to the equipment grounding
terminal or lead on the appliance. The possibility c!
electrical shock exists with an unplugged microwave.
Do not operate this appliance If it is not working
properly or if it has been damaged or dropped.
As with any appliance, close supervision Is necessary
when used by children.
tf self-cleanlng mode malfunctions, turn off and
disconnect at the fuse or ctrcuit breaker panel. Have
serviced by a qualified technician.
Do not heat unopened food contalnerso Pressurebulld-
up may make container burst and cause injury.
3 NESAF18-1
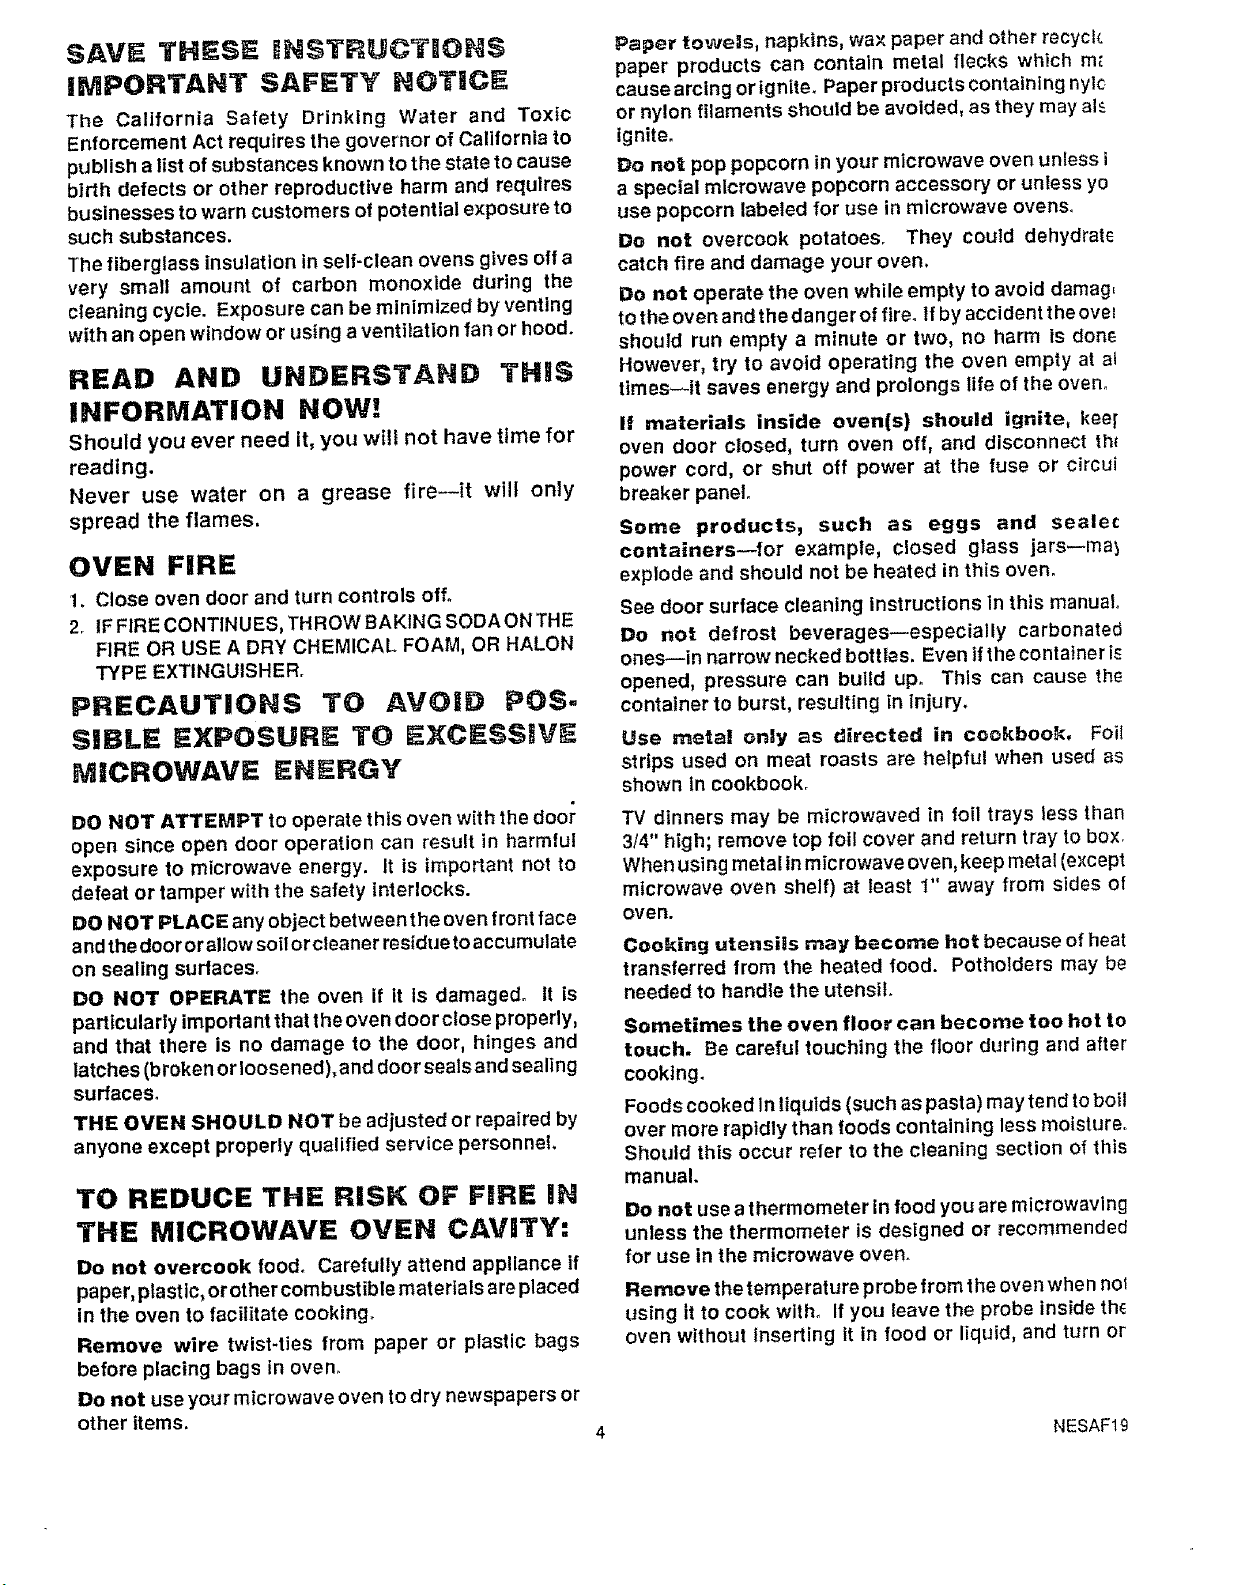
SAVE THESE IINSTRUCT_ONS
IMPORTAHT SAFETY NOTICE
The California Safety Drinking Water and Toxic
Enforcement Act requires the governor of California to
publish a list of substances known to the state to cause
birth defects or other reproductive harm and requires
businesses to warn customers of potential exposure to
such substances.
The fiberglass insulation in self-clean ovens gives off a
very small amount of carbon monoxide during the
cleaning cycle. Exposure can be minimized by venting
with an open window or using a ventilation fan or hood.
READ AND UNDERSTAND THIS
INFORMATION NOW!
Should you ever need it, you will not have time for
reading.
Never use water on a grease fire--it will only
spread the flames,
OVEN FIRE
1, Close oven door and turn controls off.
2. IF FiRE CONTINUES, THROW BAKING SODA ON THE
FiRE OR USE A DRY CHEMICAL FOAM, OR HALON
TYPE EXTINGUISHER.
PRECAUTIONS TO AVOID POS-
SIBLIE EXPOSURE TO EXCESSIVE
MICROWAVE ENERGY
DO NOT ATTEMPT to operate this oven with the door
open since open door operation can result in harmlui
exposure to microwave energy. It is important not to
defeat or tamper with the safety interlocks.
DO NOT PLACE any object between the oven front face
and the door orallow soil orcleaner residue to accumulate
on sealing surfacesr
DO NOT OPERATE the oven if it Is damaged. It is
particularly important that the oven door close properly,
and that there is no damage to the door, hinges and
latches (broken or loosened), and door seals and sealing
surfaces.
THE OVEN SHOULD NOT be adjusted or repaired by
anyone except properly qualified service personnel.
TO REDUCE THE RISK OF FIRE IN
THE MICROWAVE OVEN CAVITY:
Do not overtook food. Carefully attend appliance if
paper, plastic, orothercombustible materials are placed
in the oven to facilitate cooking_
Remove wire twist-ties from paper or plastic bags
before placing bags in oven.
Do not use your microwave oven to dry newspapers or
other ttems.
Paper towels, napkins, wax paper and other recycle
paper products can contain metal flecks which mE
cause arcing or ignite. Paper products containing nylc
or nylon filaments should be avoided, as they may al_
ignite.
De nell pop popcorn in your microwave oven unless i
a special microwave popcorn accessory or unless yo
use popcorn labeled for use in microwave ovens°
Do not overcook potatoes_ They could dehydrat_
catch fire and damage your oven.
Do not operate the oven while empty to avoid damag,
to the oven and the dangerof fire. if by accident the over
should run empty a minute or two, no harm is done
However, try to avoid operating the oven empty at at
times_it saves energy and prolongs life of the oven.
If materials inside oven{s) should ignite, keel"
oven door closed, turn oven off, and disconnect th_
power cord, or shut off power at the fuse or circui
breaker panel.
Some products, such as eggs and sealec
containers--for example, closed glass jars--ma_
explode and should not be heated in this oven.
See door surface cleaning instructions in this manual.
Do no! defrost beverages_especia]ly carbonated
ones_in narrow necked bottles. Even if the container i_
opened, pressure can build up. This can cause the
container tO burst, resulting in injury.
Use metal enly as directed in cookbook, Felt
strips used on meat roasts are helpful when used as
shown In cookbookr
TV dinners may be microwaved in foil trays less than
3/4" high; remove top foil cover and return tray to box.
When using metal in microwave oven, keep metal (except
microwave oven shelf) at least 1" away from sides of
oven.
Cooking utensils may become hot because of heat
transferred from the heated food. Potholders may be
needed to handle the utensil.
Sometimes the oven floor can become too hot to
touch. Be careful touching the floor during and after
cooking.
Foods cooked In liquids (such as pasta) may tend to boil
over more rapidly than foods containing less moisture°
Should this occur refer to the cleaning section of this
manual.
Do not use a thermometer in food you are microwaving
unless the thermometer is designed or recommended
for use in the microwave oven.
Remove the temperature probe from the oven when not
using it to cook with, If you leave the probe inside th_
oven wffhout _nserting it in food or liquid, and turn or
NESAF19
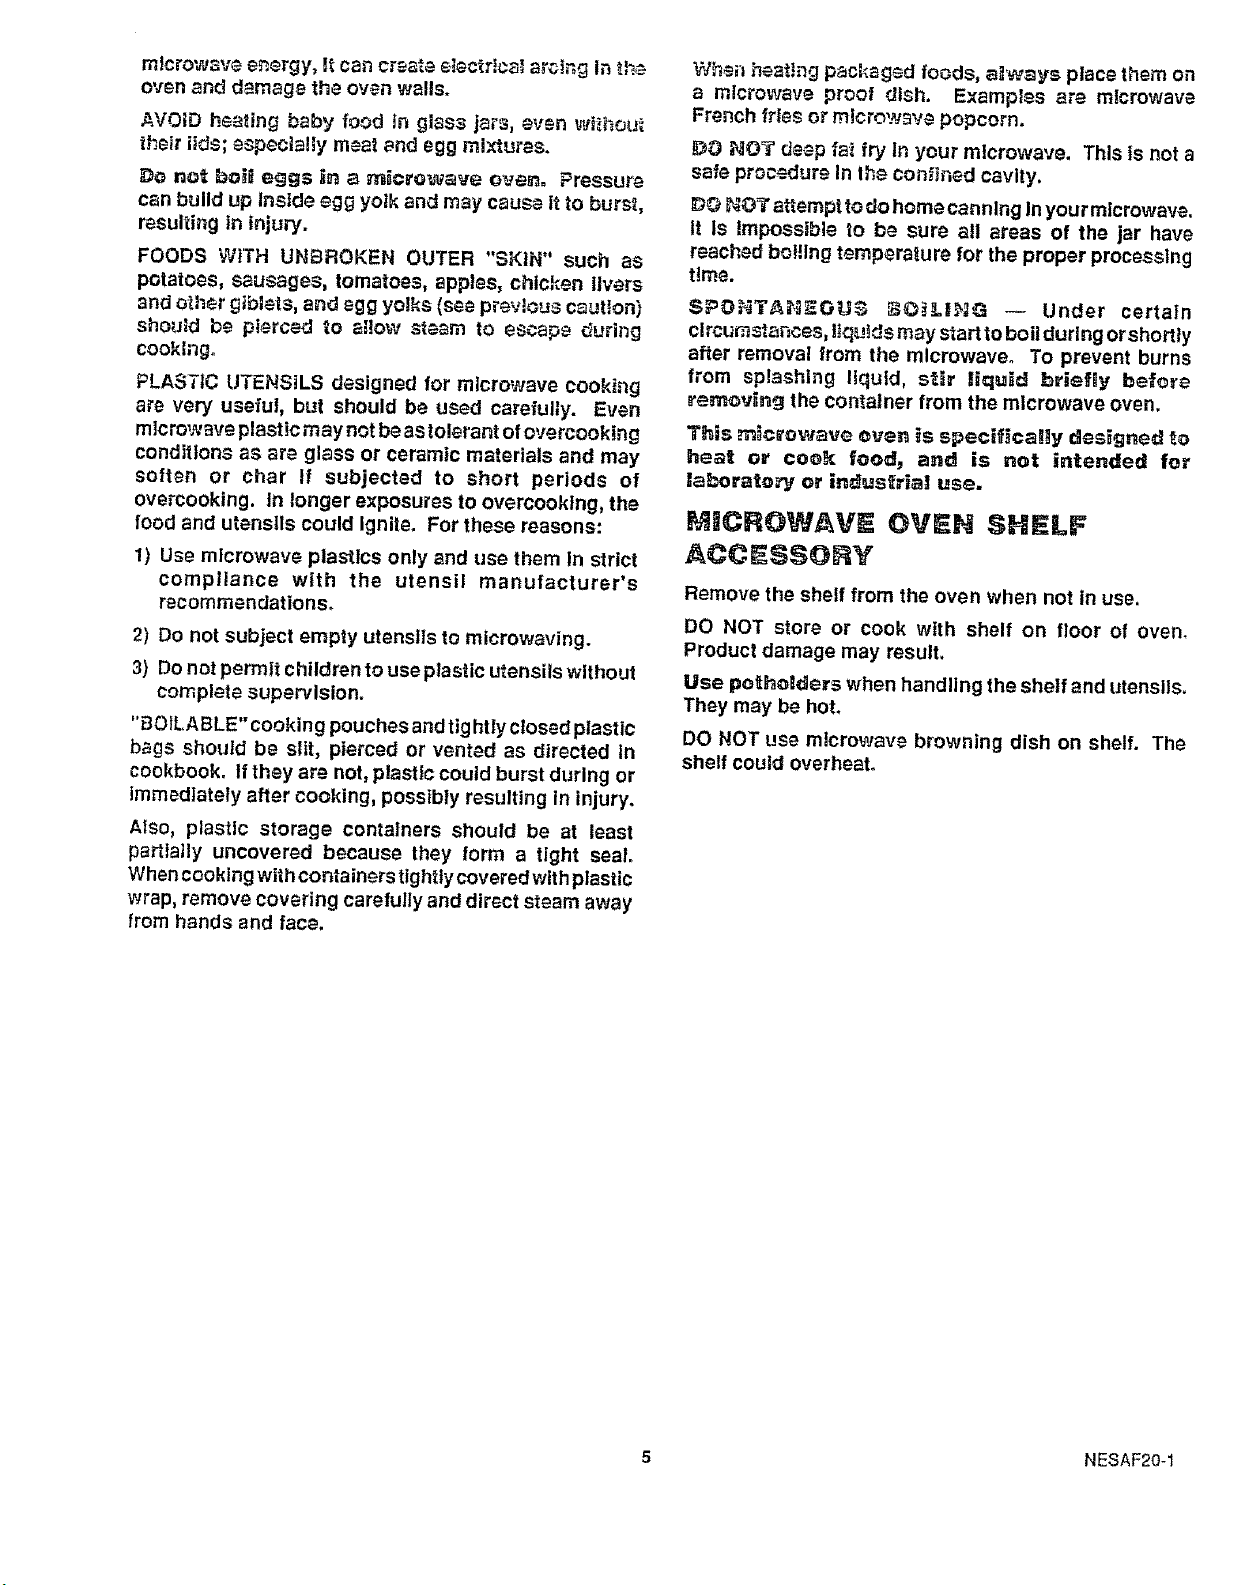
mlcrowave e_.ergy,ttcan c_eatee_ectr_ca_a_c_ngIn_h_
oven and d_mage the oven walls.
._NO|D h_a_ing baby food in glass jars, even wt_hou'i
their lids; especially meat _nd egg mixtures.
Do no_ I_o_!eggs in a m_crovs_ve oven° Pressure
can build up Inside egg yolk and may cause it to burst,
resulting In injury.
FOODS WITH UNBROKEN OUTER "SKIN" such as
potatoes, sausages, tomatoes, apples, chicken livers
and other giblets, and egg yolks (see pi'evious caution)
should be pierced to a_!ow steam to escape rJuring
cooking.
PLASTIC UTENSILS designed for microwave cooking
are very useful, but should be used carefully. Even
mIcrowave plastic may not be as tolerant of overcooking
conditions as are glass or ceramic materials and may
so_t_n or char if subjected to short periods of
overcooking. In longer exposures to overcooktng, the
food and utensils could Ignite, For these reasons:
1) Use microwave plastics only and use them In strict
compliance with the utensil manufacturer's
recommendations,
2) Do not subject empty utensils to microwaving.
3) Do not permit children to use plastic utensils without
complete supervision.
"BOILABLE"cooking pouches andtightlyctosedplastic
b_gs should be slit, pierced or vented as directed in
cookbook. Ifthey are not, plastic could burst during or
immediately after cooking, posslbly resulting in injury.
AlSo, plastic storage containers should be at least
partially uncovered because they form a tight seal.
When cooking wit h containers tightlycovered wtth plastic
wrap, remove covering carefully and direct steam away
from hands and face.
Wh_= hea_!ng pac_ag.=d foods, a_w_ys place them on
a microwave proof dish. Examples are microwave
French fries or microwave popcorn.
be NOT deep fa_ fry In your microwave. This is not a
safe procedure In the confined cavity.
DO _OT attempt todo home canning In your microwave.
It Is Impossible to be sure atl areas of the jar have
reached bo!_lng temperature for the proper processing
time.
SPOP;TA_,;_OL_ BO_LtHQ _ Under certain
circumstances, tIqulds may start to boil during orshortty
after removal from the microwave° To prevent burns
from splashing liquid, st_r liquid briefly before
removing the container from the microwave oven.
This rn_c_owave even _s specifically designed _o
he_t or cook food_ and is not intended fo_
la_orstory o_ indus_ia! use.
MICROWAVE OV H SHELF
Remove the shelf from the oven when not in use.
DO NOT store or cook with shelf on floor of oven,
Product damage may result,
Use po_he_ders when handling the shelf and utensils,
They may be hot.
DO NOT use microwave browning dish on shelf. The
shelf could overheat.
5 NESAF2O-1
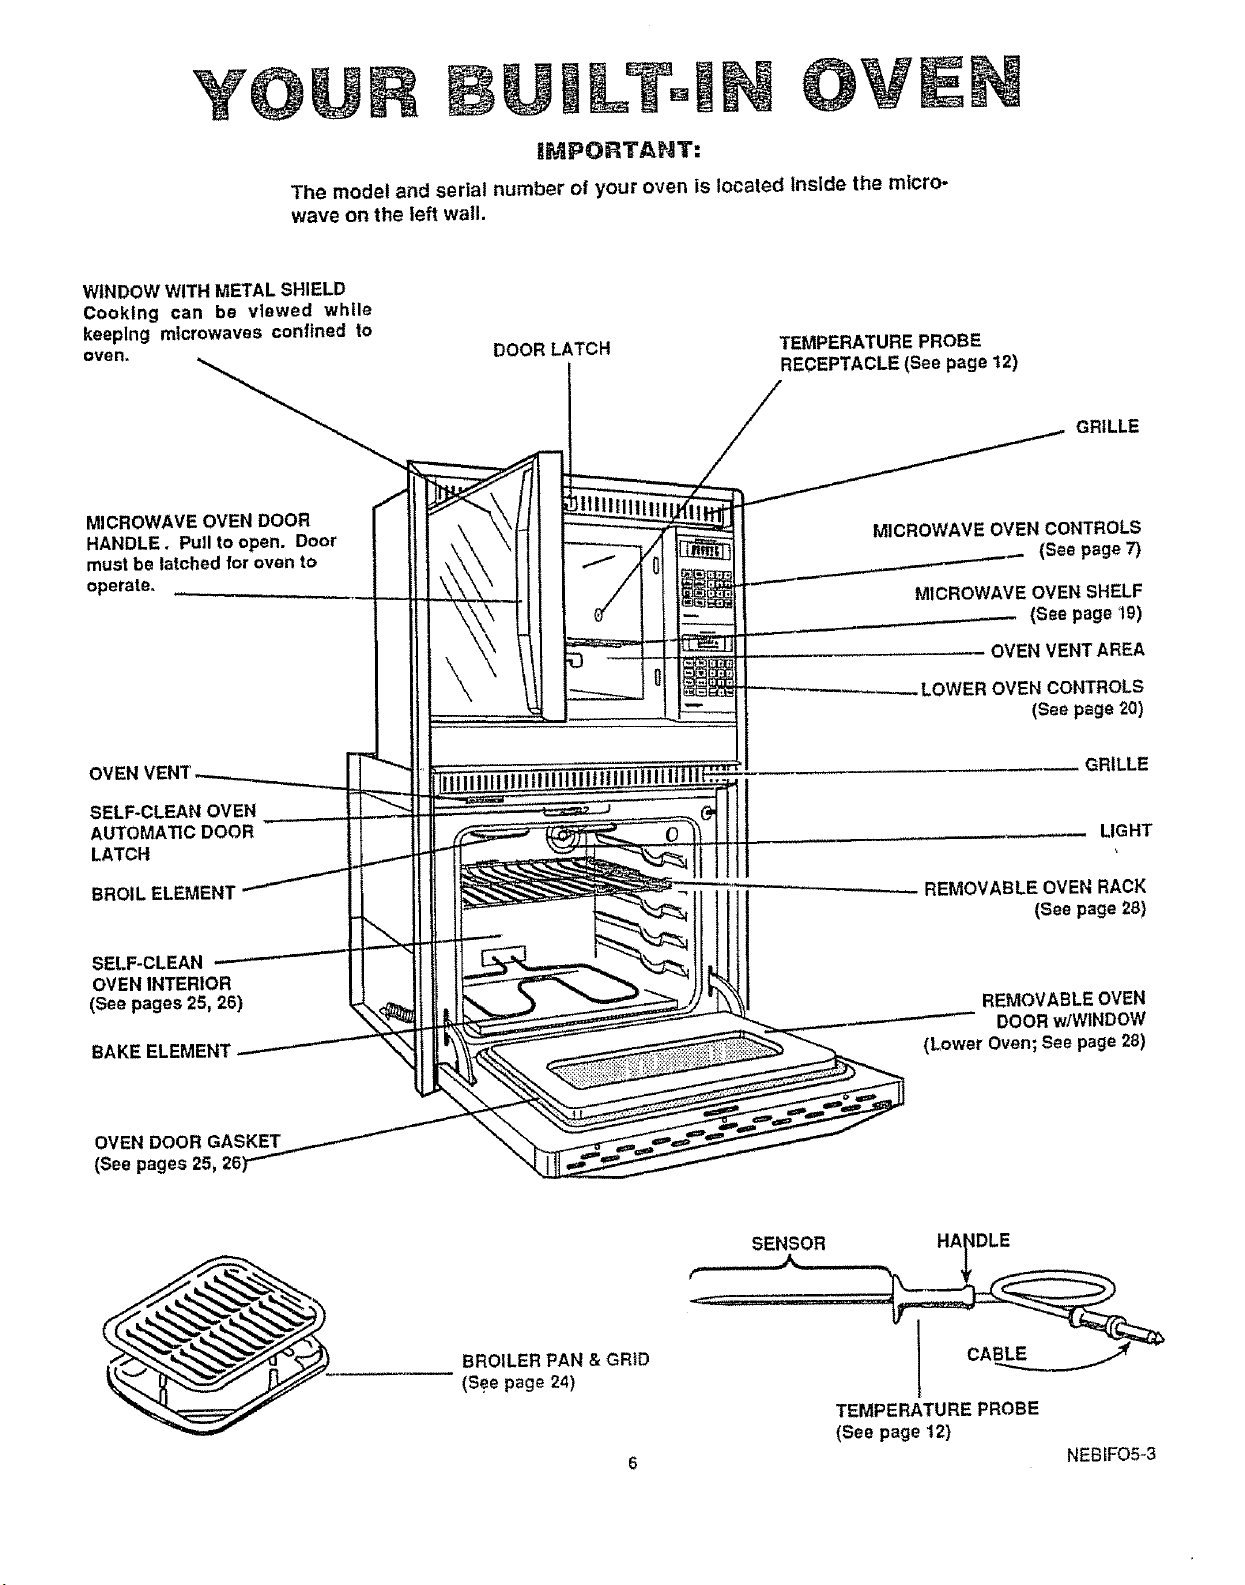
Y@ LTo OVEN
IMPORTANT:
The model and serial number of your oven is located Inside the micro-
wave on the left wall.
WINDOW WITH METAL SHIELD
Cooking can be viewed while
keeping microwaves confined to
oven° DOOR LATCH
TEMPERATURE PROBE
RECEPTACLE (See page 12)
GRILLE
MICROWAVE OVEN DOOR
HANDLE, PuJI to open. Door
must be latched for oven to
operate.
SELF-CLEAN OVEN
AUTOMA_C DOOR
LATCH
BROIL ELEMENT
SELF-CLEAN
OVEN INTERIOR
(See pages 25, 26)
BAKE ELEMENT
MICROWAVE OVEN CONTROLS
(See page 7)
MICROWAVEOVENSHELF
.__.-.--- (See page 19)
- OVEN VENTAREA
.LOWER OVEN CONTROLS
(Seepage20)
.... GRILLE
LIGHT
REMOVABLE OVEN RACK
(See page 28}
REMOVABLE OVEN
DOOR wlWtNDOW
(Lower Oven; See page 28)
OVEN DOOR GASKET
(See pages
BROILER PAN & GRiD
(See page 24)
TEMPERATURE PROBE
(See page 12)
6 NEBIFO5-3
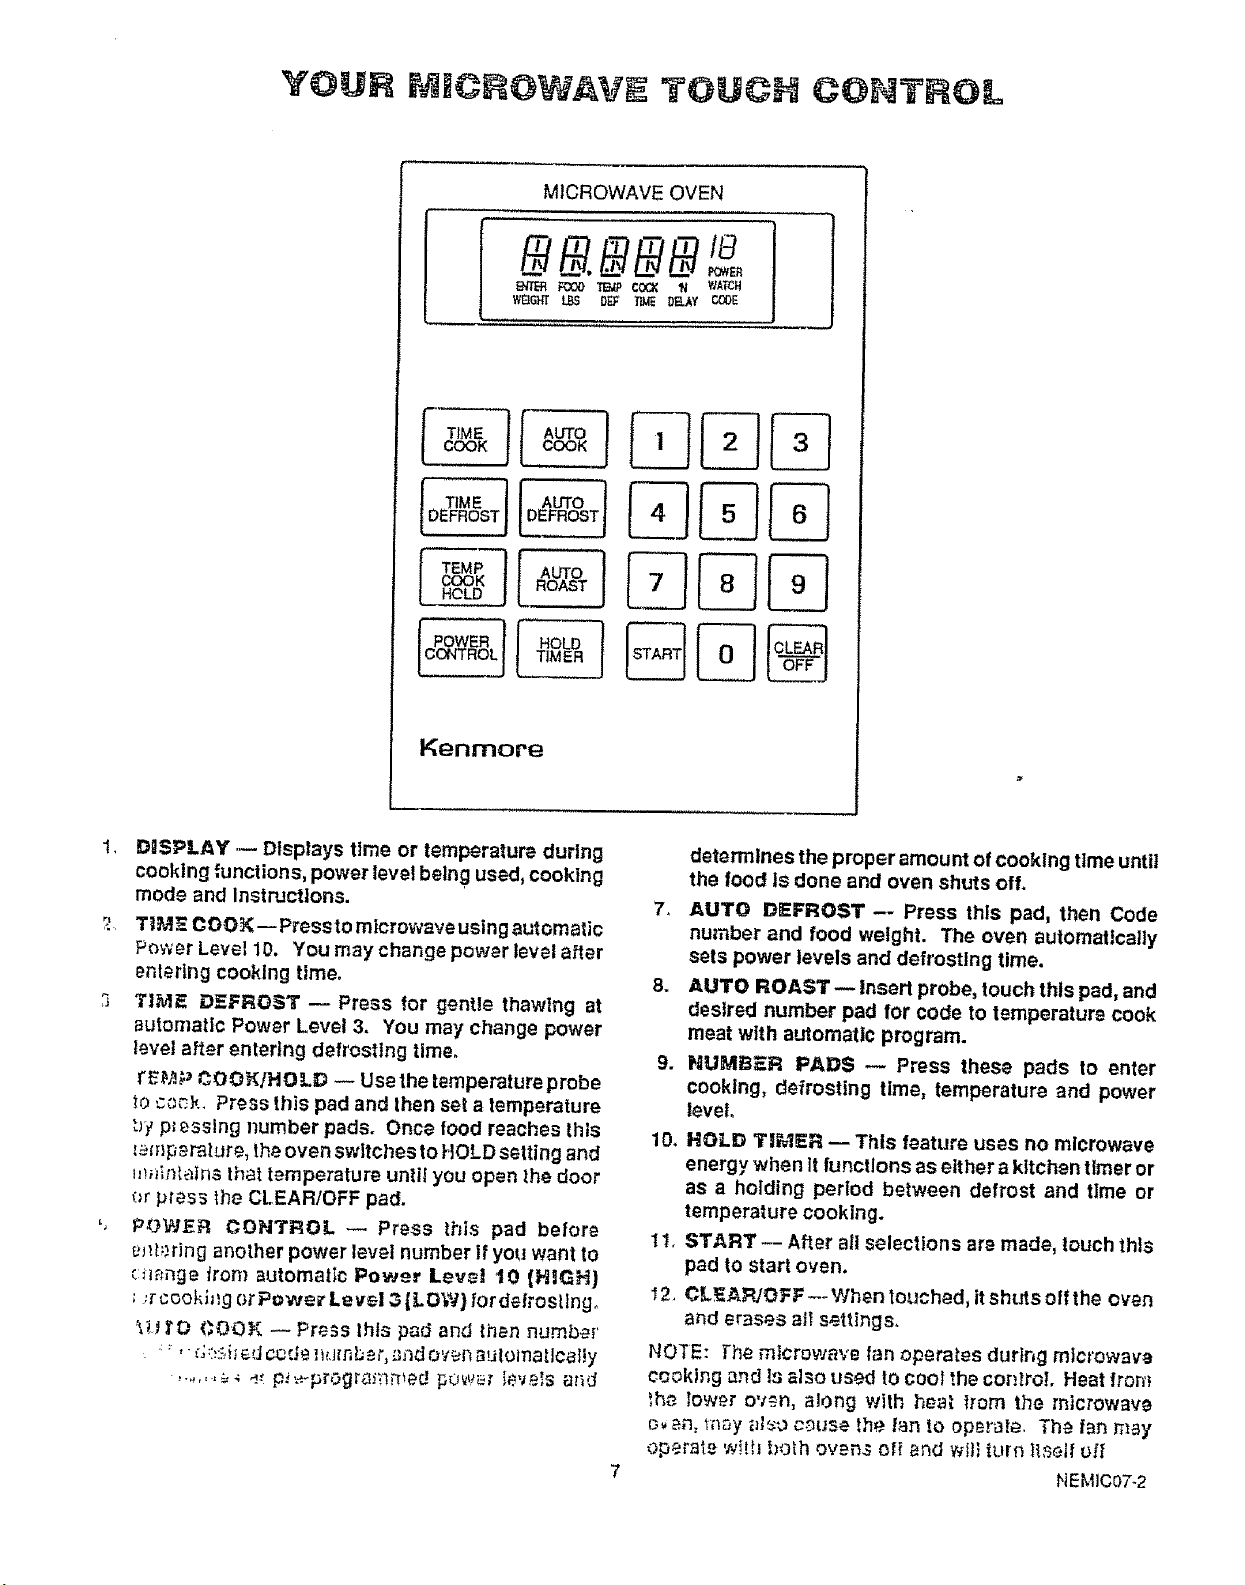
MICROWAVE OVEN
][
D RosTj[DEFROST
cook
HOLD
Pow .1[ .o o
Kenmore
1,
DOSPLAY .-- Displays time or temperature during
cooking functions, power level belng used, cooking
mode and Instructions.
2 TIM7 COOK-- Pressto microwave using automatic
Power Level 10. You may change power level after
entering cooklng time.
3 TIME DEFROST -- Press for gentle thawing at
automati¢ Power Level 3. You may change power
Ievel after entering defrosting time.
_'£_t,) _OOf(!HOLD -- Use the temperature probe
_oc_ck. Press this pad and then set a temperature
_}ypt _sslng number pads. Once food reaches this
_mp_rature, theoven switches to HOLD setting and
m_iif_lalns that temperature until you open the door
_r press the CLEARIOFF pad.
', POWEFI CONTROL _ Press this pad before
_J_.h._ringanother power level number if you want to
_:_mnge iron} automatic Power Love! 10 (H!GH]
; ,rcoohh_g orPow._r Level 3[LOW} {ordefrosllng.
%H i'D COOK -- PreSS thlsp_d and then number
:_' ':;:;_:_,ke;J¢_rJe ,,l_.ffnbe_",._ndo'_i_ SulomatloBI!y
%
determines the proper amount of cooking time until
the food Is done and oven shuts off.
7, AUTO DEFROST -- Press this pad, then Code
number and food weight. The oven automatically
sets power levels and defrosting time.
8. AUTO ROAST-- Insert probe, touch this pad, and
desired number pad for code to temperature cook
meat with automatic program.
9. NUMBER PADS -- Press these pads to enter
cooking, defrosting time, temperature and power
level.
10. HOLD TI_IER _ This _eature uses no microwave
energy when It functions as either a kitchen timer or
as a holding period between defrost and tlme or
temperature cooklng.
tl. START -- After all selections are made, touch this
pad to start oven.
2. CL_AFb'OFF-- When touched, itshuts off the oven
and erases al_settlngs_
NOTE: The microwave fan operates durtr_g mlcrowaw
c_oklng and Isalso used !o cool the cor_._roLHeat Iron'}
_he lower oven, along with hm_t from the microwave
{_ _.n,t_'_aya_o cm_se _he f,_n to operate. The fan may
operate with both ovens off and wf}; turn ]lseif oil'
HEM]C07-2
THE HOLD TIMER
The HOLD TIMER has three timing functions:
• It can be set as a minute timer°
• It can be set as a holding time after defrosting.
It can be set to delay cooking_
The HOLD TIMER operates without microwave energy.
TO SET MINUTE TIMER
The minute timer displays minutes:seconds. The
maximum time setting is 99 minutes and 99 seconds.
t. Press HOLD TIMER,
TIMER
HOLD ]
2.
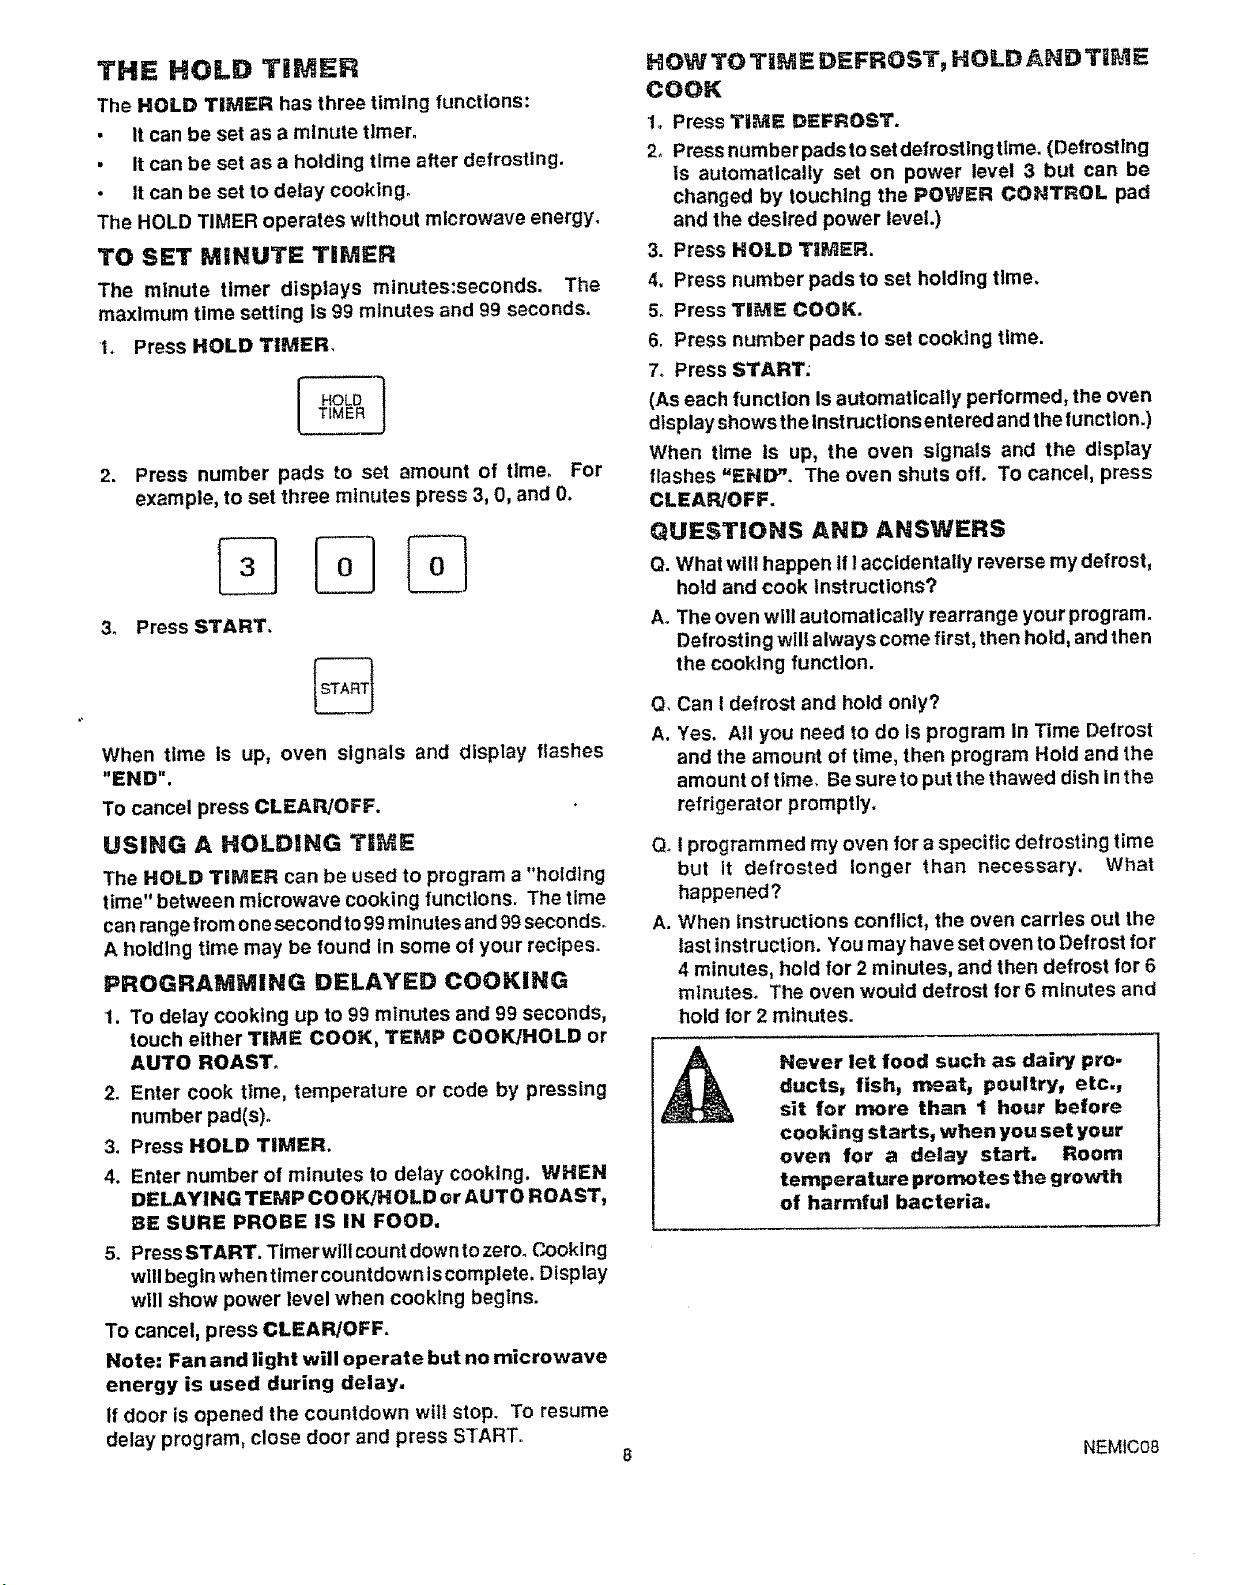
Press number pads to set amount of time, For
example, to set three minutes press 3, 0, and 0.
3_
Press START.
%
When time Is up, oven signals and display flashes
"END".
To cancel press CLEAR/OFF.
USING A HOLDING TiME
The HOLD TIMER can be used to program a "holdlng
time" between microwave cooking functions, The time
canrange from one second to99 minutes and 99 seconds.
A holding time may be found In some of your recipes°
PROGRAMMING DELAYED COOKING
1. To delay cooking up to 99 minutes and 99 seconds,
touch either TIME COOK, TEMP COOK/HOLD or
AUTO ROAST,
2, Enter cook time, temperature or code by pressing
number pad(s),
3. Press HOLD TIMER.
4. Enter number of minutes to delay cooking. WHEN
DELAYING TEMP COOK!HOLD or AUTO ROAST,
BE SURE PROBE IS IN FOOD.
5. Press START. Timer will count down tozero_Cooking
will begin when timer countdown Is complete. Display
will show power level when cooklng begins.
To cancel, press CLEAR/OFF.
Note: Fan and light will operate but no microwave
energy is used during delay.
If door is opened the countdown wtlt stop. To resume
delay program, close door and press START.
HOW TO TIME DEFROST, HOLD AND TiME
COOK
1_ Press TiME DEFROST.
2, Press number pads to set defrosting time. (Defrosting
Is automatically set on power level 3 but can be
changed by touching the POWER CONTROL pad
and the desired power level.)
Press HOLD TI_ER.=
4.
Press number pads to set holding time,
5.
Press TIME COOK.
6.
Press number pads to set cooking time.
7o Press START;
(As each function Is automatically performed, the oven
display showsthelnstructlonsentered and the function.)
When time is up, the oven signals and the display
flashes =ENID_, The oven shuts off. To cancel, press
CLEAR/OFF.
QUESTIONS AND ANSWERS
Q. What wlll happen If I accidentally reverse my defrost,
hold and cook Instructions?
A. The oven will automatically rearrange your program.
Defrosting will always come first, then hold, and then
the cooking function.
Q, Can t defrost and hold only?
A. Yes. All you need to do Is program In Time Defrost
and the amount of time, then program Hold and the
amount of time, Be sure to put the thawed dish in the
refrigerator promptly.
Q_I programmed my oven for a specific defrosting time
but it defrosted longer than necessary. What
happened?
A. When Instructions conflict, the oven carries out the
last instruction. You may have set oven to Defrost for
4 minutes, hold for 2 minutes, and then defrost for 6
minutes° The oven would defrost for 6 minutes and
hold for 2 minutes.
Never let food such as dairy pro.
ducts, fish, meat, poultry, etc.,
sit for more than I hour before
cooking starts, when you set your
oven for a delay start. Room
temperature promotes the growth
of harmful bacteria.
NEMIC08
The time cooking feature altows you to preset the cook-
ing time. The oven shuts off automat:Ca!ly at the end of
the cooking time.
Power }eve_10 (High) is recommended for most cock°
tng, but you may change thls for more flexibility.
1. Press T_JE COG_;.
COOk
i IME
2. Press number pads to enter cooking time.
Power level 10wil! be displayed. If power level 10 Is not
desired, press POWER CONTROL and then press
number pad to select new power level.
3. Press START.
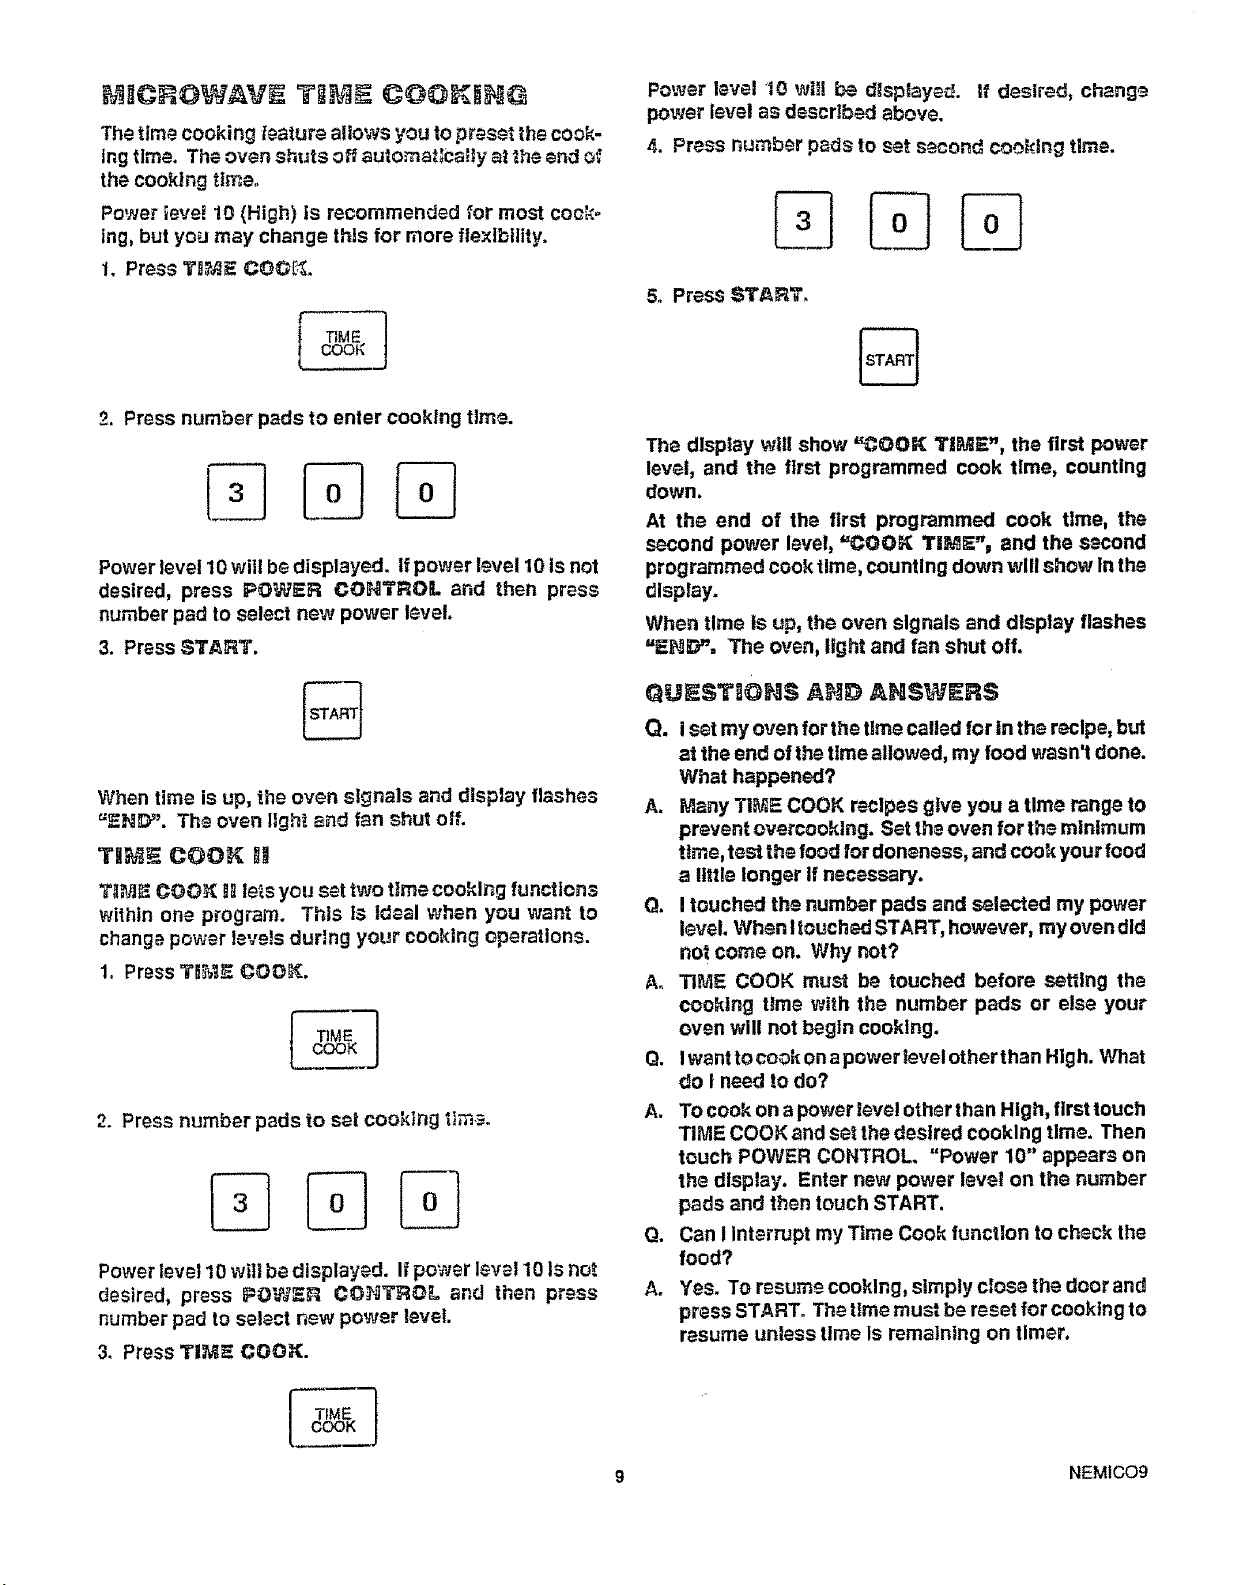
Power level 10 will _ displayed. If desired, chang_
power level as descr!bed above.
4. Press number pads to set second cook!rig time.
5. Press START.
%
The display will show "COOK T]_ME', the first power
level, and the first programmed cook time, counting
down.
At the end of the first programmed cook tlme, the
second power level, "COOK T|M_"_ and the second
programmed cook time, counting down will show In the
display.
When time is up, the ovan signals and display flashes
=_Hi_Y'. The ovan, light and fan shut off.
When time is up, the oven signals and display flashes
=END". The oven Ilgh_ and fan shut oil.
TII_,_E COOR I_
T],_I_ COO_ BRlets you set two time cooking functions
within one wogFam. This Is Ideal when you want to
changa power teve!s durlng your cooking operations.
1. Press T_ COOK.
TiME
COOK
2. Press number pads to seI cooking tt,_.
Power level 10 will be displayed. If power level 10 Is not
desired, press IPOWER CO_TROL and then press
number pad to select new power level.
3. Press TIM_ COOK.
Q_ST_ON_ A_JD ANSWERS
Q. i s_t my oven for the time called for in the r_clpe, but
at the end of the ttme allowed, my food wasn't done.
What happened?
A. Many TI_ COOK recipes give you a tlm_ range to
prevent overcooklng. Set th_ oven for the minimum
time, tes_the food for donensss, and cook your food
a I!ttle longer If necessary.
Q. I touched the number pads and s_lected my power
level. When !touched START, however, my oven did
not come on. Why not?
A. TI_I_ COOK must be touched before setting the
cook!ng tlme with the number pads or else your
oven will not begln cooking.
Q. I want to cook on a power ievel other than High. What
do I need to do?
A. To cook on a power tore! other than High, first touch
TIME COOK and set the desired cooking time. Then
touch POWER CONTROL. "Power 10" appears on
the d!splay. Enter new power level on the number
pads and then touch START.
Q, Can 1Interrupt my Time Cook function to check the
food?
A, Yes. To rasume cooking, simply close the door and
press START. The time must be reset for cooking to
resume unless time ls remaining on timer.
9 NEM1CO9
DEFROST|NG BY TIM
• Power Level 3 Is automatlcally set for defrosting, but
you may change this for more flexibility.
• See your cookbook for defrosting help.
1. Press TIME DEFROST_
2. Press number pads to set 1/2 of defrosting time in the
cookbook.
Power level 3 will be displayed° Ifyou wish to change the
power level, press POWER COHTROL and the new
number.
3. Press START.
When cycle is over, the oven signals and display flashes
"END". The oven automatically shuts off.
4. Turn package over, stir food or rotate dish° Repeat
steps 1-3.
DEFROSTING TiPS
• Foods frozen in paper or plastic can be defrosted In
package.
• Family-size, pre-packaged, frozen entrees can be
defrosted and mlcrowaved. Remove from foil
container and place in a microwave safe dish.
• For even defrosting some foods may need to be
broken apart or separated part of the way through the
defrosting time.
• Check your cookbook for defrosting tips.
QUESTIONS AND ANSWERS
Q. When I press START, I hear a dull thumping noise.
What Is It?
A. This sound Is normal It lets you know the oven Is
using a high power level
Go
Can I defrost small Pems in a hurry?
A°
Yes. Raise the power level after entering the timer
Power level 7 cuts the total defrosting time about in
half; power level 10 cuts the total defrosting time to
about one-third. During either, rotate or stir
foods frequently.
Q*
Why do the defrosting times tn the cookbook not
seem right for my food?
A.
Defrosting times are averages. Defrosting time can
vary according to your freezer° Set your oven for the
time Indicated In the cookbook. If food is still not
completely thawed at the end of that time, reset your
oven and adjust time accordingly.
Q. Should all foods be completely thawed before
cooktng?
A° Some foods should not be completely thawed before
cooking. For example, fish sticks should stll[ be
slightly frozen.
Q_
Can I open the door during defrostlng to check on
the progress of my food?
A.
Yes. You may open the door at any time during
microwavlng. To resume defrosting, close door and
press START° If time Is left on the timer, the oven
begins operating. If not, reset timer.
AUTOMATIC DEFROSTING
With Auto Defrost, the oven automatically sets the
defrosting time and power levels for you. First you
choose the code number from I to 3 tor the food you are
defrosting, then enter the food weight in pounds and
tenths of a pound (see Conversion Guide) and press
START, The oven calculates defrosting time and
changes power levels during defrostlng to give even
defrosting results.
TO SET AUTO DEFROST
1. Press AUTO DEFROST.
2o Press number pad to enter selected code from Auto
Defrost Guide on next page_
3. Press number pads to el_ter welghL For example,
press 1 and 2for weight of 1.2 pounds. See Conversion
Guide.
4. Press START. Display shows "DEFTIME" and defrost
time counts down,
Twice during defrosting, the oven will beep four times,
"TURN" flashes in display and oven shuts oft. Open the
door, attend your food (see Auto Defrost Guide), close
door and press START. When defrosting is completed,
"END" flashes and oven beeps four times. "END"
remains on display and oven beeps every minute until
door is opened or CLEAR/OFF Is pressed_
STAND TiME
When using Auto Defrost feature, It is necessary to
allow food to stand In order to finish defrosting. You
may remove the food from the oven. In some cases, It
should stand in your refrigerator. Recommended stand
times are given In the Auto Defrost Guide.
CONVERSION GUIDE
It weight of food Is stated In pounds and ounces, the
ounces must be converted to tenths (.1) of a pound.
t0 NEMIC17
 Loading...