

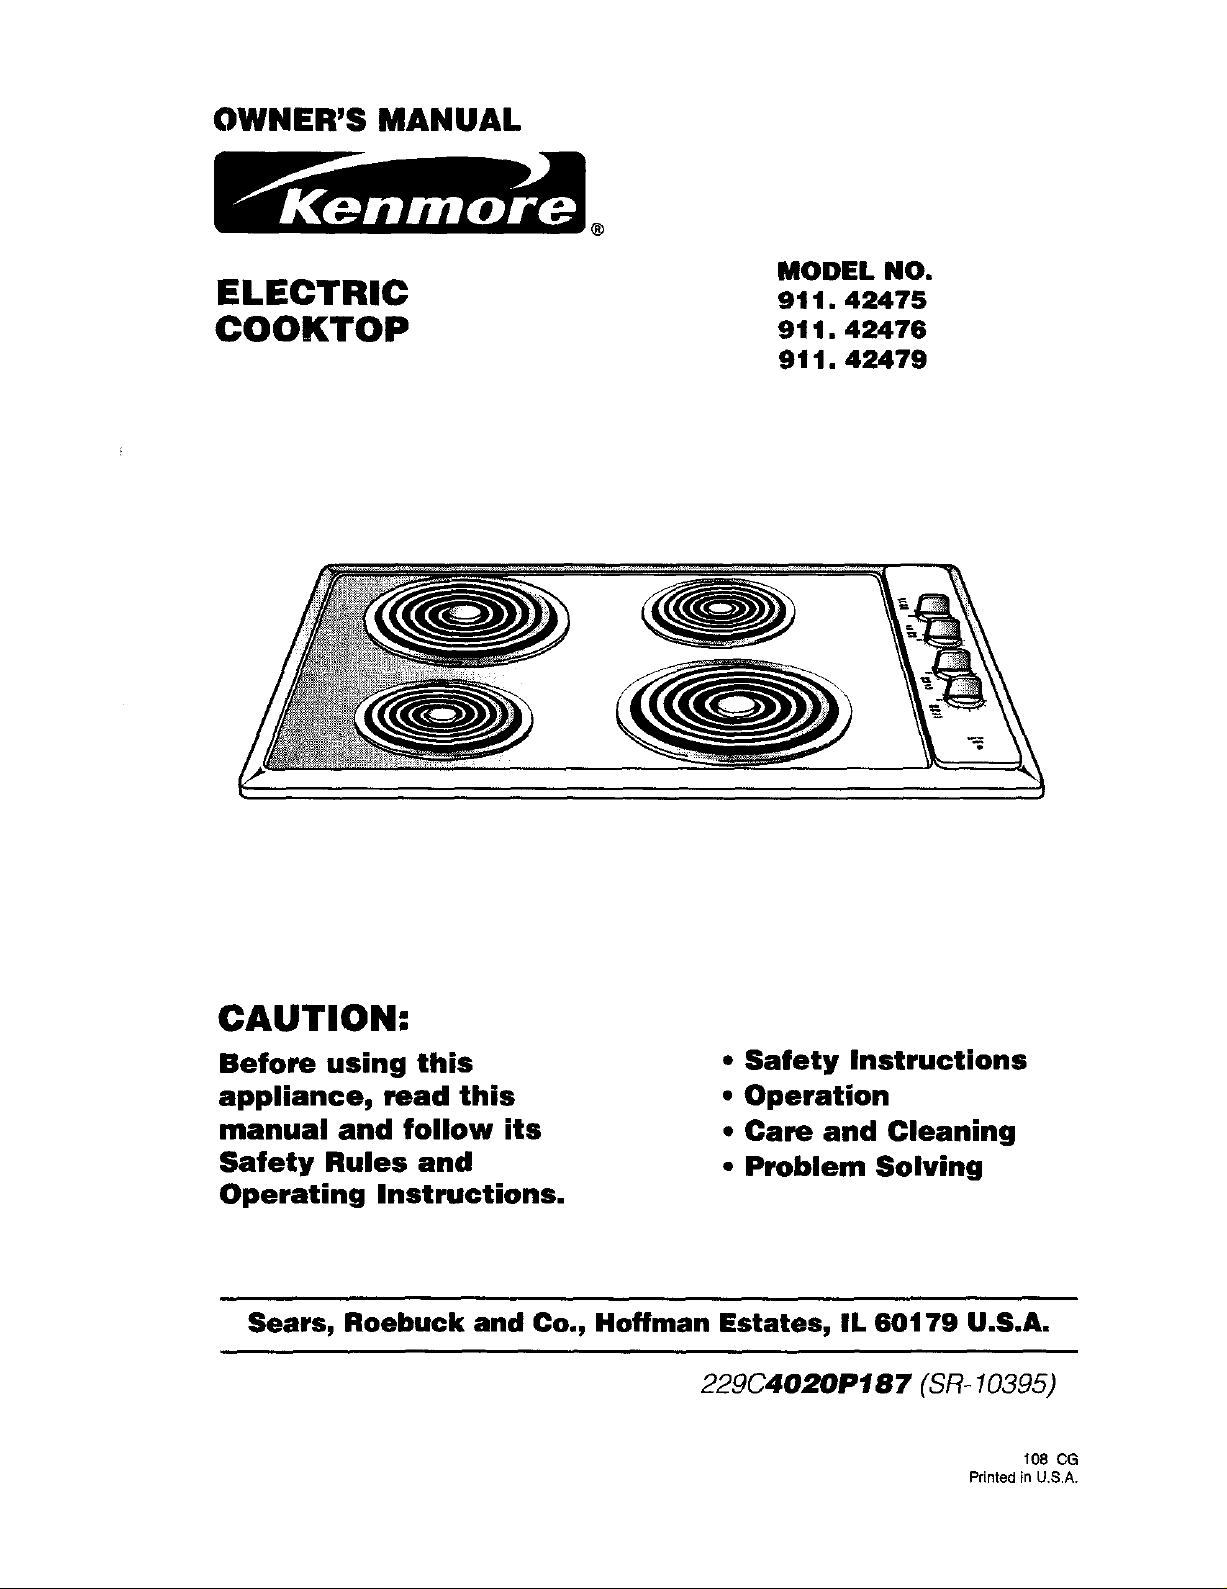
OWNER'S MANUAL
ELECTRIC
COOKTOP
®
MODEL NO.
911.42475
91t.42476
911.42479
CAUTION:
Before using this
appliance, read this
manual and follow its
Safety Rules and
Operating Instructions.
Sears, Roebuck and Co., Hoffman Estates, IL 60179 U.S.A.
• Safety Instructions
• Operation
• Care and Cleaning
• Problem Solving
229C4020P187 (SR- 10395)
108 CG
Printed in U.S.A.
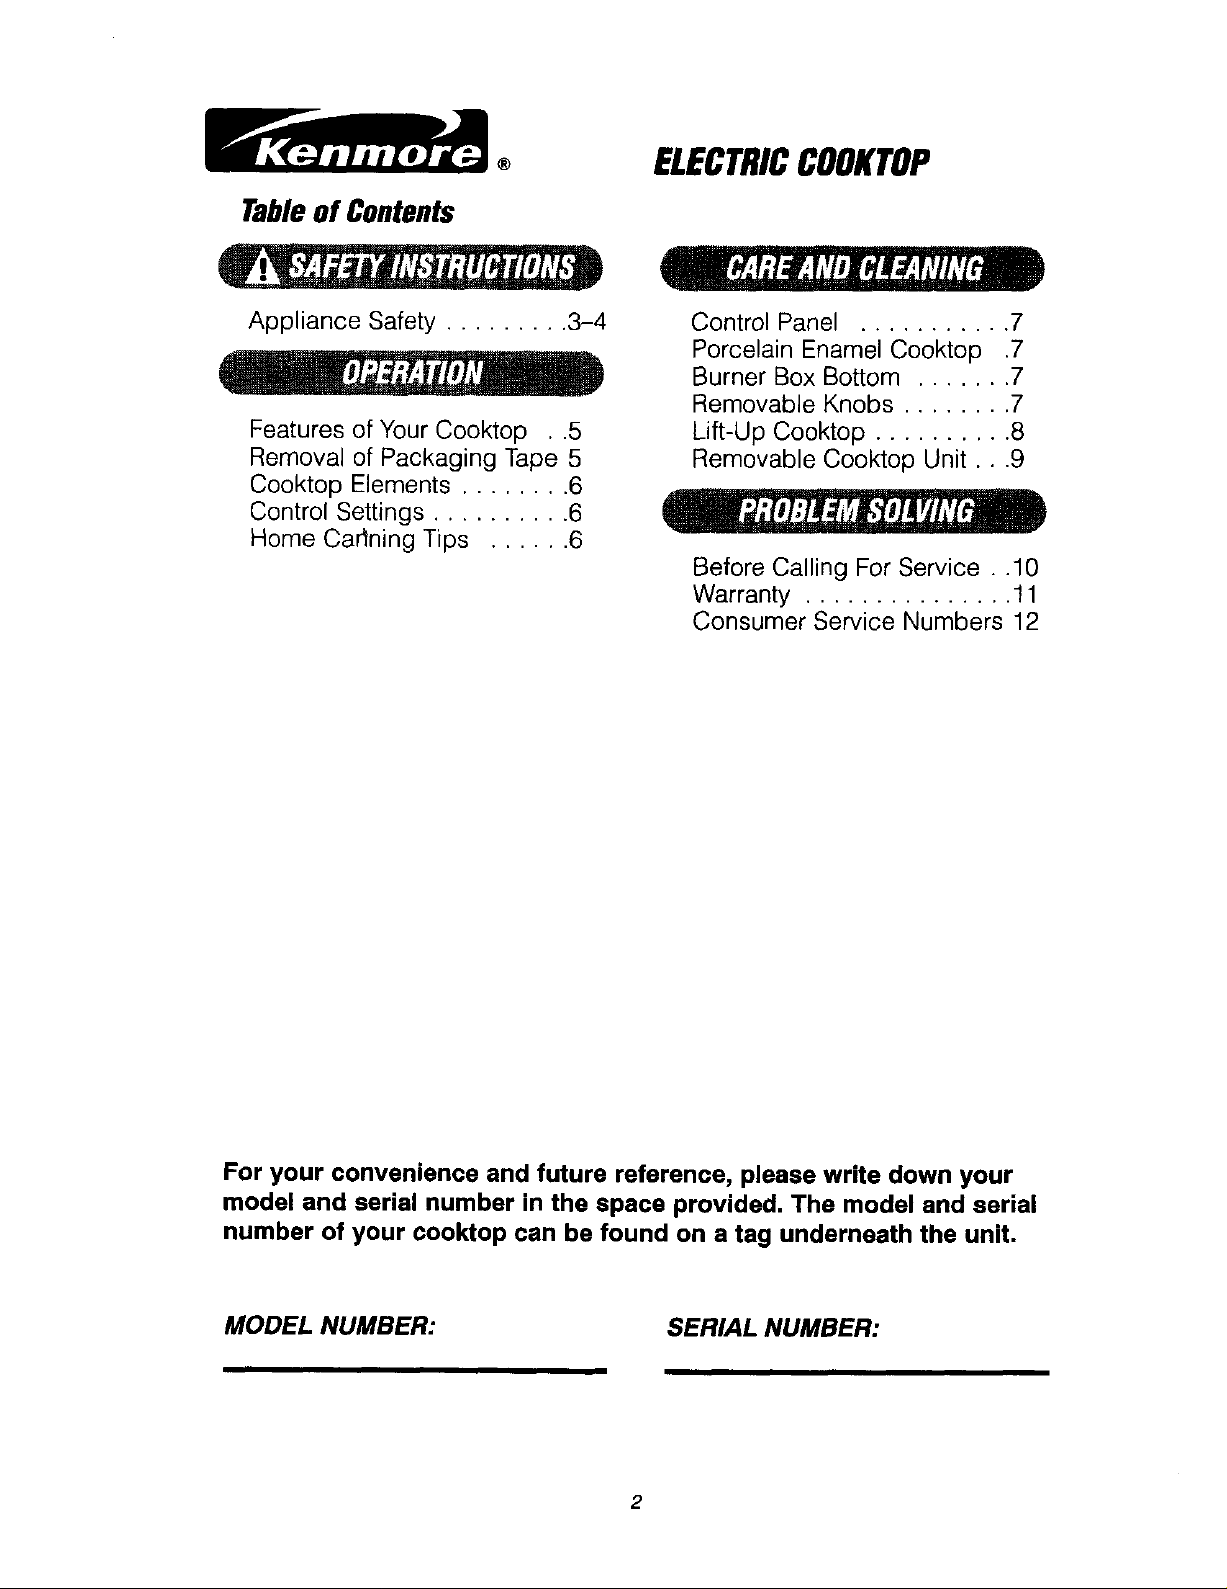
Tableof Contents
® ELECTRICCOOKTOP
Appliance Safety ......... 3-4
Features of Your Cooktop . .5
Removal of Packaging Tape 5
Cooktop Elements ........ 6
Control Settings .......... 6
Home Carlning Tips ...... 6
Control Panel ........... 7
Porcelain Enamel Cooktop .7
Burner Box Bottom ....... 7
Removable Knobs ........ 7
Lift-Up Cooktop .......... 8
Removable Cooktop Unit...9
Before Calling For Service . .10
Warranty ............... 11
Consumer Service Numbers 12
For your convenience and future reference, please write down your
model and serial number in the space provided, The model and serial
number of your cooktop can be found on a tag underneath the unit,
MODEL NUMBER:
SERIAL NUMBER:
2
IMPORTANTSAFETY
®
INSTRUCTIONS
SAVETHESEINSTRUCTIONS
Read all instructions before using this appliance. When using gas or
electrical appliances, basic safety precautions should be followed,
including the following.
• NEVER HEAT unopened food
containers. Pressure buildup can
cause the container to burst and
cause injury.
• NEVER LEAVE jars or cans of fat
Important: To insure safety for
yourself, family and home, please
read your Owner's Manual carefully.
Keep it handy for reference. Pay
close attention to Safety Sections.
BE SURE your appliance is installed
and grounded by a qualified
technician.
• DO NOT leave children alone
or unattended near an appliance
inouse.
• TEACH CHILDREN not to play
with controls or any part of the
appliance, and not to sit, climb or
stand on any part of the appliance.
• CAUTION: NEVER STORE items
of interest to children in cabinets
above the appliance. Children
blimbing on the appliance could
be seriously injured.
• KEEP THIS manual for later use.
• .NEVER USE your appliance for
warming or heating the room.
• NEVER TRY to repair or replace
any part of the appliance unless
instructions are given in this
manual. All other work should be
done by a qualified technician.
• ALWAYS KEEP combustible wall
coverings, curtains, dish cloths,
towels, potholders, and other
linens a safe distance from the
appliance.
or drippings on your cooktop.
• ALWAYS KEEP the element areas
free from things that will burn.
Food, wooden utensils, and grease
buildup could catch fire. Plastic
utensils could melt and canned
foods could explode. Your
appliance should never be used
as a storage area.
• ALWAYS KEEP your appliance
clear of things that will burn
(gasoline and other flammable
vapors or liquids).
• NEVER TRY to clean a hot
surface. Some cleaners produce
noxious fumes, and wet cloths or
sponges could cause steam burns.
• NEVER WEAR loose fitting
clothing when using your
appliance.
• NEVER USE a towel or other bulky
cloth as a potholder, and make
sure the potholder is dry. Moist
potholders and wet cloths or
sponges could cause steam burns.
DO NOT let potholders touch hot
heating elements.
• DO NOT touch elements or
surfaces near them. These may be
hot enough to cause burns even
though they are dark in color.
During and after use, do not touch
or let clothing or flammable
material contact the elements until
they have had time to cool.
3
®
IMPORTANTSAFETY
INSTRUCTIONS
• ONLY SOME kinds of glass or
ceramic cookware can be used for
cooktop cooking. Make sure the
cookware you choose to use is
designed for cooktop cooking,
without breaking due to sudden
changes in temperatures.
• ALWAYS USE care when touching
the cooktop elements. They will
retain heat after the cooktop has
been turned off.
• COOKWARE USED for cooktop
cooking should be flat on the
bottom and large enough to cover
the heating area being used.
This improves heating efficiency.
Undersized utensils expose the
element and may result in direct
contact or ignition of clothing.
• ALWAYS USE drip bowls to
prevent wiring and component
damage. Do not use aluminum
liners or foil in drip bowls. Improper
use may result in risk of electrical
shock or fire.
• NEVER leave surface units
unattended at high heat settings.
Boilovers result in smoking or
greasy spills that could catch fire.
• NEVER put heating elements
in water.
• ALWAYS turn utensil handles
inward and away from other
surface units to reduce the risk of
burns, ignition, unintended contact
and spillage.
READ AND
UNDERSTAND
THIS
INFORMATION
NOW!
Should you ever need it, you
will not have time for reading.
Be sure everyone in your home
knows what to do in case of
fire. Never use water on a
grease fire; it will only spread
the flames.
COOKTOP GREASE FIRE:
Never pick up a flaming pan...
1. Turn off the surface elements.
2. Smother the flames with a tightly
fitting lid, baking soda or use a
dry chemical, foam or halon type
extinguisher.
4

® OPERATION
FEATURESOF YOURCOOKTOP
Removable chrome-plated drip
bowls and cooktop elements
Lift-up cooktop
Cooktop control
knobs
To remove the adhesive left from packaging tape, use household
dishwashing liquid, mineral oil or cooking oil. With a soft cloth rub
into the area and allow to soak. Rinse and dry well. Repeat
procedure using an appliance polish to insure no damage is done
to the appliance. This should be done before the cool(top is
turned on for the first time. The tape cannot be removed once
the cooktop has heated.
5

®
OPERATION
CooktopCooking
The sign near each control knob
shows you which element is turned
on by that knob.
HI
MED Used for slow boil and
LO
1. Push down to
Used for quick starts, such as
bringing water to a boil.
sauteing.
Used for steaming foods or
keeping cooked foods at
serving temperature.
turn the knob.
Water-bath or pressure canners and
large diameter pots extending more
than 1" beyond the edge of the
cooktop element may be used for
canning. However, do not use large
diameter canners, pots or pans for
anything other than boiling water.
Most syrup or sauce mixtures, and all
types of frying, cook at temperatures
much higher than boiling water. Such
temperatures could eventually harm
the cooktop surfaces surrounding
the surface units.
.
Center canner over the element.
2,
Make sure the canner is flat on the
bottom.
D
Use recipes and procedures from
reputable sources, These are
available from manufacturers such
as Ball®and KerR, and the
Department of Agriculture
Extension Service.
4. Use caution to prevent burns from
steam or heat.
2. Set on or
between marks
for desired heat.
The indicator light will glow when any
cooking element is activated.
6

®
CleaningandRemovableParts
CAREANDCLEANING
CLEANING MATERIALS
%:l_ishwashing detergent
• Warm water
• Soft cloth
Do not use abrasive cleaners,
industrial cleaners or bleach.
CLEANING MATERIALS
• Dishwashing detergent
• Warm water
• Paper towel
•/_mmonia
• Abrasive cleaner
• Soap-filled steel wool pad
TO-CLEAN
Cleanafter each use. tf acidic foods
(hot fruit filling, tomatoes, sauerkraut
o¢ sauces with vinegar or lemon
juice) spill, use a dry paper towel to
wipe up as much as possible. When
surface has cooled thoroughly clean
ceoktop.
All control knobs may be removed
for easy cleaning by pulling the knob
straight off the stem. Be sure that
the knob is in the OFF position
before removal.
HINT: Slip a thin cloth (such as a
handkerchief) or a piece of string
under and around the knob edge
and pull up.
CAUTION: Read these instructions
carefully before replacing the
knobs. Replacing the knobs
improperly will damage the knobs
and the spring clips on the stems.
If this happens, the knobs will fit
loosely.
To replace the knob:
1. The knob stem has a groove in
each side. The groove on one side
has a spring clip. The other
groove is clear (see illustration).
2. Check the inside of the knob and
find the molded rib.
3. Replace the knob by fitting the
molded rib inside the knob into the
clear groove on the stem.
7

CAREANDCLEANING
CleaningandRemovableParts
The cooktop lifts up so the cooktop
and the area underneath (burner box
bottom) can be cleaned.
To raise the cooktop
1. Remove knobs.
2. Grasp at the front and lift up.
3. Raise the support rod into place to
hold the cooktop while cleaning.
To lower the cooktop
1. Carefully replace the support rod
and lower the cooktop. Press into
place. Make sure the strikes fit in
the catches to fasten the cooktop.
2, Replace knobs.
Be sure to secure cooktop support
rod in the maintop strike bracket.
CooktopJ
bracket
_Cooktop
support
rod
_ AUTION: When working_
porcelain enamel surface of the
cooktop can chip if dropped.
in this area, be careful
not to bump into the
support rod, The
J
8

®
CAREANDCLEANING
CleaningandRemovableParts
Element
Reflector bowi Receptacle
TO REMOVE
1. Be sure the controls are in the off
position and the elements are cool
before attempting to remove them.
2. Grasp the element and lift slightly,
just enough to clear the drip bowl
and pull it straight out.
the_
_ CAUTION: Do not lift
receptacle, causing the element
not to lie flat when it is plugged
,,bbackin. , ,._
element more than 1".
Lifting the element more
than 1" can damage the
For blue-gold heat stains -- use a
metal polish.
These stains are caused by
overheating, and are usually
permanent. To help minimize this
effect, avoid excessive use of high
heat settings and use flat bottom
pans that do not extend more than 1"
from the edge of the cooking element.
CAUTION: Do not
operate the cooktop
elements without the
drip bowls in place.
Scorching of the cooktop,
burning of wiring insulation and
_Joss of energy will occur. J
TO REPLACE THE UNIT:
1. Place the drip bowl into the
opening and make sure the
receptacle is visible.
2. Slide the element firmly back into
the receptacle and lower it onto
the drip bowl.
3. Lift out the drip bowl.
TO CLEAN THE DRIP BOWL
For brown food stains -- use
dishwashing detergent, warm water,
plastic scouring pads, mild abrasive
cleaners, soap-filled scouring pads
or ammonia.
Clean drip bowls after each use,
Rinse and dry well. Foods that are
not removed can cause permanent
stains that cannot be removed. For
heavily soiled bowls, place an
ammonia-soaked paper towel over
the bowl to loosen the soil, then
gently, scrub the bowl with a plastic
scounng pad.
9

BEFORECALLINGFORSERVICE
To save you time and money, before making a service call, check the list
below for any problem you may feel you have with the performance of your
cooktop. If the problem is something you cannot repair, use the Consumer
Service Numbers located at the back of this manual. When making any
calls, have the model number, repair parts list, Use and Care Manual and
the date of purchase available.
PROBLEM POSSIBLE CAUSE POSSIBLE SOLUTION
Cooktop elements a. No power to unit.
do not work.
b. Improper operation
of control.
c. Surface unit not
replaced correctly.
d. Surface element
needs replacing.
a. Check household
fuse or circuit breaker.
b. Be sure knob is
pushed in while
turning.
el When surface unit is
cool, check to see if
drip pans are set
securely in countertop
and unit is plugged in
correctly.
dw
Unplug the element
which will not heat.
Plug in another
element of the same
size in its place. If the
second element heats,
replace the first
element. If the second
element does not
heat, call for service.
10

® COOKTOPWARRANTY
i'F w:oEY,:A,m. Y o, .m
If,withinoneyearfromthedateof installation,anypartfailstofunctionproperlyduetoadefectin
materialorworkmanship,Searswill repairor replaceit,atouroption,freeofcharge.
Ifthis productissubjectedto otherthanprivatefamilyuse,theabovewarrantyiseffectiveforonly
90days.
...WARRANTYSERVICEISAVAILABLEBYCONTACTINGTHENEARESTSEARSSERVICE
__NTER/DEPARTMENTINTHEUNITEDSTATES
Thiswarrantygivesyouspecificlegalrights,andyoumayalsohaveotherrightswhichvaryfrom
statetostate.
SearsRoebuckandCo.Dept.817WAHoffmanEstates,IL 60179 J
T_ Further Add To The Value Of Your Range,
Buy a Sears Maintenance Agreement.
f Years of Ownership Coverage 1st Year 2nd Year 3rd Year _
i 1. Replacementof DefectiveParts W MA MA
2. Annual PreventiveMaintenance
_._ Check at your request MA MA MAj
W - Wawanty MA - Maintenance Agreement
%
Ke'nmoreRangesaredesigned,manufacturedandtestedforyearsofdependableoperation.Yet,any
modernappliancemayrequireservicefromtimeto time.TheSearsWarrantyplustheSears
MaintenanceAgreementhelpsprovideprotectionfromunexpectedrepairbills.
ThechartabovecomparesthewarrantyandMaintenanceAgreementandshowsyouthebenefitsof
aSCarsRangeMaintenanceAgreement.
Conta(;tyourSearsSalesAssociateorLocalSearsServiceCentertodayandpurchaseaSears
MaintenanceAclreement.
11

For the repair or replacement parts you need
Call 7 am-7 pm, 7 days a week
1-800- 366-PART
(I-800-366-7278)
For in-home major brand repair service
Call 24 hours a day, 7 days a week
1-800-4-MY-HOME sM
(1-800-469-4663)
For the location of a
Sears Parts and Service Center
in your area
Call 24 hours a day, 7 days a week
1-800-488- 1222
For more information on purchasing a
Sears Maintenance Agreement
or to inquire about an existing Agreement
Call 9 am-5 pm, Monday-Saturday
1-800-827-6655
UARS
HomeCentral"
I
The Servlce Side of Sears.=
12
 Loading...