

Kenmore 758.144240, 758.144120 Owner's Manual
f*
S.ave This Manual
For Future Reference
owner's
manual
MODEL NO.
758.144120
758.144240
FOR YOUR
SAFETY:
READ ALL
INSTRUCTIONS
CAREFULLY
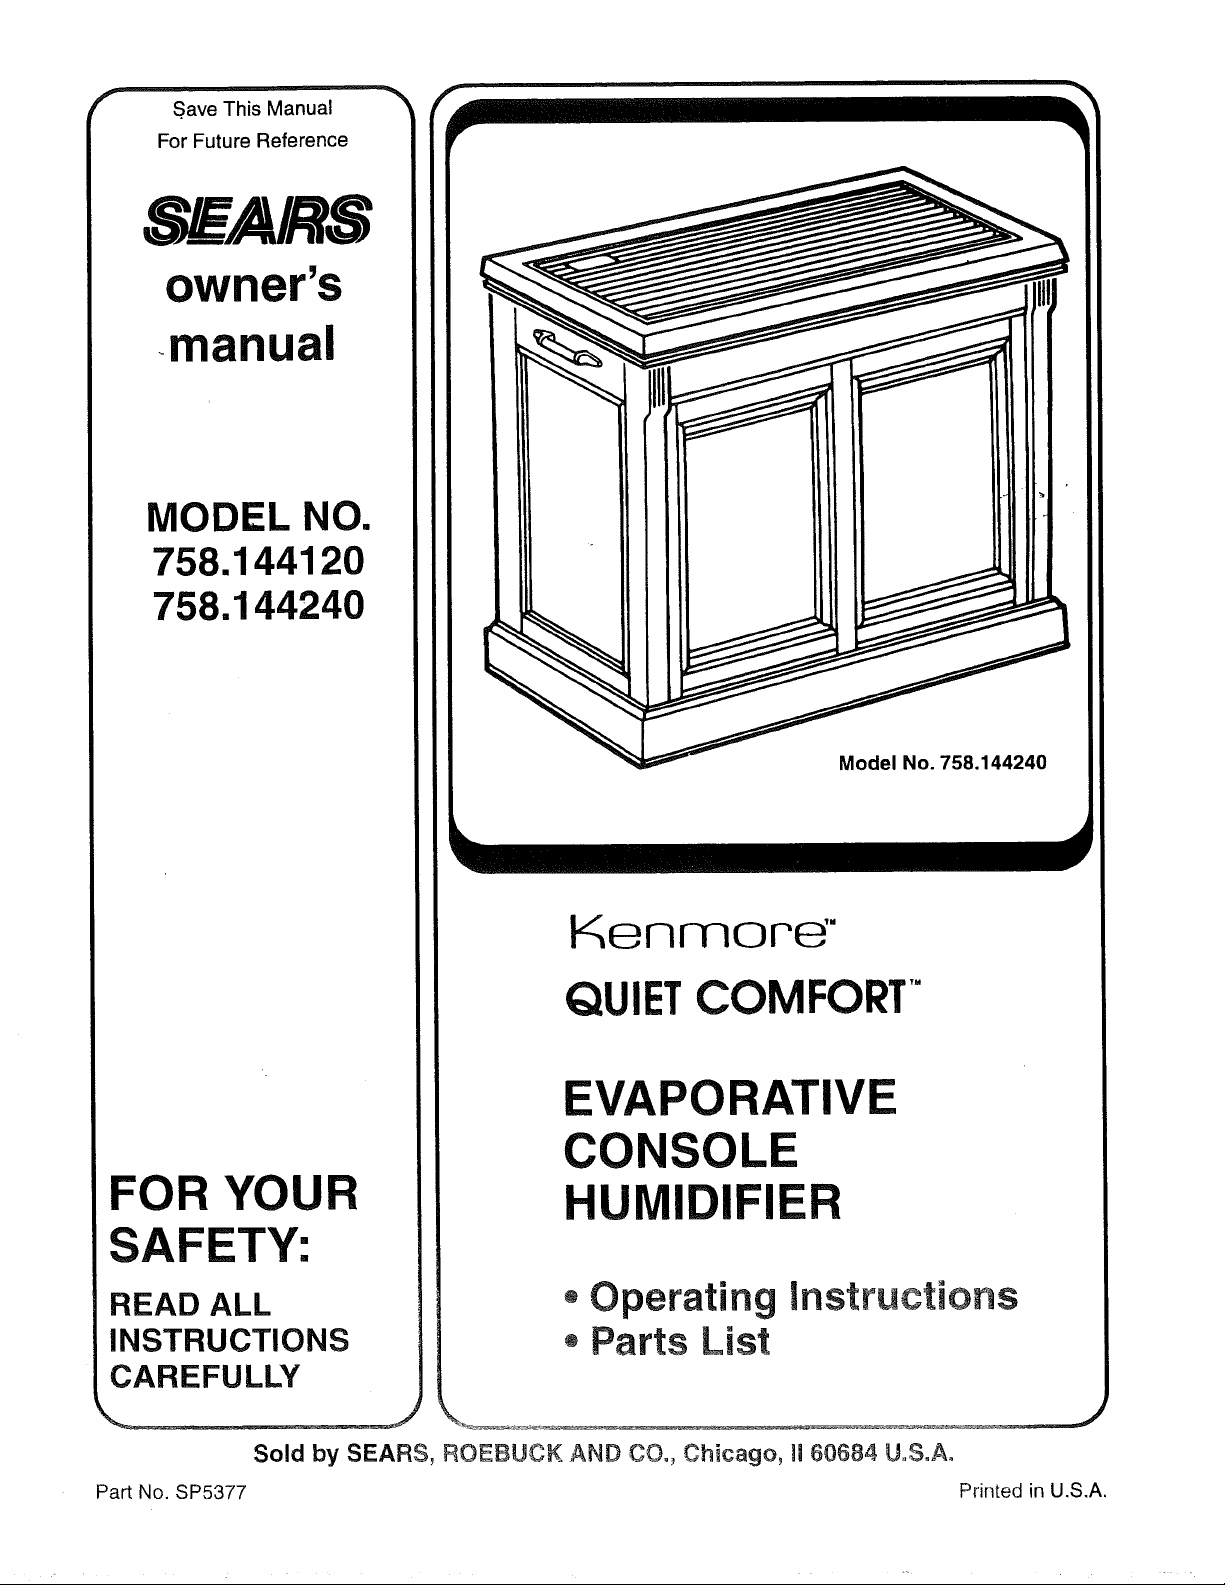
Model No. 758.144240
Kenmope'"
QUIETCOMFORT"
EVAPORATIVE
CONSOLE
HUMIDIFIER
, Operating Instructions
, Parts List
J
Sold by SEARS, ROEBUCK AND COo, Chicago, H 60684 U,S°Ao
Part No. SP5377 Pnnted in U.S.A.
FULL ONE YEAR WARRANTY ON HUMIDIFIER
If, within one (1) year from the date of purchase, this humidifier fails due to defect in material or work-
manship, we will repair it free of charge. If, within two (2) years from the date of purchase, the motor
fails due to defect in material or workmanship, we will repair it free of charge. (Applies to Model
758.144140 and 758.144240 only).
This warranty service is available by simply returning the humidifier to the nearest Sears Service Cen-
ter/Department throughout the United States.
This warranty applies only while this product is used in the United States.
This warranty gives you specific legal rights, and you may also have other rights which vary from state
to state.
SEARS, ROEBUCK AND CO., D/817 WA Hoffman Estates,iL 60195
General Safety Instructions
1. To avoid fire or shock hazard, plug the humidifier directly into a 120V A.C. electrical outlet. Use only U.L: listed
extension cords as instructed by the cord manufacturer. -...... .......
2. Keep the cord out of heavy traffic areas. To avoid fire hazard, never put the cord under rugs, near heat registers,
radiators, stoves or heaters.
3. Always unplug the humidifier before moving it, removing the lid or motor support section, before cleaning, or
whenever the humidifier is not in service.
4. When filling, be careful not to pour water in the control or motor area.
5. Keep humidifier clean.
6. To help keep water clean, do not use the humidifier without the lid in place.
7. Do not put foreign objects inside the humidifier.
8. Never use your humidifier while any part is missing or damaged in any manner.
9. To avoid electrical hazard or damage to the humidifier, do not tilt, jolt or tip the humidifier over while the unit is
running.
10. To avoid damage to the humidifier, turn it to OFF when the tank is empty or when the humidifier is not in use.
11. To avoid accidental electrical shock, do not touch the cord or controls with wet hands.
12. Note the warning label (shown below) on the humidifier.
Table of Contents
Warranty ......................................................................... 2
General Safety Instructions ............................................ 2
Know Your Humidifier ..................................................... 3
Humidifier Operation ....................................................... 3
Location Instructions ....................................................... 4
Electrical Hook-Upl ......................................................... 4
Water Fill......................................................................... 4
Operating Controls ......................................................... 5
Using Your Humidifier ..................................................... 5
Cleaning of Humidifier Tank ............................................ 6
Care of Filter ................................................................... 7
Troubleshooting .............................................................. 7
Repair Parts .................................................................... 8
Safety Signal Words
DANGER: means if the safety information_,!s not followed
someone will be seriously injured or killed.
WARNING: means if the safety information is not fol-
lowed someone could be seriously injured or killed.
CAUTION: means if the safety information is not followed
someone might be injured.
WARNING: To avoid injury, fire or shock always
remove plug from electrical outlet before filling,
servicing or cleaning.
To save a service call:
Check the following if your humidifier will not operate
1. Is power cord attached to outlet?
2. Is there electrical power to outlet?
3. ts airflow control in operating position?
4. Is humidity control set high enough?
5. Is water level in tank high enough to activate switch
actuator.
2
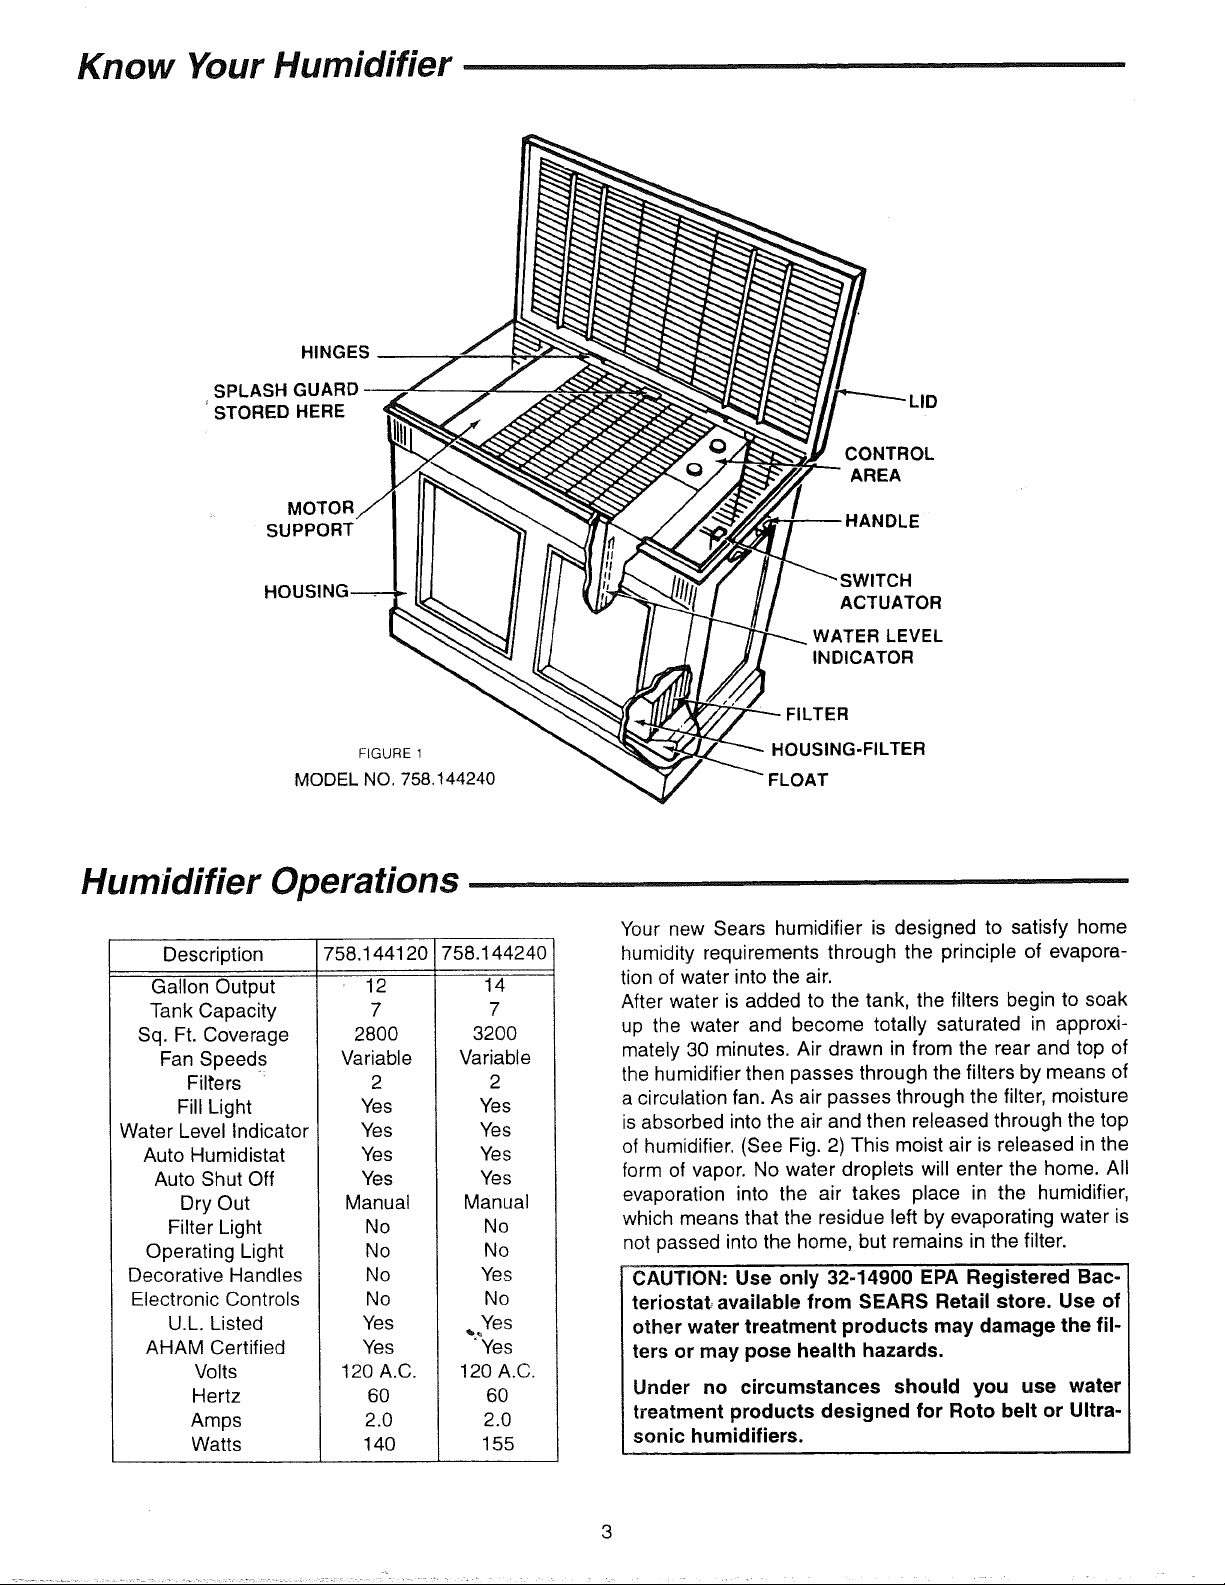
Know Your Humidifier
HINGES
SPLASH GUARD
STORED HERE
MOTOR
SUPPORT
FIGURE 1
MODEL NO. 758.144240
Humidifier Operations
Description
Gallon Output
Tank Capacity
Sq. Ft. Coverage
Fan Speeds
Filters
Fill Light
Water Level Indicator
Auto Humidistat
Auto Shut Off
Dry Out
Filter Light
Operating Light
Decorative Handles
Electronic Controls
U.L. Listed
AHAM Certified
Volts
Hertz
Amps
Watts
758.144120
12
7
2800
Variable
2
Yes
Yes
Yes
Yes
Manual
No
No
No
No
Yes
Yes
12O A.C.
60
2.0
140
758.14424O
14
7
3200
Variable
2
Yes
Yes
Yes
Yes
Manual
No
No
Yes
No
,Yes
"Yes
!20 A.C.
60
2.0
155
ID
CONTROL
AREA
.E
ACTUATOR
WATER LEVEL
INDICATOR
HOUSING-FILTER
FLOAT
Your new Sears humidifier is designed to satisfy home
humidity requirements through the principle of evapora-
tion of water into the air.
After water is added to the tank, the filters begin to soak
up the water and become totally saturated in approxi-
mately 30 minutes. Air drawn in from the rear and top of
the humidifier then passes through the filters by means of
a circulation fan. As air passes through the filter, moisture
is absorbed into the air and then released through the top
of humidifier. (See Fig. 2) This moist air is released in the
form of vapor. No water droplets will enter the home. All
evaporation into the air takes place in the humidifier,
which means that the residue left by evaporating water is
not passed into the home, but remains in the filter.
CAUTION: Use only 32-14900 EPA Registered Bac-
teriostat available from SEARS Retail store. Use of
other water treatment products may damage the fil-
ters or may pose health hazards,
Under no circumstances should you use water
treatment products designed for Roto belt or Ultra-
sonic humidifiers.
3

Humidifier Operations (continued)
CAUTION: Keep your humidifier clean. While
humidifiers do not cause colds, some studies sug-
gest that dirty humidifiers can cause cold like
symptoms in some people. To avoid this, we rec-
ommend you clean your humidifier weekly with
Humidifier Cleaner 32-7283 and use Bacteriostat
32-14900. These are available at your local Sears
store.
Assembly Instruction
(14 Gallon-Model 758.144240)
Included with this humidifier are two decorative handles
which must be _.t-taelibdto the top of the side panels.
Location Instructions
I WARNING: For your own safety, do not use humidi- Itier if any parts are damaged or missing.
1. Place humidifier in area of house where most humidity
is needed, or one which would likely result in moist air
being circulated throughout the house such as near a
cold air return. Moist air (humidity) produced will dis-
perse into the whole house, but area closest to unit will
have the highest humidity.
2. Humidifier should sit at least two inches away from wall
DRY ROOM AIR
N
WATER
Figure 2
Locate handle and using a screwdriver attach the handle
by inserting the screws through the pre-drilled holes in
the cabinet housing. This is easiest with motor support
removed (see unpacking instructiod_-printed o'n top of
carton).
for proper operation. Air needs to enter through rear
and top louvers in order for humidifier to operate at
I
peak efficiency.
NOTE: Due to release of cool, moist air from humidifier, it
is best to direct air away from home's thermostat and hot
air registers. It is best to keep humidifier in front of an
inside wall. Hot air registers and cold air from outside
walls can affect the efficiencies of the controls. Unit
should not be placed where warm air from a hot air regis-
ter blows directly on unit.
HUMIDIFIEOAIR DRYROOMAIR
\to t
Electrical Hookup
Locate nearest 120V A.C. wall socket in the location
desired, preferably on inside wall. (See Fig. 3)
WARNING: To avoid fire or shock hazard, humidi- I
tier, should be plugged into a 120V, A.C. outlet. Do
Lid Retention
1. Locate lid retention clips in styrofoam packing material
on top of motor support section. (See Fig. 4) Dispose
of packing material.
2. Position lid over housing with hinges facing rear of unit.
(See Fig. 5)
3. Position lid retention clip over clip mounting area.
Inot use extension cords.
Figure 3
\
Figure 4
4
 Loading...