How it Works
Log In / Sign Up
Buy Points
How it Works
FAQ
Contact Us
Questions and Suggestions
Users
Kenmore
Loading...
#
63
2
62584
62631
62752
62759
62772
62774
62779
62781
62788
62821
2
62822
62824
62831
2
62841
2
62842
62852
62854
62911
2
62912
62921
2
62922
62924
62931
2
62942
62982
62984
62992
62994
62996
63012
2
63014
2
63022
63024
63032
63034
63036
63042
2
63046
2
63052
63102
63112
63141
63252
63259
63263
6291 - 9.5 cu. Ft. Refrigerator
630.139
630.163
630.173
6325 - 1.2 cu. Ft. Countertop Microwave
630.1300
4
630.1302
4
630.1390
2
630.1390 Series
2
630.1391
2
630.1391 Series
2
630.1395
3
630.1399 Series
630.1399
2
630.1730
630.7793
2
63263 - 1.2 Full Design Microwave
62945765
629.60002
629.60003
629.60008
629.60009
630.13952
630.13953
2
630.13959
2
625384610
625388180
5
625388400
3
6289398491
62538817003
2
62538818003
2
62945765690
62945765790
62945766790
62945769790
62946775690
62946775790
62946776790
62946779790
63016302400
63016304402
63016304403
63016304404
63016304405
63016304406
63016309402
63016309403
63016309404
63016309405
63016309406
63017303403
63017303404
63017303405
63017303406
Loading...
Loading...
Nothing found
630.1300
User Manual
63 pgs
3.43 Mb
0
Installation Manual
33 pgs
2.85 Mb
0
Installation Manual
33 pgs
2.95 Mb
0
Installation Manual
32 pgs
8.19 Mb
0
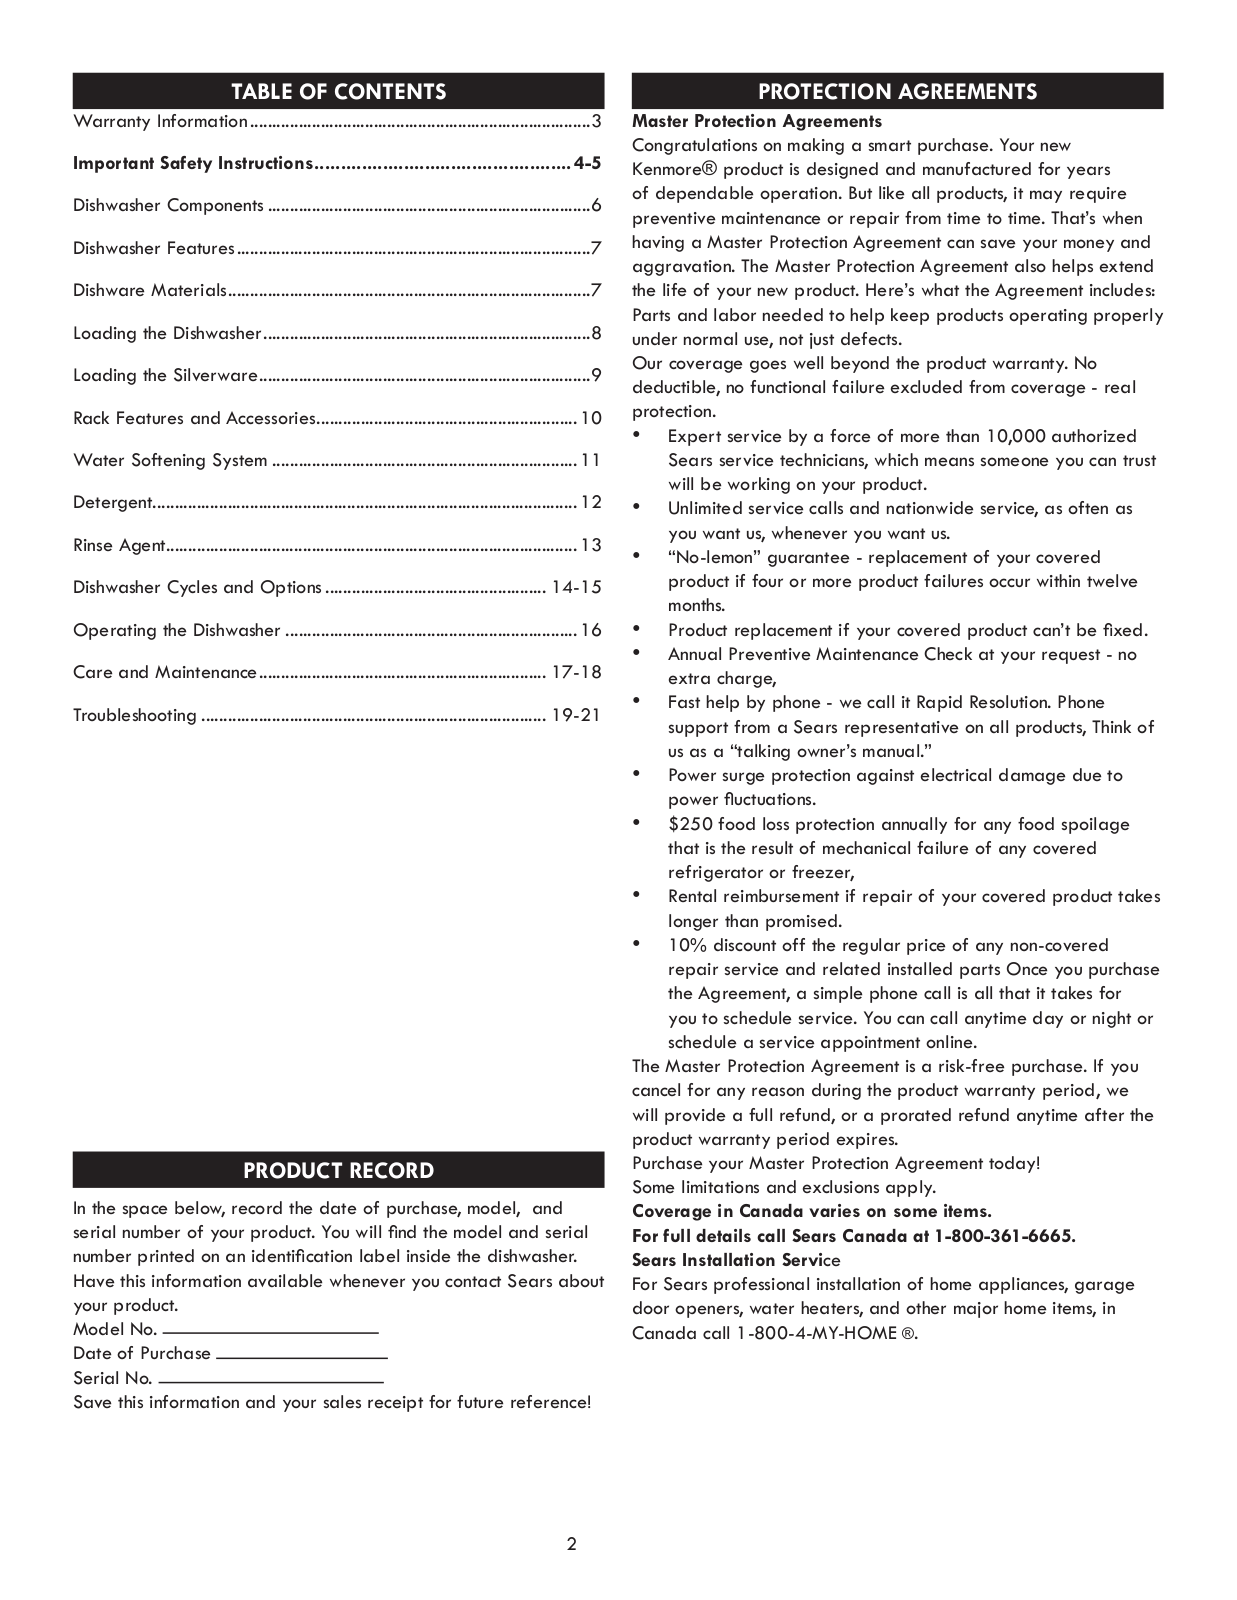
Table of contents
Loading...
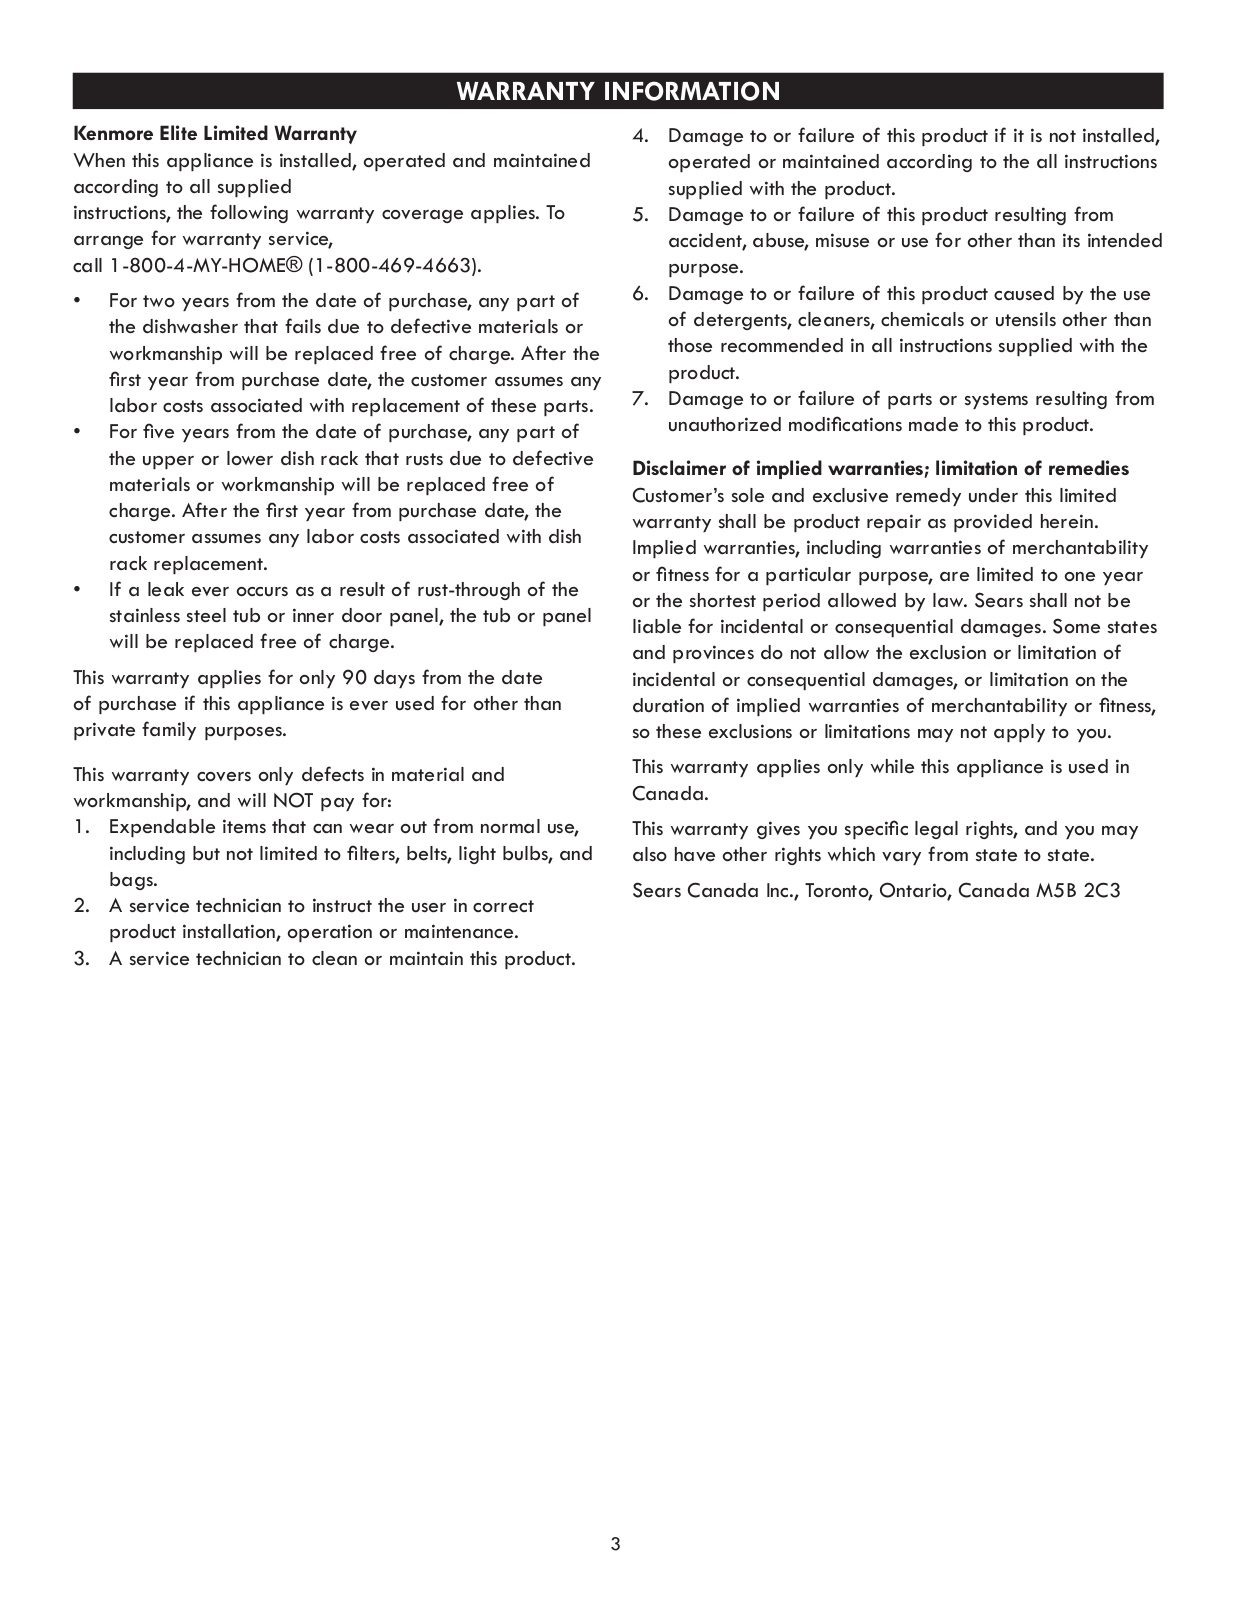
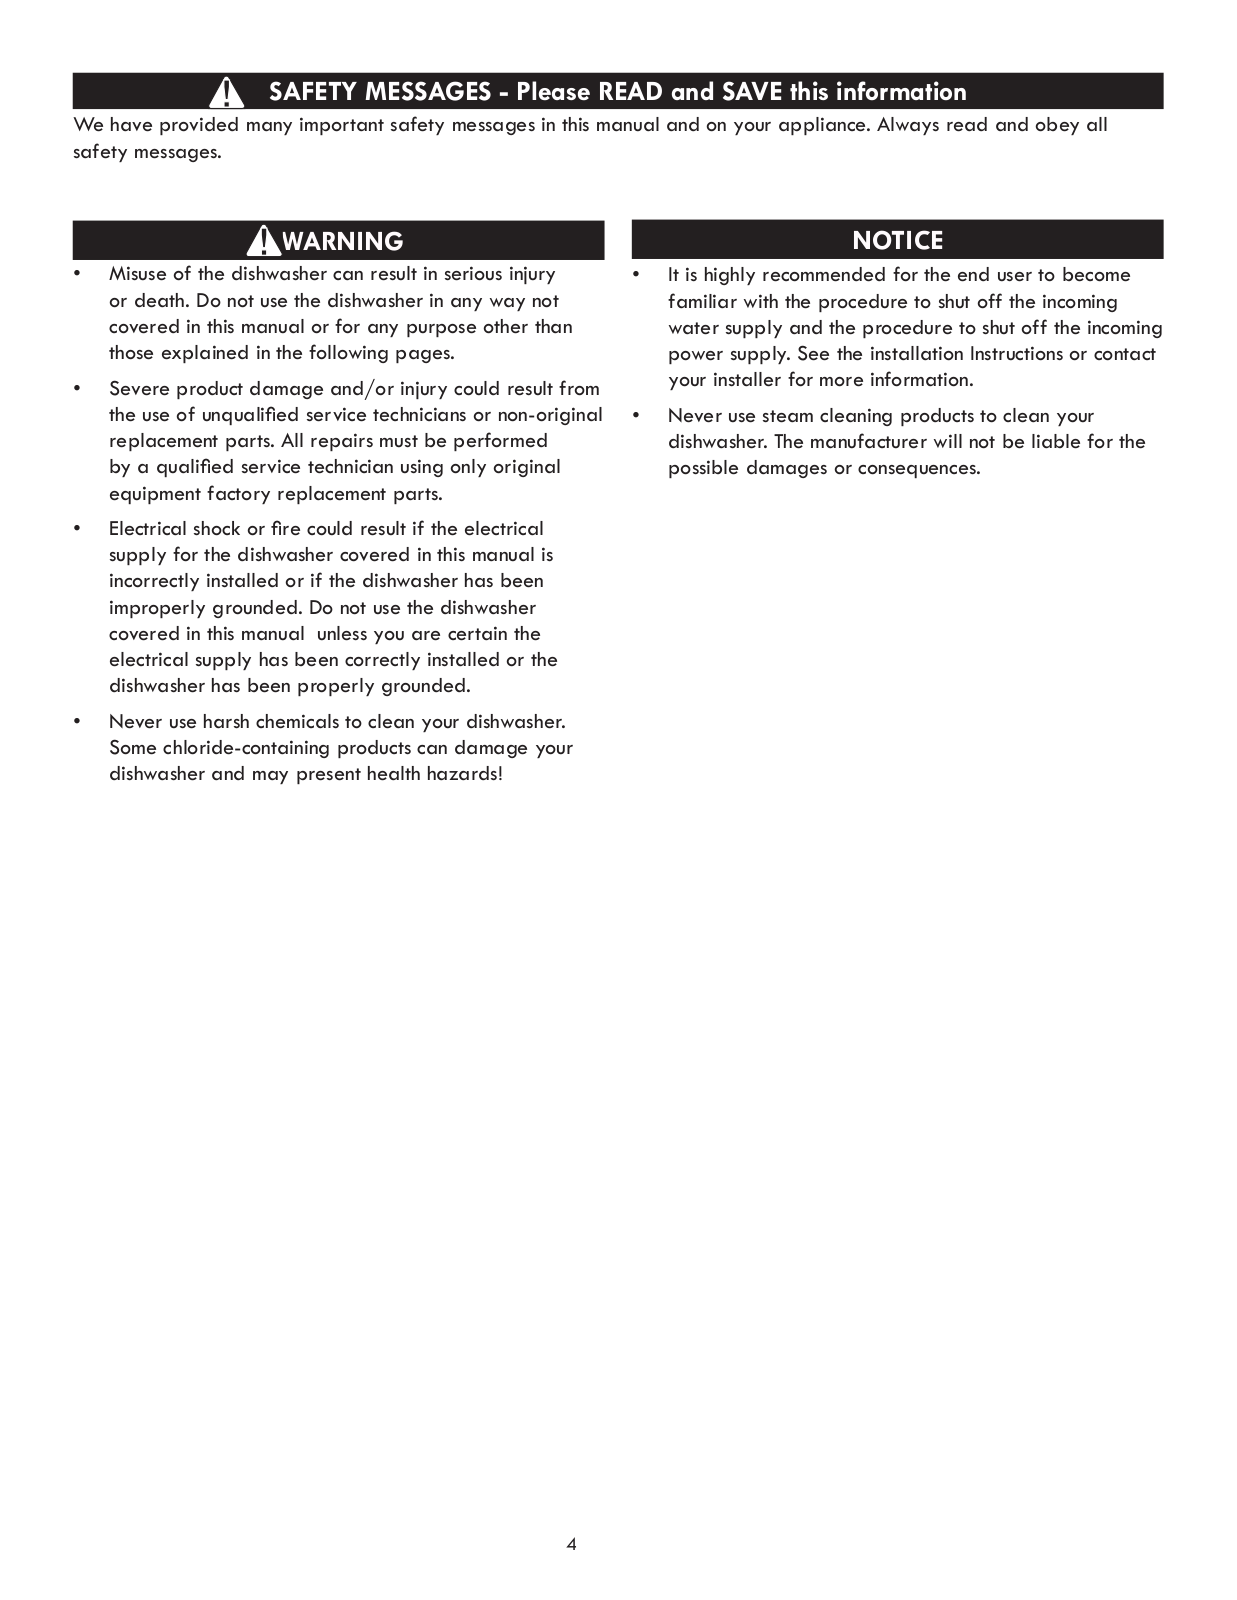
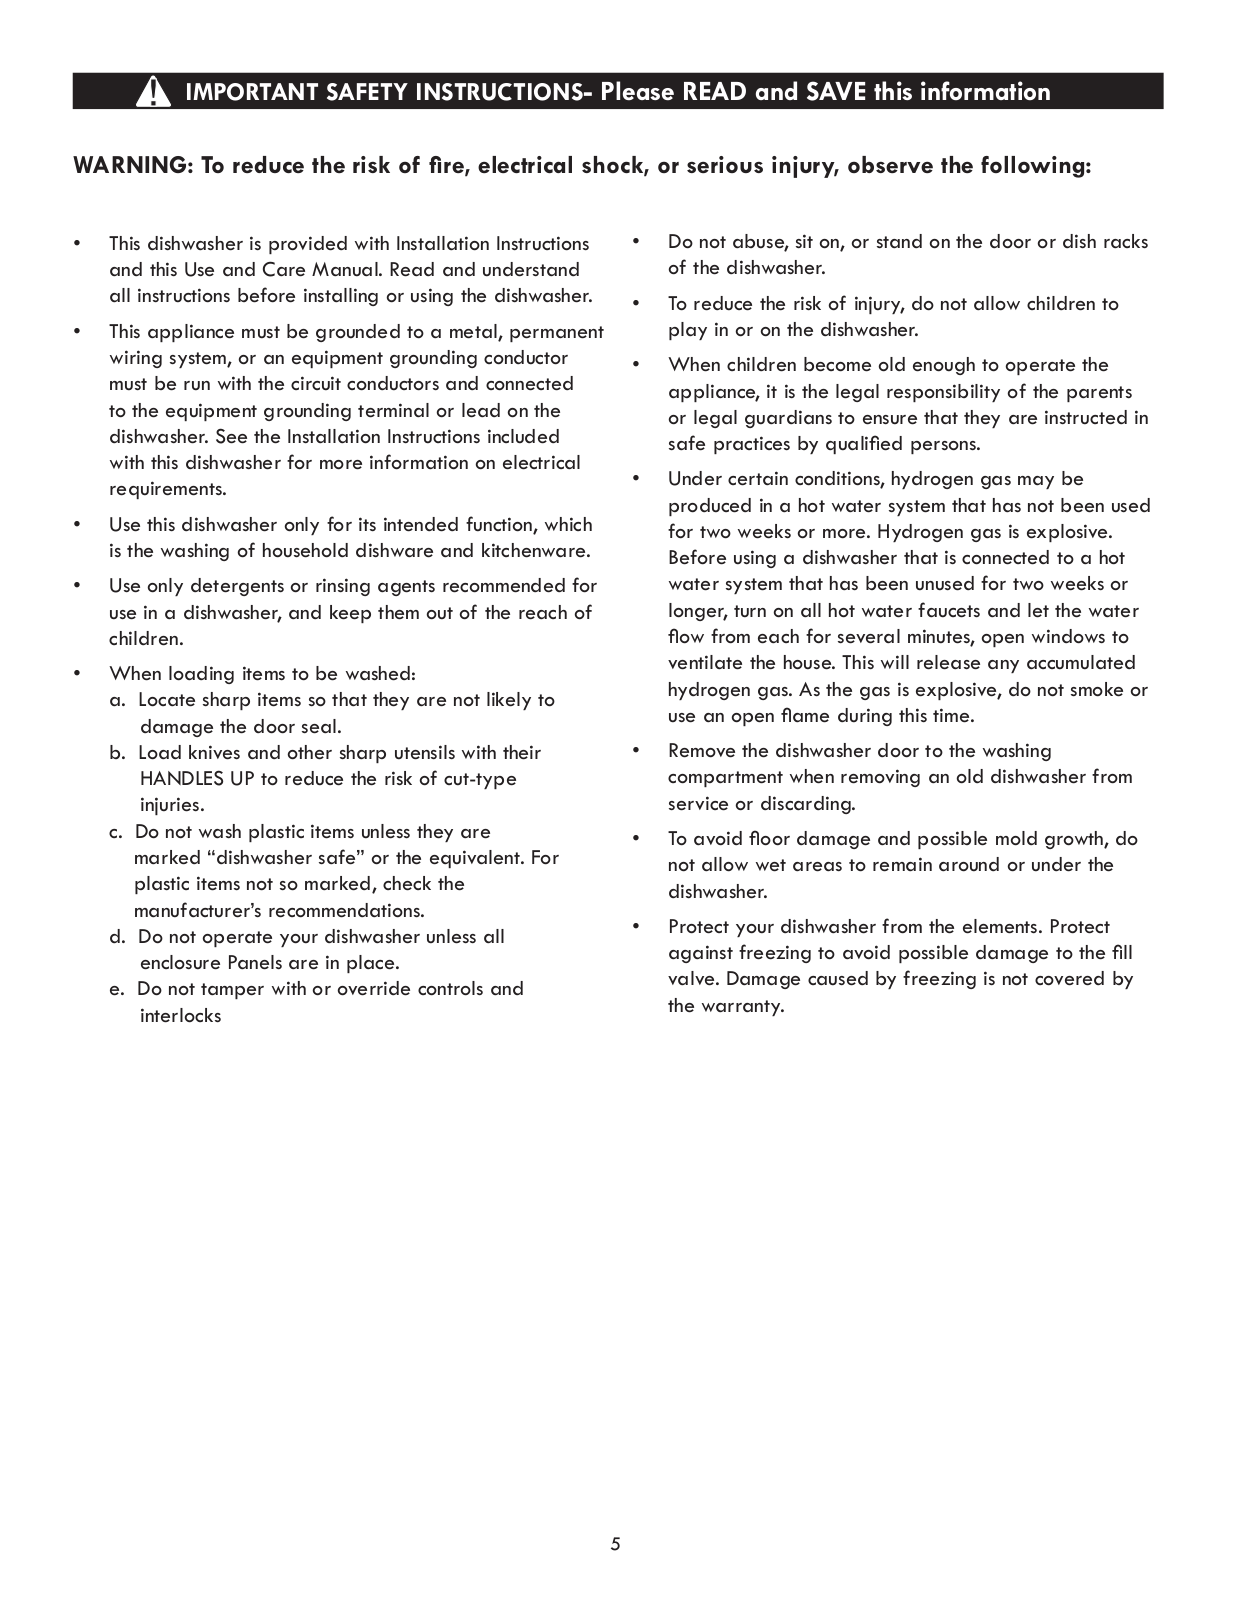
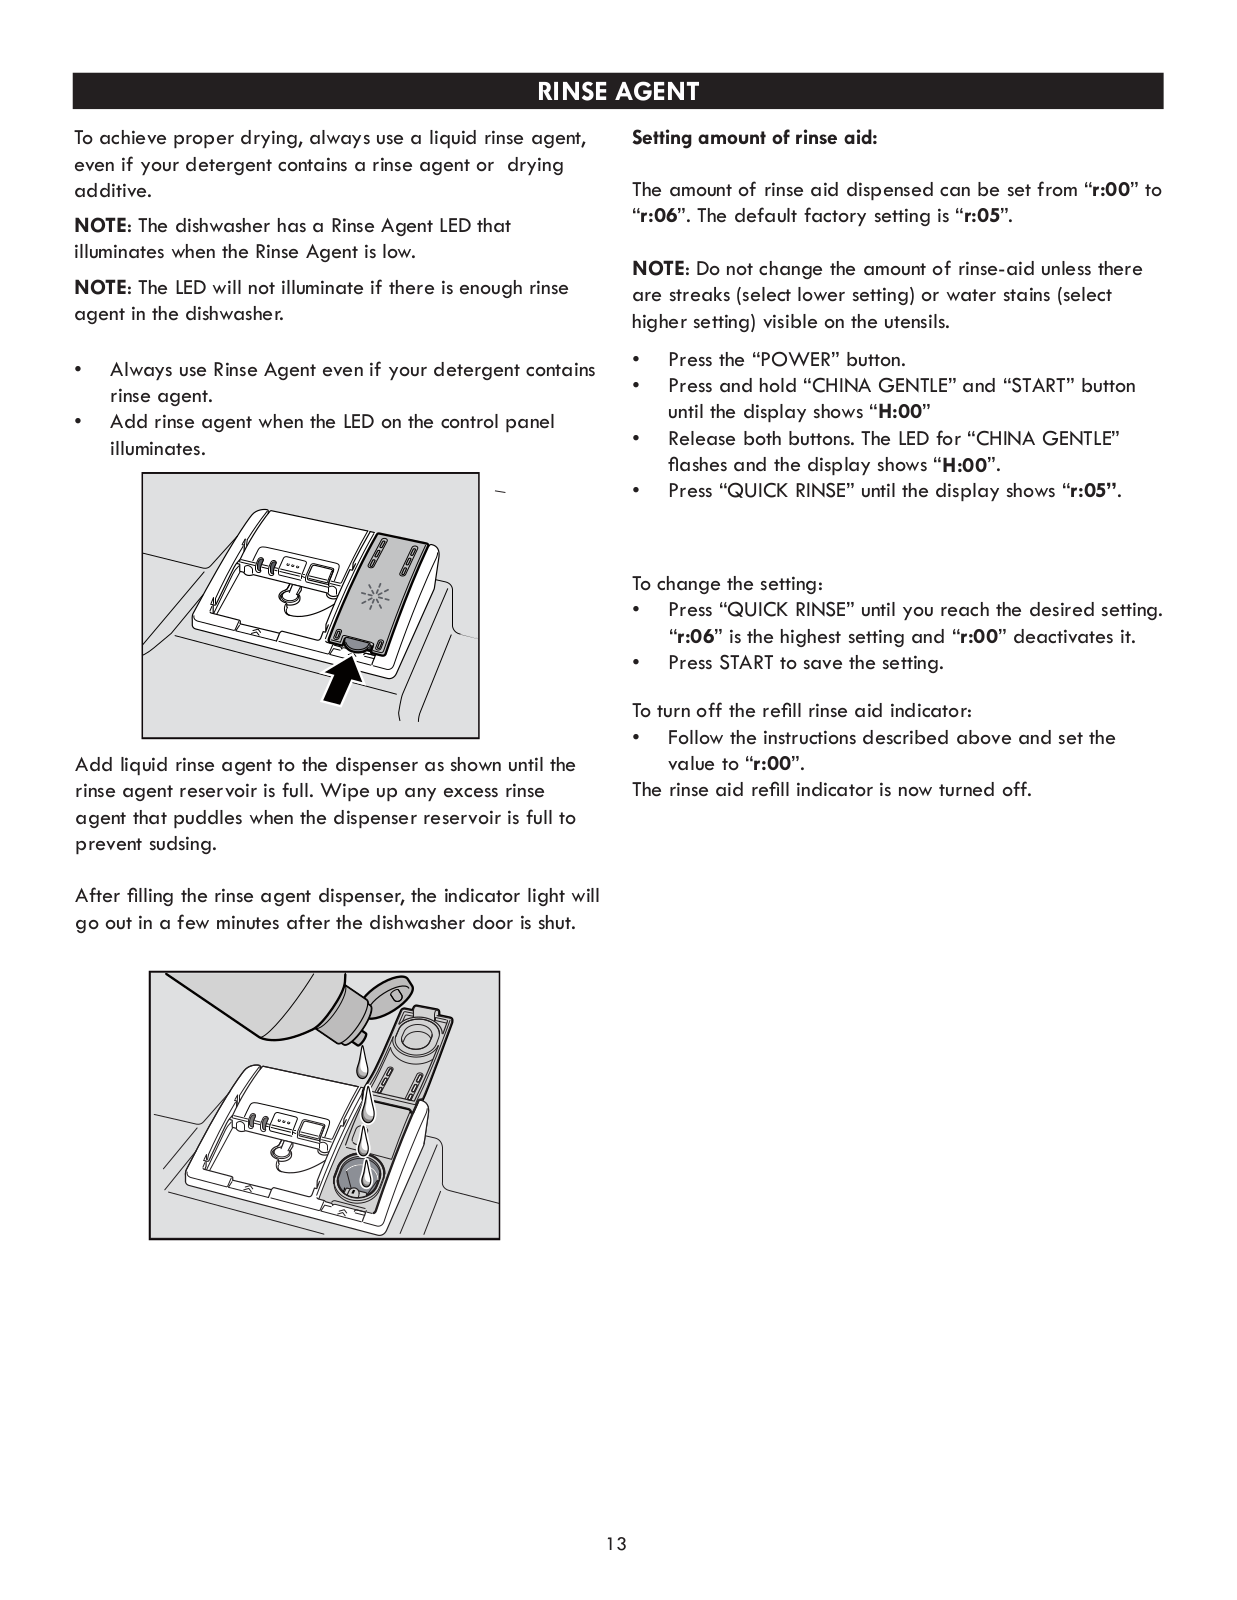
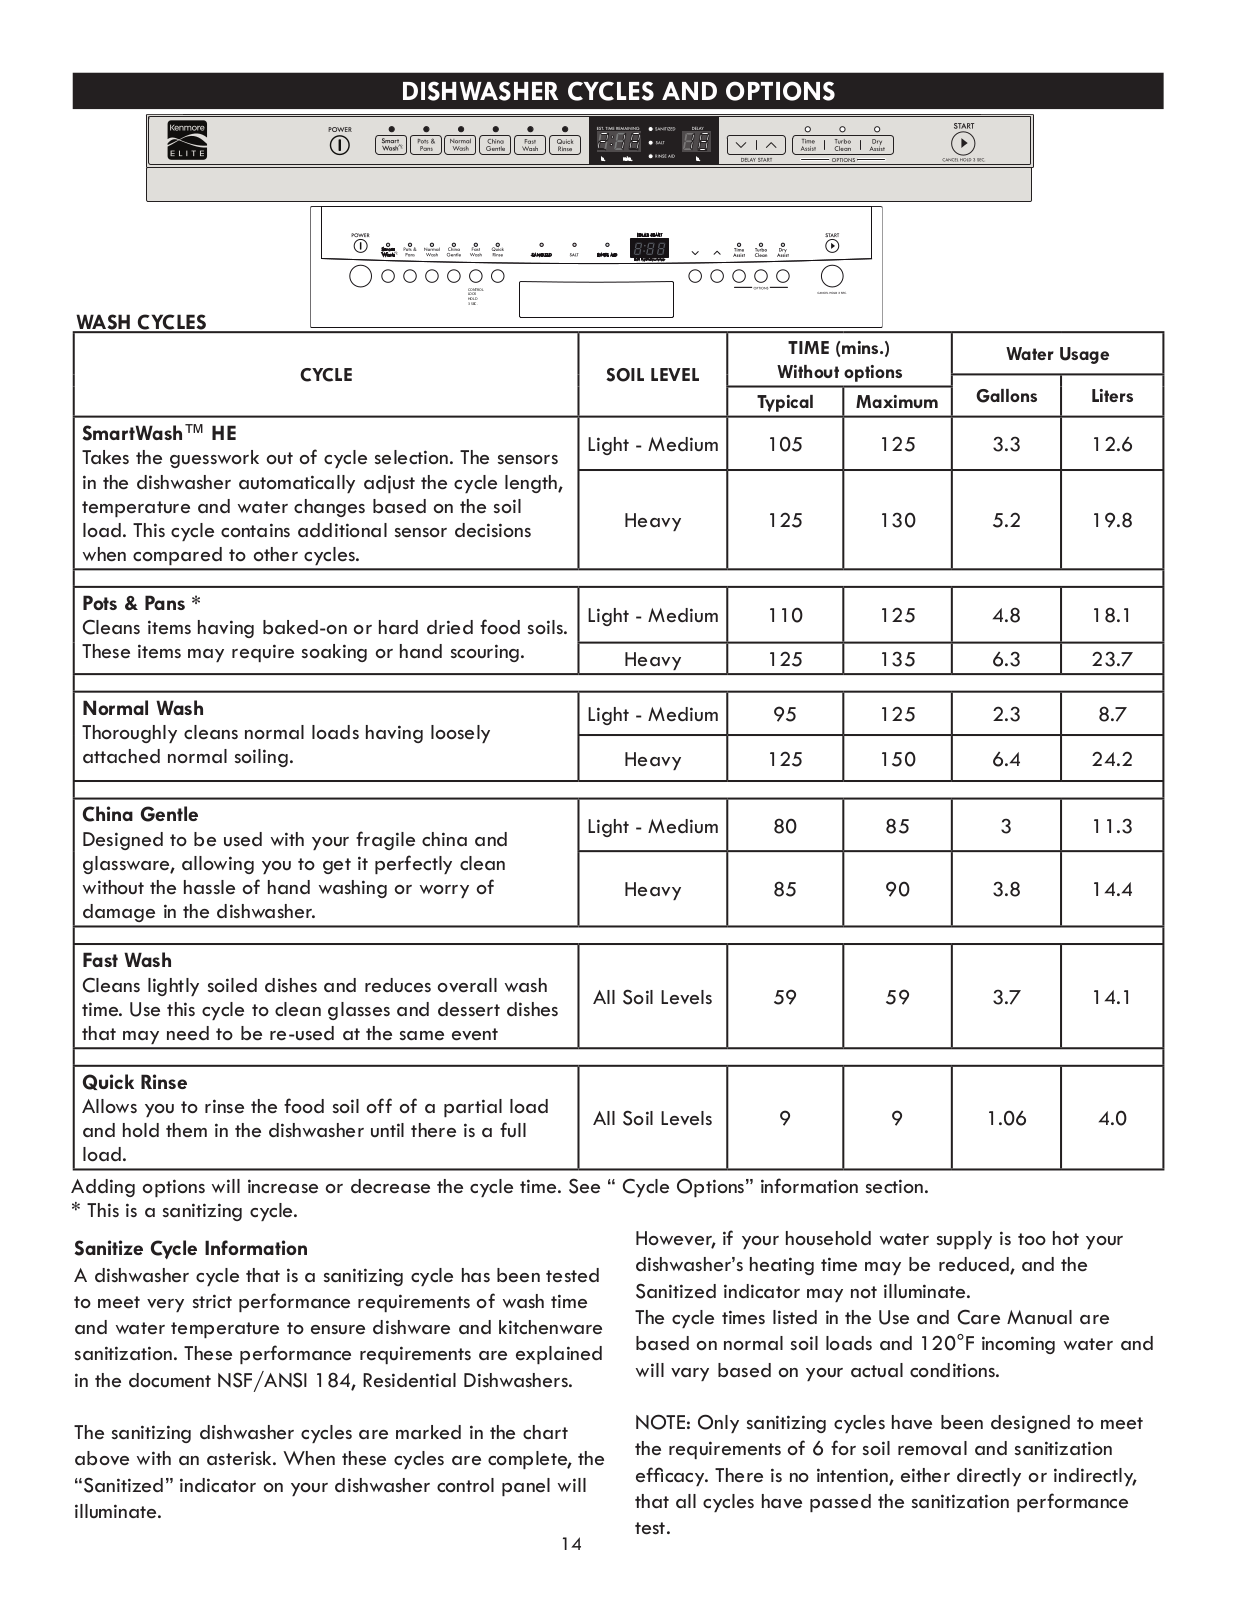
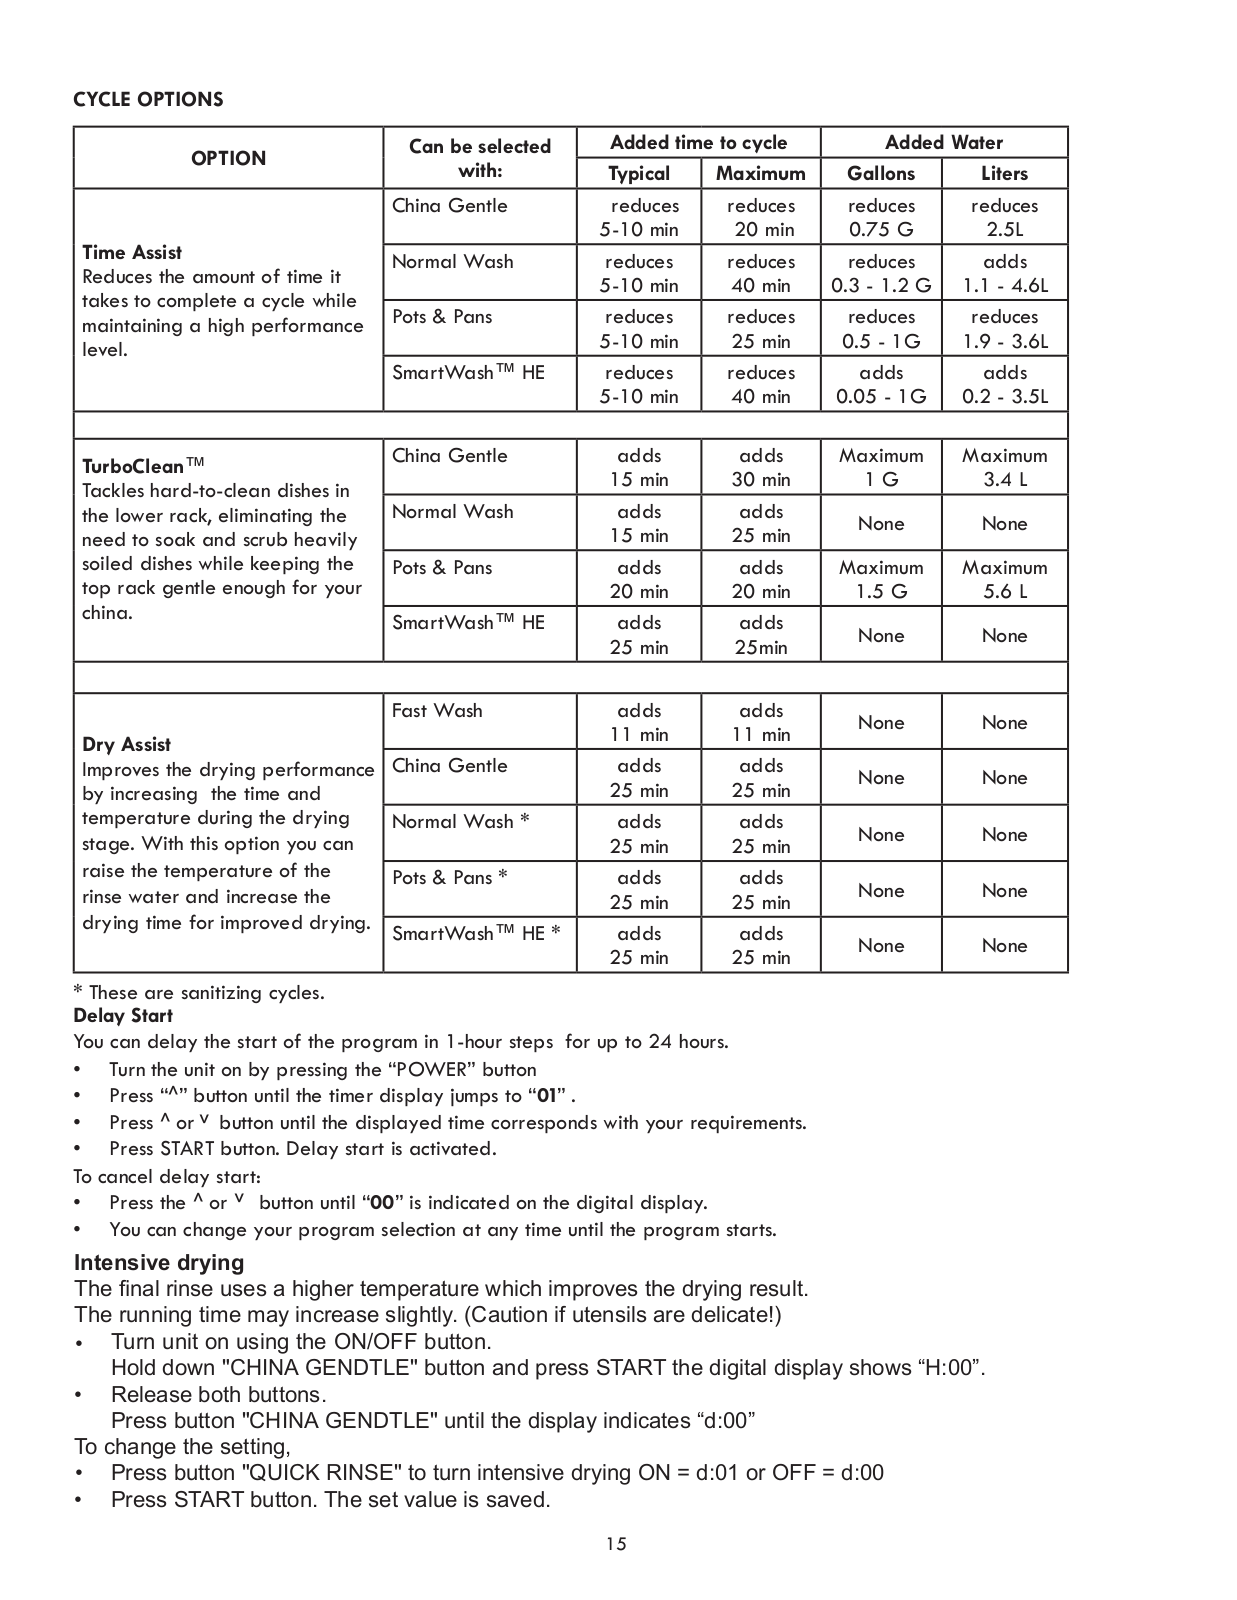
Kenmore 630.1300, 630.1302 User Manual
...
Kenmore User Manual
Download
Specifications and Main Features
Frequently Asked Questions
User Manual
Download
Loading...
+
44
hidden pages
Unhide
You need points to download manuals.
1 point = 1 manual.
You can buy points or you can get point for every manual you upload.
Buy points
Upload your manuals
 Loading...