

Kenmore 253.76063410, 253.76063411 Use & Care Manual
Use & Care Guide
Manual de Uso y Cuidado
English / Espaiol
I<enmore Elite
Model/Modelo: 253.76063
ACO[IG C O_GGO
P/N 2020211A3153
Sears Brands Management Corporation
Hoffman Estates, IL 60179 U.S.A.
www.kenmore.com
www.sears.com
www.kmart.com
®
TABLE OF CONTENTS
Warranty ................................................................ 2
Master Protection Agreements ............................ 3
Important Safety Instructions ................................ 4
Air conditioner Feature ......................................... 5-7
Additional Things ................................................... 8
Care and Cleaning ................................................. 9
Energy Saving Ideas .............................................. 9
Troubleshooting Guide ........................................... 10-11
Normal Sounds ........................................................ 11
Call for Service ........................................................ Back Cover
KENMORE ELITELiMiTED WARRANTY
WITH PROOF OF SALE, the following warranty coverage applies when this appliance is correctly installed, operated
and maintained according to all supplied instructions.
FOR ONE YEAR from the date of sale this appliance is warranted against defects in material or workmanship. A defective
appliance will receive free repair or replacement at option of seller.
FOR FIVE YEARS from the date of sale, the sealed refrigerant system of this appliance is warranted against defects in
material or workmanship. New system components will be supplied for defective ones free of charge. You are
responsible for the labor cost of component installation after the first year from the sale date.
For warranty coverage details to obtain free repair or replacement, visit the web page: www.kenmore.com/warranty.
All warranty coverage applies for only 90 DAYS from the sale date in the United States, and is void in Canada, if this
appliance is ever used for other than private household purposes.
This warranty covers ONLY defects in material and workmanship, and wiil NOT pay for:
1. Expendable items that can wear out from normal use, including but not limited to filters, belts, bags or screw-in base
light bulbs.
2. A service technician to clean or maintain this appliance, or to instruct the user in correct appliance installation,
operation and maintenance.
3. Service calls to correct appliance installation not performed by Sears authorized service agents, or to repair problems
with house fuses, circuit breakers, house wiring, and plumbing or gas supply systems resulting from such installation.
4. Damage to or failure of this appliance resulting from installation not performed by Sears authorized service agents,
including installation that was not in accord with electrical, gas or plumbing codes.
5. Damage to or failure of this appliance, including discoloration or surface rust, if it is not correctly operated and
maintained according to all supplied instructions.
6. Damage to or failure of this appliance, including discoloration or surface rust, resulting from accident, alteration,
abuse, misuse or use for other than its intended purpose.
7. Damage to or failure of this appliance, including discoloration or surface rust, caused by the use of detergents,
cleaners, chemicals or utensils other than those recommended in all instructions supplied with the product.
8. Damage to or failure of parts or systems resulting from unauthorized modifications made to this appliance.
9. Service to an appliance if the model and serial plate is missing, altered, or cannot easily be determined to have the
appropriate certification logo.
Disclaimer of impffed warranties; ffmltatlon of remedies
Customer's sole and exclusive remedy under this limited warranty shall be product repair or replacement as provided
herein. Implied warranties, including warranties of merchantability or fitness for a particular purpose, are limited to one
year on the appliance and five years on the sealed system, or the shortest period allowed by law. Seller shall not be
liable for incidental or consequential damages. Some states and provinces do not allow the exclusion or limitation of
incidental or consequential damages, or limitation on the duration of implied warranties of merchantability or fitness, so
these exclusions or limitations may not apply to you.
This warranty applies only while this appliance is used in the United States or Canada _.
This warranty gives you specific legal rights, and you may also have other rights which vary from state to state.
In-home repair service is not available in all Canadian geographical areas, nor will this warranty cover user or servicer
travel and transportation expenses if this product is located in a remote area (as defined by Sears Canada Inc.) where
an authorized servicer is not available.
Sears Brands Management Corporation, Hoffman Estates, IL 60179
Sears Canada inc., Toronto, Ontario, Canada MSB 2C3
2
MasterProtection Agreements
Congratulations on making a smart purchase. Your new Kenmore Elite ® product is designed and manufactured for years of
dependable operation. But like all products, it may require preventive maintenance or repair from time to time. That's
when having a Master Protection Agreement can save you money and aggravation.
The Master Protection Agreement also helps extend the life of your new product. Here's what the Agreement* includes:
[] Ports and labor not just for repairing defects, but to help keep products operating properly under normal use. Our
coverage goes well beyond the product warranty. No deductibles, no functional failure excluded from coverage
-- real protection.
[] Expert service by a force of more than 10,000 authorized Sears service technicians, which means someone you can
trust will be working on your product.
[] Unlimited service calls and nationwide service, as often as you want us, whenever you want us.
[] "No-lemon" guarantee - replacement of your covered product if four or more product failures occur within twelve
months.
[] Product replacement if your covered product can't be fixed.
[] Annual Preventive Maintenance Check at your request- no extra charge,
[] Fast help by phone - we call it Rapid Resolution - phone support from a Sears representative on all products,
Think of us as a "talking owner's manual,"
[] Power surge protection against electrical damage due to power fluctuations.
[] $250 Food Loss Protection annually for any food spoilage that is the result of mechanical failure of any covered
refrigerator or freezer.
[] Rental reimbursement if repair of your covered product takes longer than promised.
[] 25°/0 discount off the regular price of any non-covered repair service and related installed parts.
Once you purchase the Agreement, a simple phone call is all that it takes for you to schedule service. You can call anytime day
or night, or schedule a service appointment online.
The Master Protection Agreement is a risk free purchase. If you cancel for any reason during the product warranty period, we
will provide a full refund. Or, a prorated refund anytime after the product warranty period expires. Purchase your Master
Protection Agreement todayJ
Some limitations ond exclusions apply. For prices ond additional information in the U.S.A. call 1-800-827-6655.
* Coverage in Canada varies on some items. For full details call Sears Canada ot 1-800-361-6665.
Sears Installation Service
For Sears professional installation of home appliances, garage door openers, water heaters, and other major home items, in the
U.S.A. or Canada call |-800-4-MY-HOME ®.
This Use & Care Guide provides specific operating instructions for your model. Use the
air conditioner only as instructed in this guide. These instructions are not meant to
cover every possible condition and situation that may occur. Common sense and
caution must be practiced when installing, operating, and maintaining any appliance.
Record Your Model and Serial Numbers
Record in the space provided below the model and serial numbers. The serial plate is
located on the outside of the cabinet, or behind filter at the bottom of unit. Reading
the numbers may be easier by using a flashlight or by removing the cabinet front as
instructed under " Care and Cleaning. "
Model Number :
Serial Number :
Purchase Date :
important Safety
instructions
The power supply cord with
this air conditioner containsa current
detection device designed to reducethe risk of
fire.
Pleaserefer to the section'Operation of
Current Device'for details.
Inthe eventthat the power supply cord is
damaged, it cannot be repaired, and it must
be replaced with a cord from the Product
manufacturer.
Avoid fire hazard or electric
shock. Do not usean extension cord or an
adaptor plug. Do not remove any prong from
the power cord.
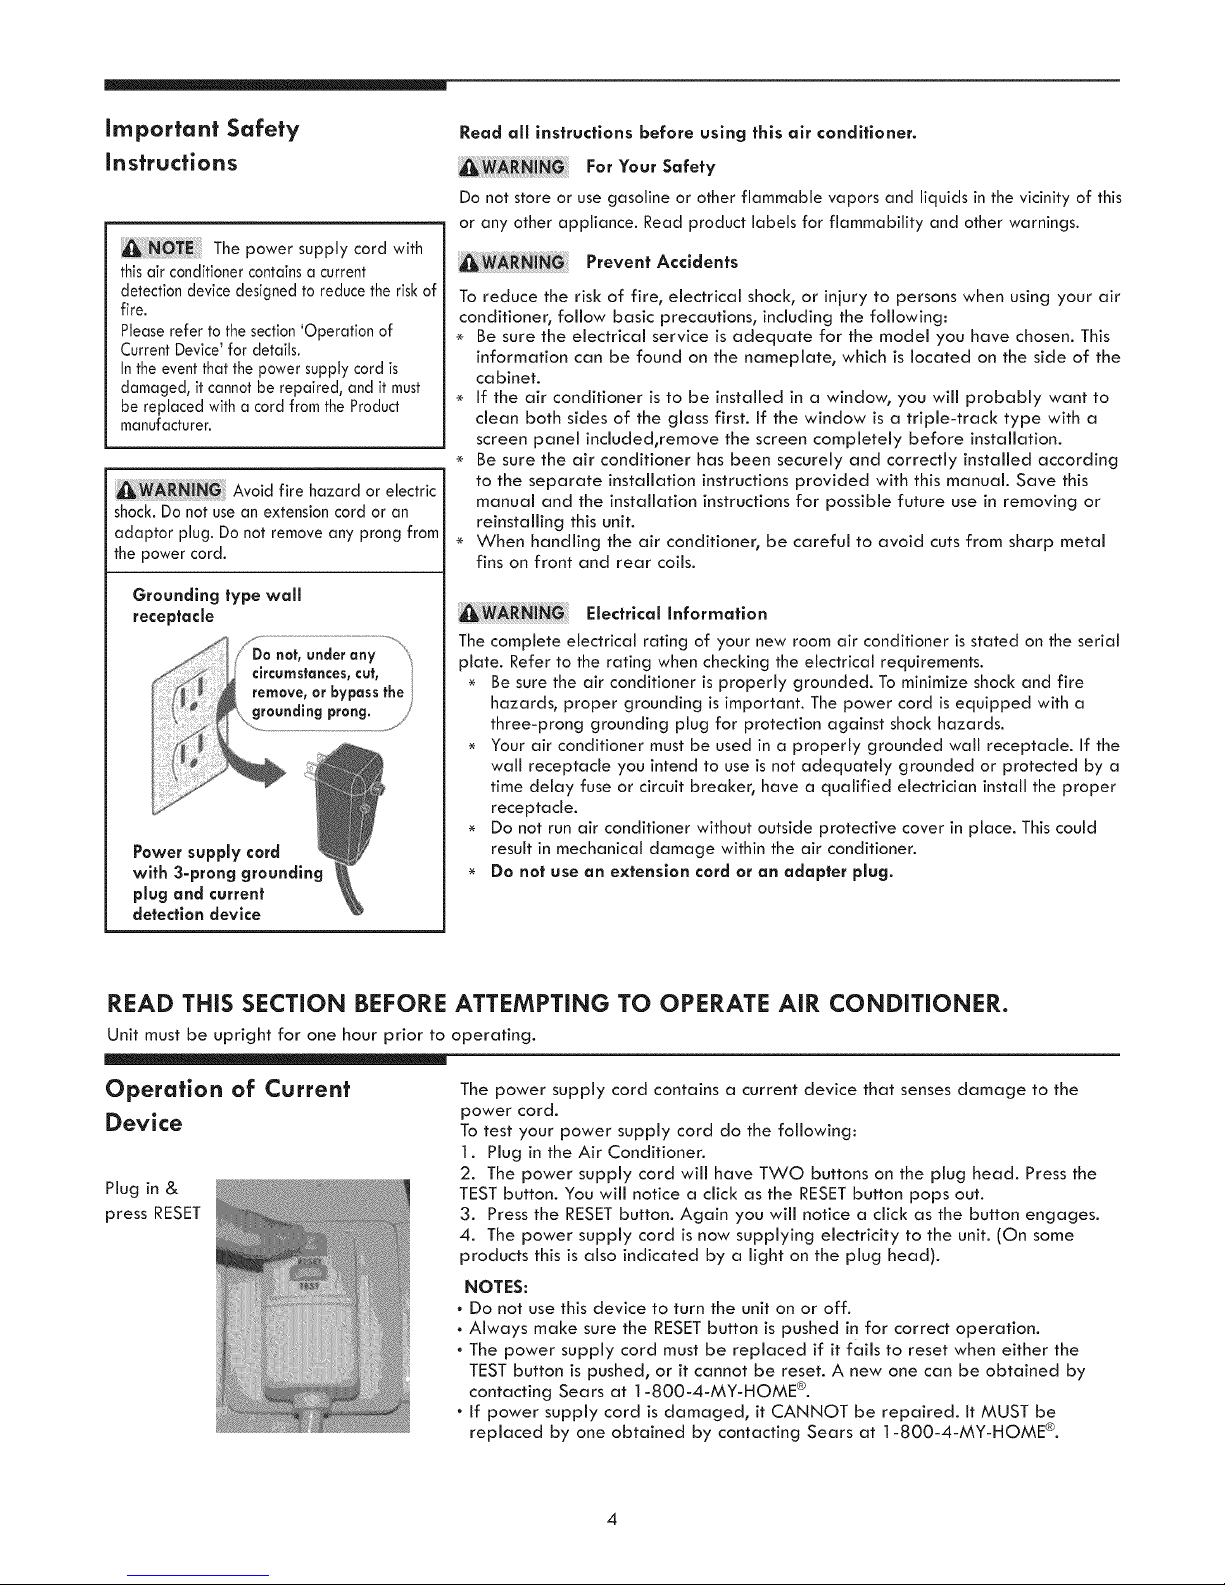
Grounding type wall
receptacle
circumstances,cut, /
remove, or bypass the/
groundingprong. //
.................
Power supply cord
with 3-prong grounding
plug and current
detection device
Read all instructions before using this air conditioner.
For Your Safety
Do not store or use gasoline or other flammable vapors and liquids in the vicinity of this
or any other appliance. Read product labels for flammability and other warnings.
Prevent Accidents
To reduce the risk of fire, electrical shock, or injury to persons when using your air
conditioner, follow basic precautions, including the following:
Be sure the electrical service is adequate for the model you have chosen. This
information can be found on the nameplate, which is located on the side of the
cabinet.
If the air conditioner is to be installed in a window, you will probably want to
clean both sides of the glass first. If the window is a triple-track type with a
screen panel included,remove the screen completely before installation.
Be sure the air conditioner has been securely and correctly installed according
to the separate installation instructions provided with this manual. Save this
manual and the installation instructions for possible future use in removing or
reinstalling this unit.
When handling the air conditioner, be careful to avoid cuts from sharp metal
fins on front and rear coils.
Electrlcal Information
The complete electrical rating of your new room air conditioner is stated on the serial
plate. Refer to the rating when checking the electrical requirements.
Be sure the air conditioner is properly grounded. To minimize shock and fire
hazards, proper grounding is important. The power cord is equipped with a
three-prong grounding plug for protection against shock hazards.
Your air conditioner must be used in a properly grounded wall receptacle. If the
wall receptacle you intend to use is not adequately grounded or protected by a
time delay fuse or circuit breaker, have a qualified electrician install the proper
receptacle.
Do not run air conditioner without outside protective cover in place. This could
result in mechanical damage within the air conditioner.
Do not use an extension cord or an adapter plug.
READ THiS SECTION BEFORE ATTEMPTING TO OPERATE AiR CONDiTiONER.
Unit must be upright for one hour prior to operating.
Operation of Current
Device
Plug in &
press RESET
The power supply cord contains a current device that senses damage to the
power cord.
To test your power supply cord do the following:
1. Plug in the Air Conditioner.
2. The power supply cord will have TWO buttons on the plug head. Press the
TEST button. You will notice a click as the RESETbutton pops out.
3. Press the RESETbutton. Again you will notice a click as the button engages.
4. The power supply cord is now supplying electricity to the unit. (On some
products this is also indicated by a light on the plug head).
NOTES:
• Do not use this device to turn the unit on or off.
• Always make sure the RESETbutton is pushed in for correct operation.
The power supply cord must be replaced if it fails to reset when either the
TEST button is pushed, or it cannot be reset. A new one can be obtained by
contacting Sears at 1-800-4-MY-HOME ®.
If power supply cord is damaged, it CANNOT be repaired. It MUST be
replaced by one obtained by contacting Sears at 1-800-4-MY-HOME ®.
4

Air Conditioner Features
ELECTRONIC CONTROL
Before you begin, thoroughly familiarize yourself with the control panel and remote as shown below and all itsfunctions, then
touch the symbol pads for the functions you desire. The unit can be controlled by the panel touch pads or with the remote control.
DISPLAYS
TEMPERATURE/TIME
ADJUSTS
TEMPERATUREOR TIME
INFRARED
REMOTE WINDOW
EXHAUST SETS MODESELECTOR
FILTERRESET ACTIVATES ........._ TURNS UNIT ..........SETS FAN
BUTTON TIMER ON OR OFF SPEEDS
SLEEPMODE
REMOTE CONTROL
TOUCH PAD
TO REPLACE BATTERY
ON/OFF
SETS FAN
SPEEDS
AUTO FAN
ACTIVATES
TIMER
ADJUSTS
TEMP & TIME
SLEEP
MODE
_4----TAB
Battery Size: CR2025
Turn Remote Control upside down. Squeeze tab and pull to
remove battery tray. Place battery in tray with
POSITIVE("+") side facing UP, according to diagram.
Re-insert battery tray.
5
Air Conditioner Features Ccontlnued)
Note: The following instructions describe the Control Panel Touch Pads. The same instructions apply to the
Remote Control.
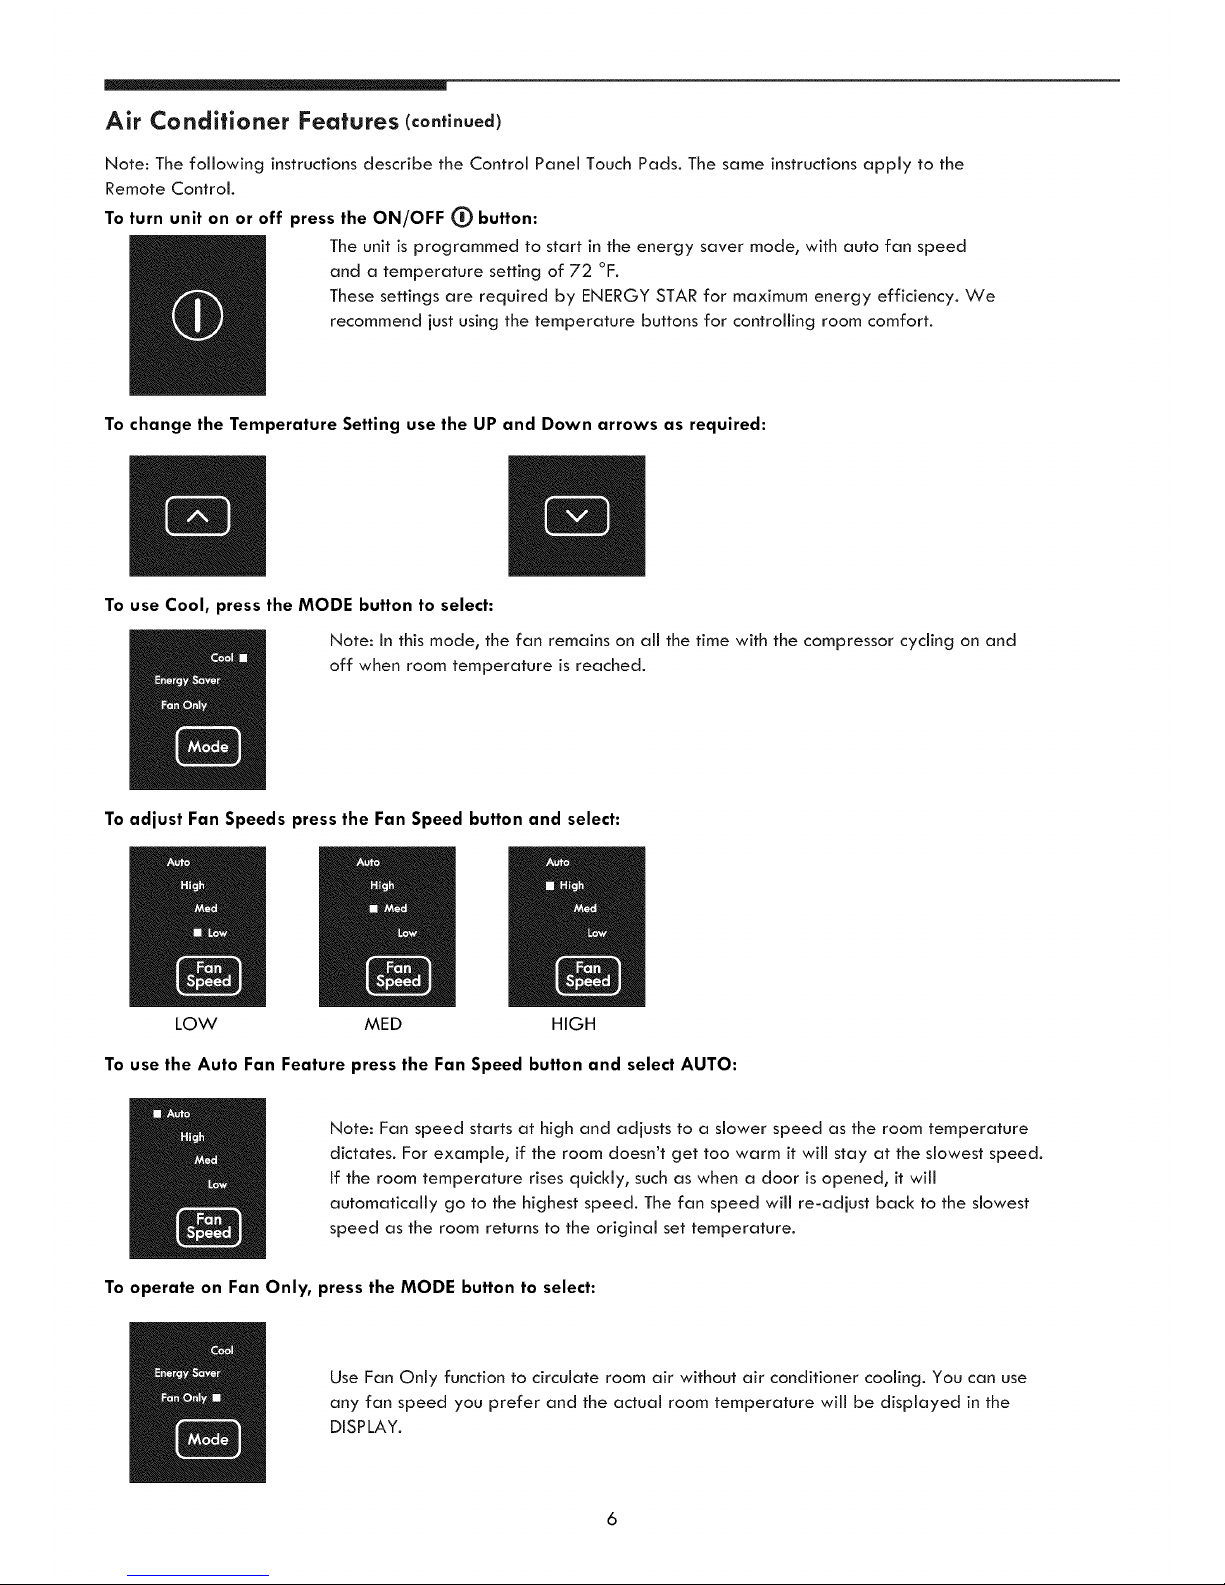
To turn unit on or off press the ON/OFF _) button:
The unit is programmed to start in the energy saver mode, with auto fan speed
and a temperature setting of 72 °F.
These settings are required by ENERGY STAR for maximum energy efficiency. We
recommend iust using the temperature buttons for controlling room comfort.
To change the Temperature Setting use the UP and Down arrows as required:
To use Cool, press the MODE button to select:
Note: In this made, the fan remains on all the time with the compressor cycling on and
off when room temperature is reached.
To adjust Fan Speeds press the Fan Speed button and select:
LOW MED HIGH
To use the Auto Fan Feature press the Fan Speed button and select AUTO:
Note: Fan speed starts at high and adiusts to a slower speed as the roam temperature
dictates. For example, if the room doesn't get too warm it will stay at the slowest speed.
If the room temperature rises quicHy, such as when a door is opened, it will
automatically go to the highest speed. The fan speed will re-adiust back to the slowest
speed as the room returns to the original set temperature.
To operate on Fan Only, press the MODE button to select:
Use Fan Only function to circulate room air without air conditioner cooling. You can use
any fan speed you prefer and the actual room temperature will be displayed in the
DISPLAY.
6
Air Conditioner Features
(continued)
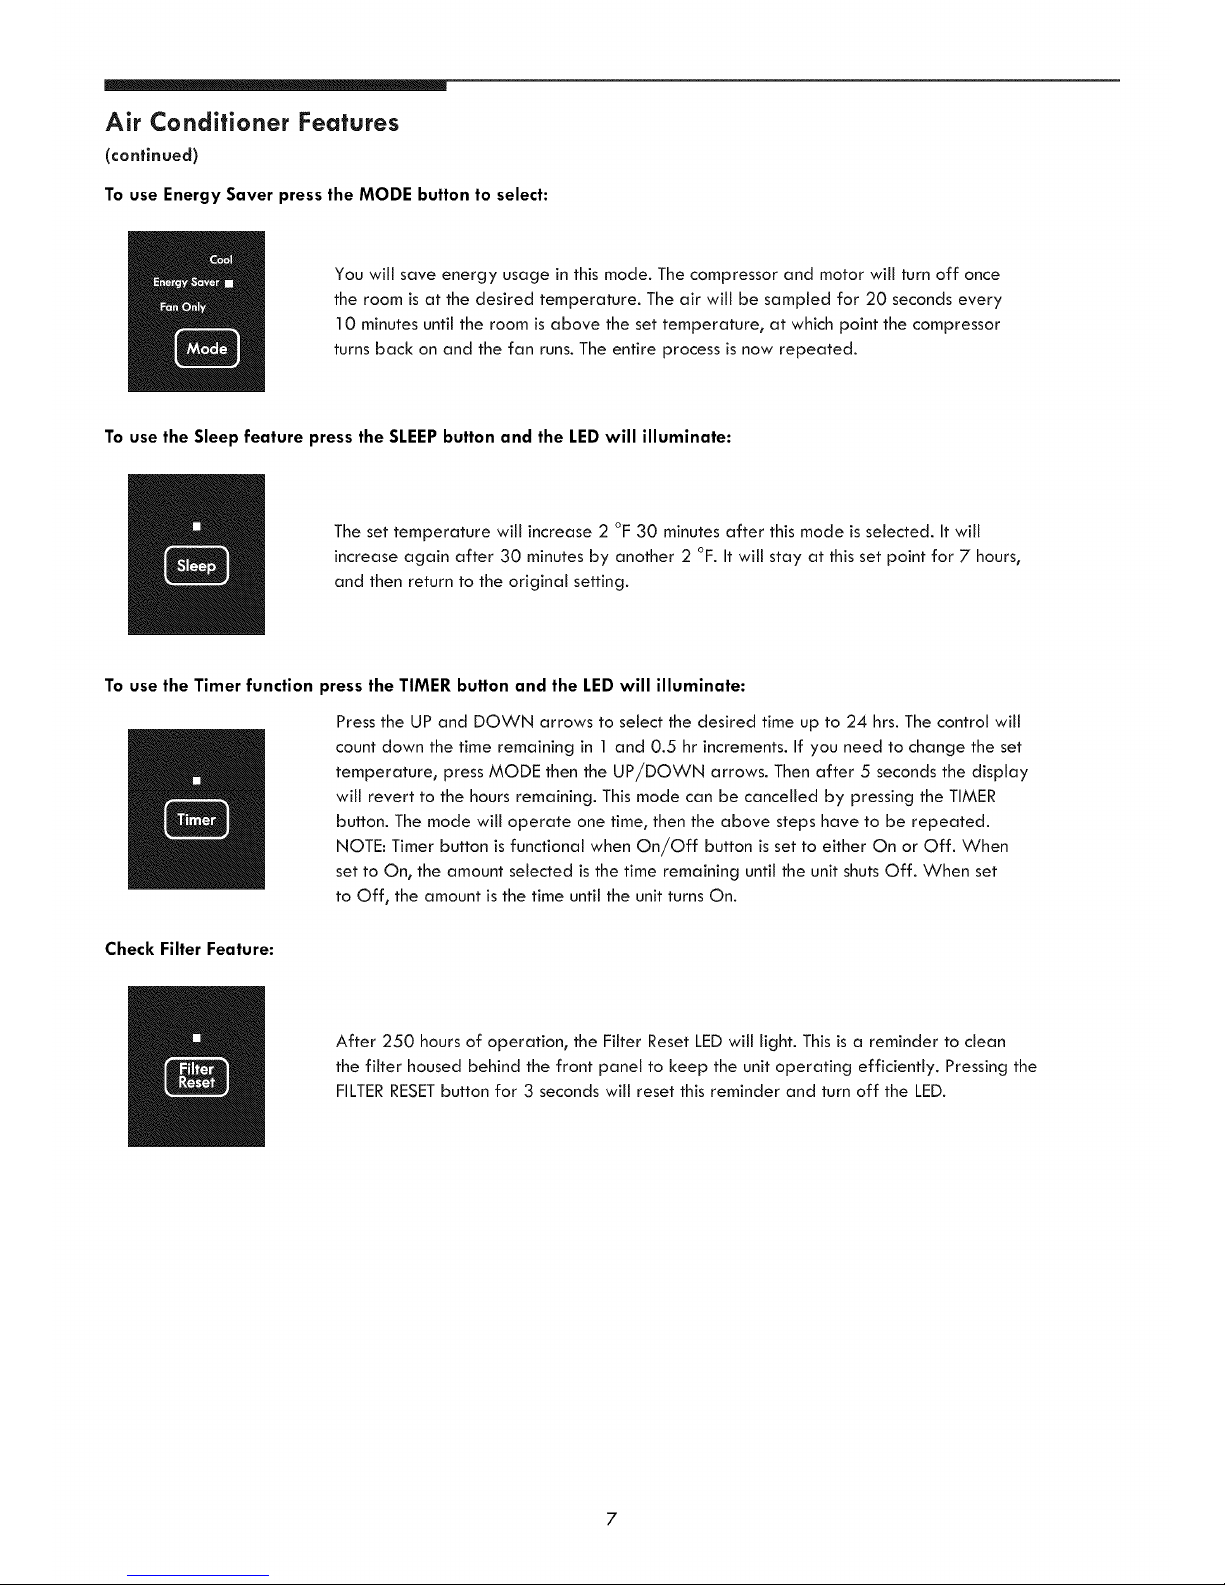
To use Energy Saver press the MODE button to select:
You will save energy usage in this mode. The compressor and motor will turn off once
the room is at the desired temperature. The air will be sampled for 20 seconds every
10 minutes until the room is above the set temperature, at which point the compressor
turns back on and the fan runs. The entire process is now repeated.
To use the Sleep feature press the SLEEP button and the LED will illuminate:
The set temperature will increase 2 °F 30 minutes after this mode is selected. It will
increase again after 30 minutes by another 2 °F. It will stay at this set point for 7 hours,
and then return to the original setting.
To use the Timer function press the TIMER button and the LED will illuminate:
Press the UP and DOWN arrows to select the desired time up to 24 hrs. The control will
count down the time remaining in 1 and 0.5 hr increments. If you need to change the set
temperature, press MODE then the UP/DOWN arrows. Then after 5 seconds the display
will revert to the hours remaining. This mode can be cancelled by pressing the TIMER
button. The mode will operate one time, then the above steps have to be repeated.
NOTE: Timer button is functional when On/Off button is set to either On or Off. When
set to On, the amount selected is the time remaining until the unit shuts Off. When set
to Off, the amount is the time until the unit turns On.
Check Filter Feature:
After 250 hours of operation, the Filter Reset LEDwill light. This is a reminder to clean
the filter housed behind the front panel to keep the unit operating efficiently. Pressing the
FILTERRESETbutton for 3 seconds will reset this reminder and turn off the LED.
7

ADDITIONAL THINGS YOU SHOULD KNOW
Now that you understand the basic operation functions, here are more control features with which you should become
familiar.
The "cool" circuit has an automatic 3 minute time delayed start if the unit is turned off and on quickly. This prevents
overheating of the compressor and possible circuit breaker tripping. The fan will continue to run during this time.
There is a 2-Second delay for the compressor shutting down when selecting FAN ONLY. This is to cover the possibility
of having to roll through to select another mode.
The control will maintain the set temperature within 2 degrees Fahrenheit, between 60F and 90F degrees.
If the unit is turned off in heat made (if applicable) or fan only mode, it will return to the same setting when it is turned
on again.
When the unit is turned off in cool or energy saver mode, it will run in energy saver mode when it is turned on again, but
the setting of temperature and fan speed will remain.
Models with a key hole overflow drain hole can use drain kit 5304481 680 to connect a 1/2 inch drain hose for safe
The control is capable of displaying temperature in degrees Fahrenheit or degrees Celsius. To convert from one to the
other and back, press and hold both the "TEMP/TIMER" Up(A) and Down (v) buttons for 3 seconds.
Q
FAULT CODES :
If the display reads "ES" or "AS", a sensor has failed. Contact 1-800-4-MY-HOME® for repair.
W
Evaporator coil sensor Air temperature sensor
AUTO RE-START :
After a power outage, the unit will remember the last temperature and mode settings, and will return to these same settings
once power is restored.
EXHAUST CONTROL :
This Exhaust Control allows the air conditioner to either recirculate inside air (CLOSED) or exhaust air to the outside
(OPEN).
The CLOSED position is used when maximum cooling is desired. It may also be used for air recirculation without
cooling when the air conditioner is set in any FAN position.
The OPEN position removes stale air from the room and exhausts it to the outside. Fresh air is drawn in through normal
passages in the home.
4-WAY LOUVERS
Air directional louvers control air flow direction. Your air
conditioner has the 4-way directional system described below.
The louvers will allow you to direct the air flow Up or Down
and Left or Right throughout the room as needed. Use the
central handle to adjust the air directional louvers side-to-side
until the desired Left or Right direction is obtained. Pivot
horizontal louvers with your fingertips until the desired
Up/Down direction is obtained. There are a total of 4 possible
air directional orientations available with this system.
8
 Loading...