

Kenmore 25321042414 Owner’s Manual

Use & Care Guide
Manual de Uso y Cuidado
English / Español
Models/Modelos: 253.12112*, 12402*, 12502*, 12512*, 12702*, 12810*,
12812*, 12912*, 21042*, 21242*, 21742*, 22040*,
22042*, 22442*, 22452*, 22742*, 128822*
Kenmore
Freezer
Congelador
P/N A01062005 (1805)
Sears Brands Management Corporation
Homan Estates, IL 60179 U.S.A.
www.kenmore.com
www.sears.com
®
®
Record Model/ Serial Numbers
Important Safety Instructions
Please read and save these instructions
This Use & Care Guide provides specic
operating instructions for your model. Use
your unit only as instructed in this guide.
These instructions are not meant to cover
every possible condition and situation that
may occur. Common sense and caution
must be practiced when installing, operating, and maintaining any appliance.
Please record your model and serial numbers below for future reference. This information is found on the serial plate located
inside the appliance compartment.
Model Number:
or
Serial Number:
Purchase Date:
253.
IMPORTANT
Use only soap and water to clean
serial plate.
Table of Contents
Record Model/Serial Numbers..................2
Important Safety Instructions...................2
Warranty Information.............................4
First Steps ....................................... .....5
Energy Saving Tips..................................7
Setting the Temperature Control................7
Optional Features .....................................8
Care & Cleaning......................................9
Power/Freezer Failure...........................12
Before You Call....................................12
Safety Precautions
Do not attempt to install or operate your
unit until you have read the safety precautions in this manual. Safety items throughout
this manual are labeled with a Danger,
Warning, or Caution based on the risk type.
Denitions
This is the safety alert symbol. It is used
to alert you to potential personal injury hazards. Obey all safety messages that follow
this symbol to avoid possible injury or death.
DANGER
DANGER indicates an imminently hazardous situation which, if not avoided,
will result in death or serious injury.
WARNING
WARNING indicates a potentially hazardous situation which, if not avoided,
could result in death or serious injury.
CAUTION
CAUTION indicates a potentially hazardous situation which, if not avoided,
may result in minor or moderate injury.
IMPORTANT
Indicates installation, operation, or
maintenance information which is important but not hazard-related.
WARNING
Please read all safety instructions before using your new appliance.
For Your Safety
• Do not store or use gasoline or other
ammable liquids in the vicinity of this
or any other appliance. Read product
labels for warnings regarding ammability and other hazards.
• Do not operate the unit in the presence
of explosive fumes.
• Remove and discard any spacers used to
secure the shelves during shipping. Small
objects are a choke hazard to children.
2
Important Safety Instructions
• Remove all staples from the carton.
Staples can cause severe cuts and also
destroy nishes if they come in contact
with other appliances or furniture.
Child Safety
Destroy or recycle the carton, plastic bags,
and any exterior wrapping material immediately after the unit is unpacked. Children
should never use these items to play. Cartons
covered with rugs, bedspreads, plastic sheets
or stretch wrap may become airtight chambers and can quickly cause suocation.
Proper Disposal of your Appliance
Risk of child entrapment
Child entrapment and suocation are not
problems of the past. Junked or abandoned appliances are still dangerous –
even if they will sit for “just a few days.”
If you are getting rid of your appliance,
please follow the instructions below to
help prevent accidents.
Before you throw away your old unit:
• Remove door.
• Leave shelves in
place so children
may not easily
climb inside.
• Have refrigerant
removed by a qualied
service technician.
IMPORTANT
Your old unit may have a cooling system
that used CFCs or HCFCs (chlorouorocarbons or hydrochlorouorocarbons).
CFCs and HCFCs are believed to harm
stratospheric ozone if released to the atmosphere. Other refrigerants may cause
harm to the environment if released to
the atmosphere. If you are throwing
away your old unit, make sure the refrigerant is removed for proper disposal by
a qualied technician. If you intentionally release refrigerant, you may be subject to nes and imprisonment under the
provisions of environmental legislation.
WARNING
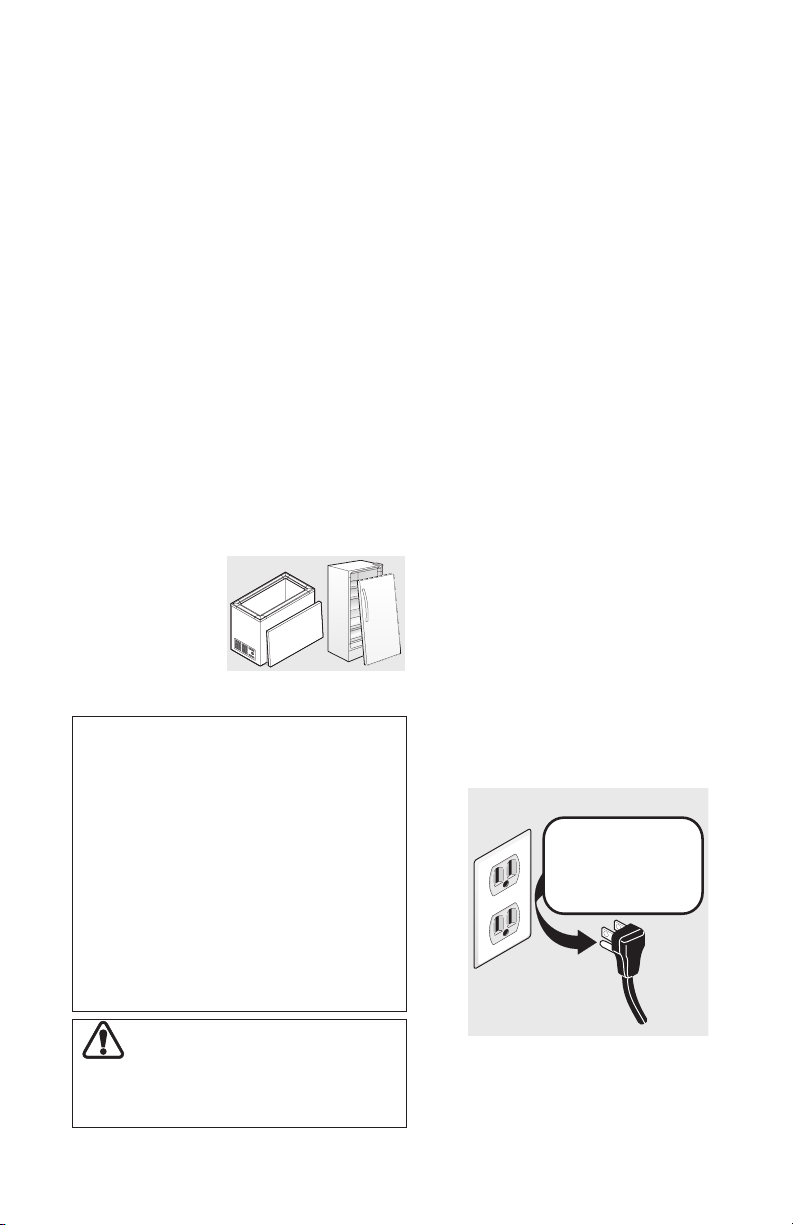
Electrical information
• The appliance must be plugged into
its own dedicated 115 Volt, 60 Hz., AC
only electric outlet. The power cord
of the appliance is equipped with a
three-prong grounding plug for your
protection against electrical shock
hazards. It must be plugged directly
into a properly grounded three-prong
receptacle. The receptacle must be
installed in accordance with local codes
and ordinances. Consult a qualied
electrician. Do not use an extension
cord or adapter plug.
• Immediately repair or replace any power
cord that becomes frayed or damaged.
• Never unplug the appliance by pulling
on the power cord. Always grip the
plug rmly, and pull straight out from
the receptacle to prevent damaging the
power cord.
• Unplug the appliance before cleaning
and before replacing a light bulb to
avoid electrical shock.
• Performance may be aected if
the voltage varies by 10% or more.
Operating the unit with insucient power
can damage the motor. Such damage is
not covered under the warranty.
• Do not plug the unit into an outlet
controlled by a wall switch or pull cord
to prevent the appliance from being
turned o accidentally.
• Avoid connecting unit to a Ground Fault
Circuit Interruptor (GFCI).
Grounding type wall receptacle
Do not, under
any circumstances,
cut, remove,
or bypass the
grounding prong.
Power cord with
3-prong grounded plug
These guidelines must be followed to
ensure that safety mechanisms in this
unit will operate properly.
3

Warranty Information
KENMORE LIMITED WARRANTY
FOR ONE YEAR from the date of sale this appliance is warranted against defects
in material or workmanship when it is correctly installed, operated and maintained
according to all supplied instructions.
WITH PROOF OF SALE, a defective appliance will receive free repair or replacement
at option of seller.
For warranty coverage details to obtain free repair or replacement, visit the web page:
www.kenmore.com/warranty
This warranty applies for only 90 DAYS if this appliance is ever used for other than
private household purposes.
This warranty covers ONLY defects in material and workmanship, and will NOT pay for:
1. Expendable items that can wear out from normal use, including but not limited
to lters, belts, bags or screw-in base light bulbs.
2. A service technician to clean or maintain this appliance, or to instruct the user
in correct appliance installation, operation and maintenance.
3. Service calls to correct appliance installation not performed by Sears authorized
service agents, or to repair problems with house fuses, circuit breakers, house wiring, and plumbing or gas supply systems resulting from such installation.
4. Damage to or failure of this appliance resulting from installation not performed
by Sears authorized service agents, including installation that was not in accord
with electrical, gas or plumbing codes.
5. Damage to or failure of this appliance, including discoloration or surface rust, if it
is not correctly operated and maintained according to all supplied instructions.
6. Damage to or failure of this appliance, including discoloration or surface
rust, resulting from accident, alteration, abuse, misuse or use for other than its
intended purpose.
7. Damage to or failure of this appliance, including discoloration or surface rust,
caused by the use of detergents, cleaners, chemicals or utensils other than those
recommended in all instructions supplied with the product.
8. Damage to or failure of parts or systems resulting from unauthorized modications made to this appliance.
9. Service to an appliance if the model and serial plate is missing, altered, or cannot easily be determined to have the appropriate certication logo.
Disclaimer of implied warranties; limitation of remedies
Customer’s sole and exclusive remedy under this limited warranty shall be product
repair or replacement as provided herein. Implied warranties, including warranties of
merchantability or tness for a particular purpose, are limited to one year or the shortest period allowed by law. Seller shall not be liable for incidental or consequential
damages. Some states do not allow the exclusion or limitation of incidental or consequential damages, or limitation on the duration of implied warranties of merchantability or tness, so these exclusions or limitations may not apply to you.
This warranty applies only while this appliance is used in the United States.
This warranty gives you specic legal rights, and you may also have other rights which
vary from state to state.
Sears Brands Management Corporation, Homan Estates, IL 60179
4

First Steps
3” (75 mm) Air Space
3” (75 mm)
3" (75 mm)
(75 mm)
This Use & Care Guide provides general
installation and operating instructions
for your model. We recommend using a
service or kitchen contracting professional
to install your appliance. Use the unit only
as instructed in this Use & Care Guide.
Before starting the appliance, follow
these important rst steps.
Location
• Choose a place that is near a
grounded, non-GFCI, electrical outlet.
Do Not use an extension cord or an
adapter plug.
• For the most ecient operation, the unit
should be located where surrounding
temperatures will not exceed 110°F
(43°C). Temperatures of 32°F (0°C)
and below will NOT aect operation.
Additional compressor heaters are
not recommended.
• Allow space around the unit for good
air circulation. Leave a 3 inch (75 mm)
space on all sides of the appliance for
adequate circulation.
3” (75 mm)
3” (75 mm)
3" (75 mm)
3"
NOTE
The exterior walls of the appliance
may become quite warm as the
compressor works to transfer heat from
the inside. Temperatures as much as
30°F warmer than room temperature
can be expected. For this reason it
is particularly important in hotter
climates to allow enough space for air
circulation around your unit.
Leveling
The unit must have all bottom corners
resting rmly on a solid oor. The oor
must be strong enough to support a fully
loaded appliance.
NOTE
It is Very Important for your appliance
to be level in order to function properly.
If the unit is not leveled during
installation, the door may be misaligned
and not close or seal properly, causing
cooling, frost, or moisture problems.
To Level Upright Models:
After discarding crating screws, use a
carpenter’s level to level the unit from
front-to-back. Adjust the plastic leveling
feet in front, ½ bubble higher, so that the
door closes easily when left halfway open.
To Level Chest Models:
If needed, add metal or wood shims
between foot pads and oor.
Cleaning (Prior to use)
• Wash any removable parts, the appliance
interior, and exterior with mild detergent
and warm water. Wipe dry. Do not use
harsh cleaners on these surfaces.
• Do not use razor blades or other
sharp instruments, which can scratch
the appliance surface when removing
adhesive labels. Any glue left from the
tape can be removed with a mixture
of warm water and mild detergent, or
touch the residue with the sticky side of
tape already removed. Do not remove
the serial plate.
5
 Loading...