

Kenmore 10646033801 User Manual [en, es, fr]
Counter Depth
Side by Side Refrigerator
Refrigerador de dos puertas
con profundidad para armario
cote a cote
à profondeur de comptoir
Table of Contents / Indice / Table des matières..............2
W10192868A
Sears Roebuck and Co., Hoffman Estates, IL 60179 U.S.A.
Sears Canada Inc., Toronto, Ontario, Canada MSB 2B8
www.sears.com
www.sears.ca

Table of Contents / Indice / Table des matières
REFRIGERATOR SAFETY
REFRIGERATOR USE
REFRIGERATOR CARE
TROUBLESHOOTING...................................8
WATER FILTER CERTIFICATIONS
PERFORMANCE DATA SHEET
PROTECTION AGREEMENTS
WARRANTY.................................................13
SERVICE NUMBERS
...........................
..................................
...............................
...........
................
...................
................
BACK COVER
10
11
13
2
SEGURIDAD DEL REFRIGERADOR
3
USO DE SU REFRIGERADOR
7
CUIDADO DE SU REFRIGERADOR
SOLUCIÓN DE PROBLEMAS
HOJA DE DATOS DEL RENDIMIENTO
CONTRATOS DE PROTECCIÓN
GARANTÍA...................................................26
NÚMEROS
DE SERVICIO
.................
...................
....................
CONTRAPORTADA
.........
..........
......
...............
14
SECURITE DU REFRIGERATEUR.............27
15
UTILISATION DU RÉFRIGÉRATEUR
19
ENTRETIEN DU RÉFRIGÉRATEUR
20
DÉPANNAGE
23
FEUILLE DE DONNÉES SUR
LA PERFORMANCE
25
CONTRATS DE PROTECTION...................38
GARANTIE...................................................39
NUMÉROS
DE SERVICE............COUVERTURE ARRIÉRE
..............................................
...................................
........
..........
28
32
33
36
Product Record
In the space below, record your complete model number, serial
number, and purchase date. You can find this Information on the
model and serial number label located on the Inside wall of the
refrigerator compartment.
Have this Information available to help you obtain assistance or
service more quickly whenever you contact Sears concerning
your refrigerator.
Model number 106.
Serial number
Purchase date_
Save these instructions and your saies receipt for future
reference.
Replacement Parts
To order stainless steel cleaner or replacement filters, call
1-800-4-MY-HOME® and ask for the appropriate part number
listed below or contact your authorized Kenmore dealer.
Stainless Steel Cleaner and Polish:
Order Part #D22 M40083 R
Base Grille Water Filter Cartridges:
Replacement Filter:
Order Part #9030 (T1RFKB1)
In Canada, Order Part #9030B (T1RFKB1)
Accessories
REFRIGERATOR SAFETY
Your safety and the safety of others are very important.
We have provided many important safety messages in this manual and on your appliance. Always read and obey all safety
messages.
This is the safety alert symbol.
This symbol alerts you to potential hazards that can kill or hurt you and others.
All safety messages will follow the safety alert symbol and either the word “DANGER” or “WARNING.”
These words mean:
You can be killed or seriously injured if you don't immediately
ADANGER
AWARNING
All safety messages will tell you what the potential hazard is, tell you how to reduce the chance of injury, and tell you what can
happen if the instructions are not followed.
follow instructions.
You can be killed or seriously injured if you don't follow
instructions.
IMPORTANT SAFETY INSTRUCTIONS
WARNING: To reduce the risk of fire, eiectric shock, or injury when using your refrigerator, foiiow these basic precautions:
m Piug into a grounded 3 prong outiet. m Use nonfiammabie cieaner.
m Do not remove ground prong. m Keep fiammabie materiais and vapors, such as gasoiine,
^ Do not use an adapter. away from refrigerator.
^ Do not use an extension cord ^ more peopie to move and instaii refrigerator.
^ Disconnect power before servicing ^ Disconnect power before insfaiiing ice maker (on ice maker
m Repiace aii parts and paneis before operafing.
m Remove doors from your oid refrigerator.
kit ready modeis oniy).
Use a sturdy giass when dispensing ice (on some modeis).
SAVE THESE INSTRUCTIONS
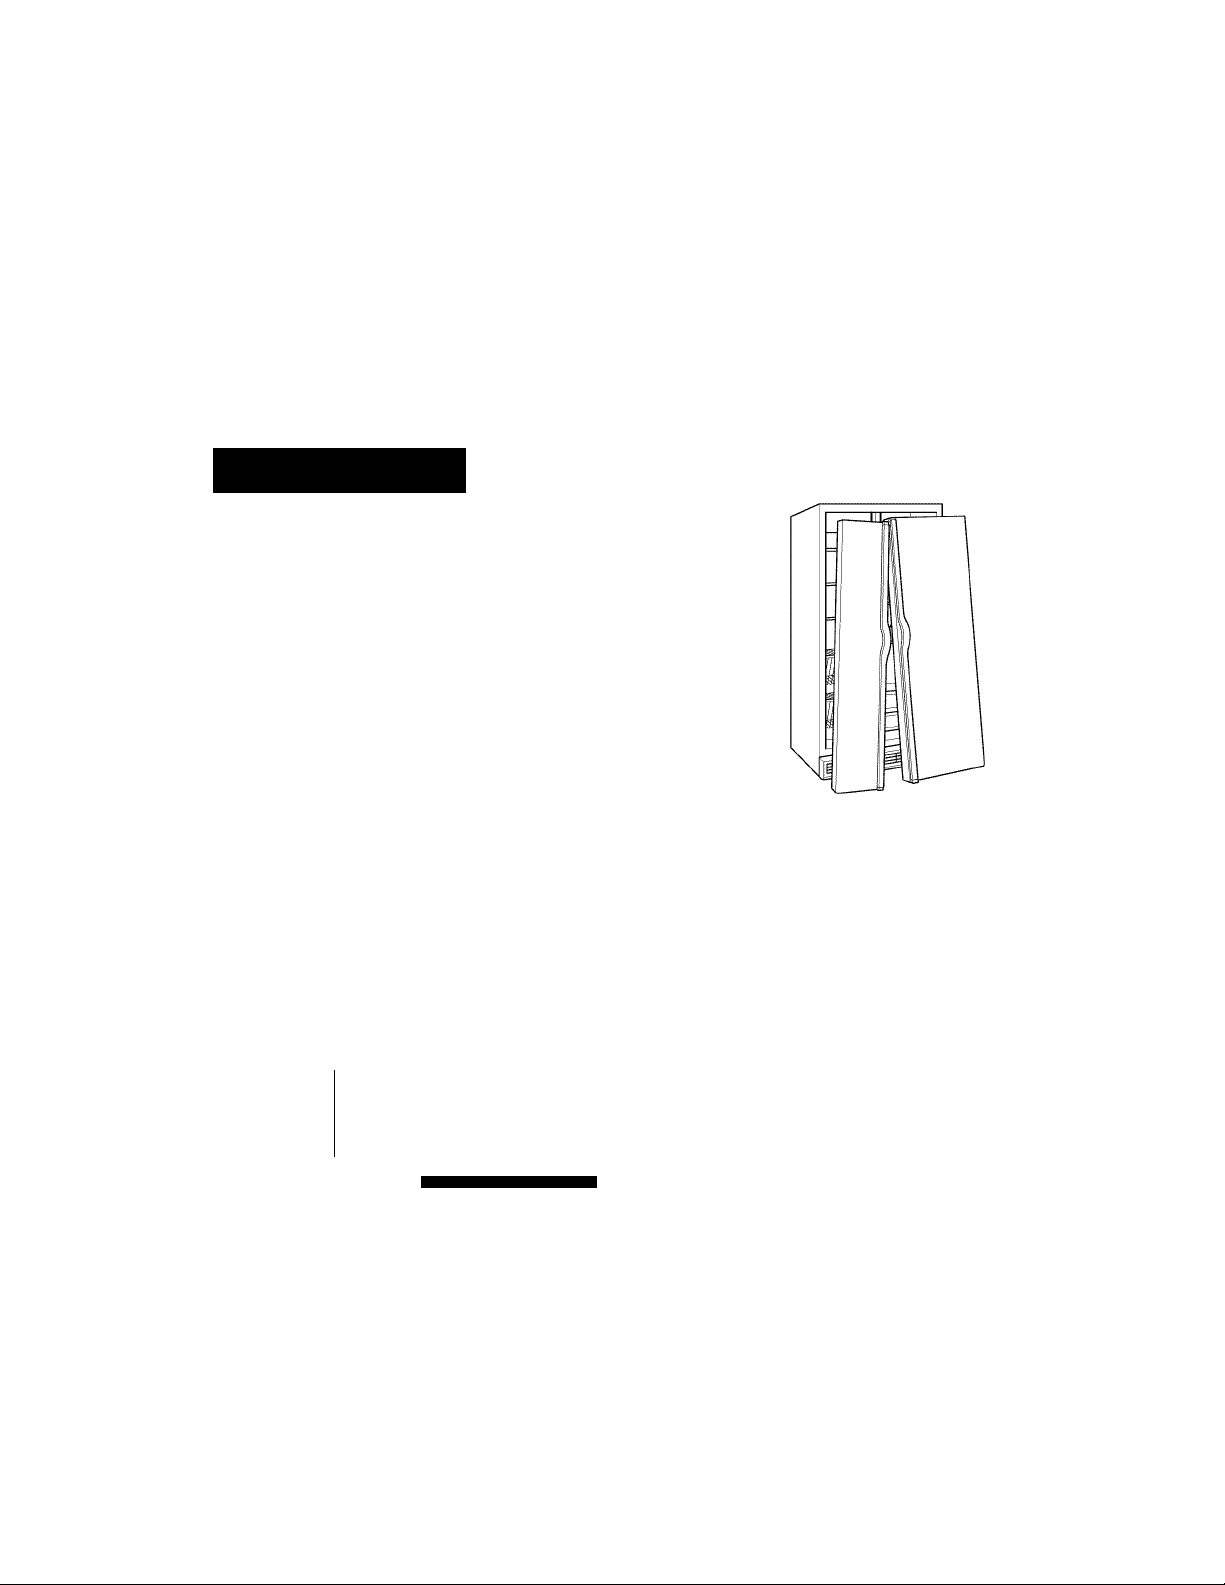
Proper Disposal of Your Old Refrigerator
AWARNING
Suffocation Hazard
Remove doors from your old refrigerator.
Failure to do so can result in death or brain damage.
IMPORTANT: Child entrapment and suffocation are not problems
of the past. Junked or abandoned refrigerators are still dangerous
- even if they will sit for “just a few days.” If you are getting rid of
your old refrigerator, please follow these instructions to help
prevent accidents.
REFRIGERATOR USE
Temperature Control Adjustment and Cooling On/Off
The refrigerator and freezer control buttons are located on the
dispenser panel.
0
cubed off unlo cked
1 Acceler Ice |
Ice
•
Light
To turn cooling off, press and hold the TEMP and FILTER buttons
at the same time for 3 seconds. Press and hold TEMP and
FILTER again to turn cooling on. Your refrigerator and freezer will
not cool when cooling is off.
IMPORTANT: To avoid unintentionally changing other
settings, be sure to press both buttons at exactly the same
time.
For your convenience, your refrigerator and freezer controls are
preset at the factory. When you first install your refrigerator, make
sure that the controls are still set to the “mid-settings.”
6 è t
Lock ¡Filter Status] Temp
COOLING ON/OFF PRESS & HOLD
Before You Throw Away Your Old Refrigerator or Freezer:
■ Take off the doors.
■ Leave the shelves in place so that children may not easily
climb inside.
To view set points, press the TEMP button on your dispenser
panel. The factory recommended set points are 0°F (-18°C) for
the freezer and 37°F (3°C) for the refrigerator.
IMPORTANT:
■ Wait 24 hours before you put food into the refrigerator. If you
add food before the refrigerator has cooled completely, your
food may spoil.
NOTE: Adjusfing the set points to a higher (colder) than
recommended setting will not cool the compartments any
faster.
■ If the temperature is too warm or too cold in the refrigerator or
freezer, firsf check the air vents to be sure they are not
blocked before adjusfing the controls.
■ The preset settings should be correct for normal household
usage. The controls are set correctly when milk or juice is as
cold as you like and when ice cream is firm.
■ Wait at least 24 hours between adjustments. Recheck the
temperatures before other adjustments are made.
■ The display screen on the dispenser control panel has a
backlight, which will turn off automatically when the control
buttons have not been used for 30 seconds or more. When
the backlight is off, the first press of a control button will only
reactivate the backlight, without changing any settings.
Within 30 seconds after the backlight has been reactivated,
additional presses of control buttons will change the
applicable settings.
Adjusting the Controls
To adjust the set points, press and hold the TEMP button for
3 seconds. When adjust mode is activated, set points and
adjusting information will appear on the display screen.
RECOMMENDED (0"F) REFRIGERATOR(37‘f) recommended
Units °F°C 1
L
________________________
NOTE: To view Celsius temperatures, press the UNITS button
when adjust mode is activated. To return the display setting to
Fahrenheit, press UNITS again.
Refrigerator Controls
When adjust mode is activated, the fourth and fifth buttons (from
the left) adjust the refrigerator compartment temperature. The set
point range for the refrigerator is 33°F to 45°F (0°C to 7°C).
■ Press the fourth button (down arrow) to lower the set point.
■ Press the fifth button (up arrow) to raise the set point.
Freezer Controls
When adjust mode is activated, the second and third buttons
(from the left) adjust the freezer compartment temperature. The
set point range for the freezer is -5°F to 5°F (-21 °C to -15°C).
■ Press the second button (down arrow) to lower the set point.
■ Press the third button (up arrow) to raise the set point.
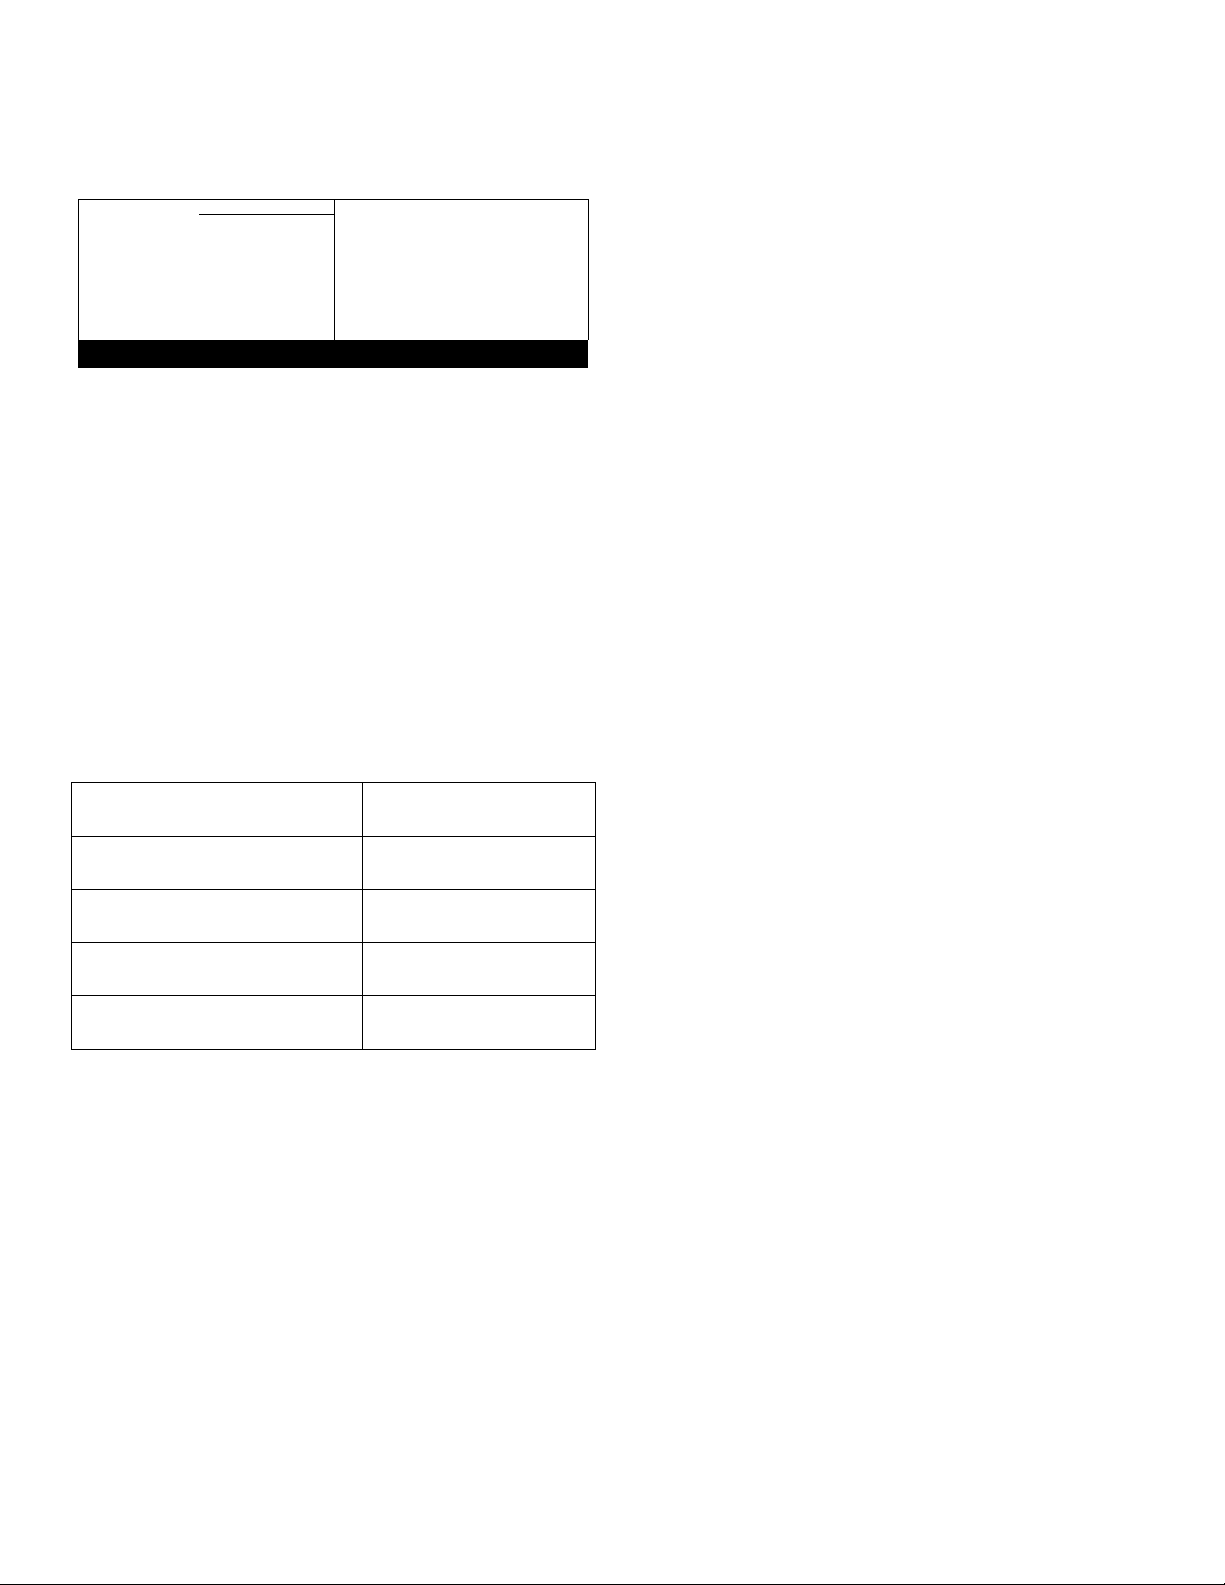
CONDITION: TEMPERATURE
REFRIGERATOR too cold REFRIGERATOR Setting
REFRIGERATOR too warm REFRIGERATOR Setting
FREEZER too cold FREEZER Setting
FREEZER too warm/too little ice FREEZER Setting
Press RETURN to exit adjust mode, or allow about 15 seconds of
inactivity and adjust mode will turn off automatically.
FREEZER
0"
1 xX, XX' 1 XX 1 Return
______________________________________________________
3T
4
COOLING ON/OFF PRESS & HOLD
ADJUSTMENT:
1° higher
1 ° lower
1° higher
1 ° lower
NOTE: If increased ice production is desired at all times, change
the freezer control to a lower setting. Setting the freezer to a
colder temperature may make some foods, such as ice cream,
harder.
Temperature Display Always On
This feature keeps the temperature display on at all times.
■ Press and hold TEMP and LOCK at the same time for
3 seconds to turn the feature on.
IMPORTANT: To avoid unintentionally locking the dispenser
or changing other settings, be sure to press both buttons at
exactly the same time.
■ Press and hold TEMP and LOCK at the same time for
3 seconds again to turn the feature off.
Door Ajar Alarm
The Door Ajar Alarm feature sounds an alarm when the
refrigerator or freezer door is open for 5 minutes and the product
cooling is turned on. The alarm will repeat every 2 minutes. Close
both doors to turn it off. The feature then resets and will
reactivate when either door is left open again for 5 minutes.
Disabling Sounds
■ To turn off all dispenser and control sounds, including the
Door Ajar Alarm, press and hold ICE and TEMP at the same
time for 3 seconds.
IMPORTANT: To avoid unintentionally changing other
settings, be sure to press both buttons at exactly the same
time.
■ To turn all sounds back on, press and hold ICE and TEMP at
the same time for 3 seconds again.
The control can be adjusted to properly chill meats or vegetables.
The air inside the pan is cooled to avoid “spot” freezing and can
be set to keep meats at the National Livestock and Meat Board
recommended storage temperatures of 28° to 32°F (-2° to 0°C).
The convertible drawer temperature control is preset to the
PRODUCE setting.
To Store Meat:
Set the control to one of the three MEAT settings to store meat at
its optimal storage temperature.
To Store Vegetables:
Set the control to PRODUCE to store vegetables at their optimal
storage temperatures.
NOTE: If food starts to freeze, move the control to the left (less
cold). Remember to wait 24 hours between adjustments.
Additional Features
Accelerated Ice Production
The Accelerated Ice feature assists with temporary periods of
heavy ice usage by increasing ice production.
■ Press the ACCELER ICE button to turn on the feature. The
display screen indicates whether the feature is on or off.
eg)
ON OFF
The Accelerated Ice setting will remain on for a minimum of
90 minutes unless manually turned off. The display will
continue to show your normal temperature set point.
You can control the amount of humidity in the moisture-sealed
crisper. Adjust the control to any setting between LOW and
HIGH.
LOW (open) for best storage of fruits and vegetables with skins.
HIGH (closed) for best storage of fresh, leafy vegetables.
The Ice Dispenser
The door chill control is located on the left-hand side of the
refrigerator compartment.
■ Turn the control clockwise (right) to reduce the flow of cold air
to the door and make it less cold.
■ Turn the control counterclockwise (left) to increase the flow of
cold air to the door and make it colder.
Depending on your model, you may have one or more of the
following options: the ability to select either crushed or cubed
ice, a special light that turns on when you use the dispenser, or a
lock option to avoid unintentional dispensing.
The Water Dispenser
If you did not flush the water system when the refrigerator was
first installed, do so now. Use a sturdy container to depress and
hold the water dispenser lever for 5 seconds, then release it for
5 seconds. Repeat until water begins to flow. Once water begins
to flow, continue depressing and releasing the dispenser lever
(5 seconds on, 5 seconds off) for an additional 2 minutes. This
will flush air from the filter and water dispensing system.
Additional flushing may be required in some households.
NOTE: As air is cleared from the system, water may spurt out of
the dispenser.
Allow 24 hours for the refrigerator to cool down and chill water.
IMPORTANT: Depending on your model, the small removable
tray at the bottom of the dispenser is designed to catch small
spills and allow for easy cleaning. There is no drain in the tray.
The tray can be removed from the dispenser and carried to the
sink to be emptied or cleaned.
Ice dispenses from the ice maker storage bin in the freezer when
the dispenser lever is pressed. The dispensing system will not
operate when the freezer door is open. To turn off the ice maker,
see “Ice Maker and Storage Bin.”
Your ice maker can produce both crushed and cubed ice. Before
dispensing ice, select which type of ice you prefer by pressing
the ICE button.
The display screen indicates which type of ice is selected.
%
crushed
CRUSHED
For crushed ice, cubes are crushed before being dispensed. This
may cause a slight delay when dispensing crushed ice. Noise
from the ice crusher is normal, and pieces of ice may vary in size.
When changing from crushed to cubed, a few ounces of crushed
ice will be dispensed along with the first cubes.
To Dispense Ice:
1. Press the button to select the desired type of ice.
AWARNING
Cut Hazard
Use a sturdy glass when dispensing ice.
Failure to do so can result in cuts.
2. Press a sturdy glass against the ice dispenser lever. Hold the
glass close to the dispenser opening so ice does not fall
outside of the glass.
cubed
CUBED
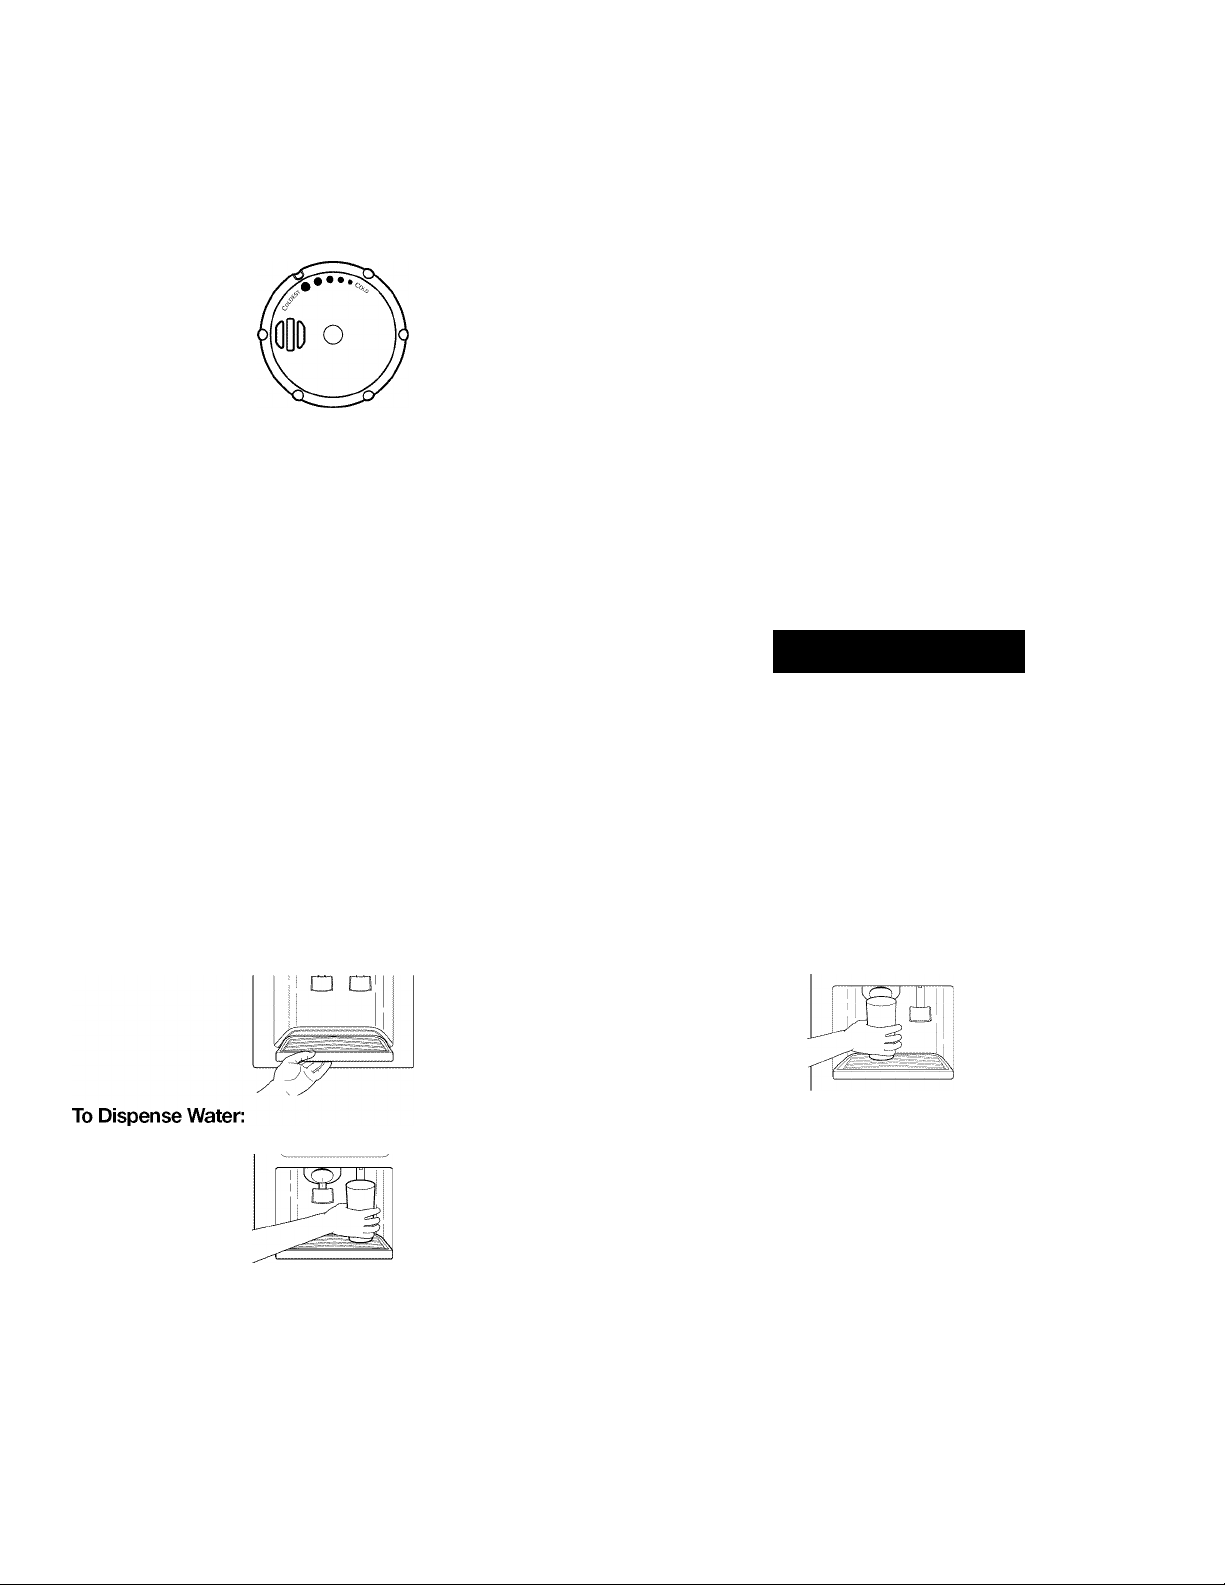
1. Press a sturdy glass against the water dispenser lever.
2. Remove the glass to stop dispensing.
NOTE: Water may have an off-flavor if you do not use the
dispenser periodically. Dispense enough water every week to
maintain a fresh supply.
IMPORTANT: You do not need to apply a lot of pressure to
the lever in order to activate the ice dispenser. Pressing hard
will not make the ice dispense faster or in greater quantities.
Remove the glass to stop dispensing.
NOTE: Ice may continue to dispense for up to 10 seconds
after removing the glass from the lever. The dispenser may
continue to make noise for a few seconds after dispensing.
The Dispenser Light (on some models)
When you use the dispenser, the light will automatically turn on.
If you want the light to be on continuously, you may choose either
ON or HALF. The display screen indicates which mode is
selected.
"D~ ..Os 0
on
ON
half
HALF
off
OFF
ON: Press LIGHT to turn the dispenser light on.
HALF: Press LIGHT a second time to select HALF mode. The
dispenser light will remain on, but at a lower intensity.
OFF: Press LIGHT a third time to turn the dispenser light off.
The dispenser lights are LEDs that can not be changed. If it
appears that your dispenser lights are not working, see
“Troubleshooting” for more information.
The Dispenser Lock (on some models)
The dispenser can be turned off for easy cleaning or to avoid
unintentional dispensing by small children and pets.
NOTE: The lock feature does not shut off power to the
refrigerator, to the ice maker, or to the dispenser light. It simply
deactivates the dispenser controls and levers. To turn off the ice
maker, see “Ice Maker and Storage Bin.”
■ Press and hold LOCK for 3 seconds to lock the dispenser.
■ Press and hold LOCK a second time to unlock the dispenser.
The display screen indicates when the dispenser is locked.
Do not use anything sharp to break up the ice in the storage
bin. This can cause damage to the ice container and the
dispenser mechanism.
Do not store anything on top of or in the ice maker or storage
bin.
Removing and Replacing Ice Storage Bin
1. Hold the base of the storage bin with both hands and press
the release button to lift the storage bin up and out.
NOTE: It is not necessary to turn the ice maker control to the
OFF (right) position when removing the storage bin. The
sensor cover (“flipper door”) on the left wall of the freezer
stops the ice maker from producing ice if the door is open or
the storage bin is removed.
2. Replace the storage bin on the door and push down to make
sure it is securely in place.
Do not use with water that is microbiologically unsafe or
of unknown quality without adequate disinfection before
or after the system. Systems certified for cyst reduction
may be used on disinfected waters that may contain
filterable cysts.
fi fi
locked unlocked
LOOKED UNLOOKED
Turning the Ice Maker On/Off
The On/Off switch is located on the top right-hand side of the
freezer compartment.
To turn on the ice maker, slide the control to the ON (left) position.
To manually turn off the ice maker, slide the control to the OFF
(right) position.
NOTE: Your ice maker has an automatic shutoff. The ice maker
sensors will automatically stop ice production, but the control will
remain in the ON (left) position.
REMEMBER:
■ Allow 24 hours to produce the first batch of ice. Discard the
first three batches of ice produced.
■ The quality of your ice will be only as good as the quality of
the water supplied to your ice maker. Avoid connecting the
ice maker to a softened water supply. Water softener
chemicals (such as salt) can damage parts of the ice maker
and lead to poor quality ice. If a softened water supply cannot
be avoided, make sure the water softener is operating
properly and is well maintained.
Water Filter Status Light (on some models)
The water filter status light will help you know when to change
your water filter. When the water filter status display changes
from “GOOD” to “ORDER,” this tells you that it is almost time to
change the water filter cartridge. Replace the water filter
cartridge when the water filter status display changes to
“REPLACE.” If water flow to your water dispenser or ice maker
decreases noticeably, change the filter sooner. The filter should
be replaced at least every 6 months depending on your water
quality and usage.
After changing the water filter, reset the status light by pressing
and holding the FILTER button for 3 seconds. The status light will
change from “REPLACE” to “NEW” or “GOOD” when the system
is reset.
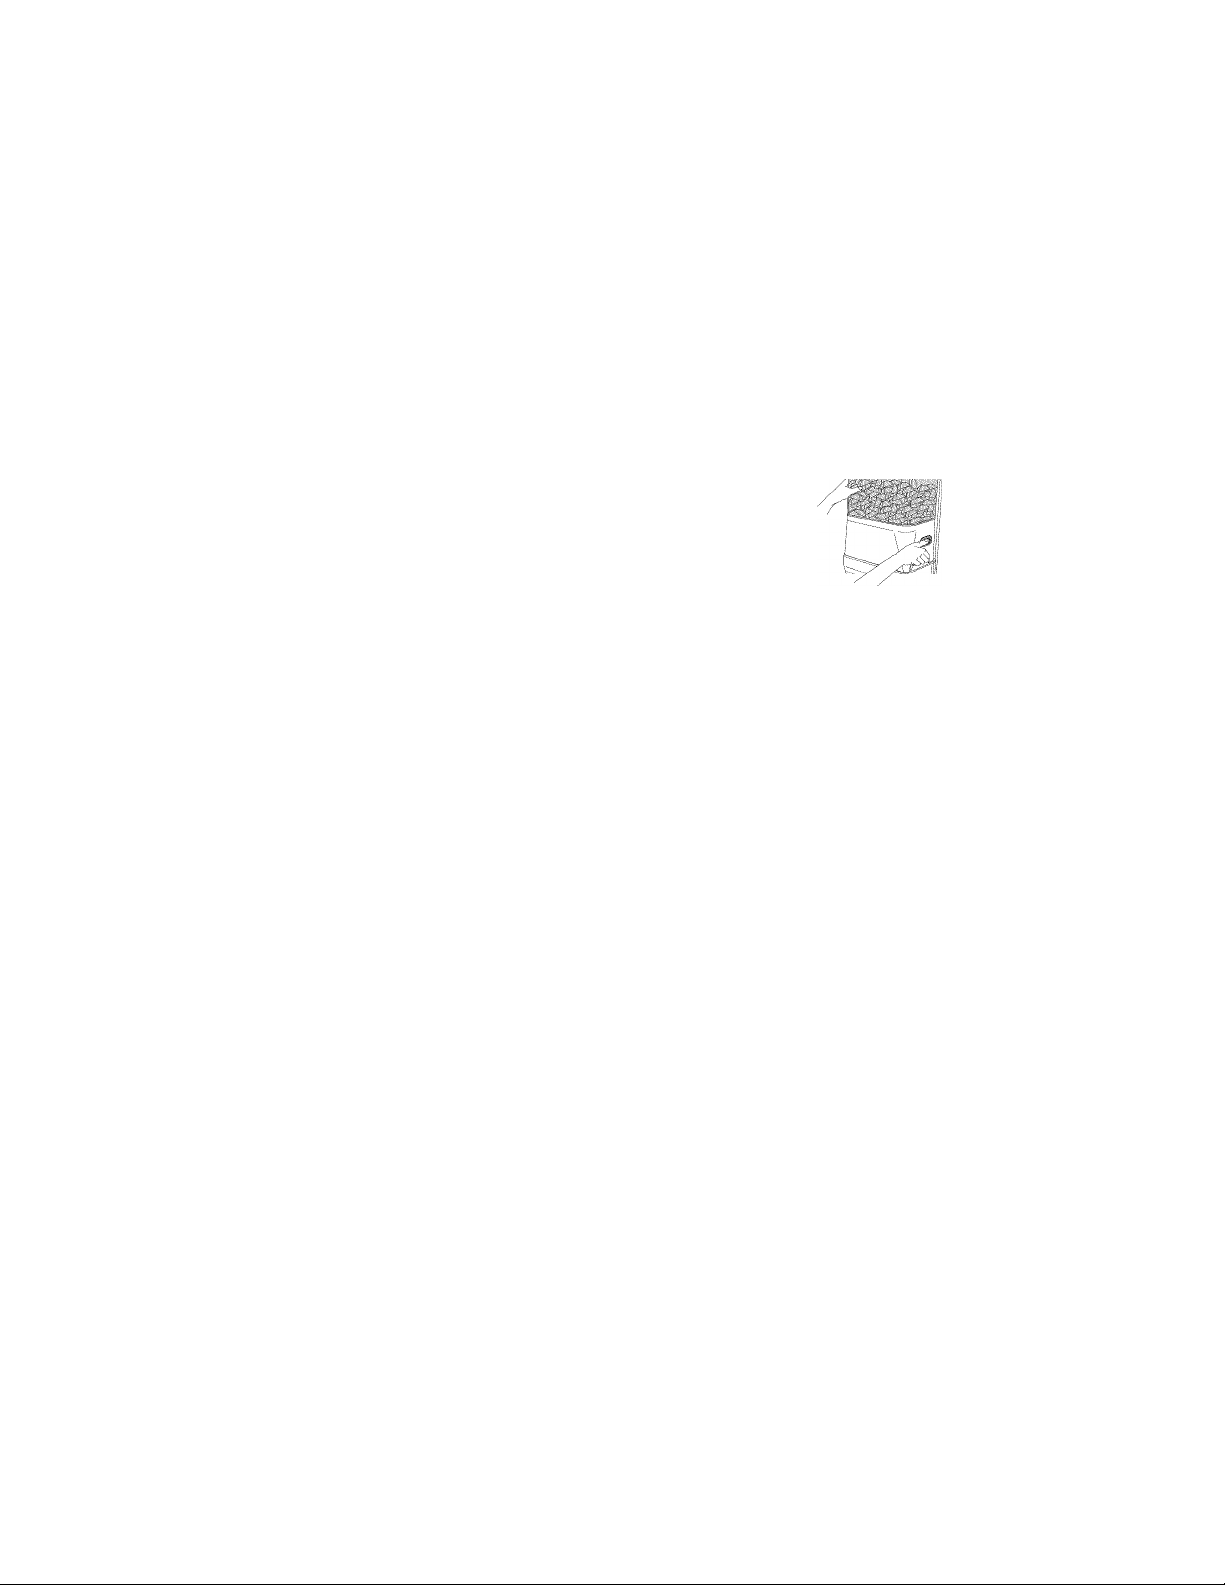
Changing the Water Filter
1.
Press the eject button to release the filter from the base grille.
2.
Pull the filter straight out.
3.
Turn the cap counterclockwise to remove it from the filter.
IMPORTANT: Do not discard the cap. It is part of your
refrigerator. Keep the cap to use with the replacement filter.
4.
Align the ridge on the cap with the arrow on the new filter and
turn the cap until it snaps into place.
NOTE: You can run the dispenser without a filter. Your water
will not be filtered. Simply insert the cap all of the way into the
base grille and rotate the cap until it is firmly in place.
5.
Remove the covers from the 0-rings. Be sure the 0-rings are
still in place after the covers are removed.
6.
Push the filter into the base grille. The eject button will pop
back out when the filter is fully engaged.
7.
Flush the water system. See “Water and Ice Dispensers.”

REFRIGERATOR CARE
CIcîaririg
AWARNING
Explosion Hazard
Use nonflammable cleaner.
Failure to do so can result in death, explosion, or fire.
Both the refrigerator and freezer sections defrost automaticaiiy.
However, ciean both sections about once a month to avoid
buiidup of odors. Wipe up spiiis immediateiy.
IMPORTANT: Because air circuiates between both sections, any
odors formed in one section wiii transfer to the other. You must
thoroughiy ciean both sections to eiiminate odors. To avoid odor
transfer and drying out of food, wrap or cover foods tightiy.
To Clean Your Refrigerator:
NOTE: Do not use abrasive or harsh cieaners such as window
sprays, scouring cieansers, fiammabie fiuids, cieaning waxes,
concentrated detergents, bieaches or cieansers containing
petroieum products on piastic parts, interior and door iiners or
gaskets. Do not use paper toweis, scouring pads, or other harsh
cieaning toois.
1. Unpiug refrigerator or disconnect power.
2. Hand wash, rinse, and dry removabie parts and interior
surfaces thoroughiy. Use a ciean sponge or soft cioth and a
miid detergent in warm water.
3. Wash stainiess steei and painted metai exteriors with a ciean
sponge or soft cioth and a miid detergent in warm water.
4. There is no need for routine condenser cieaning in normai
home operating environments, if the environment is
particuiariy greasy or dusty, or there is significant pet traffic in
the home, the condenser shouid be cieaned every 2 to
3 months to ensure maximum efficiency.
if you need to ciean the condenser:
■ Remove the base ghiie.
■ Use a vacuum cieaner with a soft brush to ciean the griiie,
the open areas behind the griiie and the front surface area
of the condenser.
■ Repiace the base griiie when finished.
5. Piug in refrigerator or reconnect power.
Ctiangirig tliet Light Bulbs
NOTE: Not aii buibs wiii fit your refrigerator. Be sure to repiace
the buib with one of the same size, shape and wattage.
Repiacement buibs are avaiiabie from your deaier.
■ The dispenser iights are LEDs that cannot be changed.
■ Aii other iights require a 40-watt buib.
1. Unpiug refrigerator or disconnect power.
2. Remove iight shieid when appiicabie.
NOTE: To ciean the iight shieid, wash it with warm water and
iiquid detergent. Rinse and dry the shieid weii.
3. Remove iight buib and repiace with one of the same size,
shape and wattage.
4. Repiace iight shieid when appiicabie.
5. Piug in refrigerator or reconnect power.
Vacation and IVIowing Cam
Vacations
If You Choose to Leave the Refrigerator On While You’re
Away:
1. Use up any perishabies and freeze other items.
2. if your refrigerator has an automatic ice maker:
■ Raise wire shutoff arm to OFF (up) position or move the
switch to the OFF (right) setting.
■ Shut off water suppiy to the ice maker.
3. Empty the ice bin.
If You Choose to Turn the Refrigerator Off Before You Leave:
1. Remove aii food from the refrigerator.
2. if your refrigerator has an automatic ice maker:
■ Turn off the water suppiy to the ice maker at ieast one day
ahead of time.
■ When the iast ioad of ice drops, raise the wire shutoff arm
to the OFF (up) position or move the switch to the OFF
(right) setting.
3. Depending on the modei, turn the Temperature Oontroi or
Refrigerator Oontroi to OFF. See “Using the Oontrois.”
4. Oiean refrigerator, wipe it, and dry weii.
5. Tape rubber or wood biocks to the tops of both doors to prop
them open far enough for air to get in. This stops odor and
moid from buiiding up.
Moving
When you are moving your refrigerator to a new home, foiiow
these steps to prepare it for the move.
1. if your refrigerator has an automatic ice maker:
■ Turn off the water suppiy to the ice maker at ieast one day
ahead of time.
■ Disconnect the water iine from the back of the
refrigerator.
■ When the iast ioad of ice drops, raise the wire shutoff arm
to the OFF (up) position or move the switch to the OFF
(right) setting.
2. Remove aii food from the refrigerator and pack aii frozen
food in dry ice.
3. Empty the ice bin.
4. Depending on the modei, turn the Temperature Oontroi or
Refrigerator Oontroi to OFF. See “Using the Oontrois.”
5. Unpiug refrigerator.
6. Empty water from the defrost pan.
7. Oiean, wipe, and dry thoroughiy.
8. Take out aii removabie parts, wrap them weii, and tape them
together so they don’t shift and rattie during the move.

9. Depending on the model, raise the front of the refrigerator so
it rolls more easily OR screw in the leveling legs so they don't
scrape the floor.
10. Tape the doors closed and tape the power cord to the back
of the refrigerator.
TROUBLESHOOTING
Tty the solutions suggested here first in order to avoid the cost of an unnecessary service call.
When you get to your new home, put everything back and refer to
the “Installation Instructions” for preparation instructions. Also, if
your refrigerator has an automatic ice maker, remember to
reconnect the water supply to the refrigerator.
The refrigerator will not operate
A WARNING
Electrical Shock Hazard
Plug into a grounded 3 prong outlet.
Do not remove ground prong.
Do not use an adapter.
Do not use an extension cord.
Failure to follow these instructions can result in death,
fire, or electrical shock.
■ Power cord unplugged? Plug into a grounded 3 prong
outlet.
■ Is outlet working? Plug in a lamp to see if the outlet is
working.
■ Household fuse blown or circuit breaker tripped? Replace
the fuse or reset the circuit breaker. If the problem continues,
call an electrician.
■ Are controls on? Make sure the refrigerator controls are on.
See “Using the Controls.”
■ New installation? Allow 24 hours following installation for the
refrigerator to cool completely.
NOTE: Adjusting the temperature controls to coldest setting will
not cool either compartment more quickly.
The refrigerator is noisy
Refrigerator noise has been reduced over the years. Due to this
reduction, you may hear intermittent noises from your new
refrigerator that you did not notice from your old model. Below
are listed some normal sounds with an explanation.
■ Buzzing - heard when the water valve opens to fill the ice
maker
■ Pulsating - fans/compressor adjusting to optimize
performance
■ Rattling - flow of refrigerant, water line, or from items placed
on top of the refrigerator
■ Sizzling/Gurgling - water dripping on the heater during
defrost cycle
■ Popping - contraction/expansion of inside walls, especially
during initial cool-down
■ Water running - may be heard when water melts during the
defrost cycle and runs into the drain pan
■ Creaking/Cracking - occurs as ice is being ejected from the
ice maker mold.
The doors will not close completely
Check the following:
■ Are food packages blocking the door open?
■ Are all bins and shelves pushed back into the correct
positions?
The doors are difficult to open
AWARNING
The motor seems to run too much
Your new refrigerator may run longer than your old one due to its
high-efficiency compressor and fans. To maximize energy
efficiency, the compressor changes speed to provide just the
right amount of cooling as it is needed. Your refrigerator may run
as much as 100% of the time, but it will still use less energy than
an older refrigerator. You may notice that it runs more often when
the room is warm, a large amount of food is added to either
compartment, or the doors are opened often.
U/
Explosion Hazard
Use nonflammable cleaner.
Failure to do so can result in death, explosion, or fire.
Are the gaskets dirty or sticky? Clean gaskets with mild
soap and warm water.
Has the door been opened and closed within the last few
seconds? Wait at least 30 seconds to reopen the doors.

The ice cubes are hollow or small
Temperature is too warm
Check the following:
■ Are the air vents blocked in either compartment?
■ Are the door(s) opened often?
■ Has a large amount of food just been added to the
refrigerator or freezer?
■ Are the controls set correctly for the surrounding conditions?
There is interior moisture buildup
NOTE: Some moisture is normal.
■ Are the air vents blocked in the refrigerator?
■ Are the door(s) opened often?
■ Is the room humid?
■ Are the controls set correctly for the surrounding conditions?
■ Was an automatic self-defrost cycle completed?
Items in meat pan/crisper are freezing
The temperature inside the meat pan/crisper may become too
cold, especially when using some additional control panel
features. Adjust the meat pan control to the closed setting.
The ice maker is not producing ice or not enough ice
Is the ice maker wire shutoff arm or switch (depending on
models) in the OFF position?
Is the water line shutoff valve to the refrigerator turned on?
Has the ice maker just been installed? Is the freezer
temperature cold enough to produce ice? Wait 24 hours
after ice maker hookup for ice production to begin. Allow
3 days after ice production begins to completely fill ice
container.
Does the ice maker mold have water in it or has no ice
been produced? Make sure your refrigerator has been
connected to a water supply and the supply shutoff valve is
turned on.
Has a large amount of ice just been removed? Allow
24 hours for ice maker to produce more ice.
Is there a water filter installed on the refrigerator? The
filter may be clogged or installed incorrectly.
Is an ice cube jammed in the ice maker ejector arm?
For models with an interior ice bin, remove the ice from the
ejector arm with a plastic utensil.
Is a reverse osmosis water filtration system connected to
your cold water supply? See “Water Supply Requirements”
in either the Installation Instruction booklet or the Use and
Care Guide.
This is an indication of low water pressure.
Check the following:
■ Is the water shutoff valve fully open?
■ Are there kinks in the water lines that could restrict water
flow?
■ If you are using a water filter, remove the filter and operate the
dispenser. If water flow increases, the filter is clogged or
incorrectly installed.
■ Is a reverse osmosis water filtration system connected to
your cold water supply? See “Water Supply Requirements”
in either the Installation Instructions or the Use and Care
Guide.
■ If you still have questions regarding your water pressure, call
a licensed, qualified plumber.
Off-taste, odor or gray color in the ice
Check the following:
■ Are the plumbing connections new, causing discolored or offflavored ice?
■ Have the ice cubes been stored too long?
■ Does the freezer and ice bin need to be cleaned?
■ Has food in the freezer or refrigerator been wrapped
properly?
■ Does the water contain minerals (such as sulfur)? A filter
may need to be installed to remove the minerals.
■ Is there a water filter installed on the refrigerator? Gray or
dark discoloration in ice indicates that the water filtration
system needs additional flushing.
The ice dispenser will not operate properly
Check the following:
Is the freezer door closed completely?
Is the ice bin installed correctly?
Is there ice in the bin?
Has the ice frozen in the ice bin?
Is ice stuck in the delivery chute?
Has the wrong ice been added to the bin? Use only cubes
produced by the current ice maker.

Has the ice melted around the auger (metal spiral) in the
ice bin? Empty the ice container. Use warm water to meit the
ice if necessary.
WATER FILTER
^WARNING
Cut Hazard
Use a sturdy glass when dispensing ice.
Failure to do so can result in cuts.
Is the ice dispenser stalling while dispensing “crushed”
ice? Change the ice button from “crushed” to “cubed.” if
cubed ice dispenses correctiy, depress the button for
“crushed” ice and begin dispensing again.
Has the dispenser lever been held in too long? Ice will stop
dispensing when the arm is held in too long. Wait 3 minutes
for dispenser motor to reset before using again.
The water dispenser will not operate properly
Check the following:
■ Is the freezer door closed completely?
■ Is the water shutoff valve not turned on, incorrectly installed
or clogged?
■ Is the water line connected at the source?
■ Is there a kink in the home water source line?
■ Has the water system not filled? The water system needs
to be filled the first time it is used.
■ Is the refrigerator connected to a cold water line with
water pressure of at least 30 psi (207 kPa)? The water
pressure to the home determines the flow from the dispenser.
■ Is there a water filter installed on the refrigerator? The
filter may be clogged or incorrectly installed.
■ Is a reverse osmosis water filtration system connected to
your cold water supply? See “Water Supply Requirements”
in either the Installation Instructions or the Use and Care
Guide.
CERTIFICATIONS
State of California
Department ol' Flcalih Serv'ices
Water Treatment Device
Certificate Number
04- 1605
Date Issued: January 5,2004
Dale Revi.sed: December 14, 2fX).5
Tradcmark/IVIodcl Designation
Kenmore Advanced Refrigerator Filler TI KB I
KenmoreTIKBl
Kenmore Ultimate Tl KBi
Kenmore Ultimate II11 KB I
Manufacturer: Scars, Roebuck and Company
The water treatment device(s) listed on this certificate have met the testingiequirements pursuant to Section
116830 of the Health and Safety Code for the following liealtli related contaminants;
Microbiologica|,Qmtamioants^ndJ[^^
C>sls
’lurbidilv
Alaehlor,' ■ " " "
Atrazine
Benzene
Hndrin -'-.i ■' ,
Ethylbenzene, , ,
Lindane , : ,,
\'0(\
Rated Service Capacity: 100 gal
Do not use where water is microbiologically unsafe or with water of unknown quality, except that
systems certified for cyst reduction may be used on disinfected waters that may contain filterable cy
..........
............................
Alaehlor ,
Atrazine '
Benzene , Carbofuran . ,
CarKm Tetrachloride
Chlorobenzene ,
(Jhloropicrm
2.4-D . ^ .
DBCP ' ' ,
o-Dichiorobenzene
p-Dichlorobenzene ,
! .2-Dichlorocthane ;
1,1 -Dichloroclhylene ^
eis-l.T-Didsloroclhylene
irans-1.2-Dich!orocthylcne
! .2-Dichloropropanc
CIS-1 ,.3-Dichioropropyienc
Dinoseb
.
. ,
.....
: •
Organic Contaminants
Endnn •
Hthvibenz.ene,. ,
LDl3
HaloaeetonitrLles (HAN l
Biomochloix'aeetonitrile
Dibrumoacetoniinle
Dichloioaccli>nilrile
rnchloroaccloniinle ,
HalokclonesiHk)
I. l-Dichloto-2-Propanone
1,1. ! - {I ichloin-2-Fi opanone
. Meptachlor , ,
Hepiachlor Fposide
Hexuchlorohutxuliene
Hcxachlim'cyclopcnladienc
Methoxychlor .
Pentachioropheno!
Replacement Klementfs)
TlRFKBl
TlRFKBl
TlRFKBl
TlRFKBl
lnojjianic/Radiok^Ì£aJ.^ontanim
Asbestos,
Lead:.'",'-: ■ ' ■ ,
Mercury :- ' '
ManixihhH'obenzene
MTBF.
o-dichlorobeirsine •
.Telrachloroeihylene Toxaphene
Trihalomeihanes
Simazme
Stirene
l.L2.2-rctrachiorocthanc
Tetrachloroethylene
Toluene
2.4,5-'lP(Sil%c\)
Tribromoaceltc Acid
1,2.4-Trichloroben/,ene
1.1,1 -T nchloroethane
1,1.2-1 nchloroethane
Trichloroethylene
Trihalomeihanes (THMsi
Bromodichloromeihane
Broinol'orm
(.'hloroform
Chlorodibromomelhane
Xylenes
Rated Service Flown 0.5 gpm
Water is leaking from the dispenser
Check the following:
■ Is the glass not being held under the dispenser long enough?
■ Has the water system been flushed since installation or
changing filters?
The dispenser water is not cool enough
NOTE: Water from the dispenser is chilled to only 50°F (10°C).
■ Has the refrigerator been newly installed or a large
amount of water recently dispensed? Allow 24 hours for
the refrigerator to cool completely.
■ Has water not been recently dispensed? The first glass of
water may not be cool. Discard the first glass of water.
10

PERFORMANCE DATA SHEET
Base Grille Water Filtration System
Model T1KB1/T1RFKB1 Capacity 100 Gallons (379 Liters)
System tested and certified by NSF internationai against NSF/ANSi Standard 42 for the reduction of
Chiorine Taste and Odor, Particuiate Ciass i*; and against NSF/ANSi Standard 53 for the reduction of
Lead, Mercury, Atrazine, Benzene, Toxaphene, 0-Dichiorobenzene, Cysts, Turbidity, Asbestos, Lindane,
Tetrachioroethyiene, Endrin, Aiachior, Chiorobenzene, Ethyibenzene, TTFIM, MTBE and VOC.
This system has been tested according to NSF/ANSi Standards 42 and 53 for the reduction of the substances iisted beiow. The
concentration of the indicated substances in water entering the system was reduced to a concentration iess than or equai to the
permissibie iimit for water ieaving the system, as specified in NSF/ANSi Standards 42 and 53.
Substance Reduction
Aesthetic Effects
Chlorine Taste/Odor
Particulate Class 1*
Contaminant
Reduction
Lead: @ pFI 6.5
Lead: @ pH 8.5
Mercury: @ pH 6.5
Mercury: @ pH 8.5
Benzene 0.005 mg/L 15 ug/L 0.015 mg/L ± 10% 0.5 ug/L 0.5 ug/L 96.67 96.67
O-Dichlorobenzene 0.6 mg/L 1750 ug/L 1.8 ± 10% 1.0 ug/L 1.0 ug/L 99.94 99.94
Toxaphene 0.003 mg/L 15 ug/L 0.015 ± 10% 1.0 ug/L 1.0 ug/L 93.33 93.33
Atrazine 0.003 mg/L 10 ug/L 0.009 mg/L± 10% 2 ug/L 2 ug/L 80.8 80.8
Asbestos 99% 101 MEL 10* to 10®fibers/L** 0.17 MEL 0.17 MEL 99.83 99.83
Live Cysts*
Turbidity
Aiachior 0.002 mg/L 41.3 ug/L 0.04 ± 10% 0.2 ug/L 0.2 ug/L 99.52 99.52
Endrin 0.002 mg/L 5.9 ug/L 0.006 ± 10% 0.5 ug/L 0.3 ug/L 91.5 95.47
Ethylbenzene 0.7 mg/L 1867 ug/L 2.1 ± 10% 0.70 ug/L 0.0588 ug/L 99.96 100
Lindane 0.002 mg/L 1.9 ug/L 0.002 ±10% 0.02 ug/L 0.02 ug/L 98.93 98.93
Chlorobenzene 0.6 mg/L 2.0 ug/L 2.0 ± 10% 0.0005 ug/L 0.0005 ug/L 99.98 99.98
Tetrachioroethyiene 0.005 mg/L 14.2 ug/L 0.015 ± 10% 0.5 ug/L 0.5 ug/L 96.47 96.47
TTHM 0.080 mg/L 465 ug/L 0.45 ± 20% 1.0 ug/L 0.5 ug/L 99.78 99.88
MTBE 0.005 mg/L 14 ug/L 0.015 ± 20% 0.70 ug/L 0.52 ug/L 94.94 96.27
VOC 0.015 mg/L 0.3520 mg/L 0.300 ±10% 0.0060 mg/L 0.0008 mg/L 98.4 99.78
Test Parameters: pFI = 7.5 ± 0.5 uniess otherwise noted. Fiow = 0.5 gpm (1.9 Lpm). Pressure = 60 psig (413.7 kPa).
Temp. = 68°F to 71.6°F (20°C to 22°C). Rated service capacity = 100 gaiions (379 liters).
It is essential that operational, maintenance, and filter
replacement requirements be carried out for the product to
perform as advertised.
Model T1KB1: The filter monitor system measures the amount of
water that passes through the filter and alerts you to replace the
filter.
Style 1 - When the filter indicator reads 10%, order a new filter.
When the filter indicator reads 0%, it is recommended that you
replace the filter.
Style 2 - When the filter indicator light changes from green to
yellow, order a new filter. When the filter indicator light changes
from yellow to red, it is recommended that you replace the filter.
Use replacement cartridge T1RFKB1, part #9030. In Canada, use
replacement cartridge T1RFKB1, part #9030B. 2008 suggested
retail price of $41.99 U.S.A./$51.99 Canada. Prices are subject to
change without notice.
These contaminants are not necessarily in your water supply.
While testing was performed under standard laboratory
conditions, actual performance may vary.
The product is for cold water use only.
NSF Reduction
Requirements
50% reduction
85% reduction
NSF Reduction
Requirements
0.010 mg/L
0.010 mg/L
0.002 mg/L
0.002 mg/L
>99.95%
0.5 NTU
Average
Influent
2.0 mg/L
3533333#/mL
Average
Influent
150 ug/L
157 ug/L
0.0058 mg/L
0.0057 mg/L
120,000/L
11.4 NTU
Influent Challenge
Concentration
2.0 mg/L± 10%
At least 10,000 partioles/mL
Influent Challenge
Concentration
0.15 mg/L ± 10%
0.15 mg/L ± 10%
0.006 mg/L ± 10%
0.006 mg/L± 10%
50,000/L min.
11 ± 1 NTU
Do not use with water that is microbiologically unsafe or of
unknown quality without adequate disinfection before or after the
system. Systems certified for cyst reduction may be used on
disinfected waters that may contain filterable cysts.
Refer to the front cover or “Accessories” section for the
Manufacturer’s name, address and telephone number.
Refer to the “Warranty” section for the Manufacturer’s limited
warranty.
Water Supply
Water Pressure
Water Temperature
Service Flow Rate
Maximum
Effluent
0.08 mg/L
22000 #/mL"
Maximum
Effluent
1.0 ug/L
2.0 ug/L
0.0002 mg/L
0.0002 mg/L
8/L*
0.41 NTU
Average
Effluent
2.0 mg/L
11567 #/mL
Average
Effluent
1 ug/L
1.08 ug/L
0.0002 mg/L
0.0002 mg/L
1/L»
0.24 NTU
Minimum %
Reduction
95.93
99.38
Minimum %
Reduction
99.33
98.72
96.53
96.5
99.99
96.4
Average %
Reduction
97.36
99.67
Average %
Reduction
99.33
99.31
96.53
96.5
>99.99
97.89
Application Guidelines/Water Supply Parameters
City or Well
30 - 120 psi (207 - 827 kPa)
33° - 100°F (0.6° - 37.8°C)
0.5 gpm (1.9 L/min) @ 60 psi
‘Class I particle size: >0.5 to <1 um
"Test requirement is at least 100,000 partioles/mL of AC Fine Test Dust.
++Fibers greater than 10 um in length
♦Based on the use of Cryptosporidium parvum oocysts
® NSF is a registered trademark of NSF International.
11
NSF/ANSI Standard 53 - Health Effects - Volatile Organic Chemicals (VOC’s) included by surrogate testing*
Chemical Contaminant Influent Challenge NSF Maximum Permissible Chemical Reduction
Carbofuran 0.190 0.001 >99
Carbon tetrachloride 0.078 0.0018 98
Chloropiorin 0.015 0.0002 99
2,4, D 0.110 0.0017 98
Dibromochloropropane (DBCP) 0.052 0.00002 >99
p-Diohlorobenzene 0.040 0.001 >98
1,2-Diohloroethane 0.088 0.0048 95
1,1-Diohloroethylene 0.083 0.001 >99
Cis-1,2-Diohloroethylene 0.170 0.0005 >99
Trans-1,2-Diohloroethylene 0.086 0.001 >99
1,2-Diohloropropane 0.080 0.001 >99
Cis-1,3-Diohloropropylene 0.079 0.001 >99
Dinoseb 0.170 0.0002 99
Ethylene dibromide (EDB) 0.044 0.00002 >99
Haloacetonitriles (HAN):
Bromochloroacetonitrile 0.022 0.0005 98
Dibromoacetonitrile 0.024 0.0006 98
Diohloroacetonitrile 0.0096 0.0002 98
Triohloroacetonitrile 0.015 0.0003 98
Haloketones (HK):
1,1-Dichloro-2-Propanone 0.0072 0.0001 99
1,1,1 -Triohloro-2-Propanone 0.0082 0.0003 96
Heptachlor (H-34, Heptox) 0.25 0.00001 >99
Heptachlor epoxide 0.0107 0.0002 98
Hexachlorobutadiene 0.044 0.001 >98
Hexachlorocyolopentadiene 0.060 0.000002 >99
Methoxyohlor 0.05 0.0001 >99
Pentachlorophenol 0.096 0.001 >99
Simazine 0.120 0.004 >97
Styrene 0.150 0.0005 >99
1,1,2,2-Tetrachloroethane 0.081 0.001 >99
Toluene 0.078 0.001 >99
2,4,5 TP (Silvex) 0.270 0.0016 99
Tribromoacetio Acid 0.042 0.001 >98
1,2,4-Triohlorobenzene 0.160 0.0005 >99
1,1,1 -Triohloroethane 0.084 0.0046 95
1,1,2-Triohloroethane 0.150 0.0005 >99
Trichloroethylene 0.180 0.0010 >99
Xylenes 0.070 0.001 >99
Concentration (mg/L) Level Concentration (mg/L) Percent {%)
‘Chloroform was used as the surrogate chemical for VOC reduction claims
I NSF is a registered trademark of NSF International.
12
 Loading...