

Ken A Vision ProfCam Ceiling DocCam II 910-171-066, Ceiling DocCam II Installation & Operation Manual
ProfCam by Ken-A-Vision
®
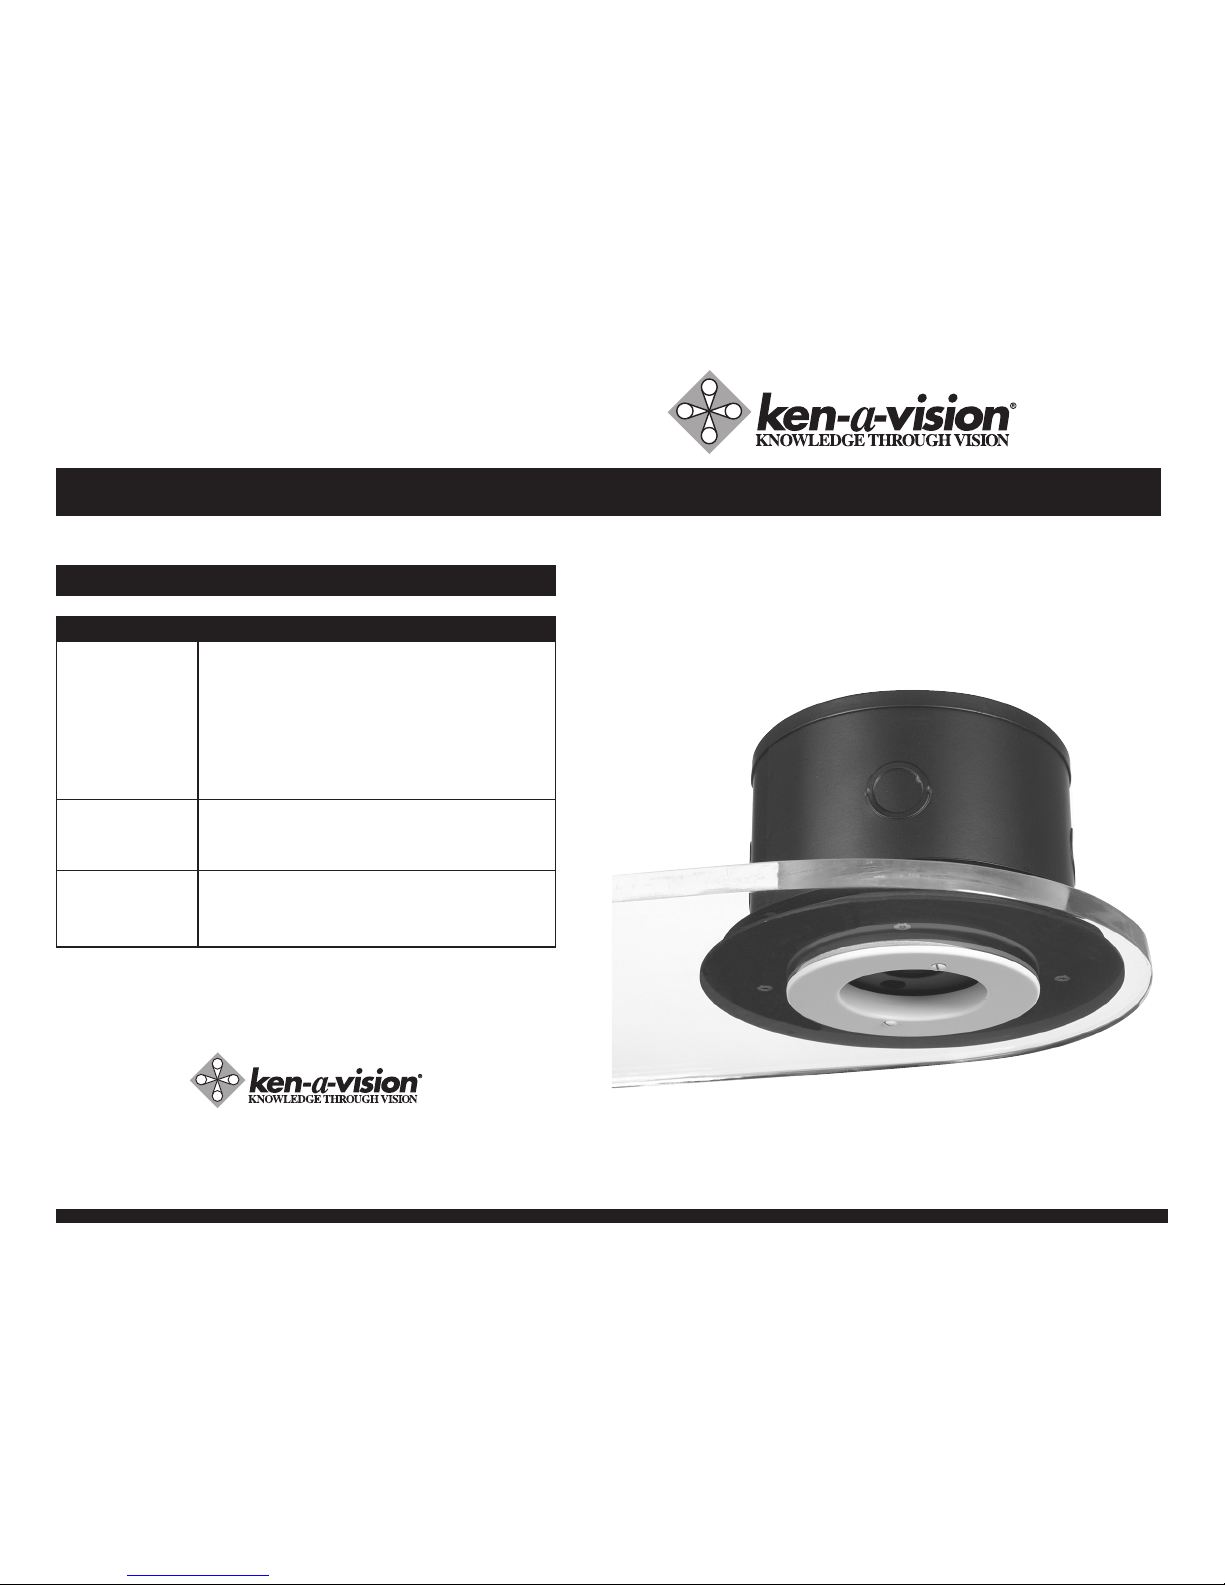
Ceiling DocCam™ II
Installation & Operation Manual
910-171-066
Troubleshooting
5615 Raytown Road • Kansas City, MO 64133 U.S.A.
Tel.: 816-353-4787 • Fax: 816-358-5072
email: flexcam@ken-a-vision.com • www.ken-a-vision.com
Problem Try this
No video image
The IR remote control
does not work
Can’t see an entire
drawing/page clearly
on the video screen.
Verify that the Cat. 5 is connected between the RJ-45 jack on
the back of the camera module enclosure and the RF-45 jack
on the back of the wall plate.
Make sure the provided 15 VDC power supply is plugged
into a wall outlet and the 15 VDC jack on the wall plate.
Check the S-video or composite cables to verify they are properly
connected, ensure video display device is powered and make
sure the display device is set to the correct video source
Verify fresh batteries are installed and positioned correctly.
Remove power supply plug from the 15 VDC jack on the wall
plate. Wait a few seconds and reinsert the power supply plug.
When large documents, such as blueprints, are being viewed,
the smallest details may not appear perfectly. The resolution
only allows zoomed in images to be clear. However, in viewing
normal size documents, details should be clear.
800-171-066
13
Viewing areas
Viewing area depends on the distance between the ceiling and the table. Use the
following tables to determine the maximum and minimum viewing areas of the Ceiling
DocCam™ II for distances of 5.5', 6.5' and 7.5'. (Most tables are about 2.5' and ceiling
heights vary between 8', 9' and 10'). If the distance differs from the examples given,
use the table to estimate the viewing area.
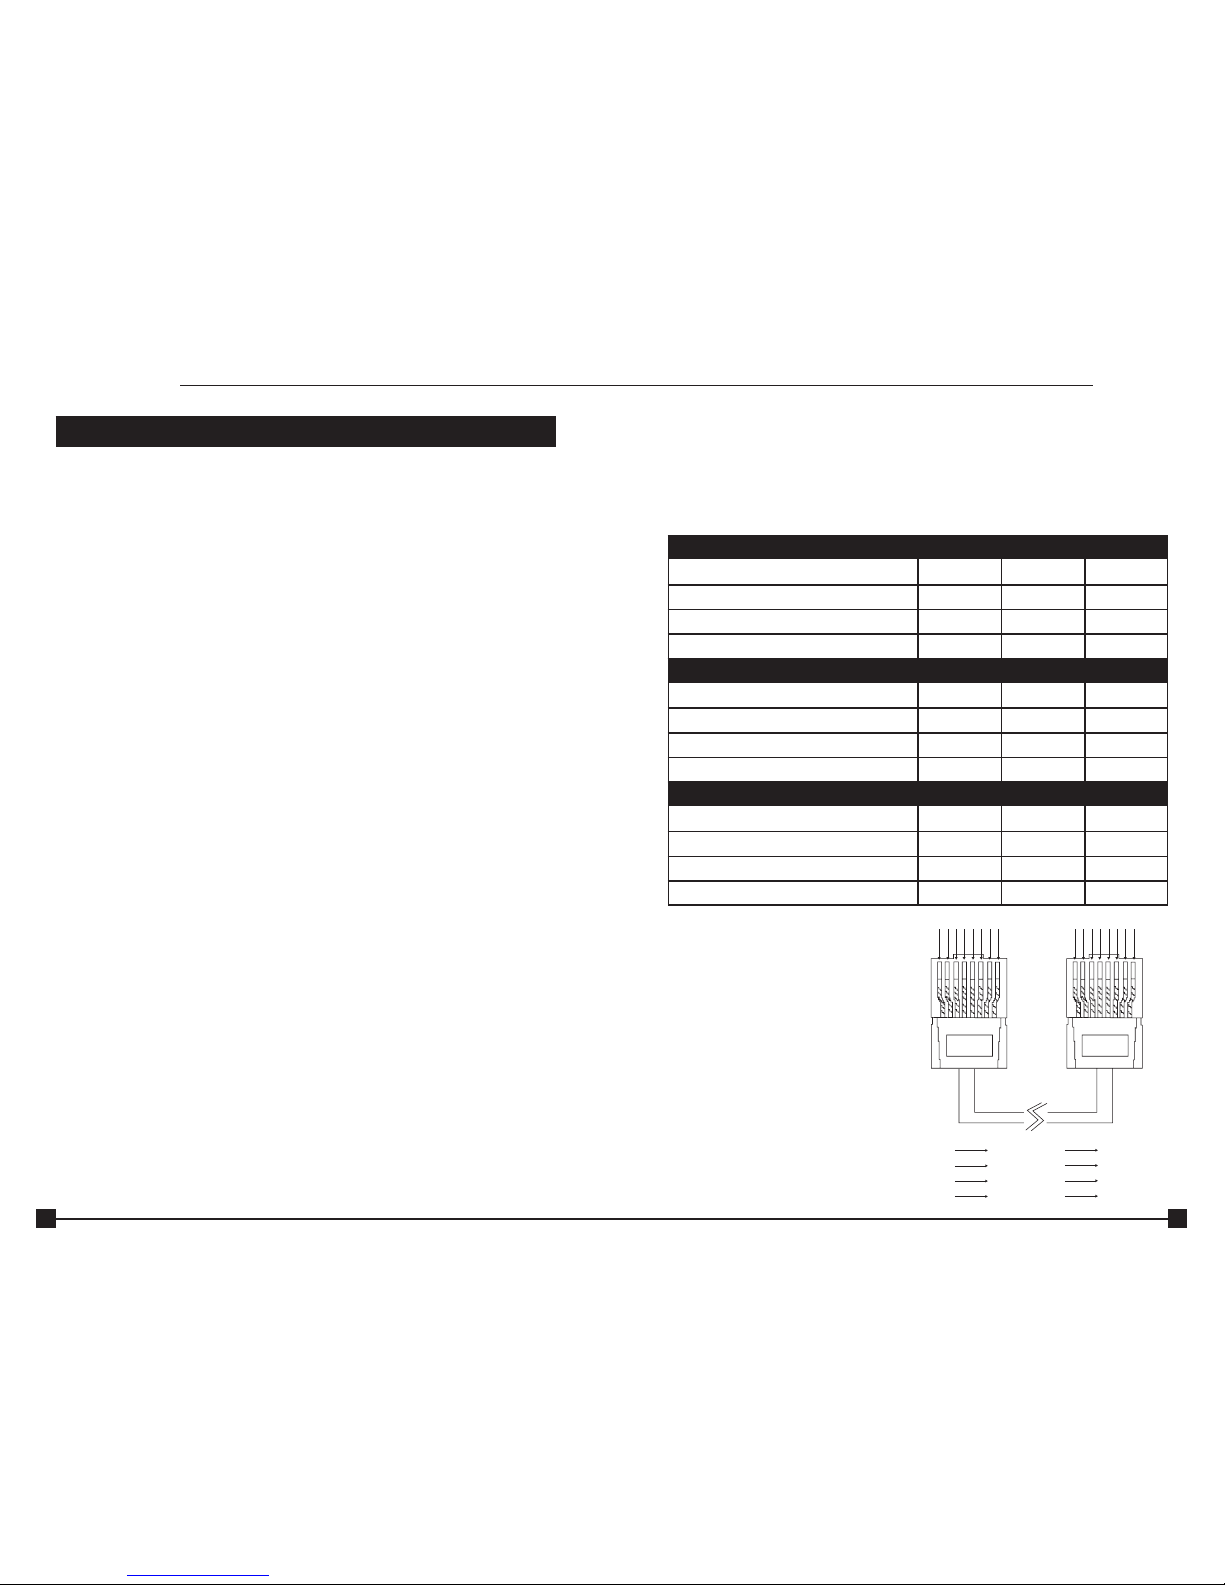
Custom cable information
If you need a longer cable, for best
performance use a Cat. 5E or Cat. 6 cable
with a 200' maximum and 24 AWG. Use the
following pinouts for the Cat. 5 or Cat. 6 cable
Operation
12345678
1
2
3
4
5
6
7
8 Brown/White
White/Brown
Green/White
White/Blue
Blue/White
White/Green
Orange/White
White/Orange
12345678
Distance between the ceiling and table: 5.5'
Height Width Diagonal
Zoomed out max 2.90' 3.87' 4.84'
Zoomed in optical 25x .13' .17' .21'
Zoomed in optical 25x digital 12x .06' .09' .11'
Distance between the ceiling and table: 6.5'
Height Width Diagonal
Zoomed out max 3.43' 4.58' 5.72'
Zoomed in optical 25x .15' .20' 25'
Zoomed in optical 25x digital 12x .08' .10' .13'
Distance between the ceiling and table: 7.5'
Height Width Diagonal
Zoomed out max 3.96' 5.28' 6.60'
Zoomed in optical 25x .17' .23' .29'
Zoomed in optical 25x digital 12x .09' .12' .15'
Table of Contents
Introduction. . . . . . . . . . . . . . . . . . . . . . . . . . . . . . . . . . . . . . . . . . . . . . 1
Services and support . . . . . . . . . . . . . . . . . . . . . . . . . . . . . . . . . . . . . . . 1
Product returns . . . . . . . . . . . . . . . . . . . . . . . . . . . . . . . . . . . . . . . . . . . . 1
Unpacking . . . . . . . . . . . . . . . . . . . . . . . . . . . . . . . . . . . . . . . . . . . . . . . 2
Important safeguards . . . . . . . . . . . . . . . . . . . . . . . . . . . . . . . . . . . . . . . 3
Product overview . . . . . . . . . . . . . . . . . . . . . . . . . . . . . . . . . . . . . . . . . . 4
Installation. . . . . . . . . . . . . . . . . . . . . . . . . . . . . . . . . . . . . . . . . . . . . . . 7
Before you install . . . . . . . . . . . . . . . . . . . . . . . . . . . . . . . . . . . . . . . . . . 7
Mounting the camera . . . . . . . . . . . . . . . . . . . . . . . . . . . . . . . . . . . . . . . 7
Connecting cables . . . . . . . . . . . . . . . . . . . . . . . . . . . . . . . . . . . . . . . . . 9
Configuring for remote controls . . . . . . . . . . . . . . . . . . . . . . . . . . . . . . 10
Programming presents . . . . . . . . . . . . . . . . . . . . . . . . . . . . . . . . . . . . . 11
Operation. . . . . . . . . . . . . . . . . . . . . . . . . . . . . . . . . . . . . . . . . . . . . . . 12
Using your codec remote . . . . . . . . . . . . . . . . . . . . . . . . . . . . . . . . . . . 12
Using your ClearOne remote . . . . . . . . . . . . . . . . . . . . . . . . . . . . . . . . 12
Viewing areas . . . . . . . . . . . . . . . . . . . . . . . . . . . . . . . . . . . . . . . . . . . . 13
Custom cable information . . . . . . . . . . . . . . . . . . . . . . . . . . . . . . . . . . 13
Troubleshooting . . . . . . . . . . . . . . . . . . . . . . . . . . . . . . . . . . . . . . . . . . 14
Table of Contents
12
Operation
Using your codec remote
The only function you can control on the Ceiling DocCam™ II from your codec remote is the
zoom in or zoom out. All other functions must be performed using the Ken-A-Vision®remote.
Using your Ken-A-Vision remote
The Ken-A-Vision remote will function in all DIP switch configurations. Please refer to
Figure 4 on page 6 for a complete list of remote buttons.
To zoom
1. Press the Zoom Out button to view large
documents.
2. Press the Zoom In button to view
documents up close
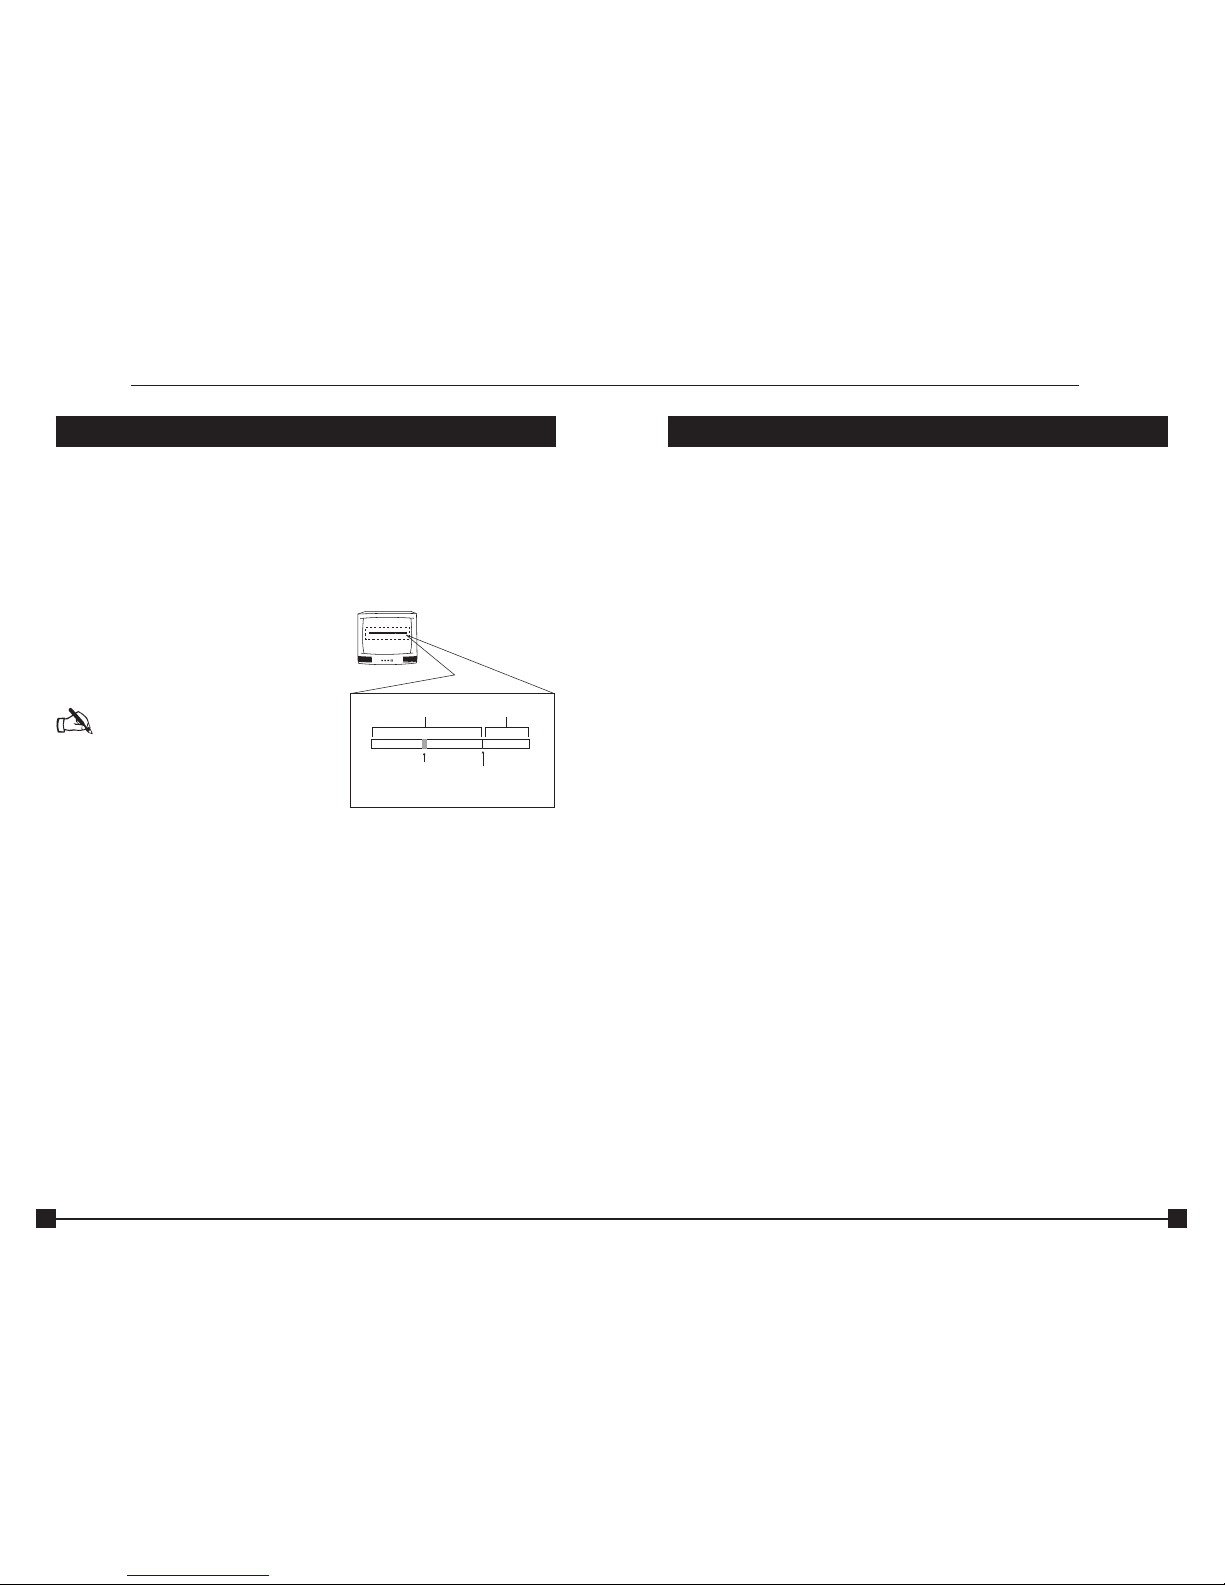
Note: When the zoom indicator passes
the divider on the display bar, the camera
moves from optical zoom to digital zoom.
Optical zoom uses the optical lens to
enlarge the image. Digital zoom crops
a small section of the picture and then
enlarges it to screen size. This can leave
the zoomed in image looking pixilated.
To focus an image
1. Press the Auto Focus button to
automatically focus the camera.
2. Press the Focus Far button to manually focus a zoomed out view.
3. Press the Focus Near button to manually focus a zoomed in view.
To use the camera laser
1. Press the Cam Laser button.
2. Center document under laser.
The camera laser will turn off automatically after 5 seconds.
To adjust the brightness
1. Press the Auto button to have the camera automatically adjust the brightness of the
on-screen image.
2. Press the – button to manually dim the on-screen image.
3. Press the + button to manually brighten the on-screen image.
Operation
TW
Divider
Zoom switches
from optical zoom
to digital zoom
Optical Zoom Digital Zoom
TW
Cursor
W = Wide
T = Telescopic
Figure 13. Zoom display
1
Introduction
The Ceiling DocCam™ II is a ceiling-mounted document camera that displays images
on monitors, plasma screens, video projectors and videoconferencing systems. It is ideal
for presenting or sharing any type of object or document, from detailed images to large
blueprints. The camera is installed in the ceiling above a conference table and has a low
profile design that is appropriate for any room decor. Additional features include:
• Laser pointer providing accurate document position.
• Single cable carrying power, video and control, simplifying installation and connection.
• IR remote with increased functionality including zooming presets, brightness control
and laser operation.
• User accessible DIP switches that allow the Ceiling DocCam II to respond to different
video codec remotes.
Professional Services
If you need any additional information on how to install, set up, or operate your camera,
please contact us. We welcome and encourage your comments so we can continue to
improve our products and serve your needs.
Corporate Headquarters:
Ken-A-Vision Mfg. Co., Inc.
5615 Raytown Road
Kansas City, MO 64133 U.S.A.
Tel.: 816-353-4787
Fax: 816-358-5072
email: flexcam@ken-a-vision.com
www.ken-a-vision.com
Product registration
Please register your camera using the online registration form in the Product section at
www.ken-a-vision.com/warranty.htm. We are better able to provide technical assistance
when your product is properly registered. Registration information is also used to notify
you of upgrades and new product information.
Product returns
All product returns require a return authorization (RA) number. Please contact Ken-A-Vision
Technical Support before attempting to return your product. Make sure you return all the
items that shipped with your product and include a brief description of how the product
was being used when the problem occurred.
Introduction
 Loading...