

Ken-A-Vision m2013 User Manual
VIII. Hardware Specification
The following gives information on the technical and hardware
specifications of your Ken-A-Vision M Eye. Please note that the
information mentioned here may not be exactly t he same with your
Ken-A-Vision M Eye.
Ken-A-Vision
M
Eye Digital
Camera as specification is subject to change without notice.
Camera Type 1.3
Cable 2 meter USB
Aperture Range F2.8 and 8.0
Resolution 1280 x 960, 1024 x 768, 640 x 480
Auto Exposure Yes
White Balance Yes
Battery (4) AAA
Internal memory 16MB
Memory Capacity 20 pictures @ SXGA (1280 x 960)
90 pictures @ XGA (1024 x 768)
220 pictures @ VGA (640 x 480)
70 Second video recording
67 minute voice recording
LCD Indicator status Mode, Flash, Audio, and Speaker
Flash Modes Red eye reduction, auto and standard
Microscope Adapter 28mm included
Software Photo Suite III
Video Wave
Vision Explorer®
Operating System Win 98, Win 2000, Win ME, Win XP
Computer Pentium 166MMX minimum (266 MHz)
Ken-A-Vision reserves the right to make design improvements and other changes in accordance
with the latest advances in technology. There is no obligation to make changes in products
already manufactured. Patents Pending. ©2002 Ken-A-Vision Corporation
M Eye
recommended, 32MB of RAM, XVGA video
card, 2 MB Video RAM, 200 MB Hard Drive
space
www.ken-a-vision.com
INS-MY
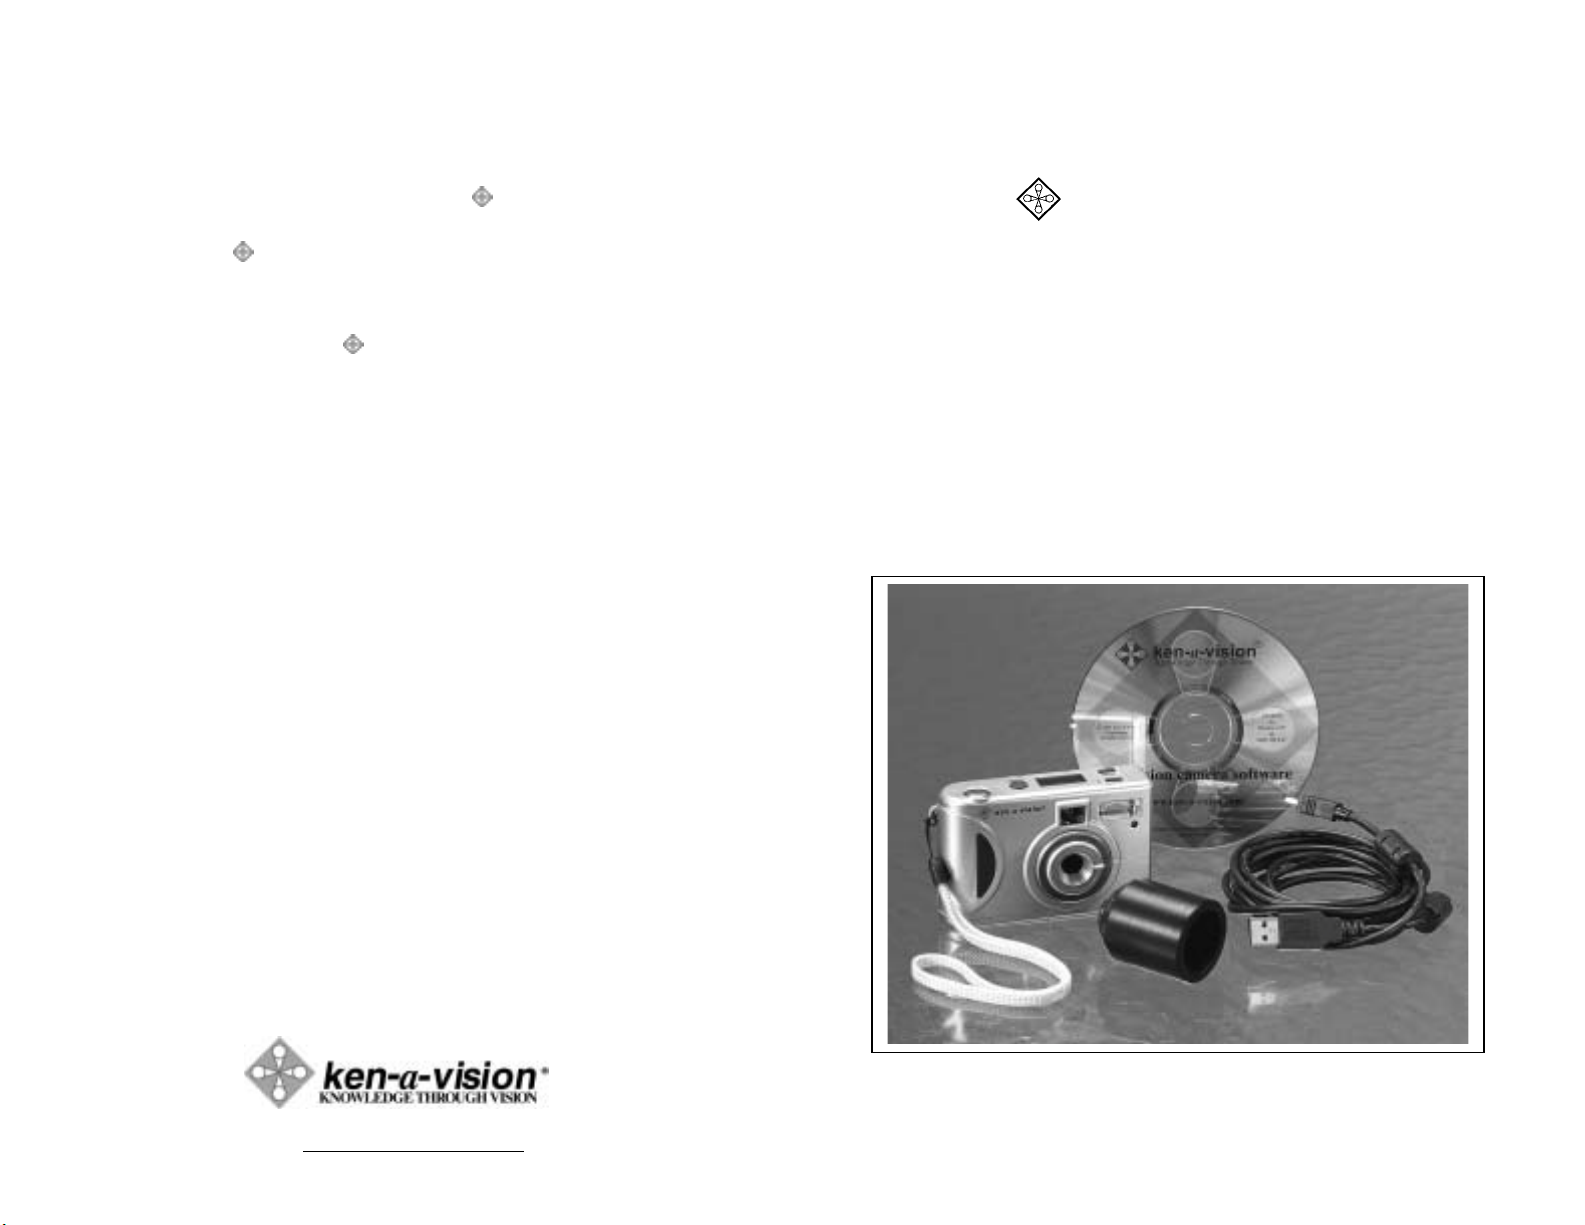
Camera
User’s Manual
Model: M2013
Contents
I. Parts of Ken-A-Vision M Eye
Camera…………………………
II. User Interface Description……
III. Software Installation
……………p.9
IV. Vision Explorer
….………………p.12
p.3
p.4
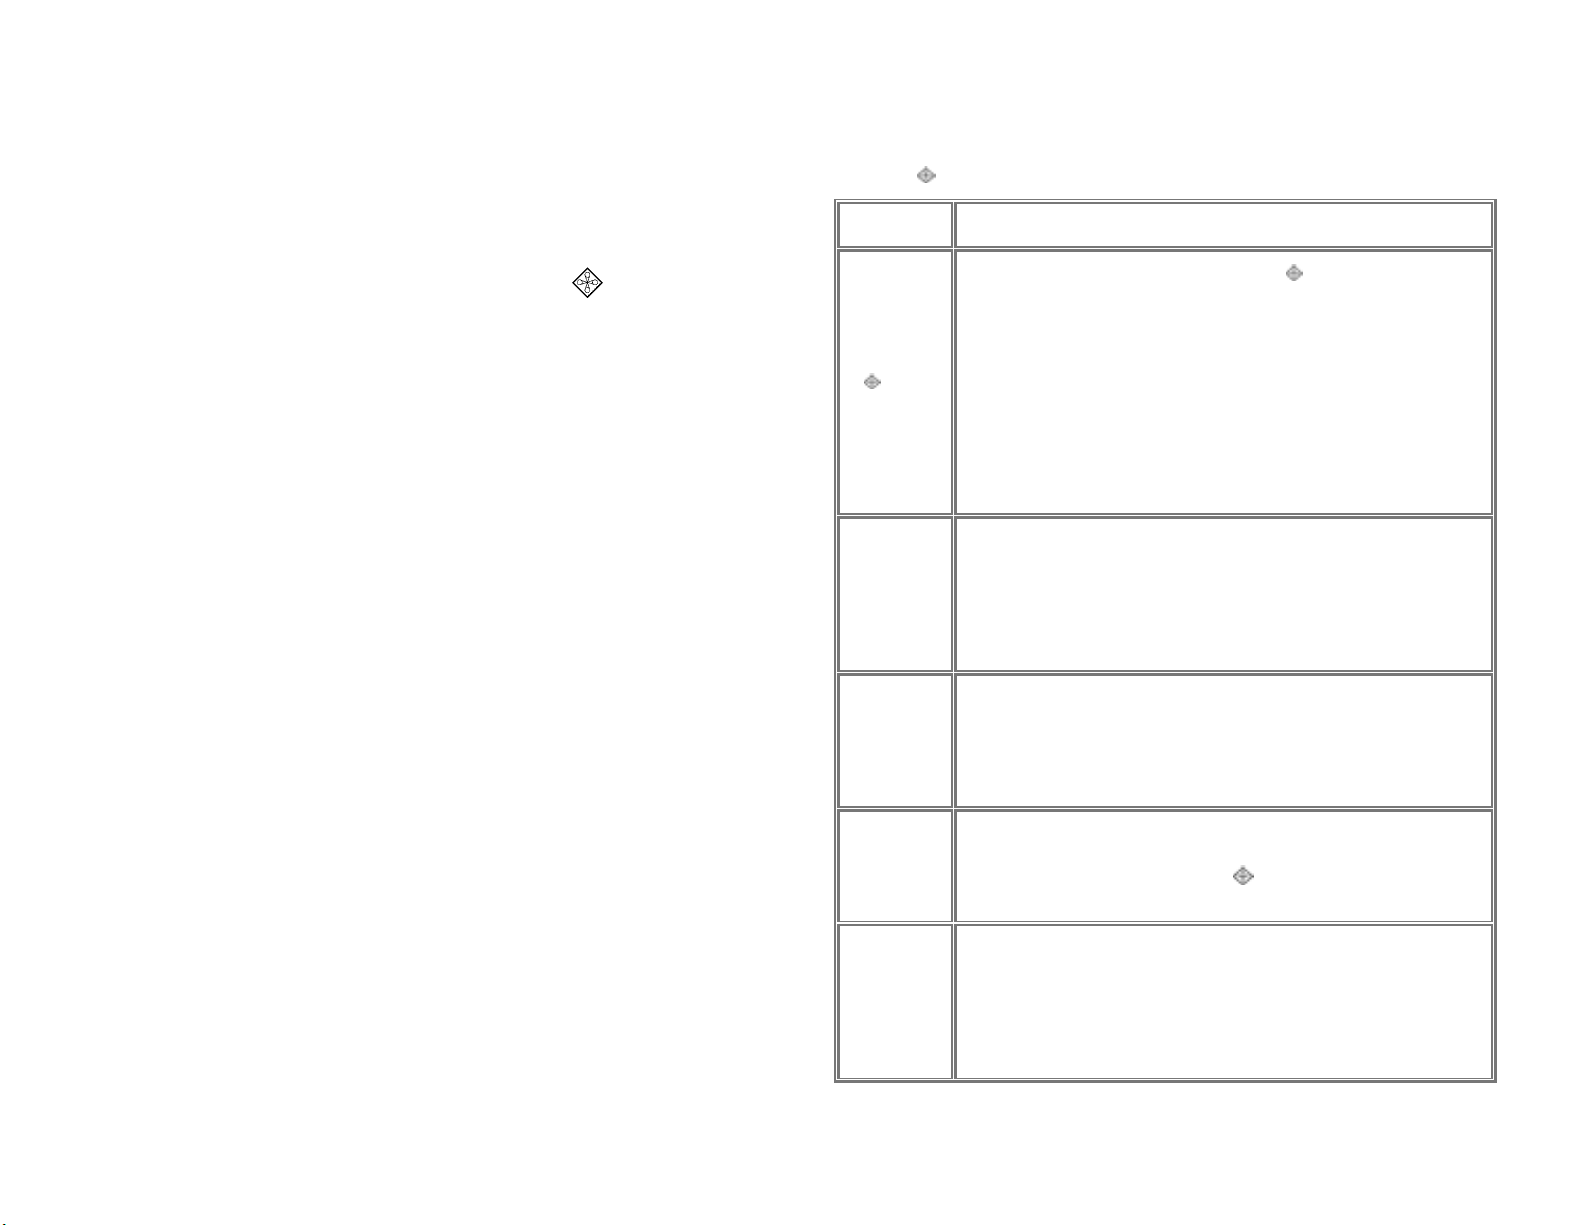
7.2 Frequently Asked Questions (FAQ):
Following are some basic troubleshooting tips regarding Ken-AVision M Eye hardware or software problems:
Symptom Solution
Windows
does not
detect my
Ken-AVision
M Eye
during firsttime
installation
Windows
reports that
there is no
video
capture
adapter
• Check connection if Ken-A-Vision M Eye
plugged-in. Unplug and replug the camera.
• Check the BIOS Setup of the computer if there is any settings
that can enable or disable the USB port or controller.
• Check if the USB controller device is installed and working
properly. Go to Control Panel-System-Device Manager and
check for the device “Universal serial controller” if it is
installed and has no conflict. Contact your computer dealer on
how to fix USB controller device conflict.
• Same as above.
is properly
V. Photo Suite III
….………………..p.14
VI. Video Wave……………………
VII. Safety & FAQ
VIII. Hardware Specification
…………………...p.18
………p.20
p.16
The color
display is
bad
Driver
Installation
cannot be
completed
Captured
video
appears to
be slow or
dropping
frames
• Check the Display Properties if the color is set at High Color
(16-bit), True Color (24-bit), or True Color (32-bit)--recommended.
• Check if the VGA driver of the computer is properly installed.
• Check the driver CD if it is dirty or cannot be read.
• Contact your Ken-A-Vision M Eye dealer for a copy of the
CD or an update driver.
• The CPU in your computer may be very busy. Try to close
other programs.
• Your memory resource may be running low. Restart your
computer and run the capture program again.
19
VII. Safety & FAQ
Ken-A-Vision M Eye Introduction
This chapter provides some basic troubleshooting when you encounter
problems installing or using the camera. It is important that you read
first the previous chapters and the bundled software documentation
before starting to find the problem. If this manual was not able to fix
your problem, please contact the dealer or manufacturer for customer
support.
7.1 General Maintenance and Safety
Following are some troubleshooting tips regarding Ken-A-Vision
M Eye hardware problems:
1. Avoid exposing the camera to moisture and extreme
temperature.
2. Do not touch the lens with your finger.
3. Do not put things on top of it or apply pressure on it.
4. Clean the camera using a clean, dry cloth. Do not use harsh or
abrasive solvents or cleaners.
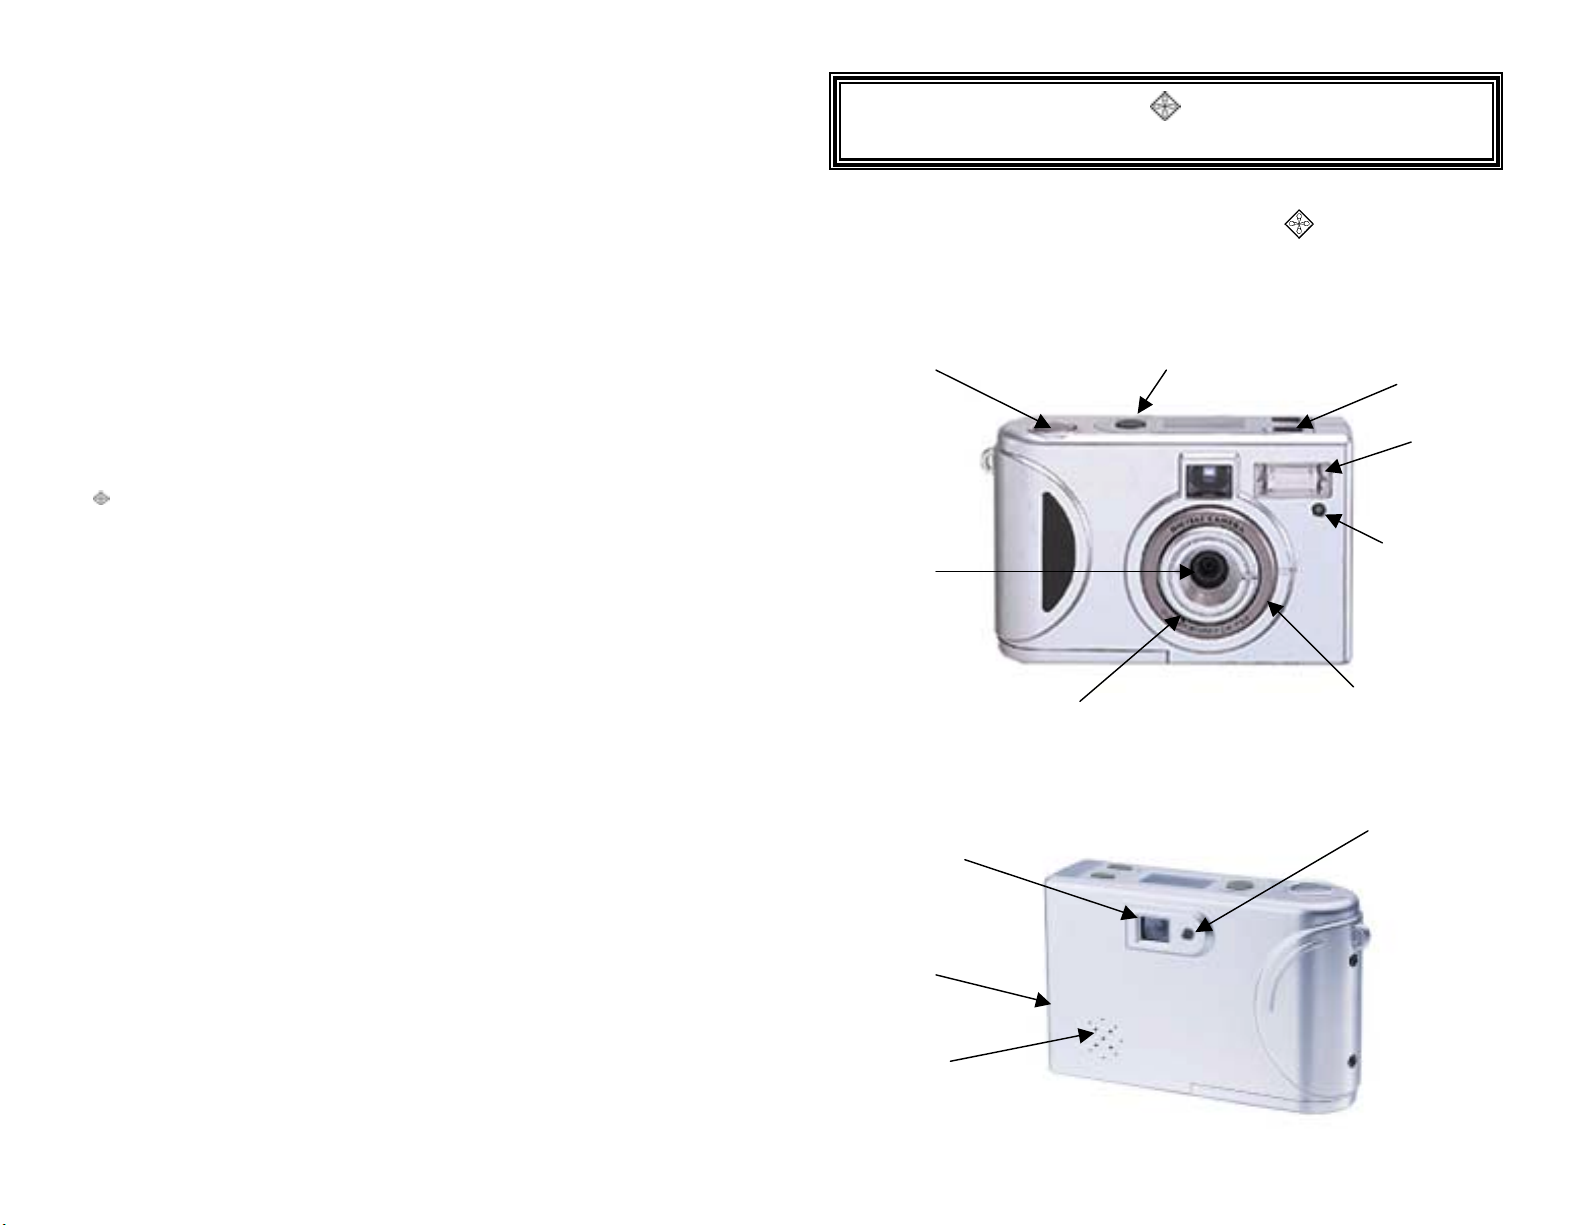
I. Parts of Ken-A-Vision M
Snap Button Power ON/OFF Button
Lens
Microphone Focusing Ring
Eye
Flash Mode
Button
Flash
Flash Mode
LED
5. When cleaning the lens, use a soft, lint-free cloth. Do not apply
pressure on the lens. Moisten the lens by breathing gently on it.
Avoid scratching the lens of the camera.
6. Do not try to pull or twist the cable of the camera as this might
damage it.
7. Do not disassemble or try to touch the inside of the camera.
This will void the warranty of your camera and may damage it
consequently.
8. Store camera in a clean and dry place.
18
View Finder
USB Connector
Speaker
Power On/Off LED
Indicator
3
 Loading...