

Page 1
Page 2
Wake and Sleep
A button press or movement
of the remote will wake it up
When the remote wakes
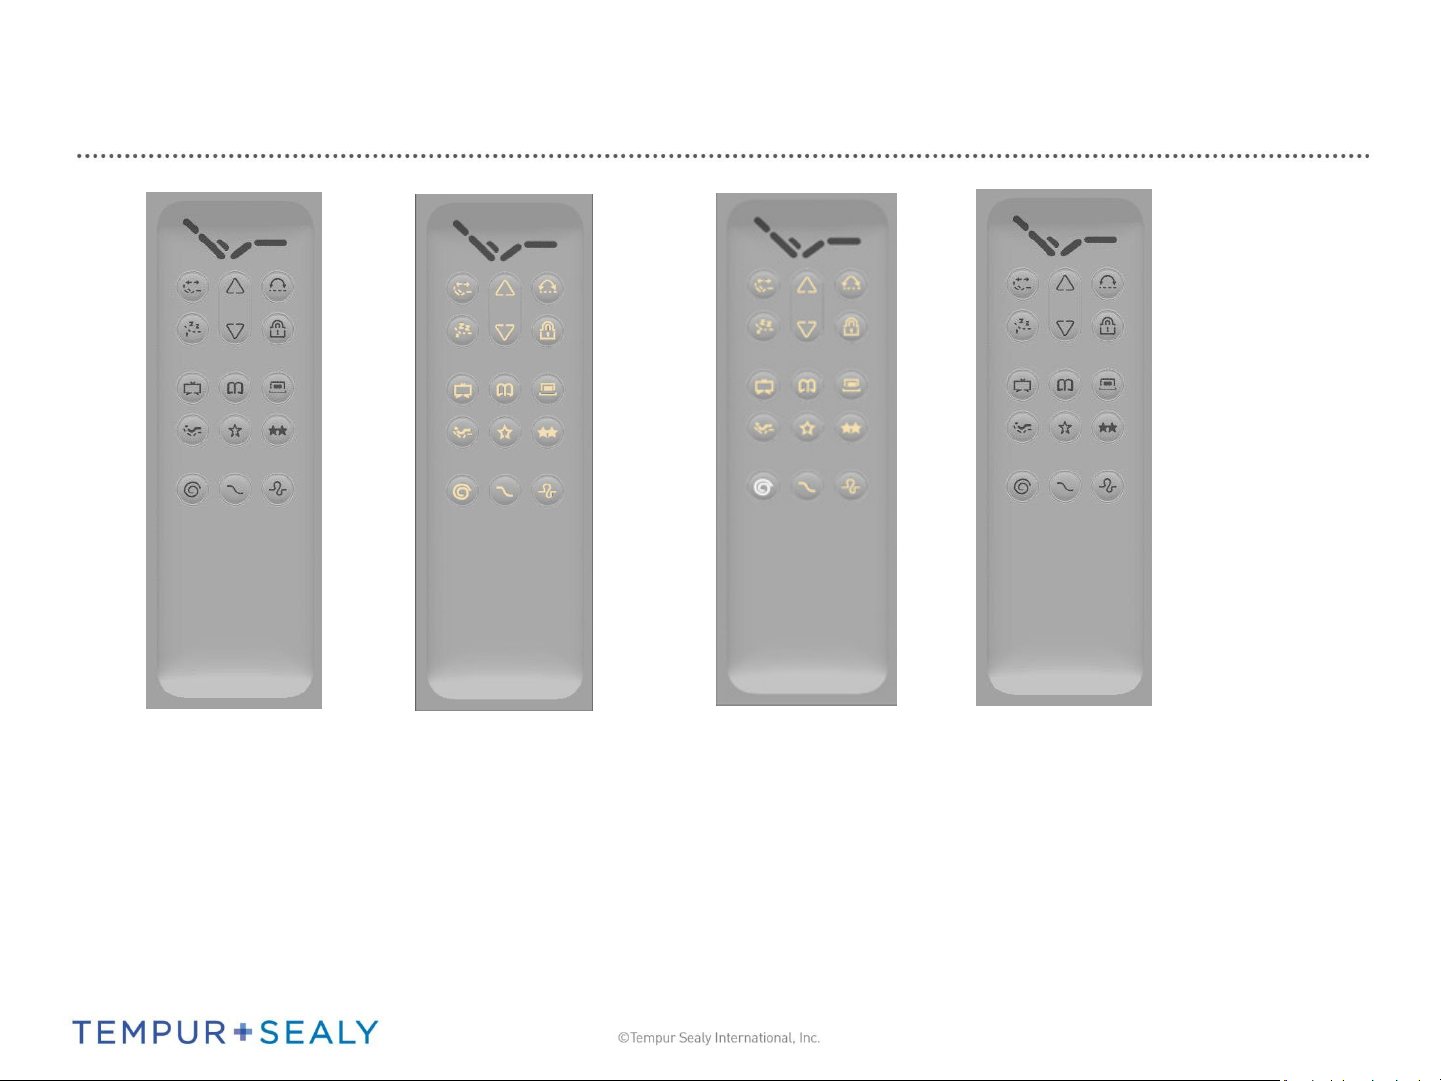
up, all of the buttons will
illuiate at isiility
glo
If massage is still within the 30
minute runtime, when the
remote awakes the massage
mode that is active will be
illuminated at full glow
All illumination will turn off in
10 seconds without
pressing(excluding shaking). If
the remote wakes up by
shaking more than 6 times
continuously without any key
being pressed , then it can
not wake up by shaking until
you press any key.
2
Page 3
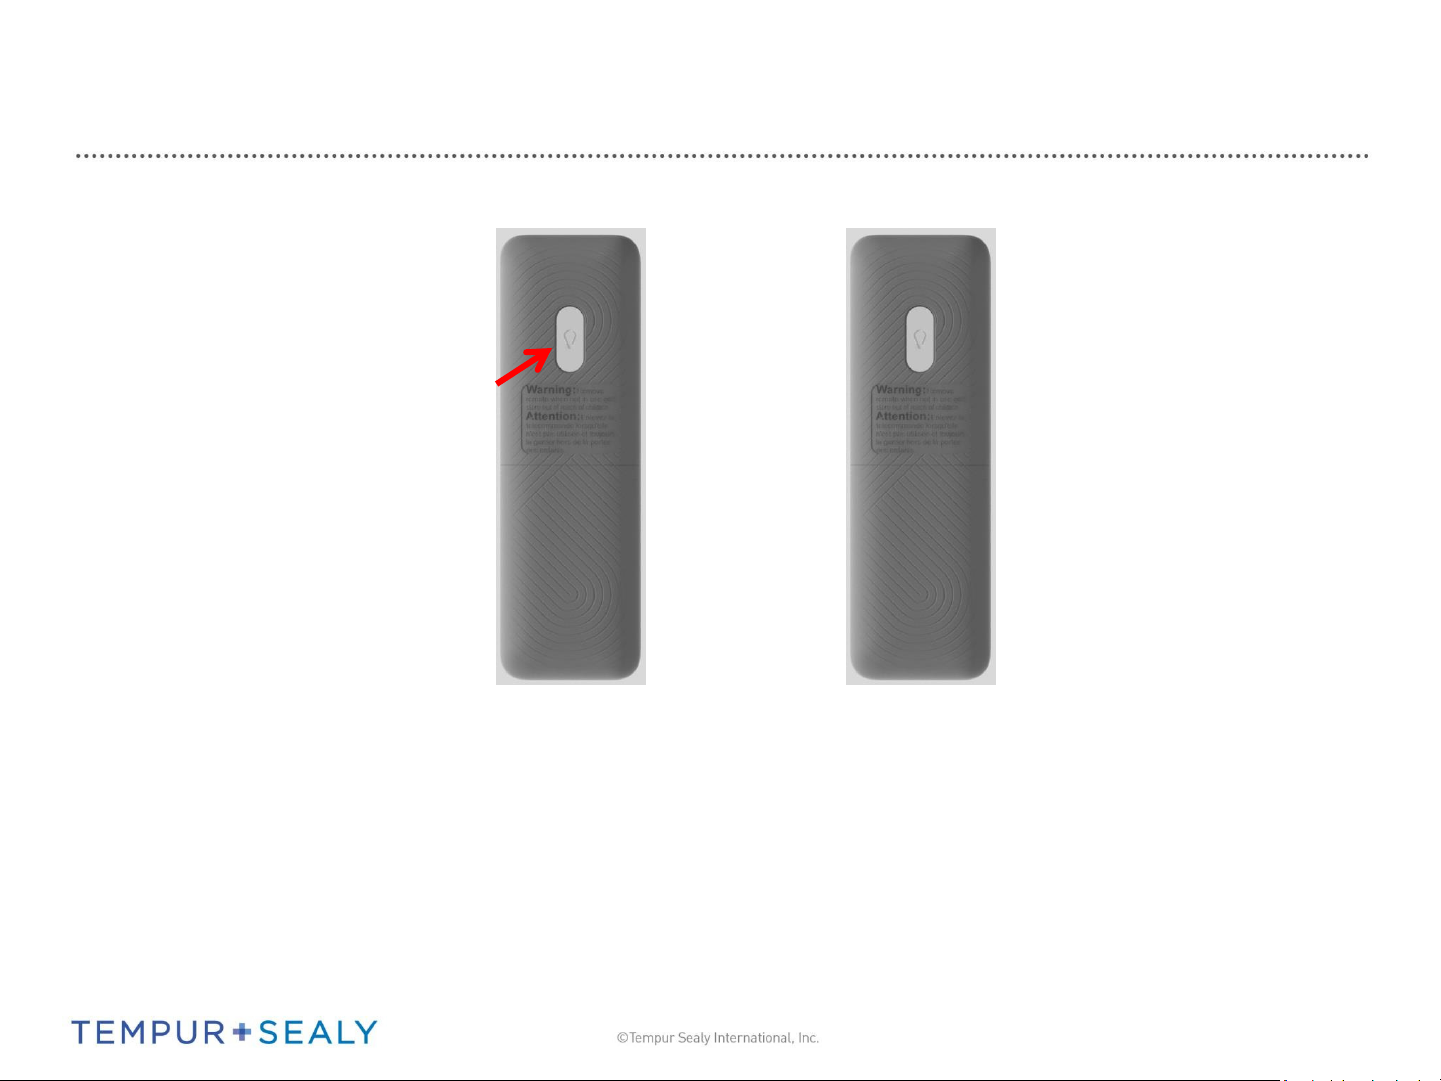
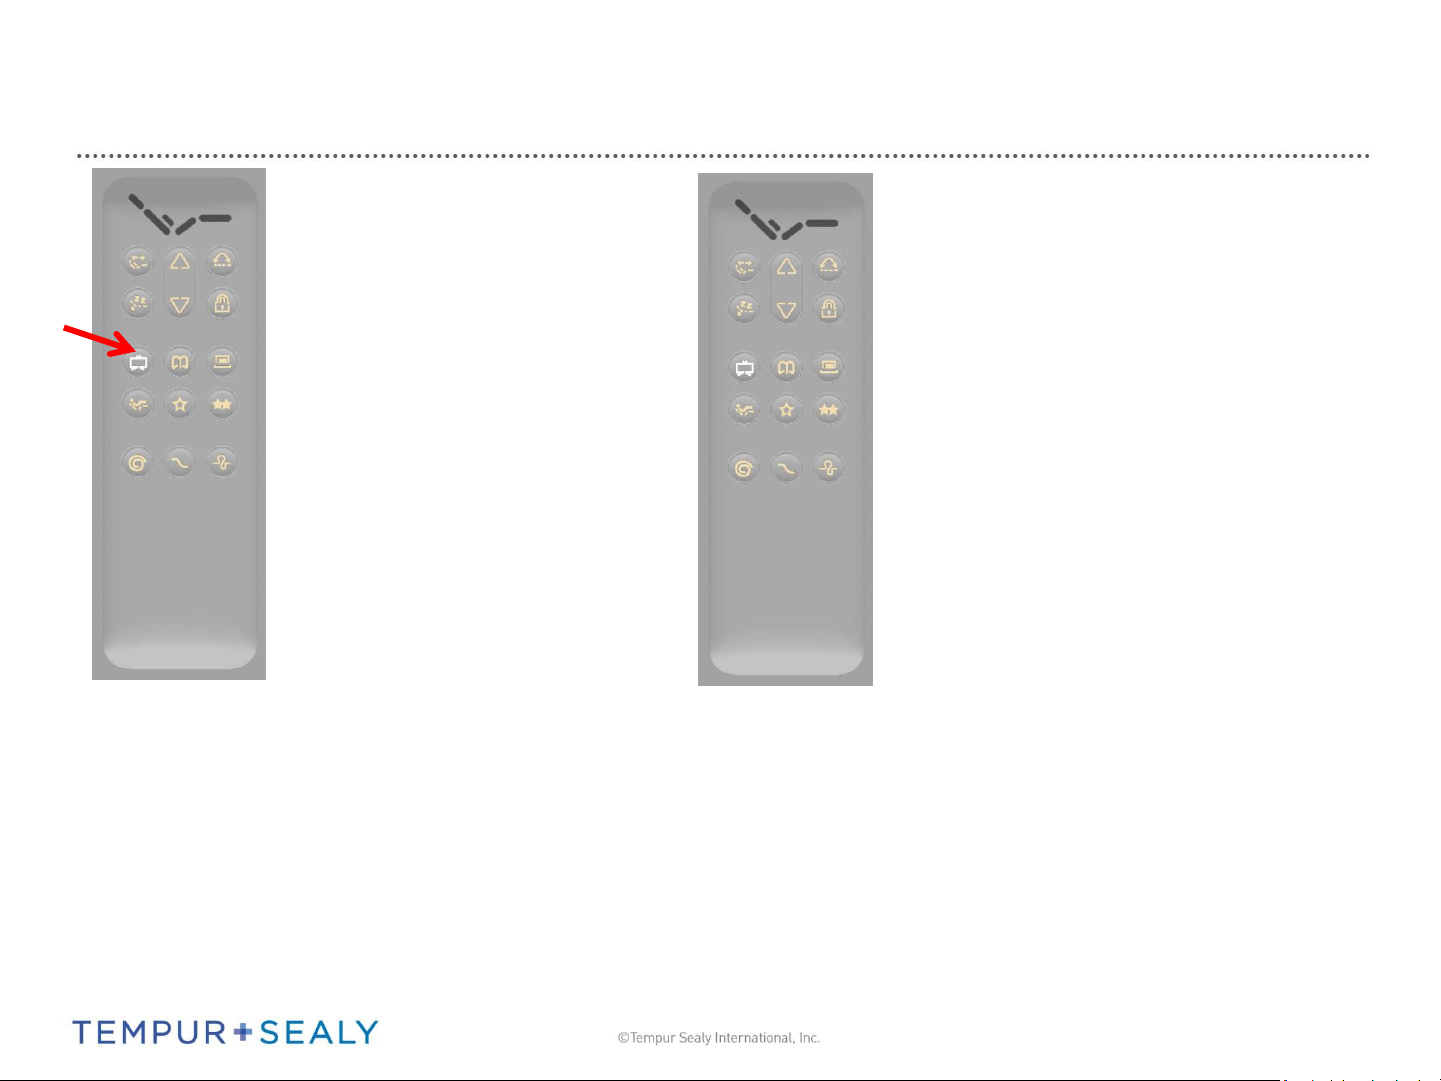
Under Bed Lighting Operation
UBL button on the back of
the remote can be pressed
at any time to cycle through
on/off of the under bed
lights.
The first button press after
wakeup will always attempt
to turn the lights on. The
second press will turn them
off.
3
Page 4
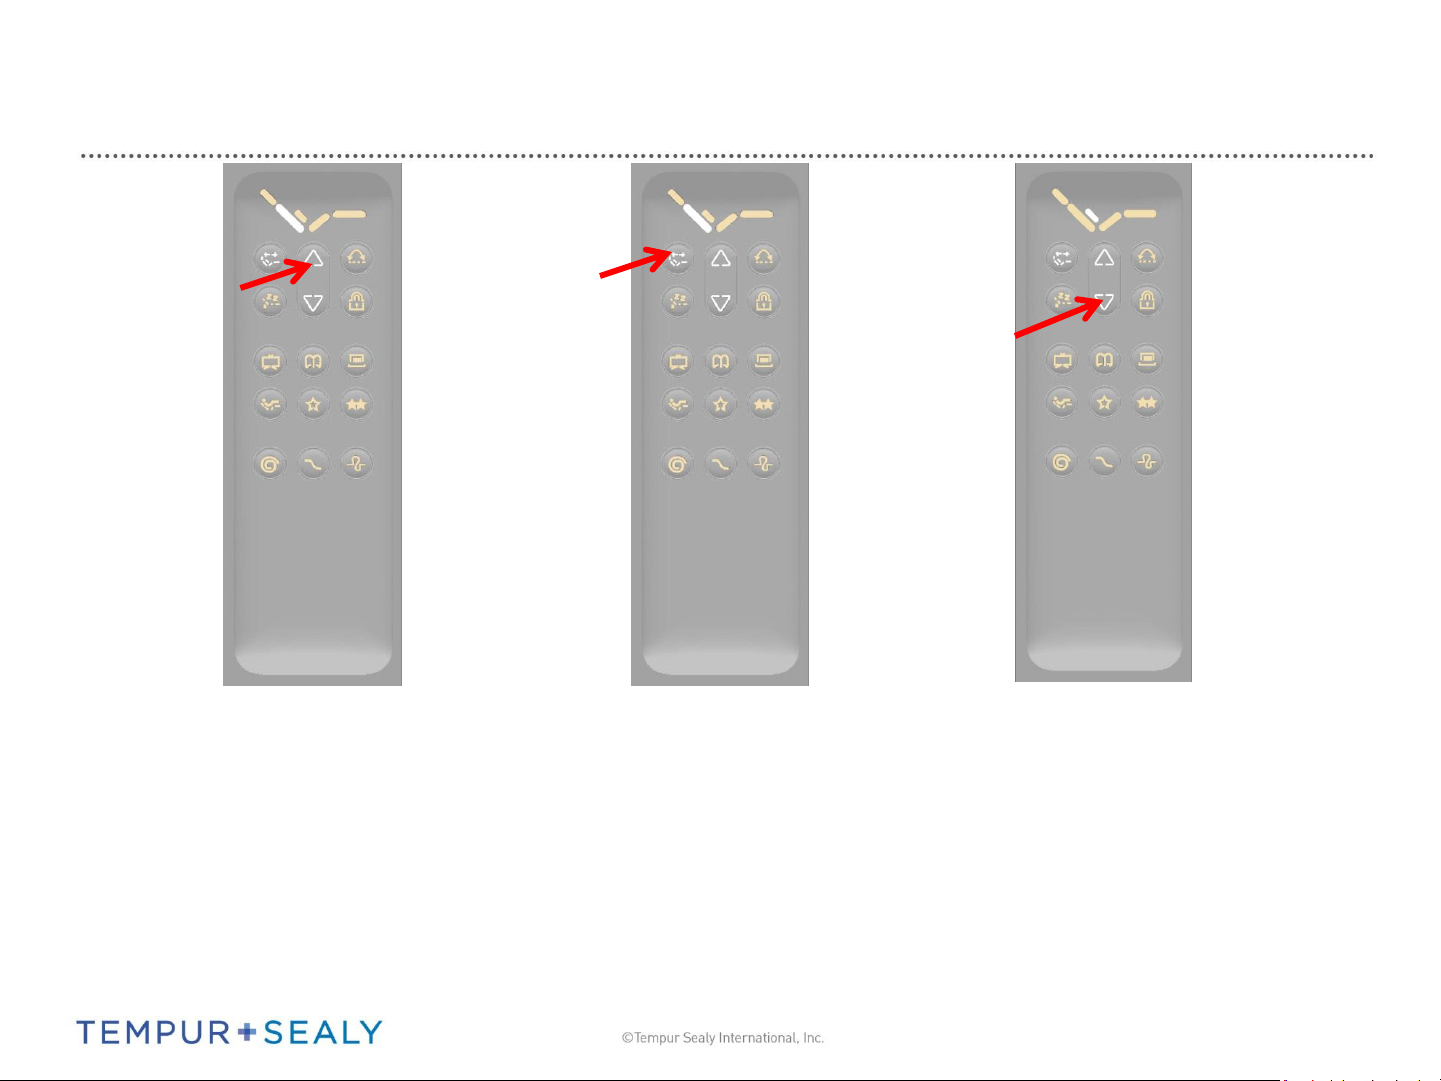
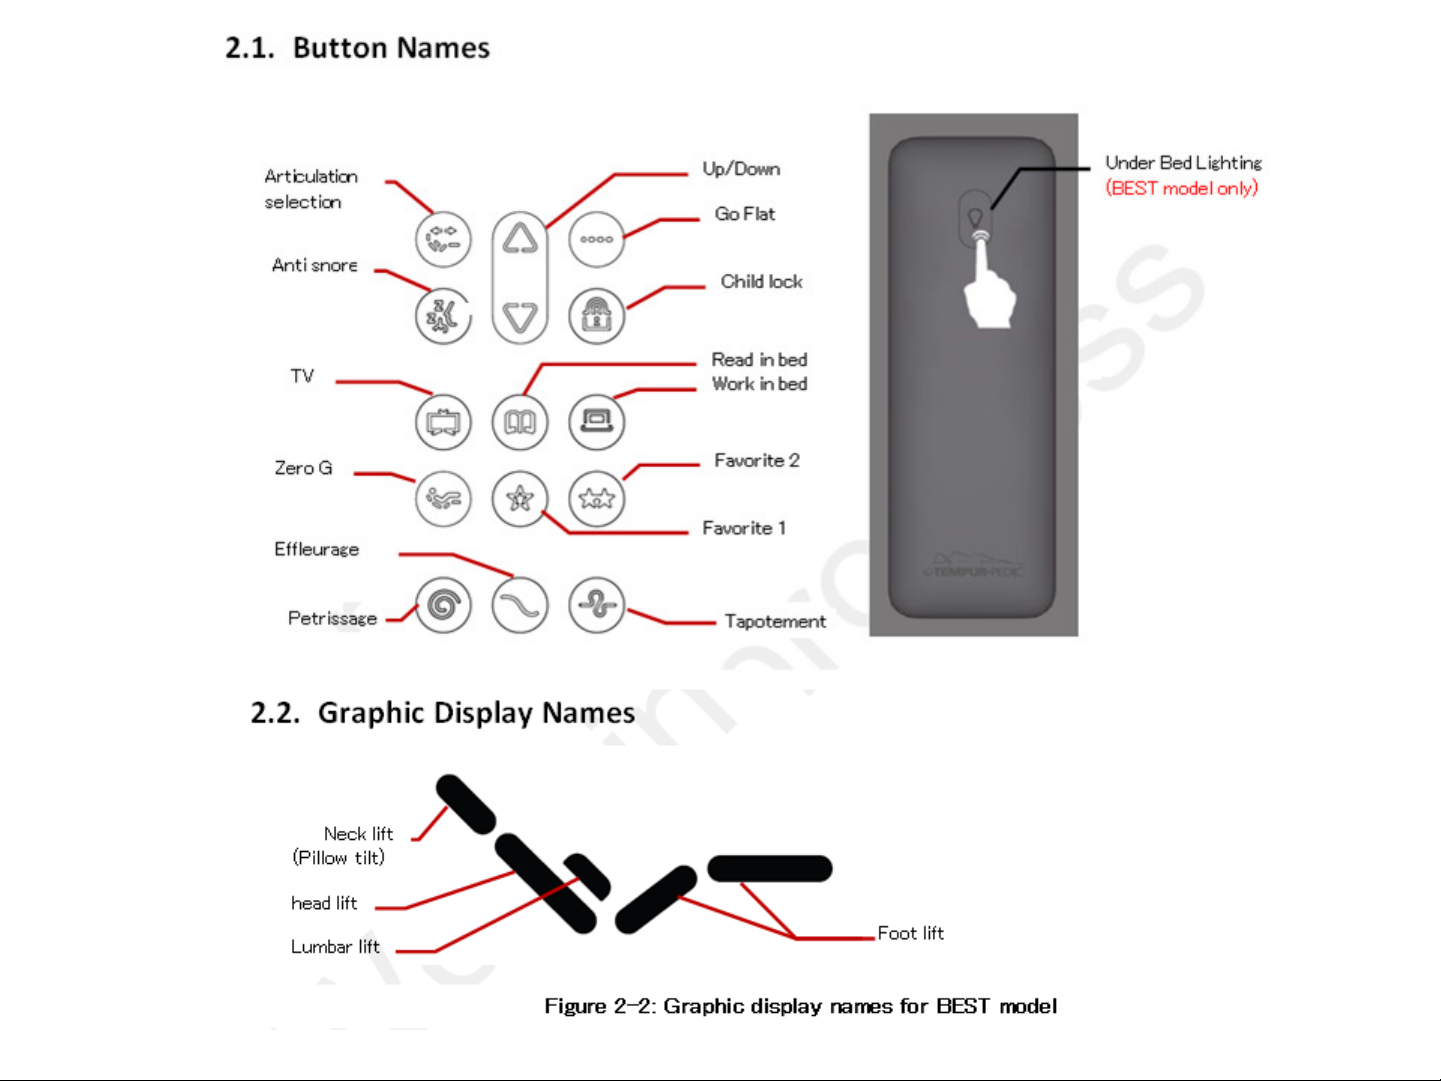
Manual Actuation
Pressing the Up/Down buttons from idle
mode, will move the head(back) actuator
up/down, illuminate the head graphic led,
as well as the articulation selection and
UP/DN uttos’ led.
Articulation Selection
button is pressed to cycle
through the actuation zones
as follows: head -> lumbar -
> foot -> neck -> head ->
etc.
When the desired actuator is
selected, the Up/Down buttons will
move the actuator up and down
while the button is depressed.
When the actuator reaches end of
travel, it will stop moving in that
direction, even if the Up/Down
button is still pressed.
4
Page 5
Preset Actuation
Actuating a preset: Any preset button
can be pressed at any time and the
bed will automatically move all
actuators in sequence to the saved
bed position. The selected preset will
illuminate for 3 seconds.
To stop auto movement : press any
button can stop auto movement.
Press the preset position button
again will move to the right position.
5
Page 6

Preset Actuation (2)
Going Flat: Pressing the flat button at
any time will immediately command
the bed to the flat position. The go flat
button will illuminate for 3 seconds.
Going Flat 2: Any key is pressed while
the bed is in motion to the flat
position, this will immediately stop all
actuation in the current bed position.
Change to another memory position::
If the bed is in movement,
press any button to stop the actuator
first , then press the related preset
position button to activate its
automatic movement again.
6
Page 7

Preset Saving/Resetting
Faorites iitial atio: If o
personalized bed preset positions
have been saved to Favorites 1 or 2,
pressing these buttons will illuminate
the preset button but the bed will not
move to any position.
Saving a new favorite: Move the bed
manually to the desired position.
Saving a new favorite 2: Once all of
the bed sections are in the desired
position, press the desired favorite
button for 3 seconds to save the
position. All the Graphic Display LEDs
will blink twice to indicate that the
position has been successfully saved.
7
Page 8

Preset Saving/Resetting(2)
Modifying a preset position: For the
pre-programmed preset positions, if a
different position is desired, move the
bed to the desired position
Once the bed is in the desired
position, press and hold the preset
button for 3 seconds. All the Graphic
Display LEDs will blink twice to
indicate that the new position has
been successfully saved.
Resetting a preset to default value: If a user has
re-programmed a preset position and decides that
they would like to revert to the default position,
this can be done simply by pressing both the
preset and the child lock button simultaneously
for 3 seconds. All Graphic Display LEDs will blink
twice to indicate that the preset position has been
successfully returned to the default position.
8
Page 9

Massage Operation
There are 3 possible massage modes
and 3 intensity levels for massage to run
in. Press the desired mode button and
massage will cycle through Low ->
Medium -> High -> Off -> Low -> etc. If
the user starts a massage mode, a 30
minute run timer is implicitly started.
This timer will reset every time a user
makes a massage adjustment (intensity
or mode). Changing massage mode will
keep the current intensity.
For an emergency stop of massage,
press any of the massage buttons for 3
seconds. This will send a massage stop
command regardless of which mode
the massage was operating in.
9
Page 10

Child Lock
Press and hold the child lock button for 3
seconds to enter child lock mode on the
remote. When the mode is entered, the
child lock button will illuminate and any
active modes such as massage, under bed
lighting, or an actuator preset move will
stop immediately. The same to another bed
if the sync cable is connected (tandem
mode).
Child lock locks the remote
from functioning normally.
When in child lock, the
child lock button will be
illuminated.
In order to take a remote out of child lock
mode, press and hold the now-illuminated
child lock button for 3 seconds. When the
mode exits, the child lock button will go
dark.
10
Page 11

System Reset
System Reset : Pressing the Go-flat + Child
Lock buttons simultaneously for 3 seconds
will issue a system reset command to the
paired bed. When a system reset is sent, all
of the buttons and Graphic Display LEDs
will rapidly flash for 5 seconds.
A system reset will:
1) Reset customer presets to their default values
2) Go to the flat position
3) Stop massage
4) Turn off UBL
11
Page 12

Work scene 1
Bed A Bed B
Remote
A
Sync line
Remote
B
If sy ale is oeted, the syste ill stay i tade ode. Disoetig the sy ale ill stop oth ases’ all
current action ,like turning off massage action , UBL and the automatic movement of actuator. Then both bases will go
into single mode . They can be operated separately.
12
Page 13

Work scene 2
Bed A
Remote
A
Remote
B
Support for 2 remote handset connecting to 1 bed.
Pairing method: Remote A ,B pair with the base in turn. Both remote A/B can not operate the bed control system at the same time,
geerally 0.5 seod after the reote A’s utto is released, the remote B can work normally. vice versa.
13
Page 14

Pairing
Within 20 seconds of double-pressing the CB reset
button or power down box button, press the Go Flat
+ Actuator Select buttons simultaneously and hold
them for 3 seconds . The remote will indicate that it
has entered pairing mode by blinking all LEDs quickly
for 5 seconds.
If succeed , Flat and select button will high light for 3
seconds, pairing led on CB will turn off.
If failed, the graphic display led will
flash for 3 seconds quickly.
14
Page 15

FCC NOTE:
Any Changes or modifications not expressly approved by the party responsible for compliance could void the user’s authority to
operate the equipment.
This device complies with part 15 of the FCC Rules. Operation is subject to the following two conditions: (1) This device may
not caus
cause undesired operation.
e harmful interference, and (2) this device must accept any interference received, including interference that may
15
 Loading...