

KeeNetic EXTRA KN-1710 User Manual

User Guide
Learn more about the features of your Keenetic at
help.keenetic.com
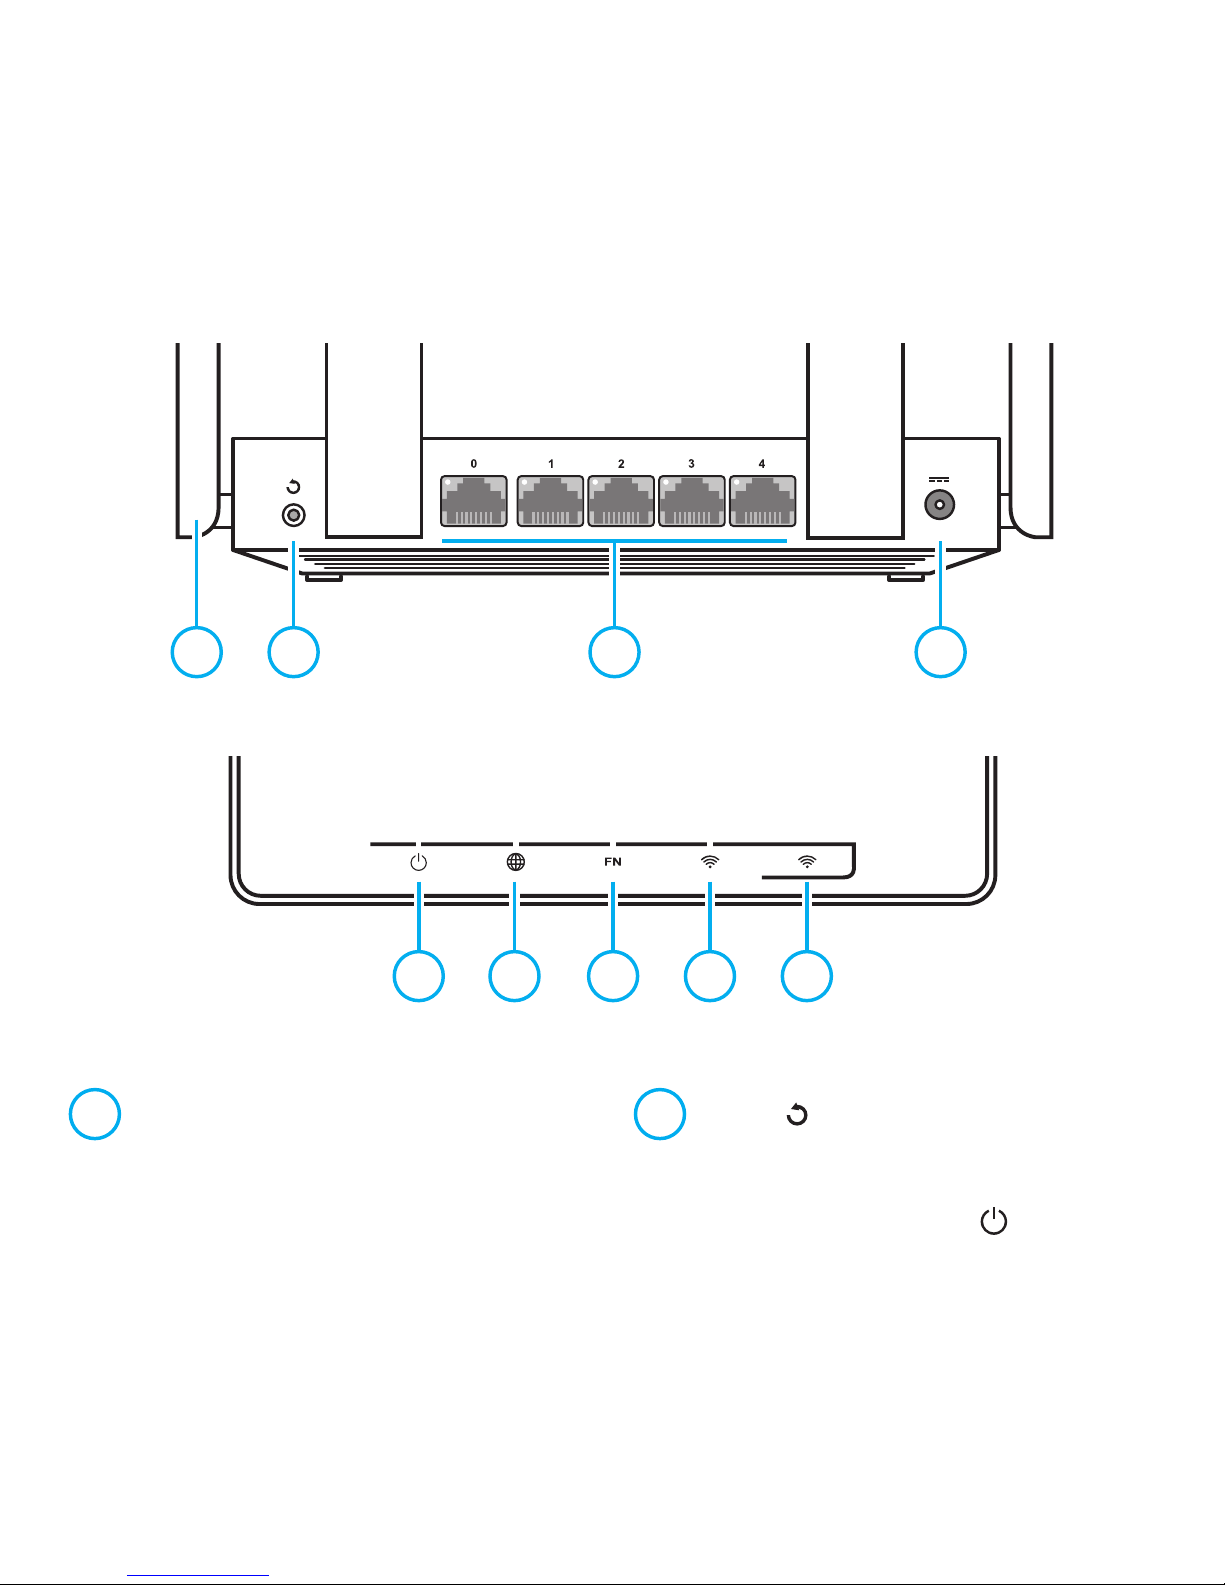
5 6 7 8 9
1 Wi-Fi antennas
Four PCB Wi-Fi antennas with 5 dBi
gain. We recommend to keep the
antennas in vertical position.
2 Button (Reset)
To reset the administrator password and all
user settings for all modes, press this button
and hold for 10 seconds until the
indicator
starts flashing. The Keenetic will reboot with the
default settings, in the main operation mode.
Getting started with Keenetic Extra
1 2 3 4
3 Network ports "0", "1", "2", "3", "4"
By default the blue port "0" is used to
connect the cable from your ISP, and
other ports — for home devices.
The port indicator lights up if the connection is
established, and flashes during data transfer.
4 DC power connector
Connector for the DC power adapter
from Keenetic package. The Keenetic
isdesigned for continuous operation and
does not need to be powered off daily.
5 Indicator
(Status)
On
— the Keenetic is ready for operation.
Off
— the Keenetic is turned off.
Flashing slowly
— the Keenetic is being
rebooted or is updating its operating system.
Flashing for 2 seconds, then steady on
—
FN button or button is pressed; the
function assigned to the button was started.
Flashing for 2 seconds, then off for 2 seconds
—
FN button or button is pressed; the function
assigned to the button was stopped.
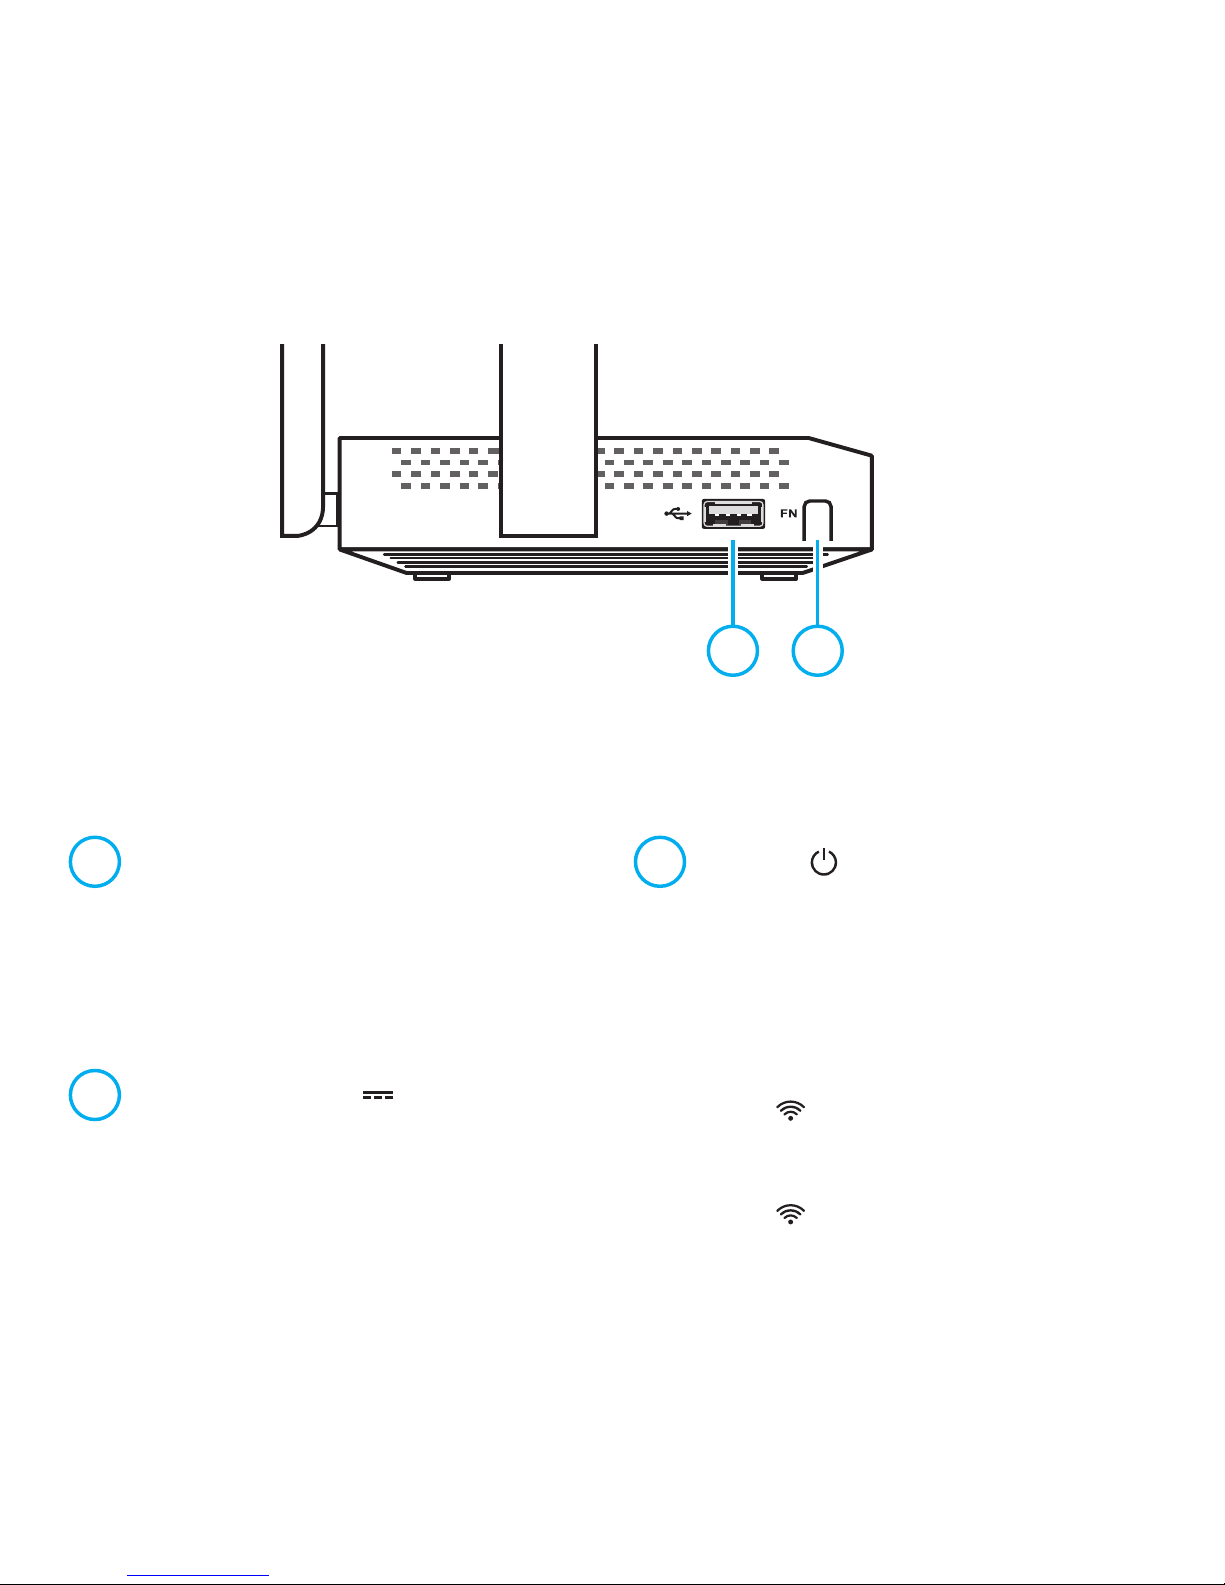
10 11

6 Indicator (Internet)
On
— the Internet connection
has been established.
Off
— there is no Internet connection.
7 Indicator «FN»
The purpose of this indicator can be
changed in the settings. By default it
indicates the status of the USB port.
On
— the USB device connected to the Keenetic
is ready.
Off
— a compatible USB device was
not found or is not ready.
8 Indicator
(Wi-Fi network)
On
— the Wi-Fi network is enabled.
Off
— the Wi-Fi network is disabled.
Flashing frequently
— indicates data transfer.
Flashing slowly
— a WPS session is in progress.
9 Button (Wi-Fi network control)
By default this button allows you to easily
connect new devices running Microsoft
Windows or Android, or other WPS compliant
devices to the wireless network.
Pressing it once
— starts a quick
connection via WPS.
Pressing and holding for 3 seconds
—
turns Wi-Fi on or off.
In the Keenetic settings you can assign
other functions to this button.
10 USB port
This USB 2.0 port is compatible with 3G/4G
modems, printers, and external hard drives.
The current list of compatible USB devices can
be found on the website
help.keenetic.com
.
11 Programmable FN button
By default the button is used to safely
remove drives connected to the USB
port. In the Keenetic settings you can
assign other functions to this button.
Configuring with Keenetic web interface
The Keenetic must be powered via the
supplied power adapter and ready for
work, with the indicator steady on.
Connect the computer to the Keenetic. Todothis,
select the Keenetic wireless network from the
list of available Wi-Fi networks, and connect
to it. The network name and security key are
printed on the label on the bottom of Keenetic.
Alternatively, you can connect with anetwork
cable, using it to connect port 1 of theKeenetic
to the computer’s Ethernet adapter.
To access the Keenetic web interface open
a browser and go to
my.keenetic.net
. When
you first enter the web interface, the quick
setup wizard will start automatically. Click
"Quick setup" and follow the wizard’s
instructions to complete the configuration.
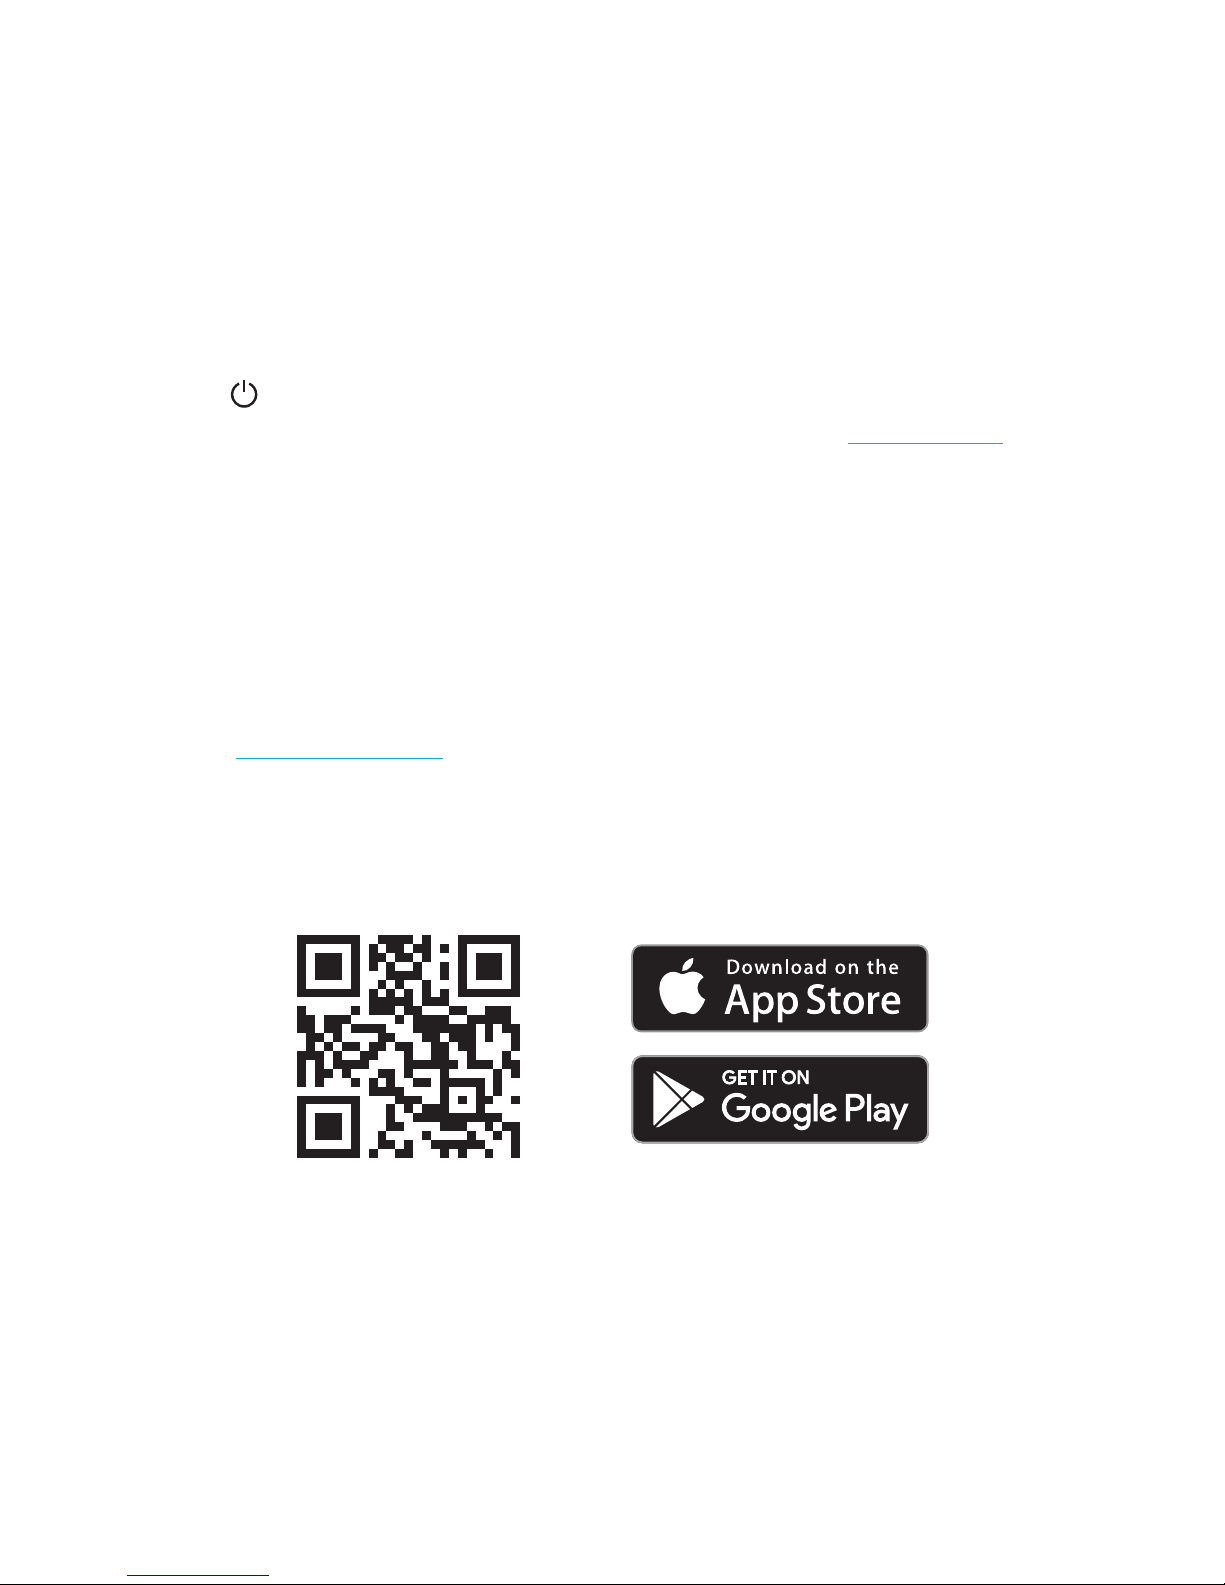
Configuring with My.Keenetic mobile app
Install My.Keenetic app on your smartphone.
To do this go to
keenetic.com/getapp
in your
web browser or scan the QR code located
on this page with your mobile device.
Then launch the application and follow
its instructions. You are about to set up
the Keenetic in just a few steps, and then
you will be able to manage your home
network even remotely via the Internet.
keenetic.com/getapp
 Loading...