

Page 1

Portable Slit Lamp
3010-P-2000
Service Manual
ALWAYS READ THE INSTRUCTIONS
Keeler Limited, Clewer Hill Road, Windsor, Berks, United Kingdom. SL4 4AA.
Tel No. +44 (0)1753 857177 Fax No. +44 (0)1753 830247
Issue B
18/04/2011 2415-P-7027
Page 2

CONTENTS
Introduction: 3
Service Areas: 4
Tools Required: 4
Spare Parts List: 4
Service Procedures: 5
B
ULB CHANGE
L
IGHT ALIGNMENT
B
ATTERY CHANGE
: 5
: 8
: 10
L
ENS CLEANING
C
OVER REPLACEMENT
: 12
: 13
List of figures: 16
Issue history: 16
Issue B
18/04/2011 Page 2 of 16
Page 3
2415-P-7027
Introduction:
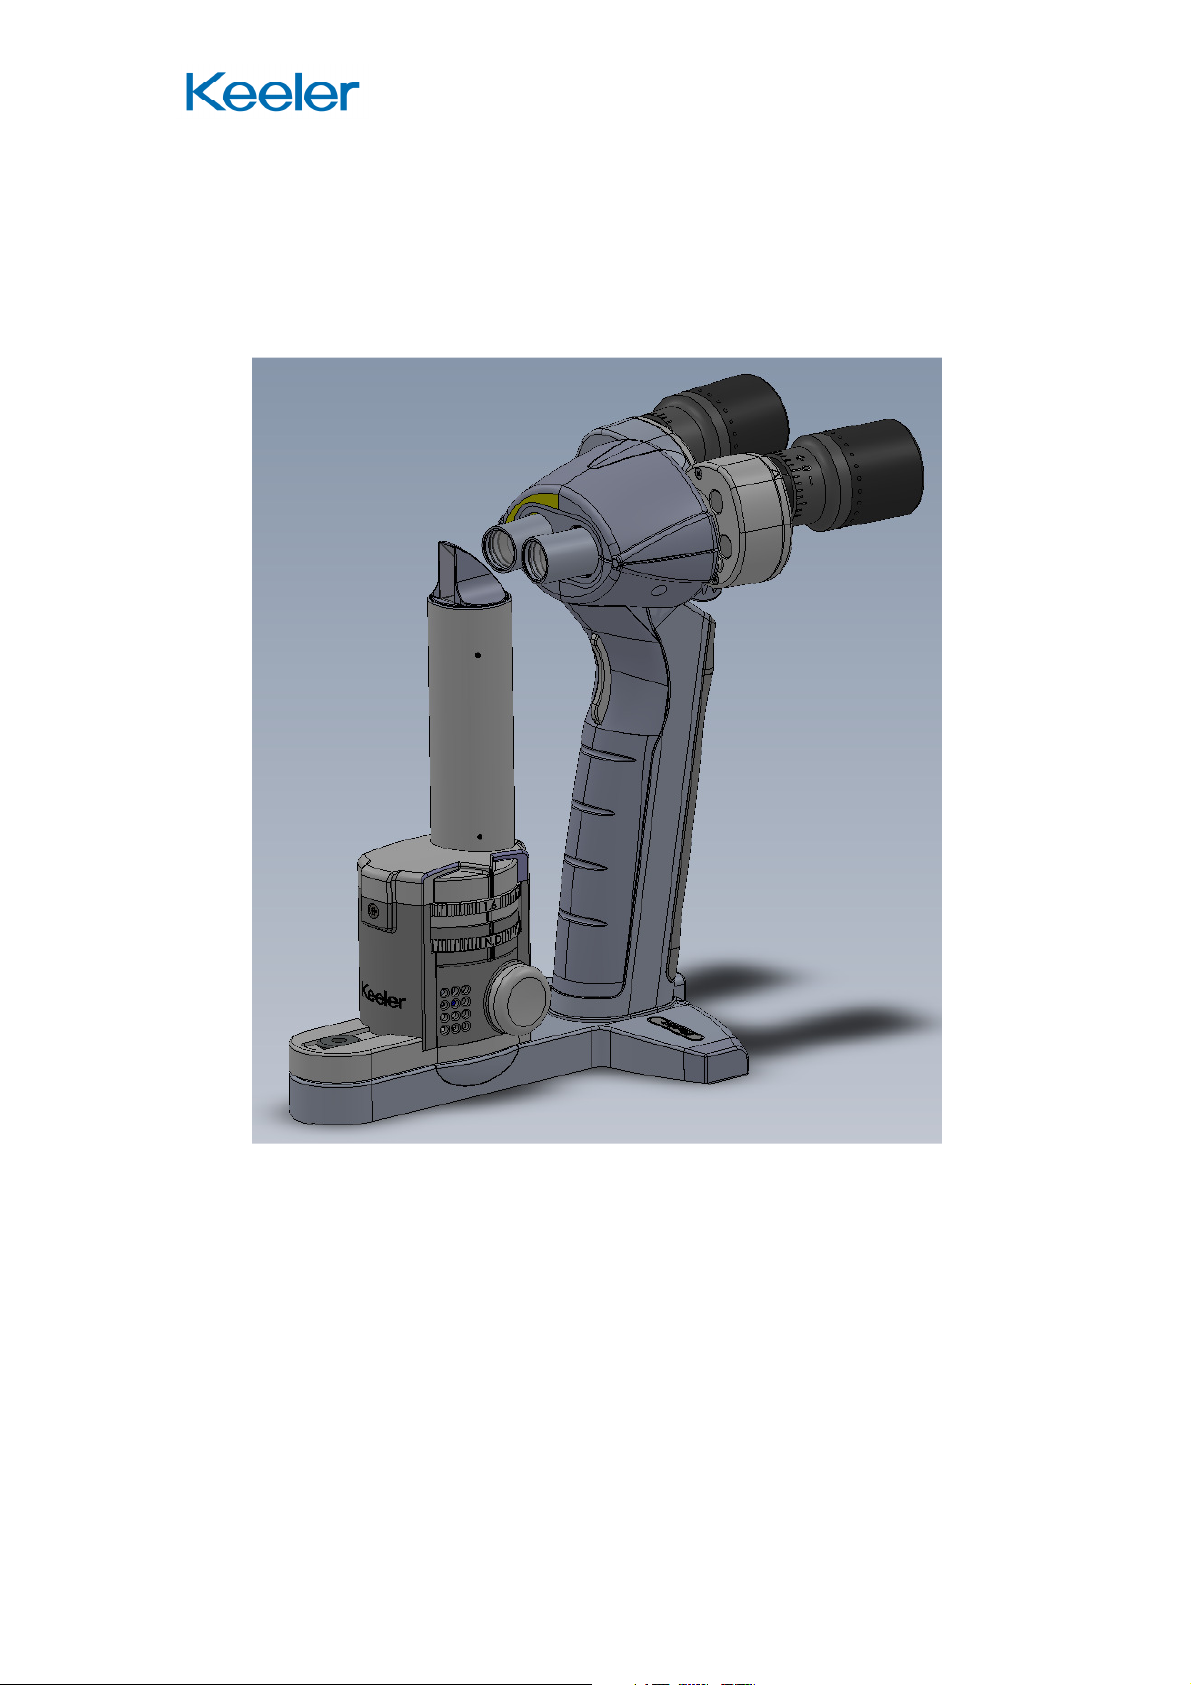
The purpose of this document is to show the service areas and procedure for
the Keeler Portable Slit lamp (PSL).
Figure 1 - Keeler Portable Slit lamp
Issue B
18/04/2011 Page 3 of 16
Page 4

2415-P-7027
Service Areas:
The PSL has limited service areas these are listed below:
• Bulb change
• Light tower / slit alignment
• Battery change
• Lens cleaning
• Cover replacement
Each area has a detailed procedure found later in this document.
Tools Required:
Key tools required are as follows:
• 150mm long nose pliers
• Tweezers
• Hex Driver: 0.9mm
• Small Phillips Screwdriver
• Keeler PSL test bar (EP39-70737)
Spare Parts List:
Parts that can be changed / required during service:
Part number Description
1030-P-5000 Bulb
EP59- 47130 Battery cell
SP12- 00068 Turret grub screws
EP39-70766 Magnification label
SP12 - 52116 Rear cover retaining screw
EP29-48859 Slit Lamp Front Cover Top
EP29-48912 PSL Bottom Cover Top
EP29-48787 Slit Lamp Handle Front Cover
EP29-48867 Slit Lamp Handle Grip Rear
Table 1 - Spare Parts List Table
Issue B
18/04/2011 Page 4 of 16
Page 5

rocedures:
HANGE
Figure
rew by hand the Illumination system bulb cover, to show the bulb
Figure
g nose pliers carefully remove the bulb
Page
5000)
Illumination
system
2415-P-7027
Page
Service P
B
ULB
C
:
EP39-70713
2 - Removal of bulb cover Op No 1
OP NO. 1
Unsc
OP NO. 2
Using the lon
Remove Bulb
3 - Remove bulb Op No 2
(1030-P-
.
Issue B
18/04/2011
5 of 16
Page 6

2415-P-7027
Bulb Key
Bulb
way
Figure 4 - Bulb alignment - Op No 3
OP NO. 3
Observe the alignment of the bulb holder, the key way positioned at the top of
the bulb holder locates the bulb in the correct orientation.
locating Key
Figure 5 - PSL Bulb (1030-P-5000)
OP NO. 4
Without the use of tools insert a new bulb, aligning the bulb in the bulb holder
keyway. The bulb will have a positive stop when inserted correctly.
Issue B
18/04/2011 Page 6 of 16
Page 7

2415-P-7027
Figure 6 - Light patch check Op No 5
OP NO. 5
If the bulb is not inserted correctly, it will affect the light patch projected from
the illumination system. Figure 6 shows possible observations on the light
patch. The uneven light patched shown are due to incorrect insertion of the
bulb.
OP NO. 6
Refit the illumination system bulb cover finger tight.
Issue B
18/04/2011 Page 7 of 16
Page 8

2415-P-7027
Test bar
0.15 Light Slit
Pivot Shaft Hole
L
IGHT ALIGNMENT:
Figure 7 - Check slit alignment Op No 1
OP NO. 1
Insert a PSL test bar (EP30-70737) into the pivot shaft hole Refit
Figure 8 - Slit alignment Op No 2
OP NO. 2
Check that the test bar is symmetrical in the viewing window. Squeeze the
trigger to illuminate the 0.15mm slit. Check that the slit is vertical and central
on the test bar.
Issue B
18/04/2011 Page 8 of 16
Page 9

2415-P-7027
Test bar
Square
Turret
light
projection
Figure 9 - Square alignment Op No 3
OP NO. 3
Using both x10 and x16 magnification, illuminate the square, to check if it is
central vertically in the viewing window. If the square light patch is central and
straight no further action is required.
securing
grub
screws
Figure 10 - Turret securing screws Op No 4
OP NO. 4
If the light needs to be adjusted, gently loosen the securing grub screws,
position the turret while looking at the test bar through the eye pieces. Once
located in the correct place re secure the grub screws.
Issue B
18/04/2011 Page 9 of 16
Page 10

2415-P-7027
Magnifica
tion label
1
B
ATTERY CHANGE:
Figure 11 - Remove rear cover Op No 1
EP39-70766
Cover Retaining
Screw:
SP12 -52116
OP NO. 1
Remove the Magnification label to reveal the rear cover retaining screw.
Remove this screw. Gently remove rear cover to reveal battery.
Figure 12 - Battery removal Op No 2
O
P NO.
Issue B
18/04/2011 Page 10 of 16
2
Page 11

2415-P-7027
Battery
Disconnect the battery terminals. Push the top of the battery up and into the
unit, then pull the bottom of the battery out.
Terminals
Figure 13 - Positioning the battery terminals Op No 3
OP NO. 3
Fit the new battery back into the unit, (Top in first). Connect the terminals and
position as shown in Figure 13.
OP NO. 4
Refit the rear cover and retaining screw.
OP NO. 5
Fit a new magnification label
Issue B
18/04/2011 Page 11 of 16
Page 12

2415-P-7027
L
OP NO. 1
Using a clean cloth, and a small amount of METH, gently wipe the surface on
the lens shown in Figure 14
ENS CLEANING:
Figure 14 - Patient facing lens for cleaning
Figure 15 - Operator facing Lens for cleaning
OP NO. 2
Remove the rubber eye cap, and using a clean cloth, and a small amount of
METH, gently wipe the surface on the lens shown in Figure 15. Refit the
rubber eye relief after cleaning.
Issue B
18/04/2011 Page 12 of 16
Page 13

2415-P-7027
Magnification label
C
R
EAR COVER
OP NO. 1
Remove the magnification label (EP39-70766) and retaining screw (SP12-
52116) to allow the Slit Lamp Handle Grip Rear (EP29-48867) to be removed.
OVER REPLACEMENT:
:
Figure 16 - Rear Cover Removal
OP NO. 2
Fit new rear grip (EP29-48867) and refit retaining screw and new
Magnification label.
EP39-70766
Cover Retaining
SP12 -52116
Screw:
Issue B
18/04/2011 Page 13 of 16
Page 14

2415-P-7027
Front
F
RONT COVER
:
OP NO. 1
Follow procedure as stated R
EAR COVER OP NO.
1.
OP NO. 2
Remove the two front cover retaining screws (Incl. washers), and remove the
Handle Front Cover (EP29-48787)
Cover
Retaining
Screws
Figure 17 - Front Cover Removal
OP NO. 2
Fit new Handle Front Cover (EP29-48787) and secure in place using the
retaining screws.
Take care not to damage / pinch the wires that route through the handle.
Service personal may find it easier to remove the battery.(See Battery Change
procedure for details)
OP NO. 3
Follow procedure as stated R
EAR COVER OP NO.
2.
Issue B
18/04/2011 Page 14 of 16
Page 15

Top Cover
F
RONT COVER
:
OP NO. 1
Follow procedure as stated F
covers.
RONT COVER OP NO.
2415-P-7027
1-2 to remove handle
Retaining
Screws
(2off)
Figure 18 - Top covers removal
OP NO. 2
Remove top cover retaining screws and remove cover(s) that require
replacing.
OP NO. 3
Replace covers as required Top cover (EP29-48859) / Bottom Cover Top
(EP29-48912), secure using the retaining screws previously removed.
Take care not to damage wires for the target LEDs positioned inside the top
covers.
OP NO. 4
Follow procedure as stated F
RONT COVER OP NO.
2-3 to refit handle covers.
Use existing covers if not in need of replacement.
Issue B
18/04/2011 Page 15 of 16
Page 16

2415-P-7027
List of figures:
Figure 1 - Keeler Portable Slit lamp ................................................................. 3
Figure 2 - Removal of bulb cover Op No 1 ....................................................... 5
Figure 3 - Remove bulb Op No 2 ..................................................................... 5
Figure 4 - Bulb alignment - Op No 3 ................................................................ 6
Figure 5 - PSL Bulb (1030-P-5000) .................................................................. 6
Figure 6 - Light patch check Op No 5 .............................................................. 7
Figure 7 - Check slit alignment Op No 1 .......................................................... 8
Figure 8 - Slit alignment Op No 2 ..................................................................... 8
Figure 9 - Square alignment Op No 3 .............................................................. 9
Figure 10 - Turret securing screws Op No 4 .................................................... 9
Figure 11 - Remove rear cover Op No 1 ........................................................ 10
Figure 12 - Battery removal Op No 2 ............................................................. 10
Figure 13 - Positioning the battery terminals Op No 3 ................................... 11
Figure 14 - Patient facing lens for cleaning .................................................... 12
Figure 15 - Operator facing Lens for cleaning ................................................ 12
Figure 16 - Rear Cover Removal ................................................................... 13
Figure 17 - Front Cover Removal ................................................................... 14
Figure 18 - Top covers removal ..................................................................... 15
Issue history:
Date Issue Update
14/01/2011 A
18/04/2011 B
Table 2 - Issue History Table
Initial Issue
Not released
Addition of Cover
replacement
Issue B
18/04/2011 Page 16 of 16
 Loading...