

Page 1
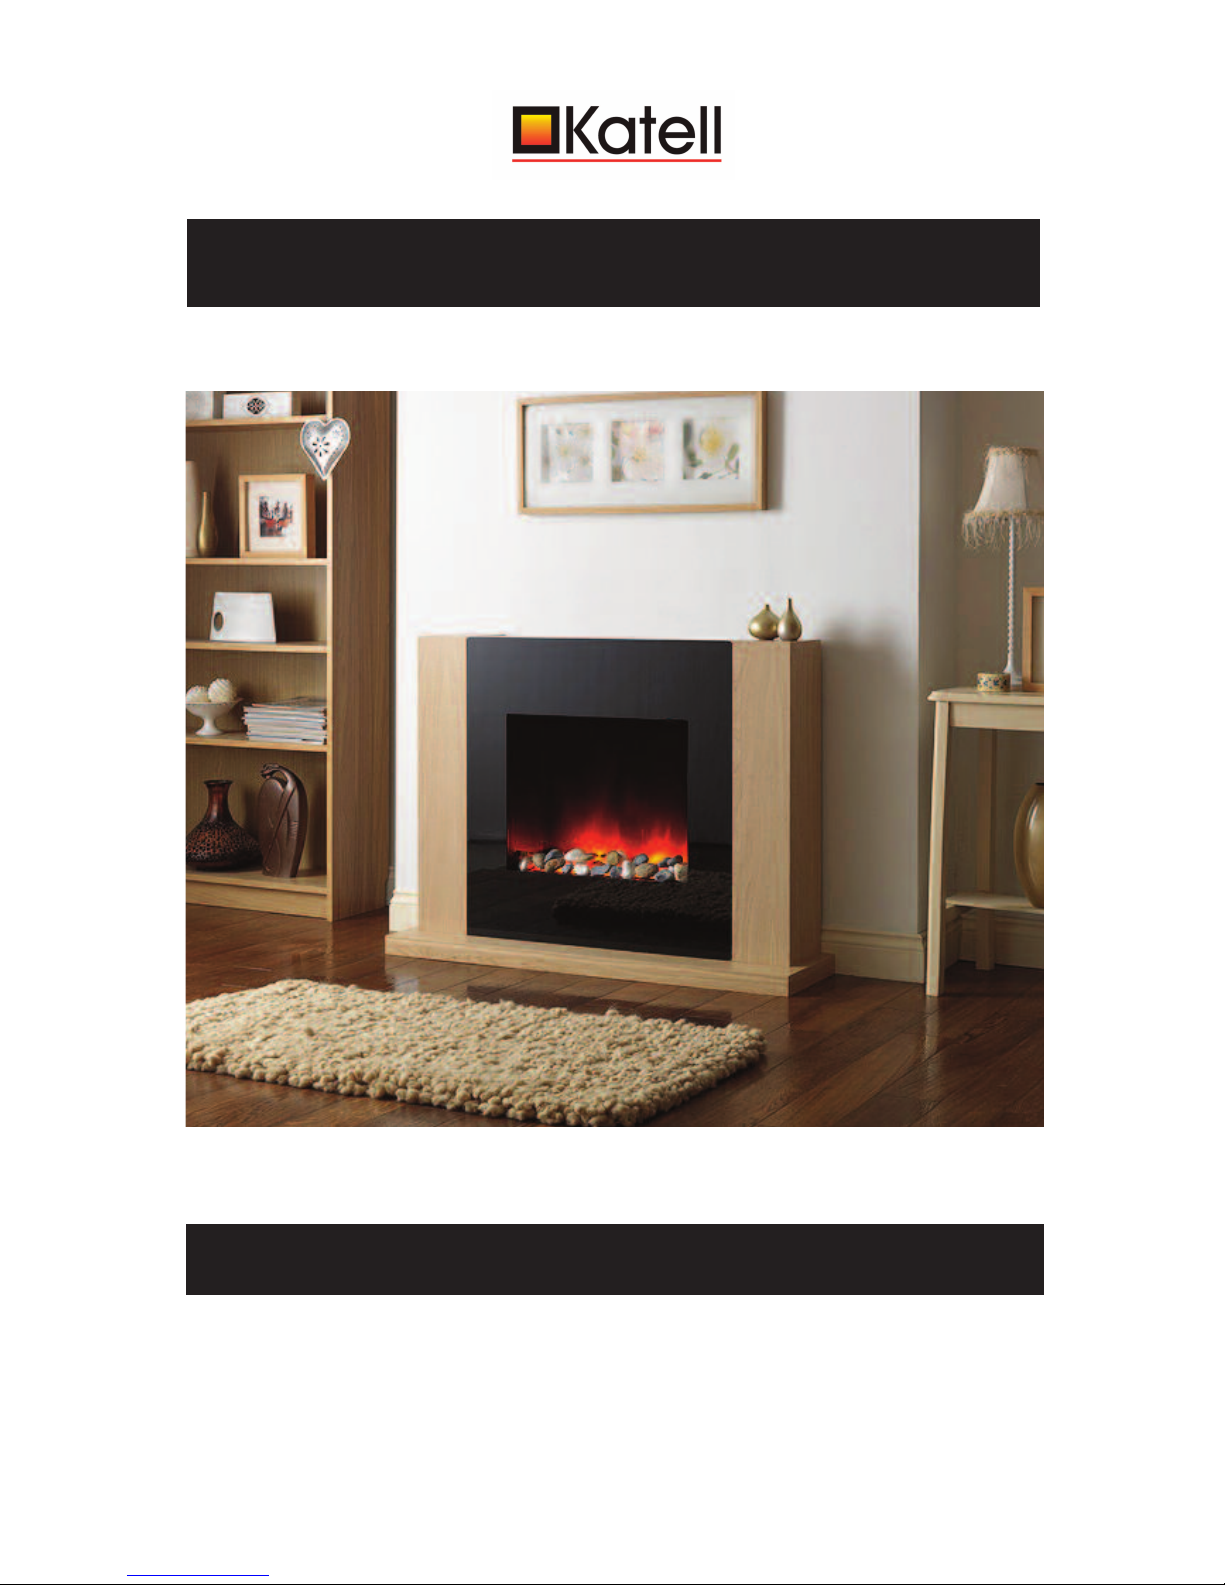
OMEGA ELECTRIC SUITE
IMPORTANT INSTALLATION INSTRUCTIONS
PLEASE READ CAREFULLY BEFORE USE
SAVETHESE INSTRUCTIONS FOR FUTURE REFERENCE
Page 2

IMPORTANT INSTALLATION INSTRUCTIONS
IMPORTANT INFORMATION ABOUT YOUR ELECTRIC FIRE
Please read these instructions carefully before operating this appliance.
• Do not use the appliance near a bath, shower or swimming pool. Make sure it can not fall into water.
Never touch the appliance with wet hands.
• This product must be connected to earth.
• If you run the appliance on heat setting 2Kw with another piece of equipment running on the same
circuit the appliance fuse may blow or your circuit breaker may switch off the supply. Reconnect one
of the appliances to another circuit.
• A non-rewireable plug with a 13A fuse is supplied. Should the fuse or plug need replacing and you are
competent to do so, it must be replaced with a 13A fuse or plug being 13amp BS1363A approved.
• Do not use the appliance in rooms that have explosive gas in them (for example petrol), or if you are
using solvents, glue, aerosol sprays or inflammable paints as they may catch fire.
• Make sure that children do not play with the appliance or stick objects into it.
• Do not cover or hang anything over the front or top of the appliance as overheating may result.
• Ensure the outlet grille is not obstructed in any way as this could cause the appliance to overheat and
may also cause damage to the item obstructing the grille.
• The appliance is fitted with an automatic thermal cut out to reduce the risk of damage in the event of
abnormal operation e.g. when covered. If the heater stops operating while the flame effect continues
normally, this indicates that the cut out is in operation. It will automatically re-set when cool enough,
but first remove any obstruction to the fan heater or blades. Make sure the power lead is disconnected
at the mains before you do this. The thermal cut out WILL NOT RESET unless the obstruction is
removed and the appliance cools. If the heater will not operate after 10 minutes disconnect and seek
expert advice.
• Ensure that the plug socket connection or any fixed switched fused spur connection for the appliance
is accessible. It MUST be readily accessible for easy electrical isolation in the event of servicing and
replacing bulbs etc.
• If the supply cord on the appliance is damaged the appliance MUST NOT be used. A competent person
must replace the power cord if required. The power cord used MUST be capable of handling 2.5Kw of
power at 240v and MUST contain an earth wire.
• A suitably qualified electrician may connect the appliance to an accessible fixed fused spur.
• Bulbs with a rating in excess of 11w must not be used on this appliance.
• The fixing strap provided must be secured to the back of the suite with the washer and screw supplied,
it then must be fixed to the wall using suitable fixings for your wall type.
OPERATING THE APPLIANCE
• Plug the appliance into a suitable 13A mains outlet socket and switch on.
• Switch on the right hand switch under the right hand side of the canopy (marked 0 and I) and the
flame effect will start.
• When heating is required make sure that the thermostat wheel is on the high setting and next press
either heat 1 (marked with red I) or heat 1 and heat 2 (marked with red II) switches under the canopy
for either 1Kw or 2Kw respectively. The heat 1 switch will only provide 1Kw of heat whilst both the heat
switched together will provide 2Kw of heat.
• If no heating is required make sure the heat 1 and heat 2 switches are in the off position.
Page 3
APPLIANCE CARE
Metal: The surfaces should be cleaned with a lightly dampened cloth. Abrasive creams should not be
used.
Timber: Dust with a soft, dry cloth. If necessary, polish with furniture wax. Avoid silicone based spray
polishes. Note: sunlight affects timber, giving a natural deepening colour. This ‘mellowing’ is traditionally
considered to add to the beauty of wooden furniture.
Painted MDF:Clean with a lightly dampened cloth or a non-abrasive domestic cleanser.
TROUBLE SHOOTING
PROBLEM DIAGNOSIS ACTION
No heater fan Suggests an electrical supply Is the appliance plugged in and switched on at the
operation. problem. mains? Are the switches on the fire correctly set
(see ‘OPERATING INSTRUCTIONS’ section)?
Check the fuse in the plug. Replace as necessary.
Check that the socket functions correctly with
other appliances.
Fan heater Suggests the action of the Ensure the air supply and venting is not restricted.
has stopped thermostatic cut out. The cut out will automatically reset after being
whilst in operation. switched off and on at the mains. Allow 10 minutes
to cool.
ENVIRONMENTAL PROTECTION
Waste electrical products should not be disposed of with household
waste. Please recycle where facilities exist. Check with your Local
Authority or retailer for recycling advice.
YOUR APPLIANCE IS GUARANTEED FOR 12 MONTHS FROM THE DATE OF PURCHASE
AGAINST ANY MANUFACTURING DEFECT. IFYOU ENCOUNTER A PROBLEM, PLEASE
CONTACT CUSTOMER SERVICES.
Page 4
TECHNICAL INFORMATION
Model: TF 480
Watts: 2000W
Volts: 230-240 V 50 Hz
Lamp: 2.5W
Fan Heater: 1000 OR 2000 W
Important
The wiring in this mains lead is coloured in accordance with the
following code:
European Fires (CE approved)
EARTH: GREEN and YELLOW
NEUTRAL: BLUE
LIVE: BROWN
Replacement fuse must conform to British Standards and be rated at 13A.
OPERATING INSTRUCTIONS
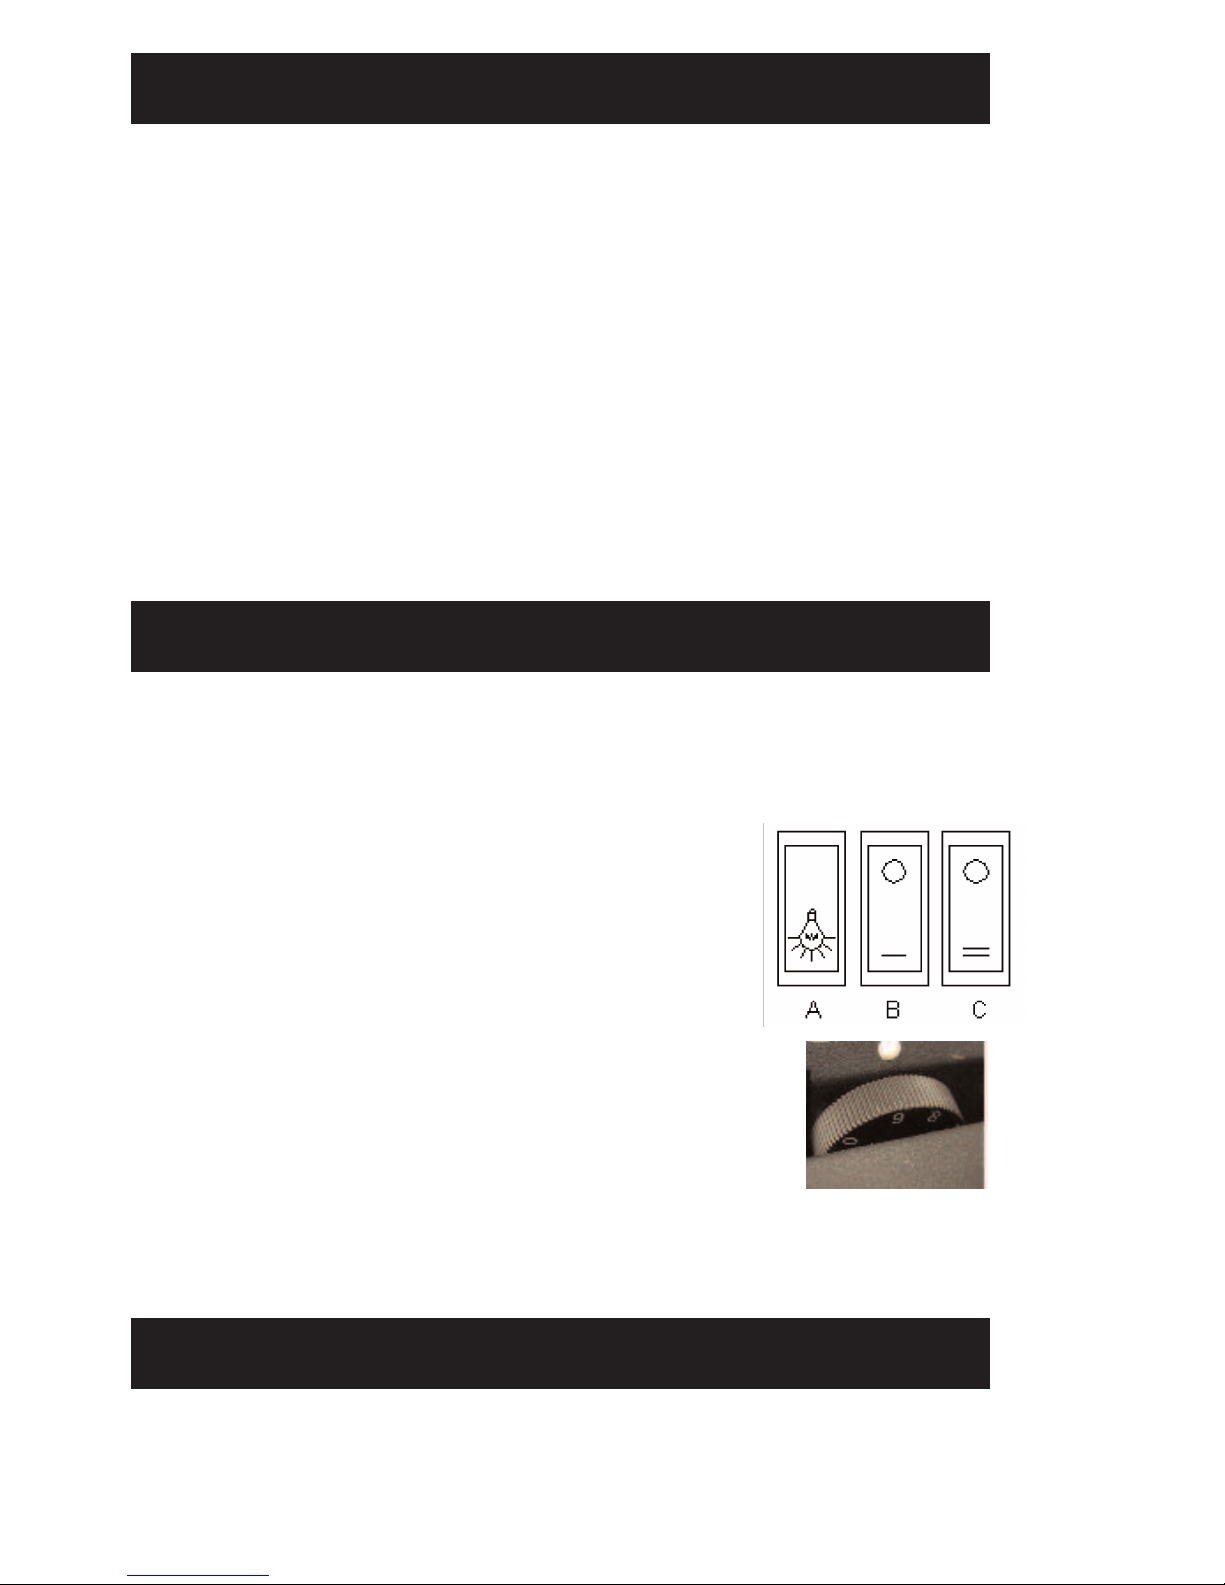
The appliance control switches are located underneath the canopy on the left hand side of the fire.
The switches will look like the diagram below. It is important to be aware that switches must be
turned on in the correct sequence. ‘A’ must be on prior to switching on ‘B’ to operate at 1Kw. ‘A & B’
must be on prior to switching on ‘C’ to operate at 2Kw. Switching off ‘A’ will disable both ‘B & C’
Heating Appliance Settings
SWITCHES POS. SETTING
A OFF OFF
A ON FLAME EFFECT ONLY
A + B ON FLAME EFFECT LOW HEAT (1Kw)
A + B + C ON FLAME EFFECT AND HIGH HEAT (2Kw)
BULB MAINTAINENCE
ILLUMINATED PEBBLE BED BULB REPLACEMENT
Due to the fact that the illumination is provided by LED’s there should never be a requirement to
change the bulbs for the lifetime of the fire. Should you have any problems contact our customer
service department on 01325 379060
Thermostat Operation
Set the thermostat wheel (pictured above right) to its highest setting.
When the room gets to a comfortable temperature slowly turn the
thermostat wheel down until the heater fan switches itself off. The
thermostat is now set, to re-adjust repeat the same process again.
 Loading...