

Page 1

• Consult the dealer or an ex
perienced radio/TV technician for help.
Kanguru Presenters Mouse
User’s Manual
This equipment has been tested and found to comply with the limits for a Class B device, pursuant to
Part 15 of the FCC Rules. There limits are designed to provide reasonable protection against harmful
interference in a residential installation. This equipment generates, uses and can radiate radio
frequency energy and, if not installed and used in accordance with these instructions, may cause
harmful interference to radio communications. However, there are no guarantees that interference
will not occur in a particular installation. If this equipment does cause harmful interference to radio or
television reception, which can be determined by turning the equipment on and off, the user is
encouraged to try to correct the interference by trying one or more of the following measures:
• Reorient or relocate the receiving antenna.
• Increase the separation between the equipment and receiver.
• Connect the equipment into an outlet on a circuit different from that which the receiver is
connected.
Page 2
Please be aware of the following points before using the Kanguru Presenters Mouse
Copyright © 2008 Kanguru Solutions. All rights reserved.
Windows98®, Windows2000®, WindowsME®, WindowsXP®, WindowsVistaTM and PowerPoint are registered
trademarks of Microsoft Inc. iTunes and Mac OS is a registered trademarks of Apple Computer, Inc.
All other brands or product names are trademarks of their respective companies or organizations.
Customer Service
To obtain service or technical support for your system, please contact Kanguru Solutions Technical Support
Department at 508-376-4245, or visit www.Kanguru.com for web support.
Legal notice
Kanguru Solutions will not be held responsible for any illegal use of this product nor any losses incurred while
using this product. The user himself is fully responsible for any illegal actions taken. Legal terms and
conditions are available at www.kanguru.com. Please review and agree before use. Thank you.
Export Law Compliance
Regardless of any disclosure made to Kanguru Solutions pertaining to the ultimate destination of the specific
Kanguru product, you warrant that you will not export, directly or indirectly, any Kanguru product without first
obtaining the approval of Kanguru Solutions and the appropriate export license from the Department of
Commerce or other agency of the United States Government. Kanguru Solutions has a wide range of
products and each product family has different license requirements relative to exports.
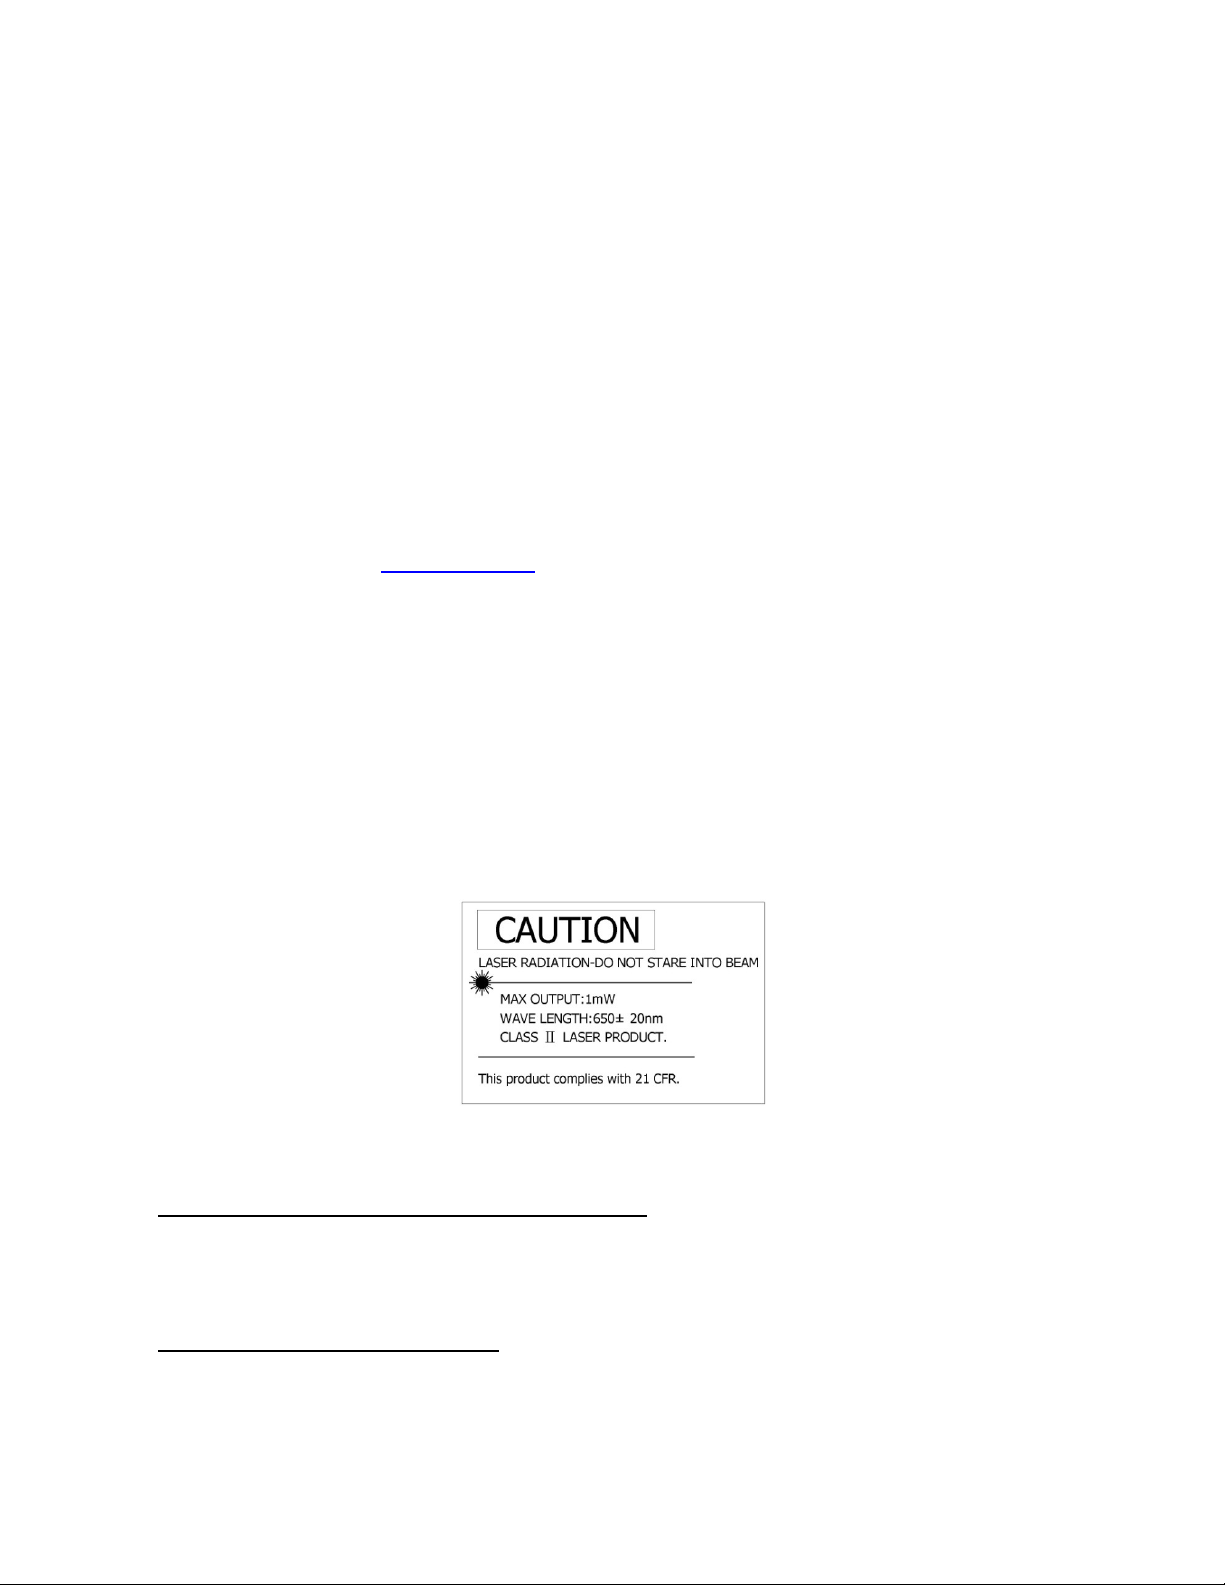
IMPORTANT SAFETY AND HEALTH INFORMATION
WARNING! RISK OF INJURY!
The laser beam can cause permanent damage to eyes. Do not look into the laser beam or shine the laser
beam into your eyes, other peoples’ eyes, or pets’ eyes.
WARNING! RISK OF INJURY!
Keep this device away from Children. This is a working tool, not a toy or entertainment device. It should
only be used by adults.
2
Page 3

Table of Contents
Chapter 1 Introduction
Key Features 4
Package Contents 5
System requirements 5
Compliances 5
Chapter 2 Using Your Kanguru Presenters Mouse
Connecting the USB Receiver 6
Operation Modes 6
Turning the Laser Pointer On/Off 7
Reattaching the USB Receiver 7
Normal PowerPoint Functions 8
Special PowerPoint Functions 9
Multimedia Functions 10
Chapter 3 Additional Information
Specifications 11
Care and Maintenance 12
Troubleshooting 12
3
Page 4

Chapter 1: Introduction
Thank you for purchasing the Kanguru Presenters Mouse from Kanguru Solutions. This
wireless device is more than just another wireless mouse; it is a multifunction remote
control for your computer.
Key Features
•
4 Built-in Functions
The Kanguru Presenters Mouse combines the features of a Wireless Mouse,
PowerPoint Controller, Laser Pointer, and PC Multimedia Remote Control into
one elegant device. Excellent 2.4GHz RF technology enables you to control the
computer up to 100 feet away from the receiver (connected to the USB port). The
laser pointer functions up to 130 feet from the target.
•
Wireless PowerPoint Presentation
When making a presentation, with the Kanguru Presenters Mouse, you don’t need
to stand beside your notebook computer or have an additional person to assist
you.
•
Multimedia Control
When enjoying movies or music on your computer, the Kanguru Presenters
Mouse allows you to control your Windows Media Player or iTunes.
•
Easy to Use
The Kanguru Presenters Mouse is a USB plug-and-play device with no additional
software or drivers required.
•
Easy to Carry
The slim RF receiver design makes the Kanguru Presenters Mouse extremely
portable and convenient to carry with you.
4
Page 5

Package Contents
Please check and make sure that all of the following items were included:
Kanguru Presenters Mouse with USB Receiver (attached to the back of device)
AAA Batteries x 2
User’s Manual
Carrying Case
System Requirements
Operating Systems:
Windows® 98SE/ME/2000/XP/Vista
•
Mac OS ® 10.3 or later
•
An available USB port
Compliance
This device complies with Part 15 of the FCC Rules. Operation is subject to the following
two conditions: (1) this device may not cause harmful interference, and (2) this device
must accept any interference received, including interference that may cause undesired
operation.
This product meets all the standards and requirements of the European Directives.
This product meets the RoHS guidelines for electronic components, and hardware. This
complies with the requirements of the EU directive for banned substances.
For more information regarding compliances, please contact Kanguru Solutions.
5
Page 6

Chapter 2 Using Your Kanguru Presenters Mouse
Before you start using your Kanguru Presenters Mouse, please familiarize yourself
with the device as well as the different operating modes and functions.
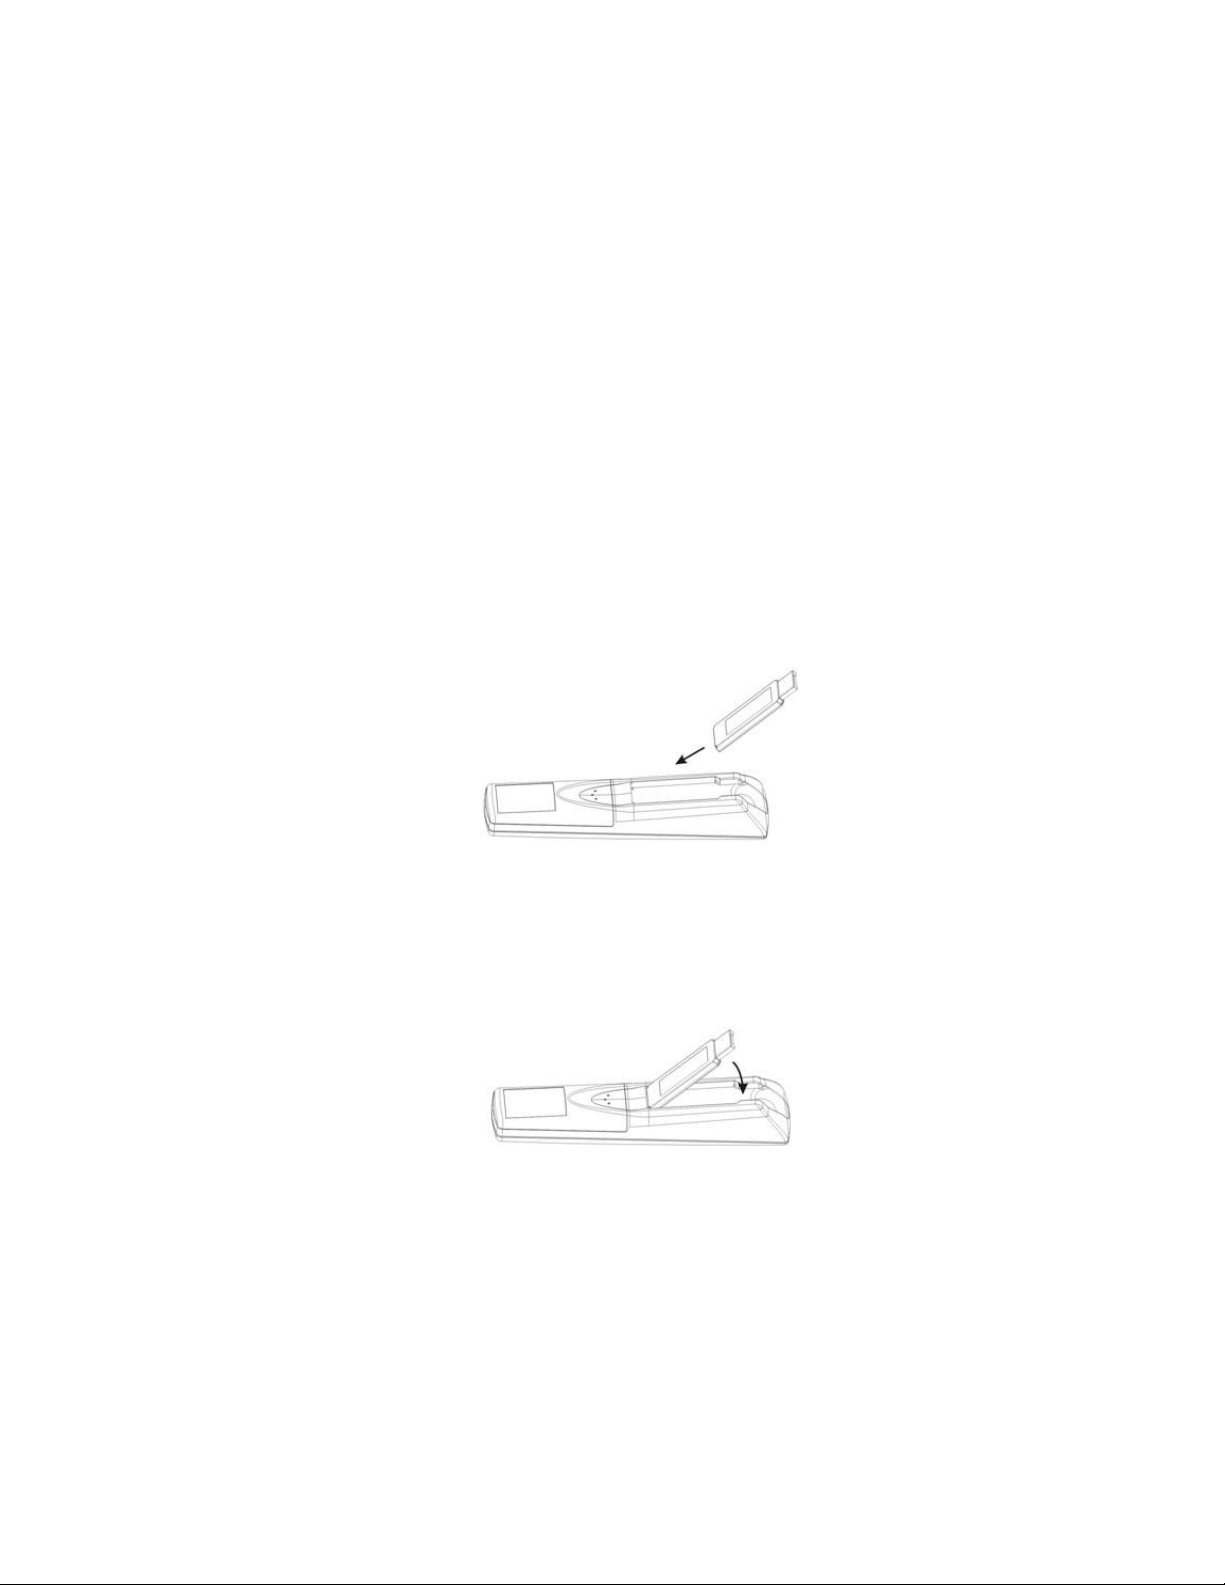
Connecting the USB receiver
Take out the USB receiver in the back and plug it into an available USB port. To
remove the USB receiver, pull up the USB receiver as in the following figure.
The operating system will identify the receiver and will install the necessary driver
automatically. Follow the instructions or messages on the screen to complete the
installation.
Operation Modes
There are two operation modes:
PowerPoint Presentation Mode
•
Multimedia Mode
•
Note:
device’s default setting is PowerPoint Presentation Mode.
The functions on the right side of the Kanguru Presenters Mouse are written in three
colors:
Please make sure you are in the right mode when using the device. The
White
•
Green
•
Yellow
•
- PowerPoint Presentation Mode normal operation
- PowerPoint Presentation Mode special functions
- Multimedia Mode functions
Note:
Please make sure you are in the right mode when using the device.
6
Page 7
Turning the laser pointer On / Off
To turn on the laser pointer, press the Fn button and the On/Off button
simultaneously for three seconds until the Mode Indicator blinks red.
To shoot the laser, press the Laser button.
To turn off the laser pointer, press the Fn button and the On/Off button
simultaneously for three seconds until the Mode Indicator blinks red.
Reattaching the USB receiver
To reattach the USB receiver, insert the bottom of the USB receiver with the label side
up.
Press the USB receiver down into the compartment firmly.
7
Page 8
8
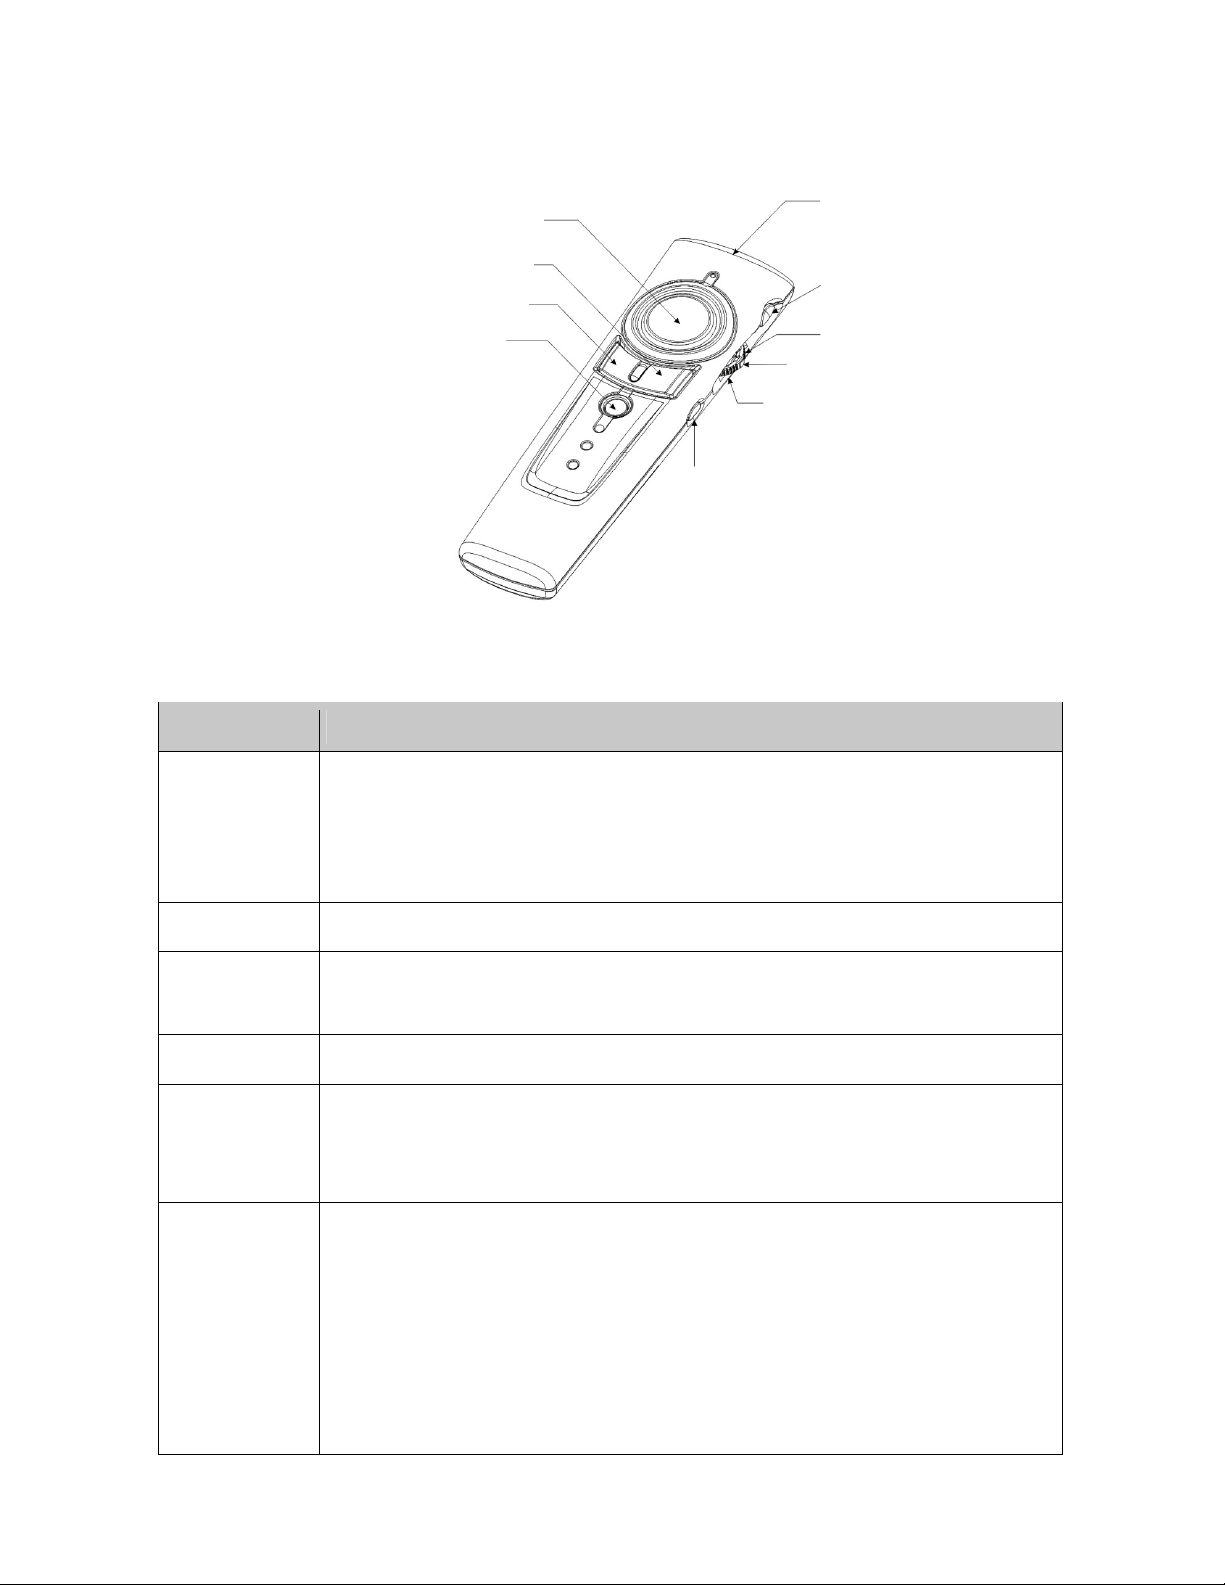
Normal PowerPoint Functions
Main Mouse Button
Laser Beam
Right Mouse Button
Left Mouse Button
Mode Indicator
Fn
Key Function
1. Press Fn and Laser On/Off simultaneously until the Mode Indicator
blinks red to turn the laser pointer on/off.
Laser
2. Press Laser to shoot the laser beam.
Note: The laser will automatically shut off after 30 minutes idling time.
Laser
Up
F5/ESC
Down
Up
F5/ESC
Down
Mode
Indicator
Fn: Change
Mode
Push the switch up to go back to the previous slide.
1. Press to start the slide show.
2. Press and hold for more than three seconds to exit the slide show.
Pull down the switch and go to the next slide.
Not blinking - PowerPoint Presentation Mode (Default Setting)
Blinking green - Multimedia Mode
Blinking red - Laser on
Change to Multimedia Mode
When in PowerPoint Presentation Mode, press Fn for 1 second and release. The
Mode indicator will blink green to confirm that the device is in Multimedia Mode.
Change to PowerPoint Presentation Mode
When in Multimedia Mode, Press Fn for 1 second and release. The Mode
Indicator will stop blinking to confirm that the device is in PowerPoint Presentation
Mode.
Page 9

9
Special PowerPoint Functions
The special function for each key is activated when it is pressed simultaneously with
key. The Fn key should be pressed before pressing the other key.
Fn
Main Mouse Button
Right Mouse Button
Left Mouse Button
Mode Indicator
Fn
Laser Beam
On/Off
Link
Alt+Tab
USB Plug
LED
ID Link Button
Key Function
1. Press Fn and On/Off simultaneously until the Mode Indicator
Fn + On/Off
Fn + Alt+Tab
Fn + Link
Press and hold the Fn key, then pull down the switch to
open the task switcher. While holding the
up and down to navigate between the different tasks. Release the
Fn
Note:
Change ID due to interference with the RF connection
blinks red to turn the laser pointer on/off.
2. Press Laser to shoot the laser beam.
Alt+Tab
key, push the switch
Fn
key to open the selected task.
This function does not work with Mac OS.
1. Press the
key on the USB receiver first. The LED on
Link
the USB receiver will light up.
2. Press and hold the Fn key and simultaneously press the
key until the LED on the USB receiver starts blinking.
Link
to
Fn + Left Mouse Key
Press Fn and the left mouse key simultaneously to turn the whole
screen black. Click the left mouse key again to go back.
Press Fn and the right mouse key simultaneously to turn the whole
Fn + Right Mouse Key
screen white. Click the left mouse key to go back to the slides.
Page 10

10
Multimedia Functions
Multimedia mode only applies to Media Player and iTunes running on Windows.
Media
Mode Indicator
Fn
Key Function
Initiate the audio and video media player.
Media
Note: This function can only be applied to Windows ME, XP and Vista.
Vol+
Vol-
Mute
Push up on the switch to turn up the volume.
Pull down on the switch to turn down the volume.
Push the switch in to mute the volume. Push again to restore volume.
Vol+
Mute
Vol-
Fn: Change
Mode
Press the right side of main mouse button to go to the next chapter.
Press the left side of main mouse button to return to the previous chapter.
Press the
right mouse
desktop. Press it again to recover the last application you used.
button to minimize all applications and show the
Play / Pause / Stop
Press the
left mouse
Press and hold the
button to toggle between Play and Pause.
left mouse
button for two seconds to stop playback.
When in Multimedia Mode, press Fn for 1 second and release. The Mode
indicator will blink green and then turn off to confirm that the device is in
PowerPoint Mode.
Note: Multimedia mode will change to PowerPoint Presentation mode
automatically after two hours idling time.
Page 11

Chapter 3 Additional Information
Specifications
System
Frequency range 2400~2483MHz
Remote range Approx. 100 feet
Operating voltage
Power AAA batteries x 2
Very low power consumption
Remote control: 2.4V~3.3V
Laser: 2.6V~3.3V
Normal operation <10mA
Laser operation < 20mA
Sleep < 10uA
Output power Under 1mW
Physical Dimensions
Size 130(l) x 38.2(w) x 23.5(h) mm
Weight Approx. 60 grams (include batteries)
Environmental Requirements
Temperature
Humidity(non-condensing)
Laser
Operating: 0ºC(32ºF)~60ºC(140ºF)
Non-operation: -10ºC(14ºF)~65ºC(149ºF)
Operating: 10%~85% RH
Non-operating: 10%~95% RH
Semiconductor laser(λ= 650 nm)
Emission duration: continuous
Laser output power: Max.0.95 mW
Note: Design and specifications are subject to change without notice.
11
Page 12

12
Care and Maintenance
Use a soft, slightly damp cloth to wipe the exterior of the device. Avoid using solvents
or abrasive substances.
Do not attempt to open the device. If the device requires maintenance, consult
qualified personnel only.
Troubleshooting
Problem Possible cause Solution
Do I need to install software
before I can use my device?
Can you use two devices in a
room at a same time?
Laser pointer is not working.
Remote control malfunctions.
Laser pointer has not been
turned on, or laser function
has automatically turned off
after idling for 30 minutes.
Interference by other RF
signals.
No, this is a plug and play
device. You do not need to
install any software.
Yes, you can, but we
suggest you implement ID
change in advance to avoid
interference.
Make sure you are on
•
the right mode.
Turn on the laser
•
pointer.
Make sure you are on
•
the right mode.
Implement ID change
•
Laser pointer and remote
control both malfunction.
•
Wrong mode.
•
Batteries in the wrong
direction or run out of
battery power
(see page 9, Fn+Link).
Make sure you are on
•
the right mode.
Check the batteries.
•
 Loading...