

Page 1
Copyright 2009, All Rights Reserved.
Kanguru QSX
Assembly Guide
Page 2

2
Notices and Information
NOTICES AND INFORMATION
Please be aware of the following points before using your Kanguru QSX
Copyright© 2009, Kanguru Solutions. All rights reserved.
Kanguru Solutions will not be held responsible for any illegal use of this product nor any losses
incurred while using this product. The user himself is responsible for the copyright laws, and is fully
responsible for any illegal actions taken.
Customer Service
To obtain service or technical support for your system, please contact Kanguru Solutions Technical
Support Department at 508-376-4245, or visit www.Kanguru.com for web support.
Legal notice
In no event shall Kanguru Solutions’ liability exceed the price paid for the product from direct,
indirect, special, incidental, or consequential software, or its documentation. Kanguru Solutions
offers no refunds for its products. Kanguru Solutions makes no warranty or representation, expressed,
implied, or statutory, with respect to its products or the contents or use of this documentation and
all accompanying software, and specifically disclaims its quality, performance, merchantability, or
fitness for any particular purpose. Kanguru Solutions reserves the right to revise or update its products,
software, or documentation without obligation to notify any individual or entity.
Export Law Compliance
Regardless of any disclosure made to Kanguru Solutions pertaining to the ultimate destination of the
specific Kanguru product, you warrant that you will not export, directly or indirectly, any Kanguru
product without first obtaining the approval of Kanguru Solutions and the appropriate export license
from the Department of Commerce or other agency of the United States Government. Kanguru
Solutions has a wide range of products and each product family has different license requirements
relative to exports.
FCC Compliance Statements
This equipment has been tested and found to comply with the limits for a Class B digital device,
pursuant to Part 15 of the FCC Rules. These limits are designed to provide reasonable protection
against harmful interference in a residential installation. This equipment generates, uses and can
radiate radio frequency energy and, if not installed and used in accordance with the instructions,
there is no guarantee that interference will not occur in a particular installation. If this equipment
does cause harmful interference to equipment off and on, the user is encouraged to try to correct the
interference by one or more of the following measures:
Reorient or relocate the receiving antenna.•
Increase the Distance between the equipment and receiver.•
Connect the equipment into an outlet on a circuit different from that to which the receiver is •
connected.
Consult the dealer or an experienced radio/TV technician for help.•
Page 3
3
1. Preparation
Note: This guide is for assembling your QSX only. For complete instructions on using your drive
after it is assembled, please refer to the User Guide.
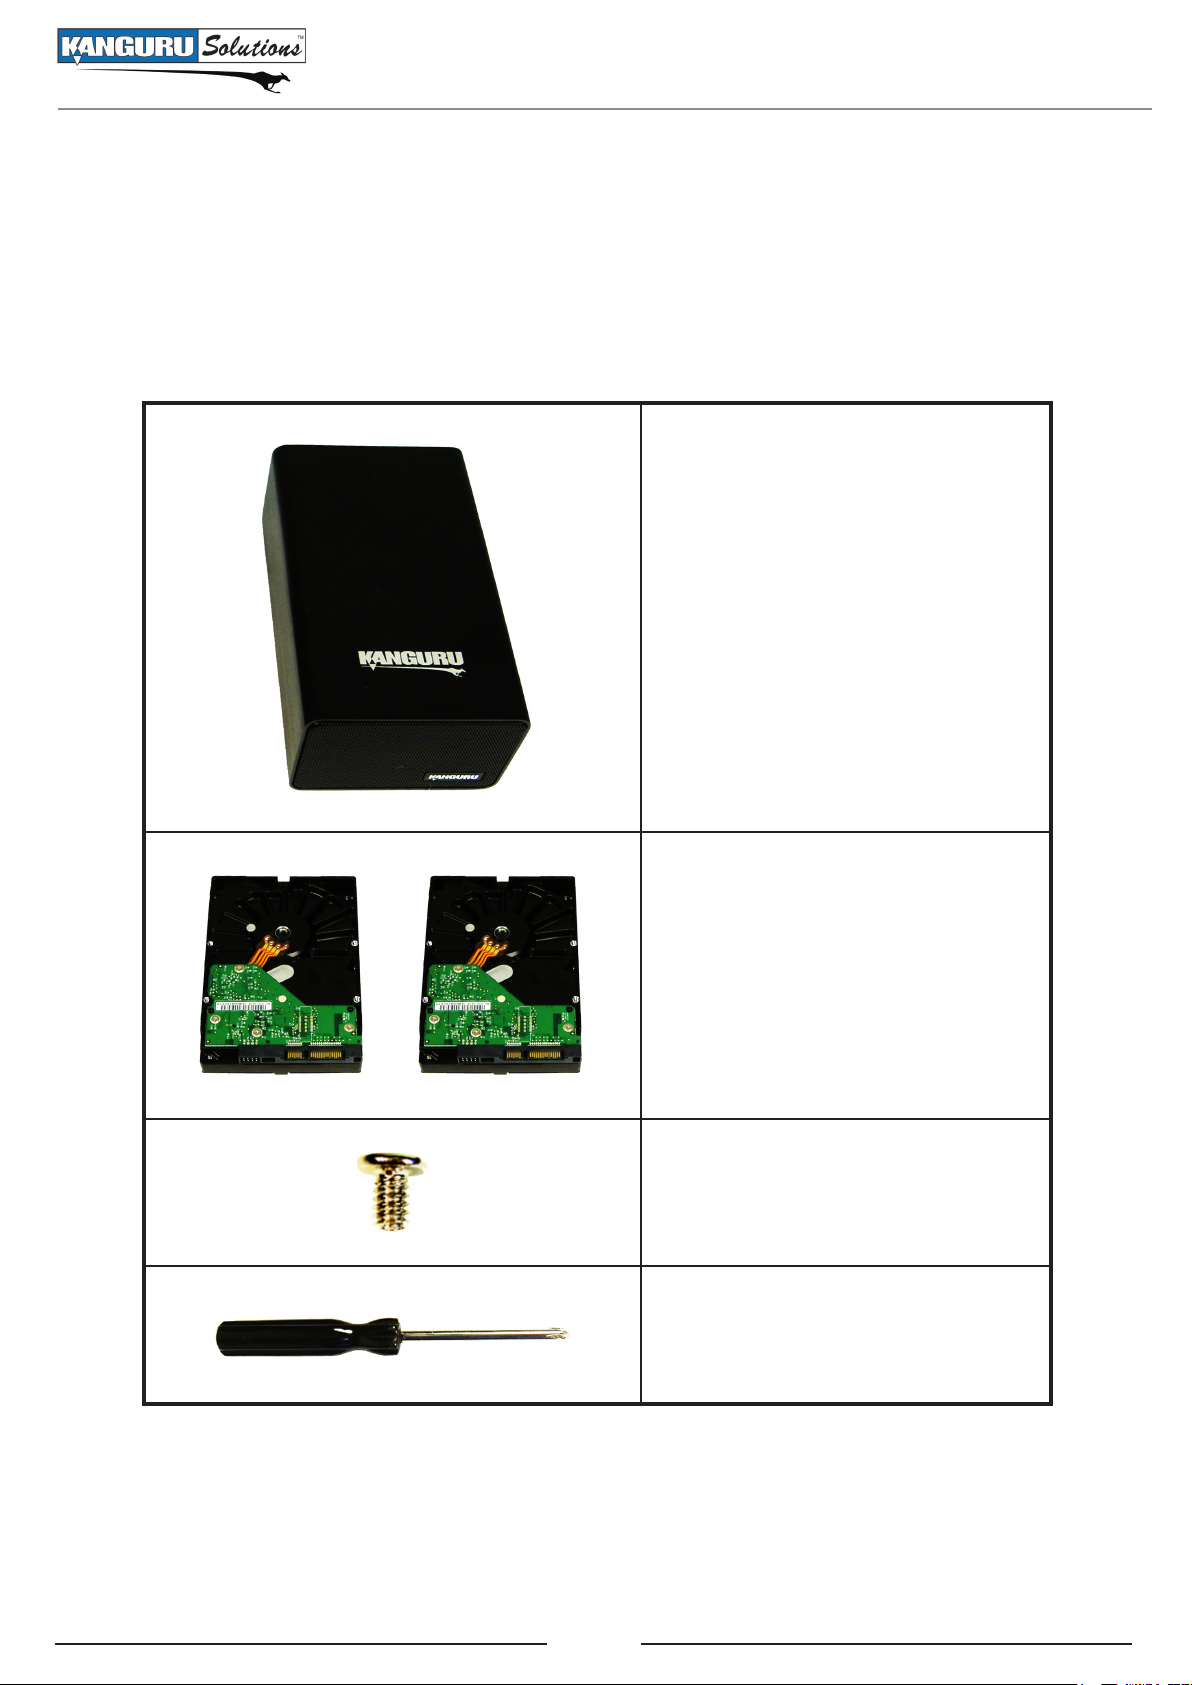
Before assembling your QSX, please check that you have the following items available on hand.
1 x QSX Enclosure
Preparation
2 x SATA HDDs
(same capacity and model
recommended)
8 x HDD Screws
The QSX Enclosure and HDD Screws are included with your package. You will need to provide
your own SATA HDDs and screwdriver. It is advised to install 2 SATA HDDs of the same capacity,
manufacturer and model.
Phillips head screwdriver
Page 4

4
Assembling Your Kanguru QSX
2. Assembling Your Kanguru QSX
Please read these instructions carefully and make sure that you understand them before assembling
your QSX. You may want to print a copy of these instruction to help facilitate the assembly process.
Things to remember:
Assembly will take approximately 15-20 minutes. •
Hard drives are electronic devices. When handling bare drives, please be aware that static •
electricity may damage your hard drive. Please discharge any static electricity before assembling
by touching a metal frame or using electrostatic prevention bands.
SATA HDD connectors have a guaranteed number of times for connection/removal, specified •
by the manufacturer. If an HDD is connected/removed more than this number of times, the
quality of the HDD connection cannot be guaranteed. Minimize the number of times you connect
HDDs.
The QSX is only compatible with SATA HDDs. HDDs based on other standards such as IDE •
(PATA) HDD, SCSI HDD or SAS HDD cannot be connected.
To assemble your Kanguru QSX:
Place the QSX Enclosure on its side with the bottom of the enclosure facing you. Remove the 1.
two screws located at the middle. This will release the Backplate/HDD Bracket assembly from
the housing. Set aside the two screws in a secure location, you will need them later.
figure 1: Removing the bottom screws
Page 5

5
Assembling Your Kanguru QSX
Carefully slide the Backplate/HDD Bracket assembly partially out of the housing (about 2 2.
inches). Caution! Do not try to pull the Backplate/HDD Bracket assembly completely out of
the housing, there is a cable connecting the Backplate to the Faceplate.
figure 2: Releasing the Backplate/HDD Bracket assembly
Remove the two screws from the sides of the Backplate. This will release the Backplate from the 3.
HDD Bracket. Set aside the two screws in a secure location, you will need them later.
figure 3: Removing the Backplate screws
Detach the Backplate from the HDD Bracket and then slide the HDD Bracket completely out 4.
of the housing.
figure 4: Removing the HDD Bracket
Page 6

6
Assembling Your Kanguru QSX
Once you have removed the HDD Bracket from the housing, position the HDD Bracket over the 5.
Backplate as shown in figure 6. Caution! Make sure that the cable connected to the Backplate
does not get caught under the HDD Bracket.
Important! The HDD Bracket should be positioned with the screw threads facing the
Backplate.
figure 5: Locating the threaded screw holes
figure 6: Positioning the HDD Bracket over the Backplate
Insert your two SATA HDDs into the HDD Bracket. Make sure the SATA connectors on the 6.
HDDs and Backplate lineup and that your SATA HDDs connect firmly to the Backplate.
figure 7: Inserting SATA HDDs
Page 7

7
Once your SATA HDDs are in place, use the eight HDD Screws provided to fasten the SATA 7.
HDDs to the HDD Bracket.
Assembling Your Kanguru QSX
figure 8: Fastening SATA HDDs to the HDD Bracket
Once the SATA HDDs have been fastened to the HDD Bracket using the HDD Screws, detach 8.
the SATA HDD/HDD Bracket assembly from the Backplate.
figure 9: Releasing the SATA HDD/HDD Bracket assembly
Page 8

Assembling Your Kanguru QSX
Insert the SATA HDD/HDD Bracket assembly into the housing. When correctly inserted, the 9.
screw holes on the bottom of the HDD Bracket will align with the screw holes on the bottom of
the housing.
figure 10: Inserting the SATA HDD/HDD Bracket assembly
Use the two screws that you removed during Step 1 to fasten the SATA HDD/HDD Bracket 10.
assembly to the housing.
figure 11: Fastening the SATA HDD/HDD Bracket assembly to the housing
Replace the Backplate. The SATA connection ports on the Backplate should hook up with the 11.
SATA connectors on the SATA HDDs. Caution! Make sure that the cable connected to the
Backplate does not get caught between the SATA connectors.
figure 12: Replacing the Backplate
Fasten the Backplate using the two screws that you removed during Step 3. 12.
Congratulations, you have successfully assembled your Kanguru QSX! Please refer to your User
Guide for detailed information on using your QSX.
8
Page 9

Kanguru Solutions
1360 Main Street
Millis, MA 02054
www.kanguru.com
09.16.09 V1.0© 2009 Kanguru Solutions
Legal terms and conditions available at www.kanguru.com. Please review and agree before use. Thank you.
 Loading...