

Page 1
USER’S MANUAL
FCC COMPLIANCE STATEMENTS
This equipment has been tested and found to comply with the limits for a Class B digital device, pursuant to Part 15 of the
FCC Rules. These limits are designed to provide reasonable protection against harmful interference in a residential installation.
This equipment generates, uses and can radiate radio frequency energy and, if not installed and used in accordance with the
instructions, there is no guarantee that interference will not occur in a particular installation. If this equipment does cause
harmful interference to equipment off and on, the user is encouraged to try to correct the interference by one or more of the
following measures:
Reorient or relocate the receiving antenna.
Increase the Distance between the equipment and receiver.
Connect the equipment into an outlet on a circuit different from that to which the receiver is connected.
Consult the dealer or an experienced radio/TV technician for help.
TRADEMARKS
MS-DOS, Windows, Windows 98/2000/ME/XP are trademarks of Microsoft Corporation.
Macintosh and Mac are trademarks of Apple Computer
*All of the third-party brands and names are the property of their respective owners.
Page 2

Table of Contents:
Introduction ............…………………………………….….……1
System Requirements.........................……...…………….…..… 2
Installation Procedure ........……...…………………….………. 3
Setting the ID…….……………………………………………….4
Using the Presenters Mouse………….…….……………………5
1. Introduction:
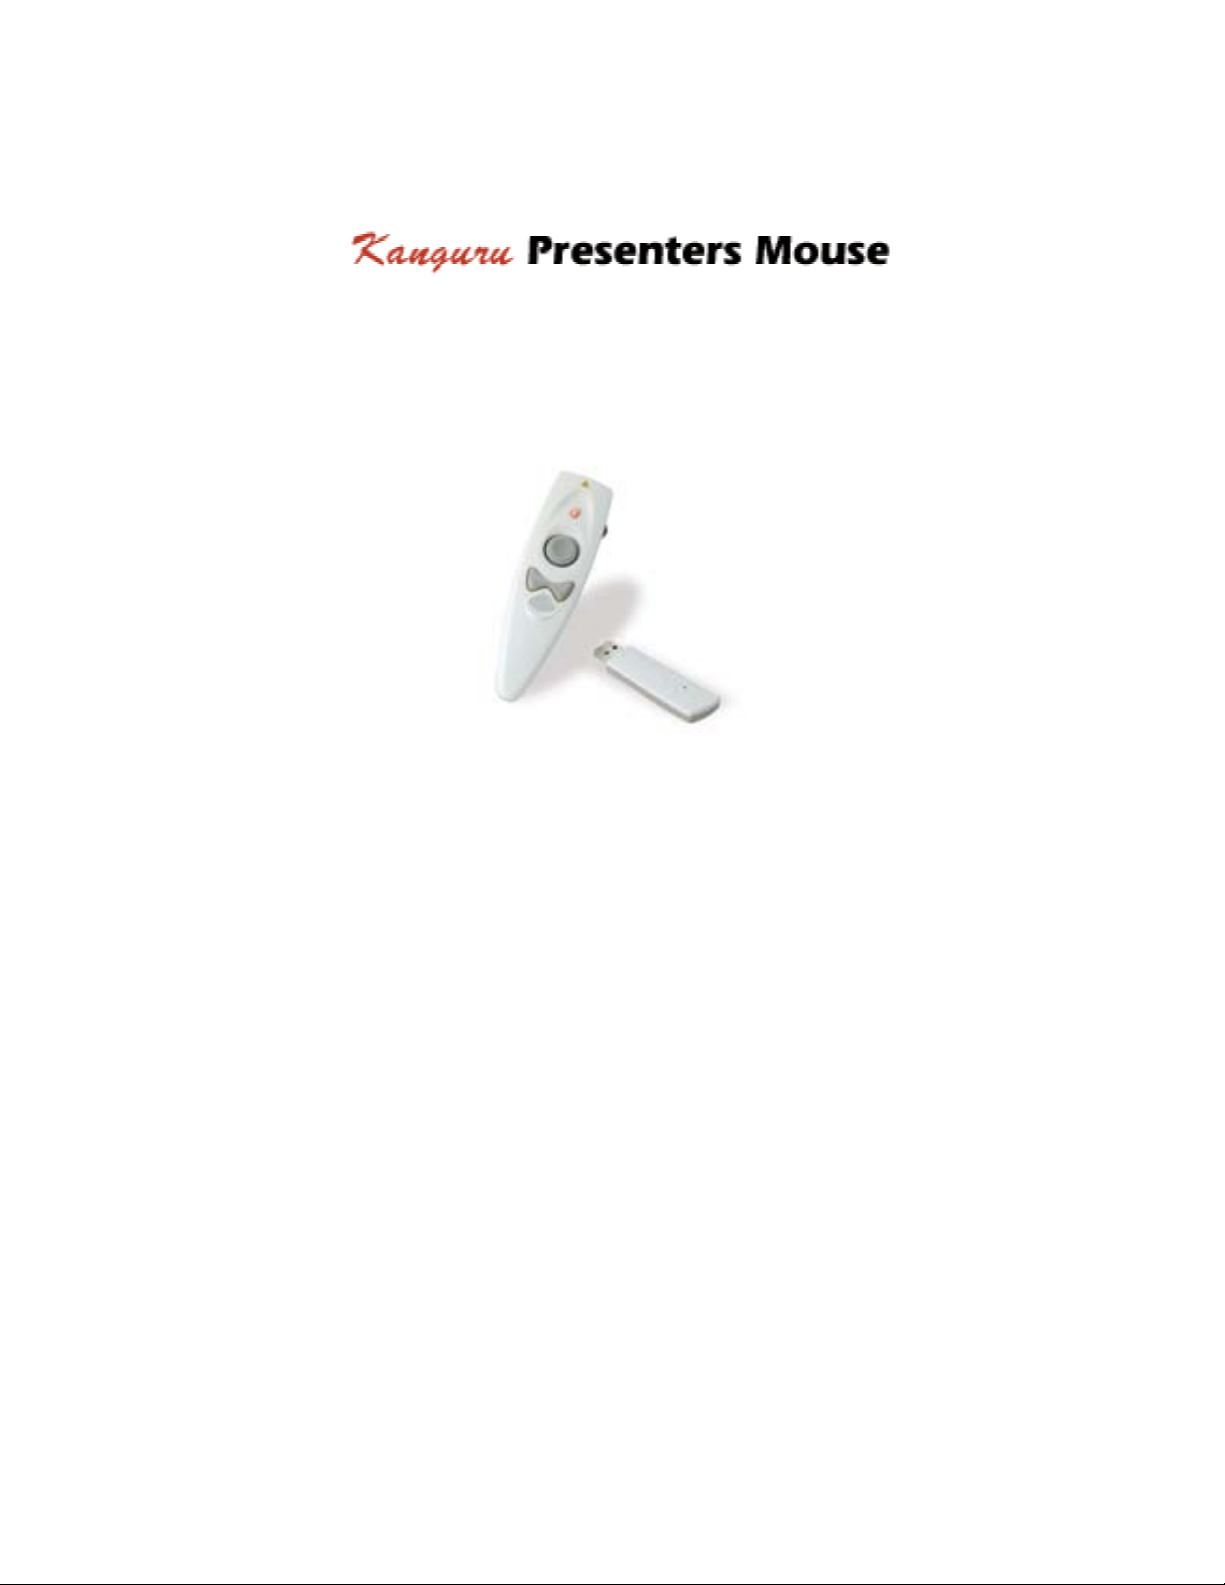
Thank you for purchasing the Kanguru Presenters Mouse drive from Kanguru
Solutions!
Make your business presentations with ease with this innovative wireless
presenters mouse. The Kanguru Presenters Mouse acts as a wireless mouse and pointer,
as well as a multimedia remote control. You can scroll through presentations, highlight
important notes, and much more from a distance of up to 25 yards!
2. System Requirements
Hardware:
Notebook or desktop computer with an available USB port
Operation system:
Win98SE, Win-ME, Win2000, Win XP, Mac OS 8.6 or above.
Page 3
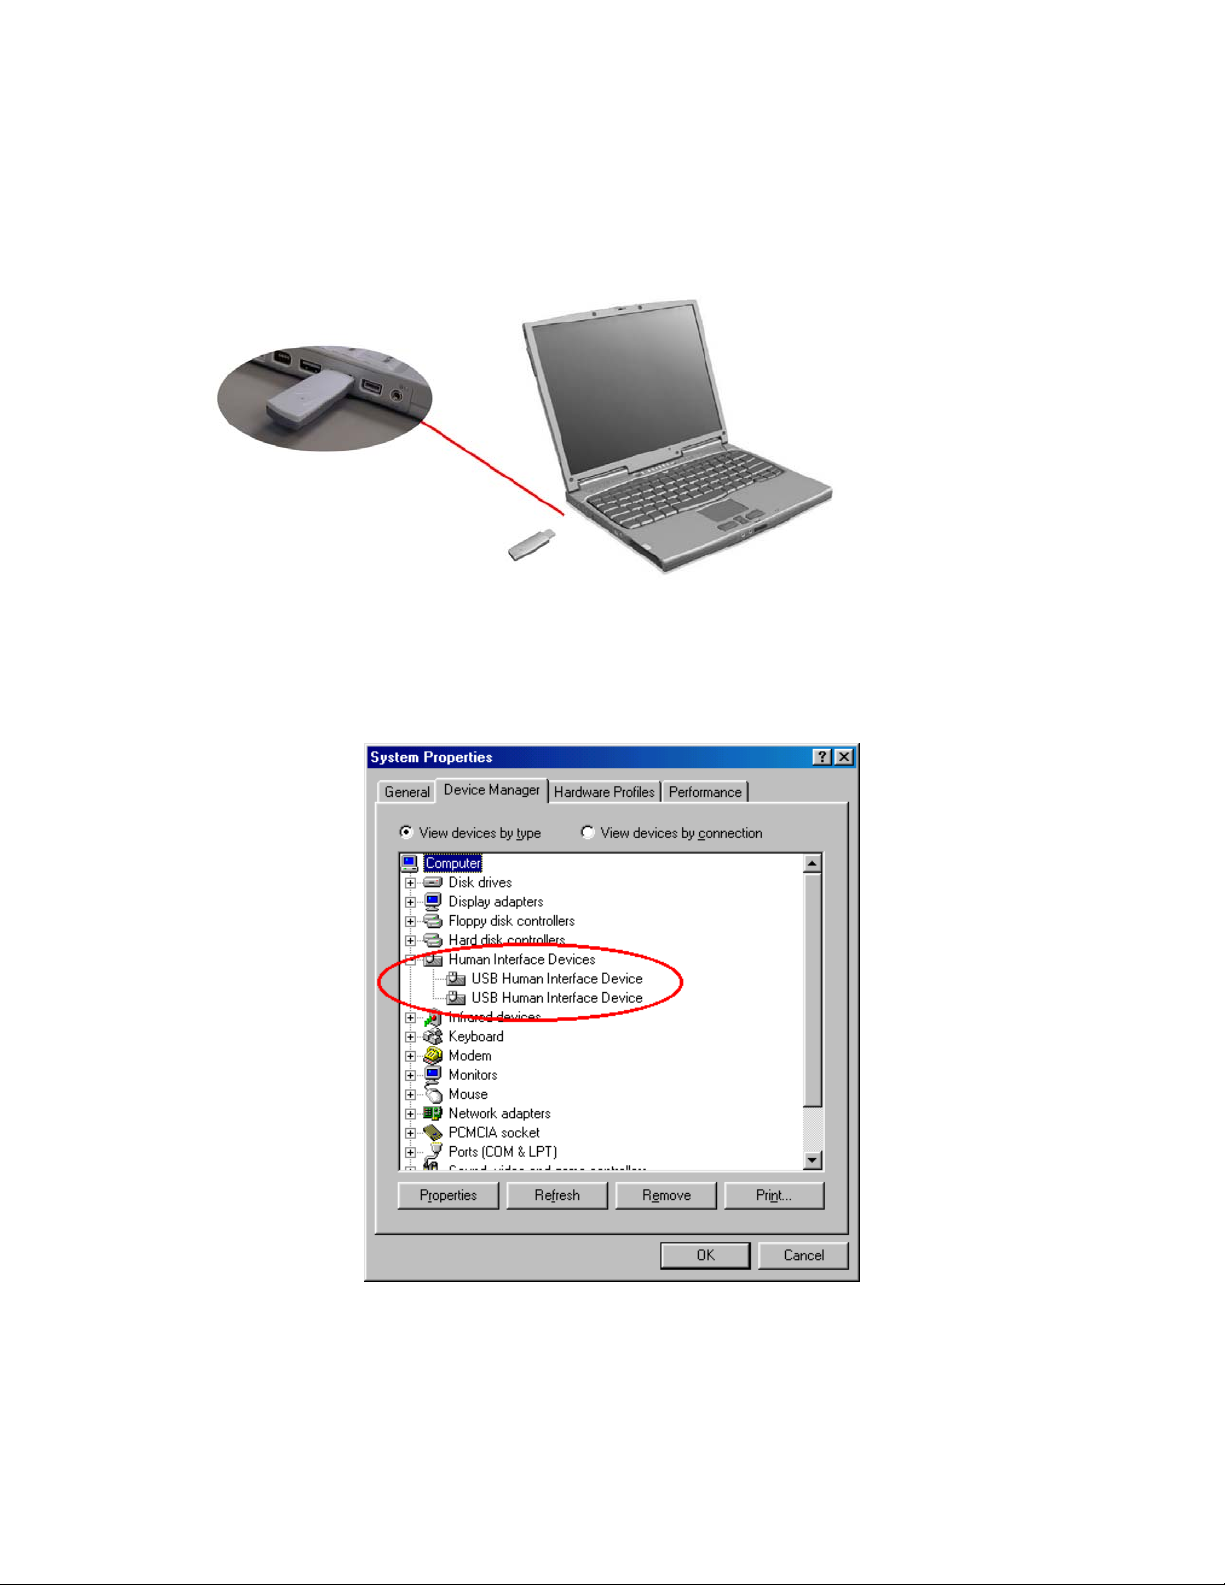
3. Installation Procedure:
1.) Insert the receiver into the USB port.
2.) Your computer will start to install the receiver automatically. And you can see the
device is present using device manager (right click “My Computer” and click
properties).
Page 4

3.) In Win98/Me operation system you need to follow the instructions on your
screen. During the install process, the O/S may ask you to put Win98 CD into
the CD-ROM
Page 5

4.) After the install process has finished, the remote should be working. If not, please
read the “Setting the ID” section for further instructions.
Page 6

4. Setting the ID
Refer to this section of your the remote is not working or you are
experiencing interference from another remote:
1.) Push the M-key and Composite Switch
Push key simultaneously at least 5
seconds (A Green LED light will flash)
(Change a new ID).
2.) Use a pen to push the receiver’s button, but
do not remove from the USB port to do so.
You will feel the button click when it is
pressed.
3.) Push any button except the laser key or M-
Key to send a new ID to the receiver
4.) You should now have full control of the mouse. If not, please try step 1-3
again. Please note that every time you take the battery out, the mouse ID
will be reset. If your mouse doesn’t work then you have to do the steps 1 to 3
to set up a new ID again.
You have 40 seconds when setting the receiver ID.
Page 7

5. Using the Presenters Mouse
The Kanguru Presenters mouse has two operating modes: mode1 for normal mouse
functions as well as controlling the laser pointer and mode 2 for controlling the
multimedia functions.
Mode 1:
• To use the laser pointer PUSH and HOLD the laser button and the clear button
(M-KEY) for 5 seconds. The clear button will flash red when the laser has been
activated. It will also blink every 2 seconds to let you know the laser is active.
Follow the same instructions to turn the laser off.
Mode2:
• To launch your default Media Player (Windows Media Player, etc) push and
release the clear button, then push the laser button. This should launch the media
player. NOTE: The media functions were designed to work with Windows
Media Player on a Windows ME operating system, so some options with other
players may not work correctly.
o If you push the clear button once, a green light will come on. This means
you are in multimedia control mode. When this light is on, you can
control the volume of your media player by using the scroll wheel on the
side.
o Pushing the wheel in mutes the sound.
o Pause/Play or stop the media player by pushing the left/right click buttons
as indicated on the buttons.
o Scroll through a play list with the mouse pad.
To return to normal device function (mouse), simply push the clear button once
and the green light will go off.
Page 8

1.Laser Key
Laser Pointer
2.FSR Mouse
3.Left Mouse Key
5.M-Key
Mode-1 Mode-2 (Multimedia)
1.Laser key Laser Pointer ON/Off Windows Media Player On
2.FSR Mouse Controls Mouse cursor
3.Left Mouse Key Left Mouse Key Play/Pause
4.Right Mouse Key Right Mouse Key Stop
4.Right Mouse Key
Up: The Last Song
Down: The Next Song
6. Composite Switch
5.M-Key Green LED Off Green LED On
Up: Line Up
6.Composite Switch
Mode-1:
Function 1: M-Key+ Laser Key (Laser Pointer Enable/Disable Button)
M-Key and Laser Key are pushed simultaneously for more than 5
seconds the laser pointer is enabled/disabled. (Red LED light flashes)
Function 2: M-Key+ Composite switch Push Key (ID Change)
M-Key and Composite switch Push Key are pushed simultaneously
more than 5 seconds (Green LED flashed), the ID is changed.
NOTE: As a safety consideration, when the laser pointer is enabled, the M-key’s red
LED flashes 1 time every 2 seconds. If you stop using laser pointer for 30 minutes, the
laser pointer function will be disabled.
Down: Line Down
Push: Drag
Up: Volume Up
Down: Volume Down
Push: Mute
Page 9

Caution:
1. The remote has a laser pointer.
2. Laser radiation causes damage
to eyes.
3. Do not stare into beam & keep
out of the reach of children.
Additional Notes
Notes: For Mac use, the Mouse functions will work, but Multimedia
controls WILL NOT.
Range: Roughly 25 yards.
Radio Frequency: FSK 433 MHz, 150 KHz, or 900 MHz.
Physical Dimensions: 125mm x 36mm x 19.8 mm
Weight: < 55 grams with Li Battery
Battery Life: Expected for 10-12 months on 3V Lithium Battery
Replace with a DC-3V CR2032 or a DC-3V CR2450 Battery
Warranty
This product carries a 1-year warranty from the date of purchase. Any claims for loss or
damage must be made to carrier directly. Claims for shipping errors should be reported
to Kanguru Solutions within three (3) business days of receipt of merchandise.
Tech Support
If you experience any problems installing your Kanguru Presenters Mouse or have any
technical questions regarding any of our products, please call our tech support department.
Our tech support is free and available Monday through Friday, 9am to 5pm EST.
Call 1-508-663-0105 or
Visit our website at www.KanguruSolutions.com
 Loading...