

Kallista P73037 Installation Manual

Installation Guide
Pedestal Lavatory
P73037
Français, page “Français-1”
Español, página“ Español-1”
1036496-2-A
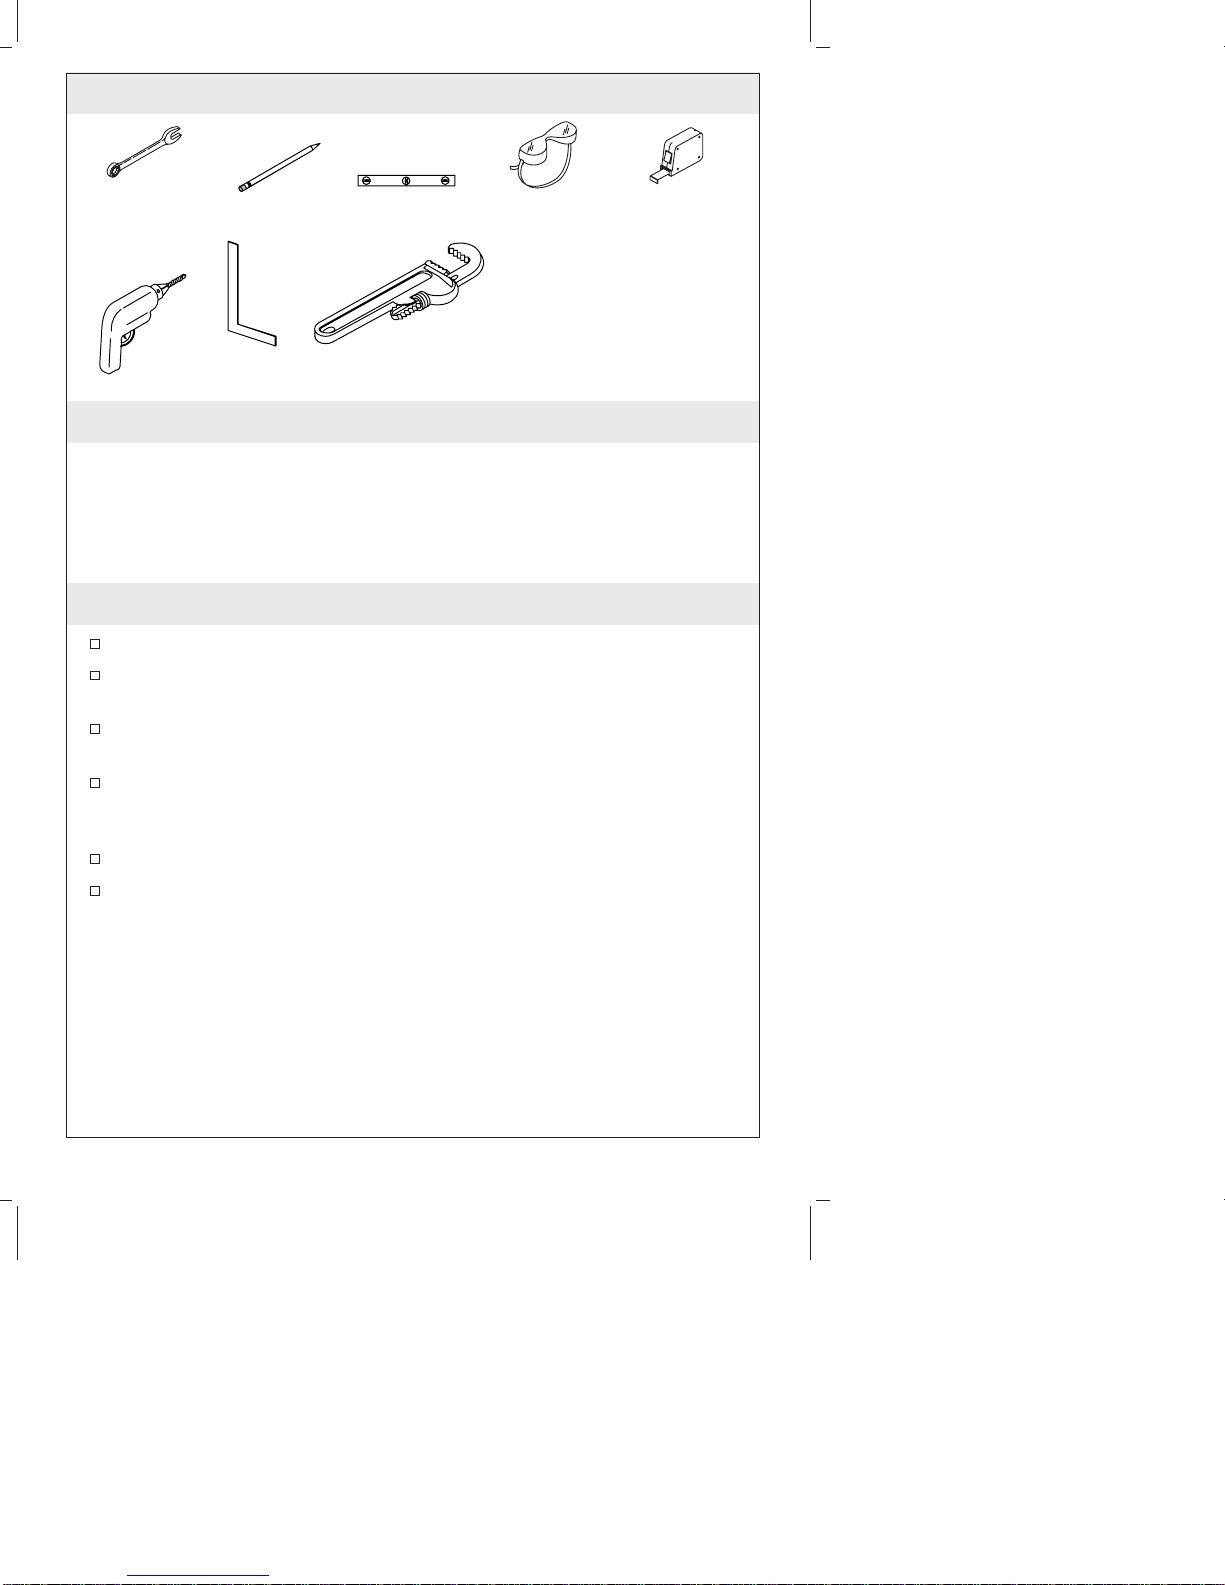
Tools and Materials
1/2" and 9/16"
Combination
Wrenches
Drill
Pencil
Square
Level
Pipe
Wrench
Safety
Glasses
Plus:
• Common Woodworking
Tools and Materials
• 3/16" Drill Bit
Tape
Measure
Thank You For Choosing Kallista
We appreciate your commitment to Kallista quality. Please take a few
minutes to review this manual before you start installation. If you
encounter any installation or performance problems, please don’t
hesitate to contact us. Our phone numbers and website are listed on
the back cover. Thanks again for choosing Kallista.
Before You Begin
Observe all local plumbing codes.
Prior to installation, unpack the new lavatory and pedestal and
inspect them for damage.
Return the lavatory and pedestal to the protective cartons until
you are ready to install.
These instructions are for installing the lavatory to wood frame
construction. For other installations, provide suitable bracing and
fastening devices of sufficient size and strength.
The walls and floor must be square, plumb, and level.
Lavatory dimensions are nominal and conform to tolerances in
ASME A112.19.9 standards for non-vitreous ceramic plumbing
fixtures.
1036496-2-A 2 Kallista

4" (10.2 cm)
2-3/8" (6 cm)
11-9/16"
(29.4 cm)
Finished Wall
C
1/2" D. (1.3 cm)
Anchor Holes
11"
(27.9 cm)
Min.
13"
(33 cm)
3/8"
Hot
Max.
1-1/4"
Outlet
26" (66 cm)
L of Backing
3" (7.6 cm)
6-7/8"
(17.5 cm)
3/8" Cold
4" (10.2 cm)
7"
(17.8 cm)
8"
(20.3 cm)
33-7/8"
(86 cm)
Finished Floor
1. Preparation
Install the water supplies and drain piping according to the
roughing-in information. Install the supply stops so the handles
will not touch the pedestal when fully open.
Install sufficient backing behind the finished wall to provide a
secure material for the anchoring devices.
Mark the centerline on the floor.
Apply two self-adhesive gaskets (provided) to each of the three
ribs on the bottom of the basin.
Place the pedestal on the centerline in the approximate location.
Carefully lift the lavatory into place on the pedestal, and slowly
move the pedestal as required to ensure proper fit.
4-3/4"
(12.1 cm)
NOTE: The lavatory must be supported by the pedestal.
Locate the two lavatory anchoring holes, and mark the hole
locations on the finished wall.
Carefully remove the lavatory from the pedestal and set aside.
Move the pedestal from the area.
Kallista 3 1036496-2-A
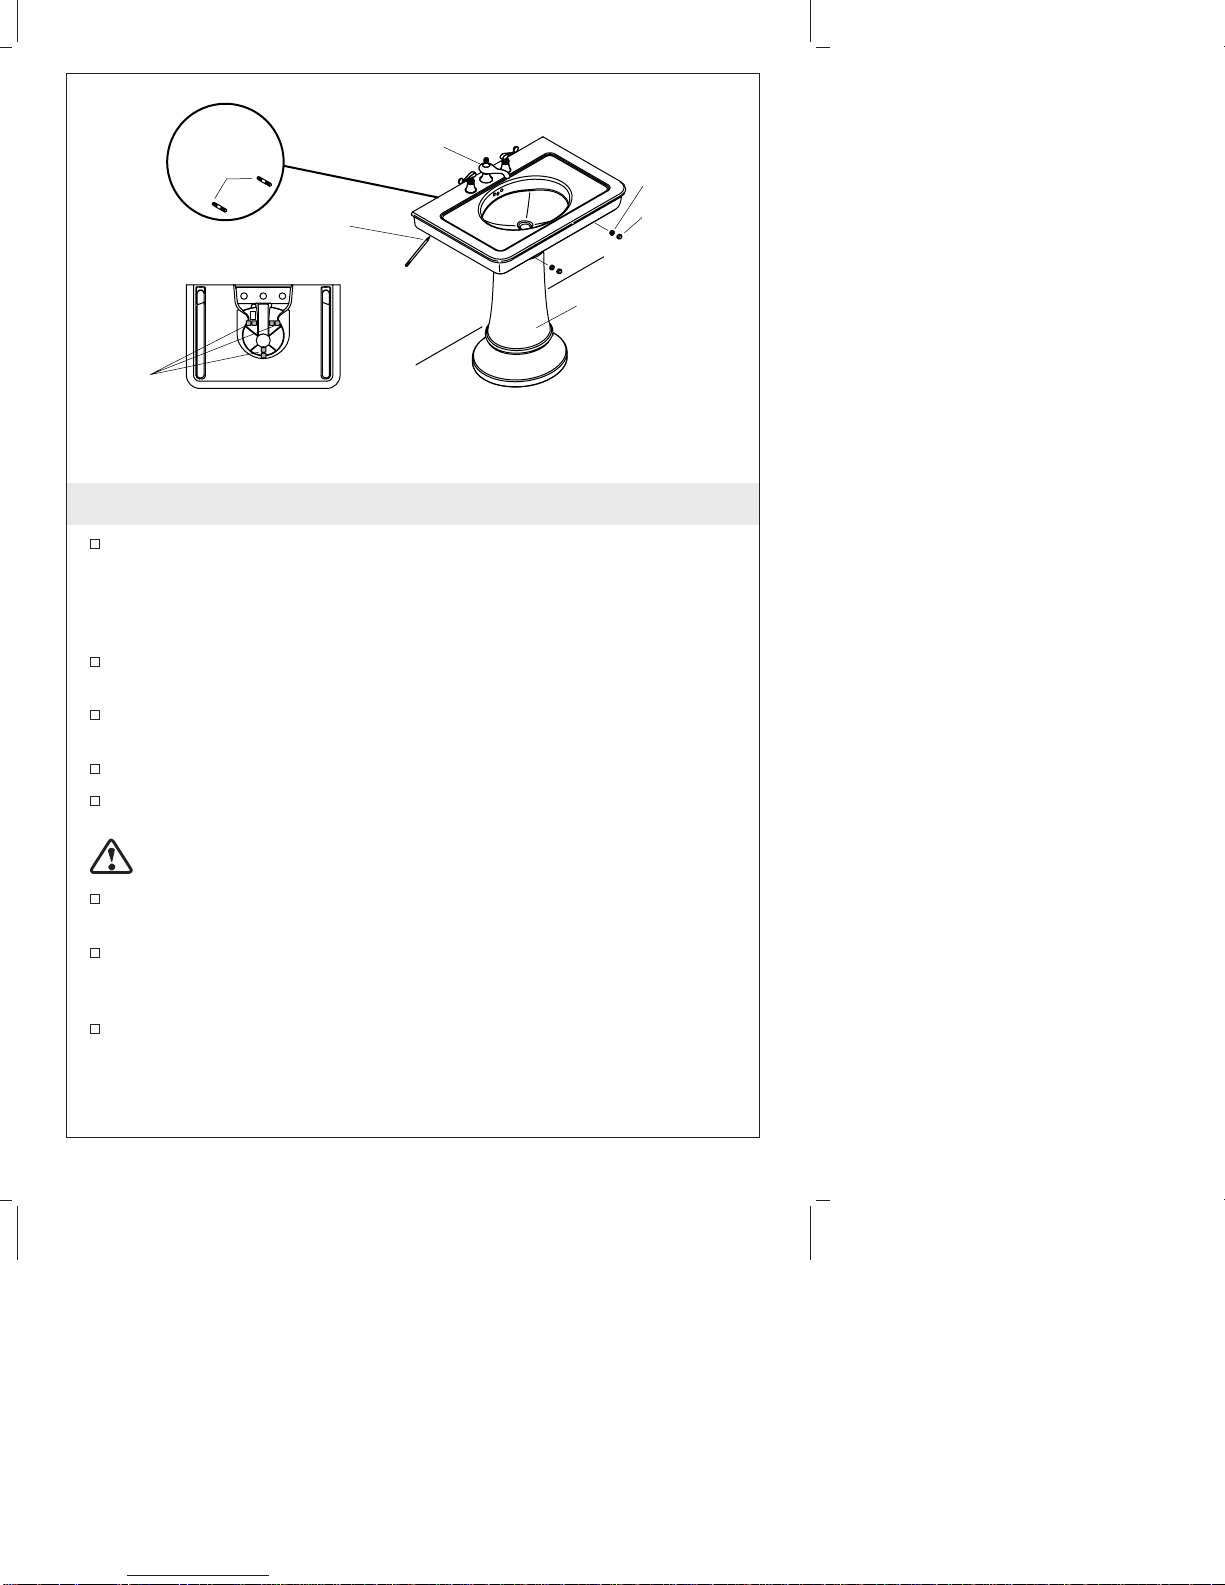
Hanger
Bolts
Install faucet
and drain.
Washer
Mark
Cap Nut
anchoring
holes.
Finished
Wall
Pedestal
Apply
adhesive
gaskets.
Pedestal and Lavatory Placement
2. Install the Lavatory
Drill 1/4” mounting holes at the marked locations on the finished
wall.
NOTE: You can also use other fastening devices of sufficient size
and strength.
Install hanger bolts in the wall and floor so they extend 1-3/8″
(3.5 cm) beyond the finished wall.
Install the faucet and drain to the lavatory according to the
manufacturer’s instructions.
Position the pedestal on the floor.
Carefully set the lavatory on the pedestal so the hanger bolts
extend through the lavatory anchoring holes.
CAUTION: Risk of product damage. Do not overtighten the cap
nuts. Overtightening may damage the product.
Install the washers and cap nuts to the hanger bolts. Level the
lavatory, and carefully tighten the cap nuts until snug.
Connect and tighten the trap to the drain. Complete the water
supply connections to the faucet according to the instructions
packed with the faucet.
Apply silicone sealant around the pedestal foot.
1036496-2-A 4 Kallista

Guide d’Installation
Lavabos sur colonne
Outils et Matériaux
Clé Combinée
1/2" and 9/16"
Perceuse
Crayon à
Papier
Équerre
Niveau à
Bulles
Tuyau
Clé hexagonne
Lunettes de
Protection
Plus :
• Travaille du Bois Commun
Outils et Matériaux
• Mêche de 3/16"
Mètre
Ruban
Merci d’Avoir Choisi Kallista
Nous apprécions votre engagement envers la qualité Kallista. S’il vous
plaît, prenez quelques minutes et lisez attentivement ce guide avant
que vous ne commenciez votre installation. N’hésitez pas à nous
contacter en cas de problème d’installation ou de fonctionnement. Nos
numéros de téléphone et adresse Internet sont au verso. Merci encore
d’avoir choisi Kallista.
Avant de Commencer
Respecter les codes de plomberie locaux.
Avant l’installation, déballer le nouveau lavabo et la colonne et
les examiner soigneusement pour en déceler tout dommage.
Remettre le lavabo et la colonne dans l’emballage de protection
jusqu’à ce que vous soyez prêt à installer.
Ces instructions sont pour l’installation d’un lavabo sur un cadre
de support en bois. Pour les autres types d’installation, fournir les
dispositifs d’entretoisement et d’attache ayant les dimensions et la
résistance appropriées.
Les murs et le sol doivent être à l’équerre, d’aplomb, et de
niveau.
Kallista Français-1 1036496-2-A
 Loading...