

Kallista P23171, P23471, P21458, P21558, P21470 Installation Manual
...
INSTALLATION INSTRUCTIONS
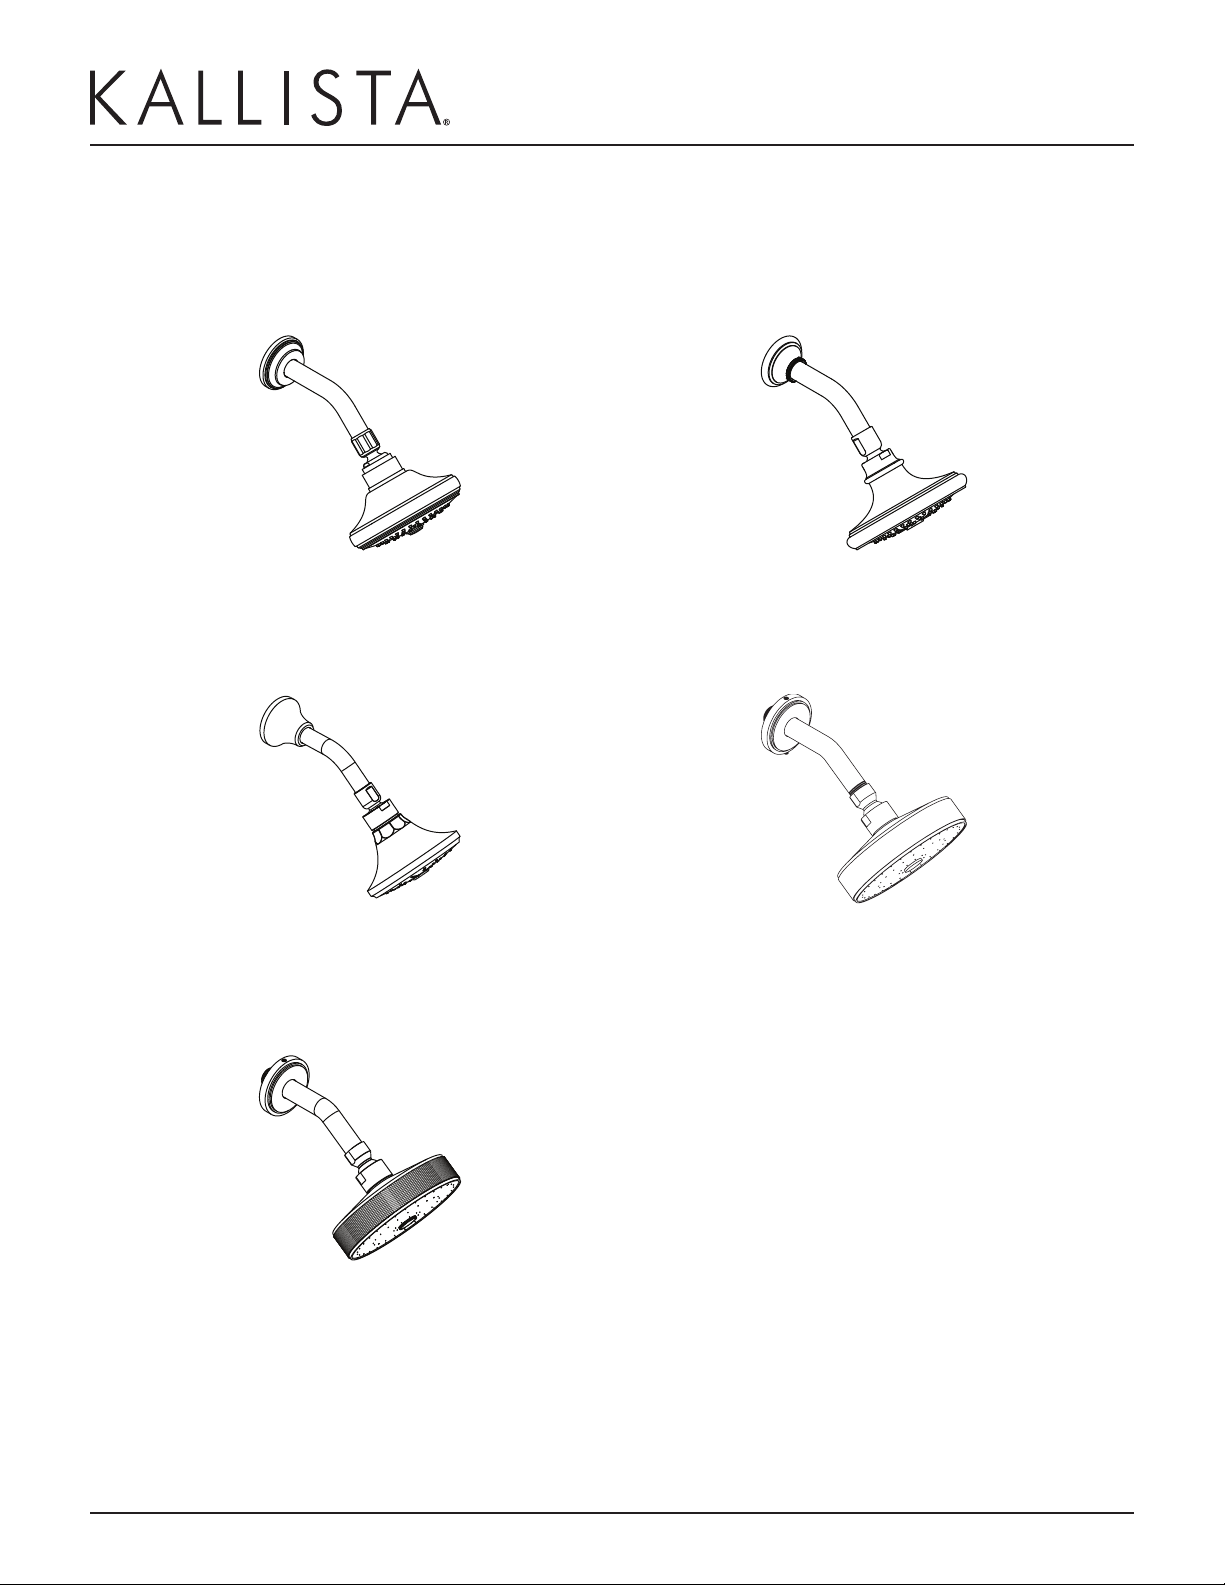
Wall Mount Showerhead with Arm
P23171, P23471
P21458, P21558
P24671, P24871
P21479, P21679
1096748_2_D
1 of 3
P21470, P21670
Questions? Problems? For additional assistance, please contact Kallista’s Customer
Service Department at 1-888-4KALLISTA (1-888-452-5547) or FAX 1-888-272-3094.
Wall Mount Showerhead with Arm
INSTALLATION INSTRUCTIONS
THANK YOU FOR CHOOSING KALLISTA
We appreciate your commitment to Kallista quality products. Please take a moment to review this manual
before you install your Kallista product. If you encounter any installation or performance problems, please do
not hesitate to contact us at the phone number listed at the bottom of the page.
BEFORE YOU BEGIN
Choose an automatic compensating valve with the appropriate minimum ow rating, to assure your valve
will provide safety at the lowest ow rates. For a showerhead or handshower that has a maximum ow rate
of 2.0 (7.6) gpm (L/min) and a minimum ow rate of 1.6 (6.1) gpm (L/min) use with automatic compensating
valves rated at 1.6 (6.1) gpm (L/min) (or less).
Observe all local plumbing and building codes.
Shut off the main water supply.
The nished wall or bath/shower unit must be installed prior to installing this trim.
The appearance of your product may differ from what is shown in these instructions, however, the
installation procedure is the same.
Kallista reserves the right to make revisions in the design of products without notice, as specied in the
Price Book.
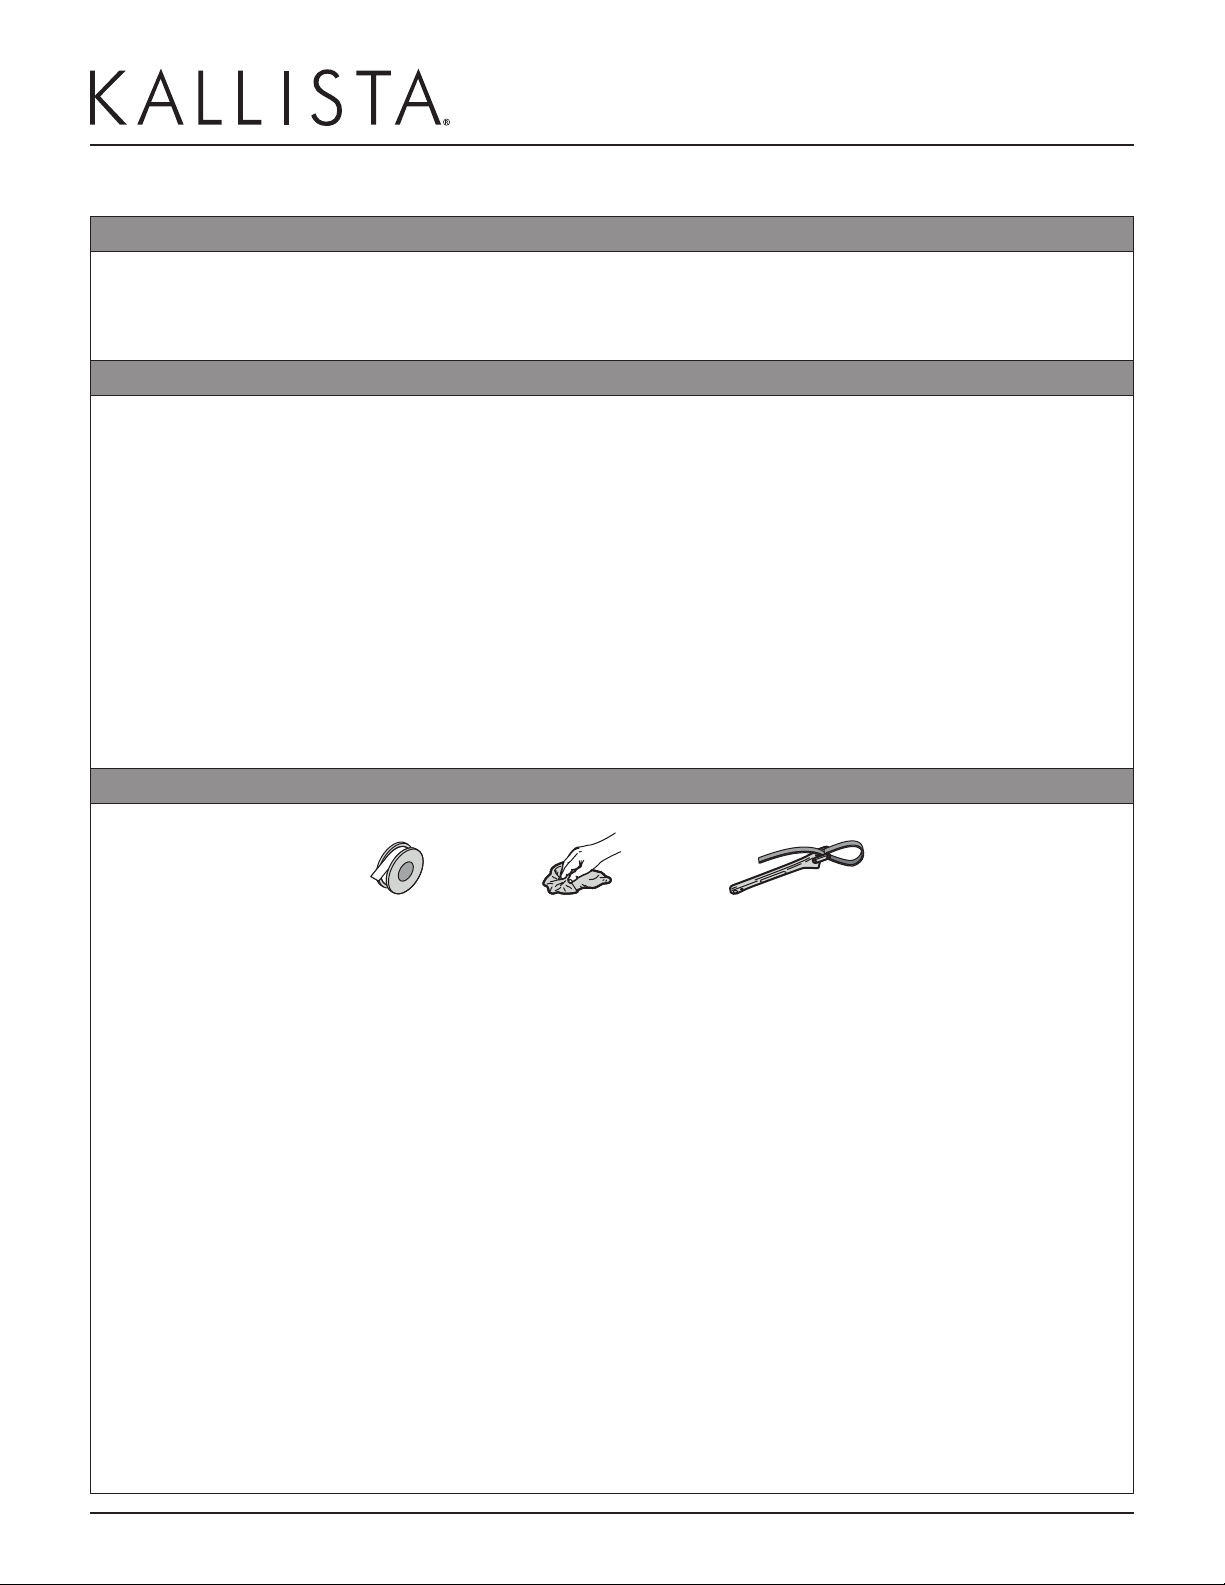
TOOLS AND MATERIALS
Rags
Strap WrenchSealant Tape
1096748_2_D
2 of 3
Questions? Problems? For additional assistance, please contact Kallista’s Customer
Service Department at 1-888-4KALLISTA (1-888-452-5547) or FAX 1-888-272-3094.
 Loading...