

Kajeet SmartBus™ 900
Quick Start Guide
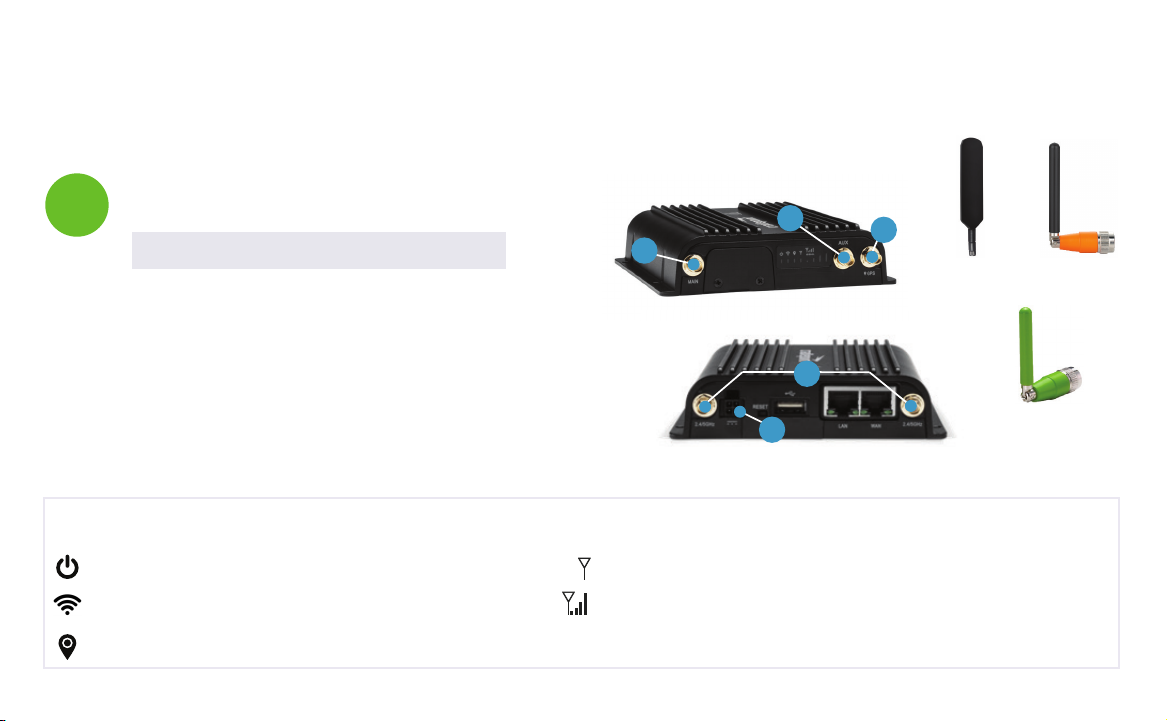
Setting Up the Router
1
NOTE: All SIM cards are pre-installed.
A. Screw in paddle antenna (A) to the MAIN port.
B. Screw in second paddle antenna (B) to the AUX port.
C. Screw in the GPS antenna (C) to the GPS port (if purchased).
D. Screw in two Wi-Fi antennas (D) to the 2.4/5Ghz ports.
E. Plug either the DC Power Supply cord or the AC Power
Supply cord in the 4-pin square (details on the back).
Router LED Light Explanation
Power: Green = Powered on Modem: Solid Green = Active Connection
Wi-Fi: Green = On and operating normally Signal Strength: Blue = 4 solid bars is the strongest signal
GPS: Blue = GPS locator is on
A
B
D
E
C
Paddle Antenna
(A & B)
GPS Antenna
(C)
Wi-Fi Antenna
(D)
Power Options
2
Connecting to Wi-Fi
3
DC Power Supply
NOTE: If your vehicle does not have a vehicle adapter,
use the AC Power Supply cord.
Plug the cord in to the 4-pin square. Plug the opposite
end into the vehicle adapter. Turn the bus on to power
on the router.
AC Power Supply
NOTE: This is for use in any location with an outlet.
Plug the cord in to the 4-pin square. Plug the opposite
end into an outlet. The router will power on.
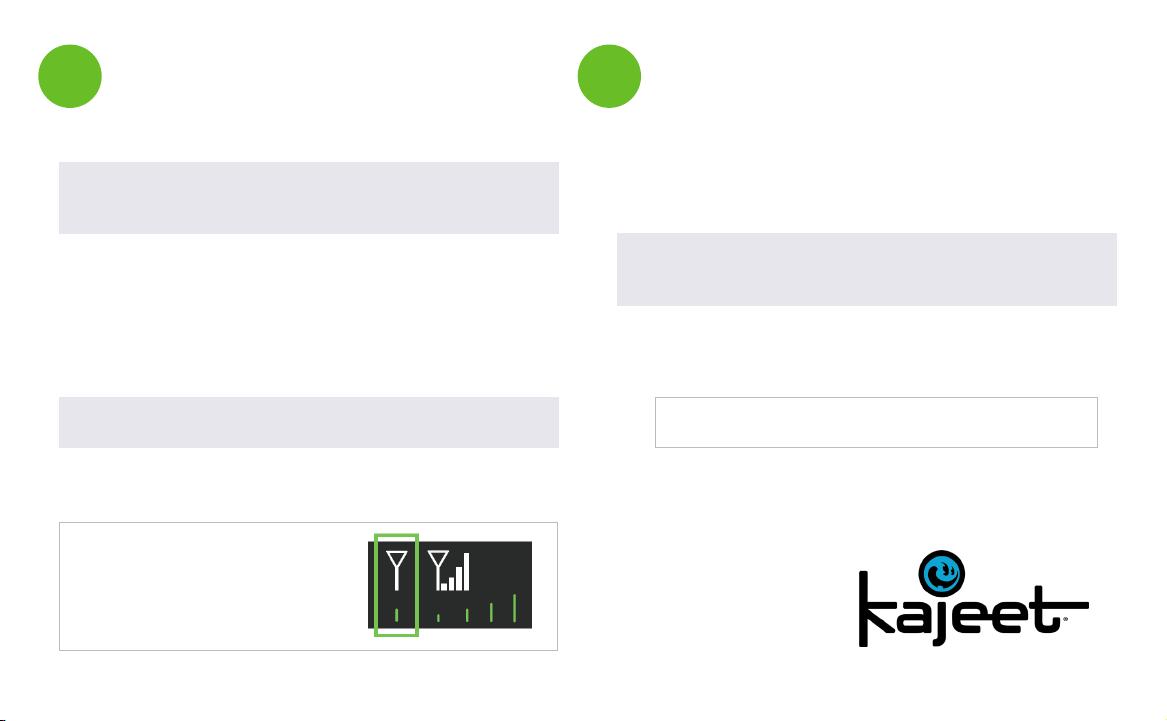
NOTE: The Modem LED must
be solid green to indicate
active Internet connection.
TIP: The device will turn on as soon as it is plugged into
a power source. The router may take up to 3 minutes to
power up before your students can connect.
NOTE: If you requested a custom SmartBus
configuration, you will use those details to connect.
If you did not request a custom configuration, the login
information is:
SSID: Kajeet SmartBus Password: smartbus
Need the admin password? Please contact
Kajeet Support at https://support.kajeet.com.
www.kajeet.com
180719
 Loading...