

Kaito KA1102 User Manual

INDEX
POWER SOURCES........................................................... 1
OPERATING ON BATTERY............................................... 1
OPERATING ON AC ADAPTOR........................................ 2
POWER INDICATION....................................................... 3
BATTERY CHARGE........................................................... 3
CLOCK FUNCTION..........................................................4
SET THE CLOCK...........................................................4
SELECT TIME MODE......................................................5
MW STEP 9K/10K SELECTION.............................................5
TURN ON / OFF THE UNIT.................................................. 6
POWER ON / OFF........................................................ 6
AUTO TURN ON /OFF ..................................................6
SLEEP......................................................... ...............6
BAND SELECTION.......................................................... .7
METER BAND................................................................. 7
LOCAL / DX SWITCH........................................................7
PAGE FUNCTION............................................................8
TUNING INTO STATIONS................................................... 8
MANUAL TUNING........................................................ 8
AUTO SCAN TUNING.................................................... 9
SPEED CHANGE TUNING............................................ 10
DIRECT FREQUENCY ENTRY......................................... 11
MEMORY SCAN TUNING............................................. 13
PRESET STATIONS...........................................................14
RANDOM PRESET.......................................................14

BAND PRESET.........................................................15
ATS ......................................................................17
COPY FUNCTION.......................................................19
DELETE PRESET STATIONS............................................ 20
RECEIVE SSB & CW.................................................... 21
SET ALARM BY BEEP.................................................... 22
AUTO POWER ON / OFF .......... ................................... 24
SET SLEEP TIME..........................................................26
LOCK FUNCTION.......................................................27
BACK LIGHT FUNCTION
WIDE / NARROW BAND.
...............................................27
.............................................. 28
STEREO / MONO / BASS.............................................. 28
AUTO RESET.............................................................. 28
SIGNAL STRENGTH / FM STEREO....................................29
AUDIO OUTPUT..........................................................29
LISTENING WITH EARPHONES....................................... 30
USING FOLDING STAND.............................................. 30
USING ANTENNA....................................................... 31
CAUTIONS................................................................33
SPECIFICATIONS....................................................... 34
INDEX
1. Slide the battery lid.
2. Insert three AA batteries with
correct polarity as shown in
the compartment.
3. Close the lid of compartment.
OPERATING ON BATTERY
Disconnect external power source before operating on
battery power.
BATTERY REPLACEMENT
1. When the sound becomes weak and distorted, and battery
power indicates , replace batteries immediately,
otherwise will turn to , then the unit will shut off
automatically.
2. All memories (station presets) are permanently stored.
However, when the batteries are removed, the clock reverts
to the default setting of 12:00 and the last beep setting is
cancelled. They need to be reset.
POWER SOURCES
1
2
3
1
BATTERY INSTALLATION
Do not try to recharge dry batteries.
Do not mix old batteries with new ones.
Remove the batteries if the unit will not be used for a
long period of time.
When the unit is not being used for a long period of time,
remove the batteries to avoid damage from battery leakage
and corrosion.
If battery leakage occurs, wipe the battery compartment
with a soft cloth before inserting new batteries.
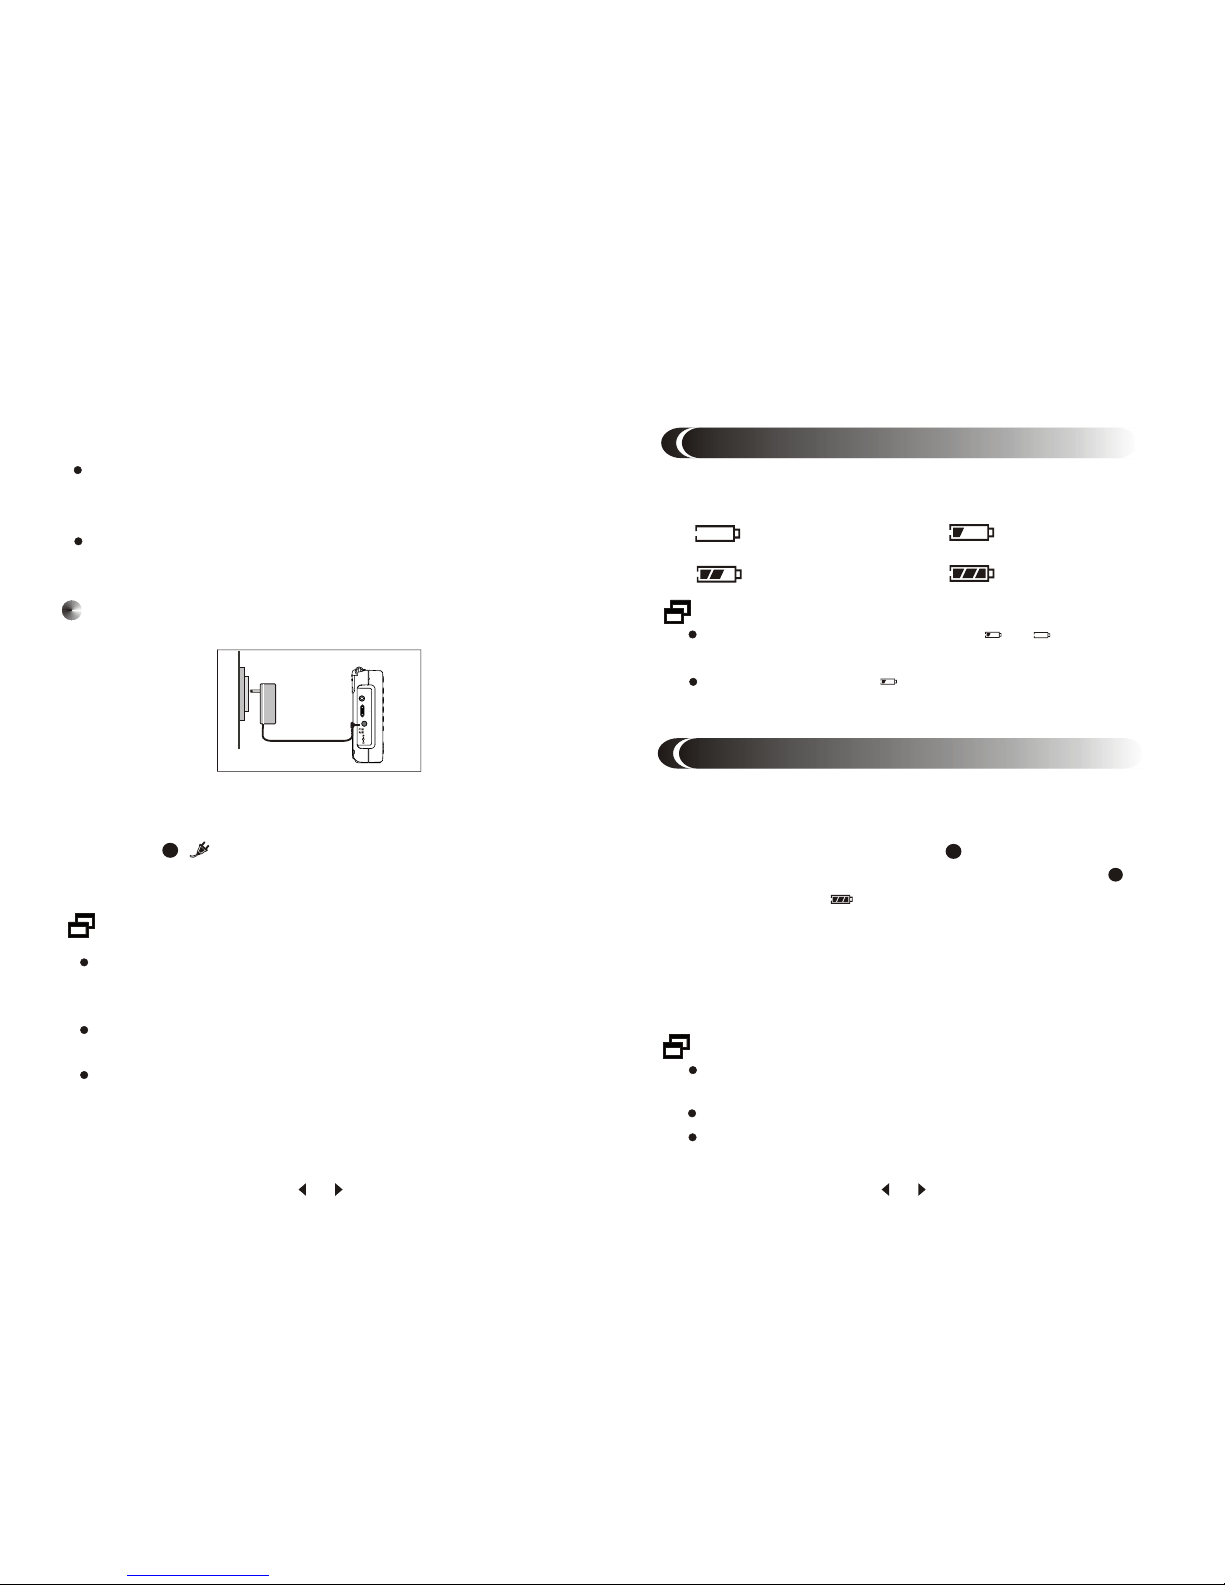
OPERATING ON AC ADAPTOR
1. Plug the adaptor into an 220V AC power outlet.
2. Insert the adaptor5s small connector plug into the DC
JACK , appears in the display.
3. Turn on the unit.
220·ü½»Á÷µç²å×ù
If the AC adaptor is connected, the unit automatically
switches to the AC adaptor power, and installed batteries
are no longer in use.
If the adaptor is connected while the backlight is
illuminated, the illumination will remain on.
Remove the batteries if you want to use AC adaptor for
a long period of time.
23
2
Left Side
The battery power is divided into 4 levels.
Full
Medium
Exhausted, auto shut off
Lower
POWER INDICATION
BATTERY CHARGE
When battery power indicates from to , the unit will
shut off automatically.
While the unit is on, if appears in the display when using
rechargeable batteries, batteries need to be charged.
3
1. Install three AA rechargeable batteries with correct polarity.
2. onnect the
other side securely to DC Jack .
Plug the adaptor into an 220V AC power outlet, c
23
3. With the radio turned off, press the CHARGE button , the
power indicator will flash for 4 seconds. Press number
button 1..9 to select charging hours according to battery
capacity in flashing time, otherwise the unit will exit from
charge mode.
4. The charging time indicates in the display. When charging has
been completed, the unit stops charging automatically.
5
If charge time is not been set, the unit will exit from the charge
mode.
Keep the unit off when charging.
Battery charge will be terminated once the unit turns on.
4
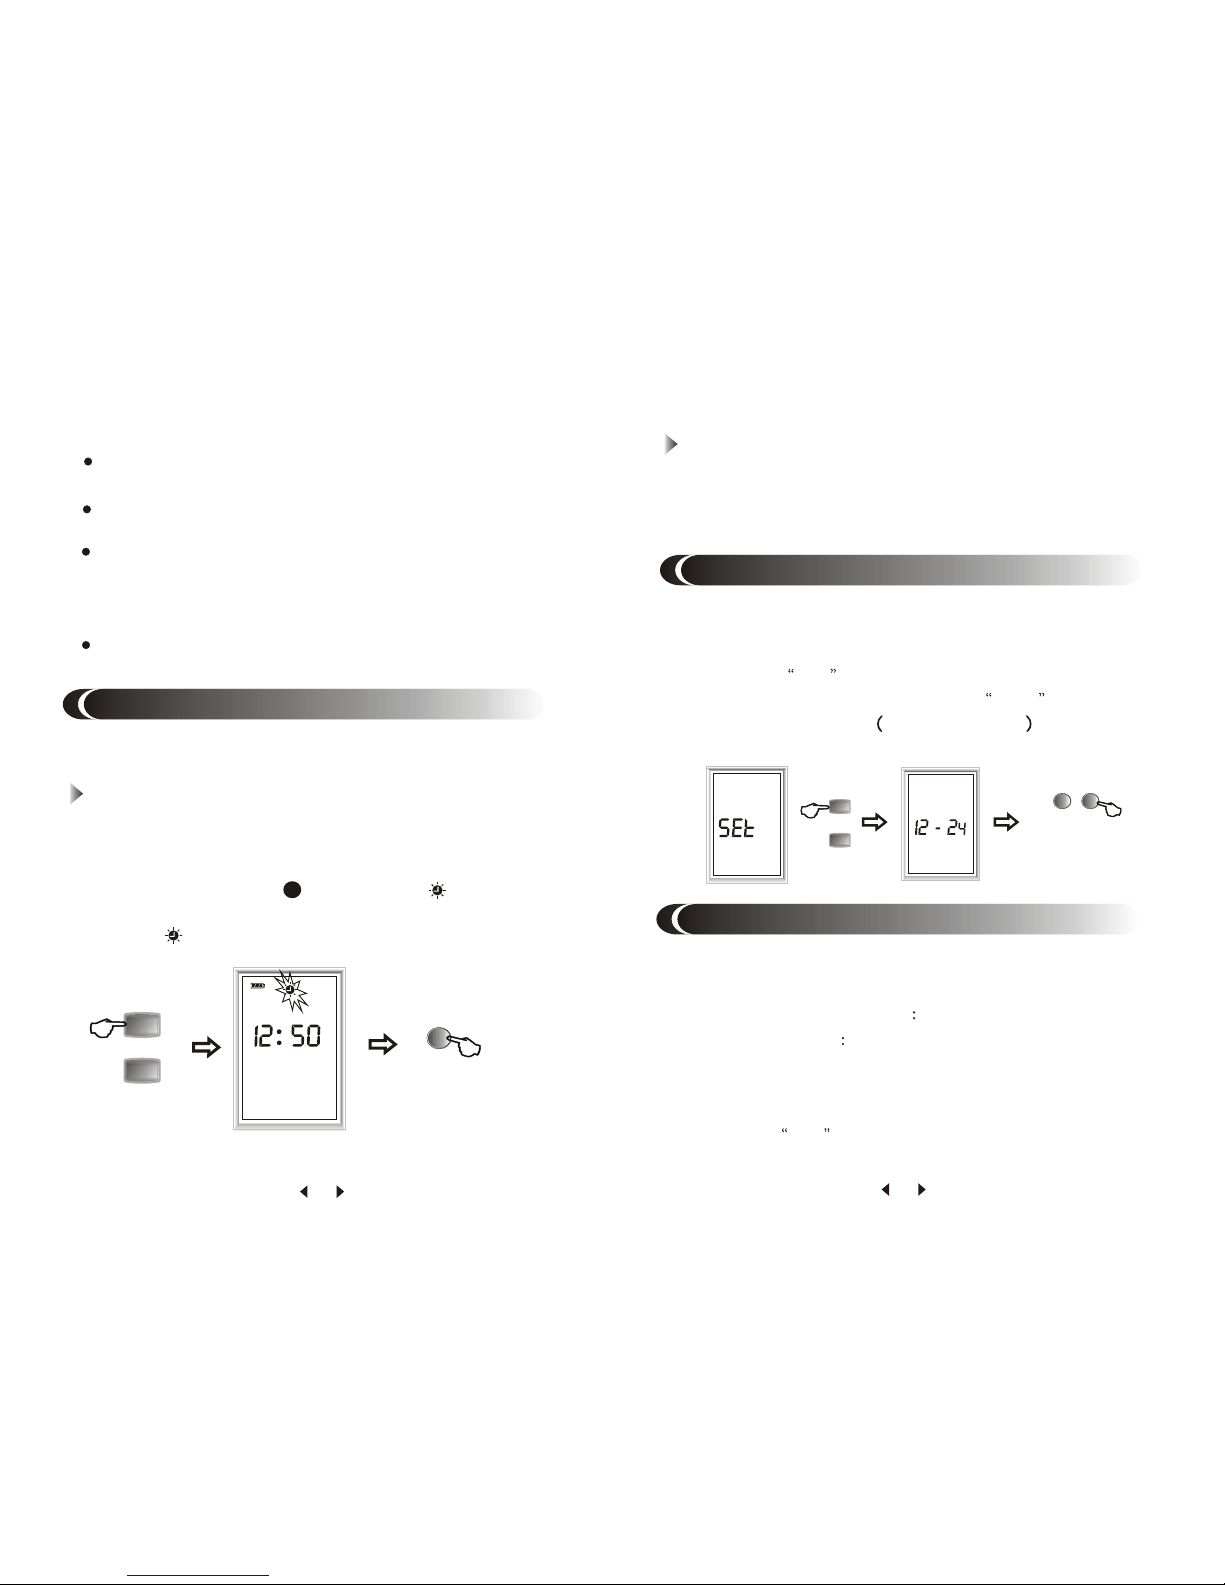
CLOCK FUNCTION
The unit has two clock modes (12H/24H) for user to select.
The default time of the unit is 12:00. Set the clock to the current
time.
1. If the unit is turned on, press POWER button to turn it off.
2. Press ENTER button twice, indicator flashes for six
seconds.
3. While is flashing, press number button to set current time.
SET THE CLOCK
ENTER
20
button 0~9
6
ENTER
+
CLOCK FUNCTION
The unit will adjust the current speed automatically during
charging.
Use NiMH batteries, and do not charge them for more than
seven hours.
When using new rechargeable batteries or those which have
not been used for a long time, charge them fully, then use them
until they have completely run down. Repeat this cycle two
more times, then those batteries can be used normally.
Do not leave fully charged batteries unused for a long time.
CHECK CURRENT TIME
1. When the unit is off, current time indicates in the display.
2. When the unit is on, hold down EXIT button about 0.5 second
to display current time 3 seconds.
5
SELECT TIME MODE
9
Press button 1 or 2
1. Disconnect the AC adaptor, remove the batteries, till nothing
appears in the display.
2. About 30 seconds later, connect the AC adaptor or insert
batteries: SET appears in the display.
3. Quickly press ENTER button twice, 12-24 appears in the
display for 3 seconds. Please see below .
4. Press number button 1 or 2 to select 12H or 24H time mode.
1/2
ENTER
ENTER
+
To meet your listening requirement in different countries, MW
step can be selected.
North and South America 10KHz
Other Countries 9KHz
MW STEP 9K/10K SELECTION
1. Disconnect the AC adaptor, remove the batteries, till nothing
appears in the display.
2. About 30 seconds later, connect the AC adaptor or insert
batteries, SET appears in the display.
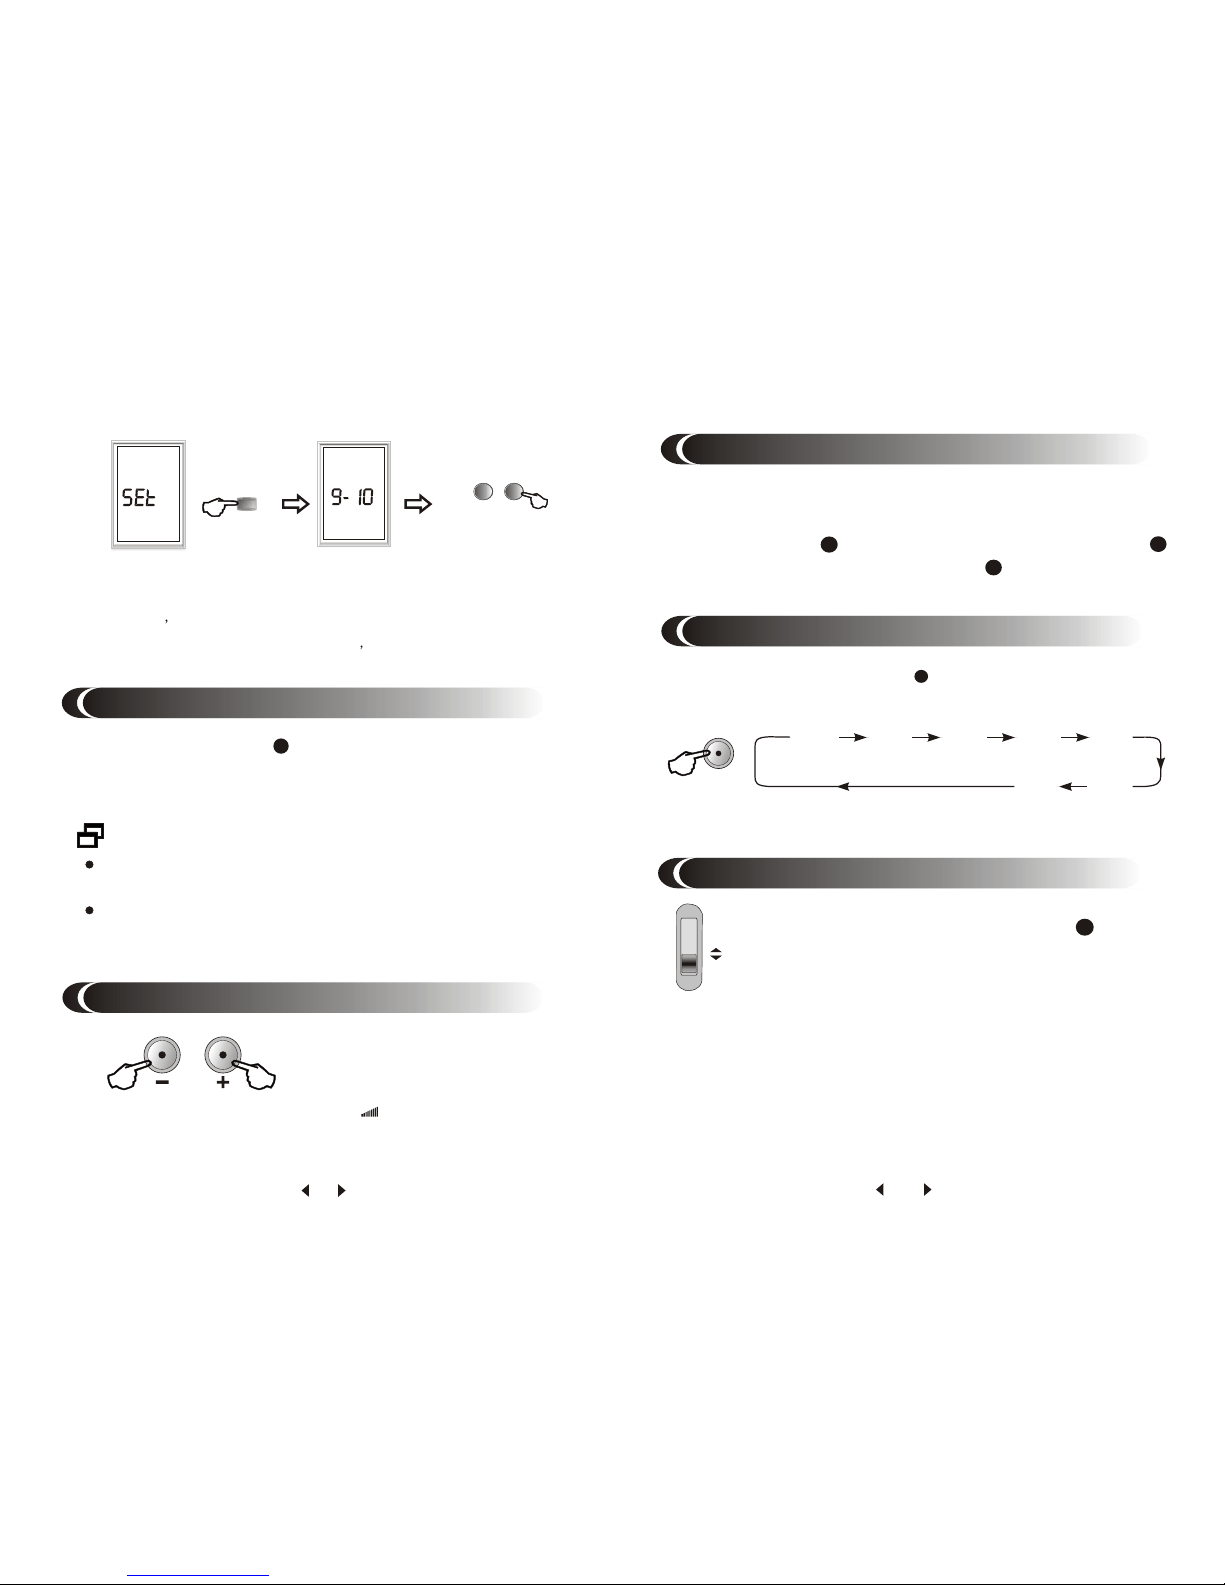
6
1
9
ENTER
3. Press ENTER button, 9-10 appears in the display for three
seconds, 9 indicates the medium wave AM channel spacing
is 9KHz while 10 means it is 10KHz.
4. Press number 1 to select 9K step press number 2 to select
10K step.
Press button 1 or 2
/
2
Press POWER button to turn on the unit manually, the
unit will receive the last channel you ever heard. After
listening, press POWER button again to turn it off.
1
TURN ON / OFF THE RADIO
If AUTO TURN ON FUNCTION is activated, the unit will
automatically turn on at presetting time.
You can set SLEEP time after setting auto turn on time or
turning on the unit. The unit will automatically turn off when
the set time reaches.
Volume is controlled by
press VOL+ or VOLbutton. Volume indicator
indicates the volume
level.
DIGITAL VOLUME CONTROL
Increase
Decrease
VOL
7
BAND SELECTION
Press FM button to select FM band; Press MW button
to select MW band. Press SW button to select SW band.
METER BAND
In SW or FM band, set LOCAL/DX switch to a proper
position can increase reception.
In general, set the switch in DX position unless there is a
strong interference or when you are listening to local stations.
LOCAL / DX SWITCH
Press METER BAND button repeatedly to select your
desired meter band.
49M
41M 31M 25M 22M
Meter Band Circulation
14
DX LOCAL
22
19M
16M
FM, MW, SW band can be select by pressing corresponding
band button.
16
15
14
SW/METER
5
8
1. Press POWER button to turn on the unit.
2. Select desired band.
3. Set scan method to STEP by press SCAN button till
"STEP" appears in the display.
4. Press SCAN+ or SCAN- button repeatedly to tune into the
desired station.
Manual Tuning
ÊÖ¶¯ËÑË÷
TUNING INTO A STATION
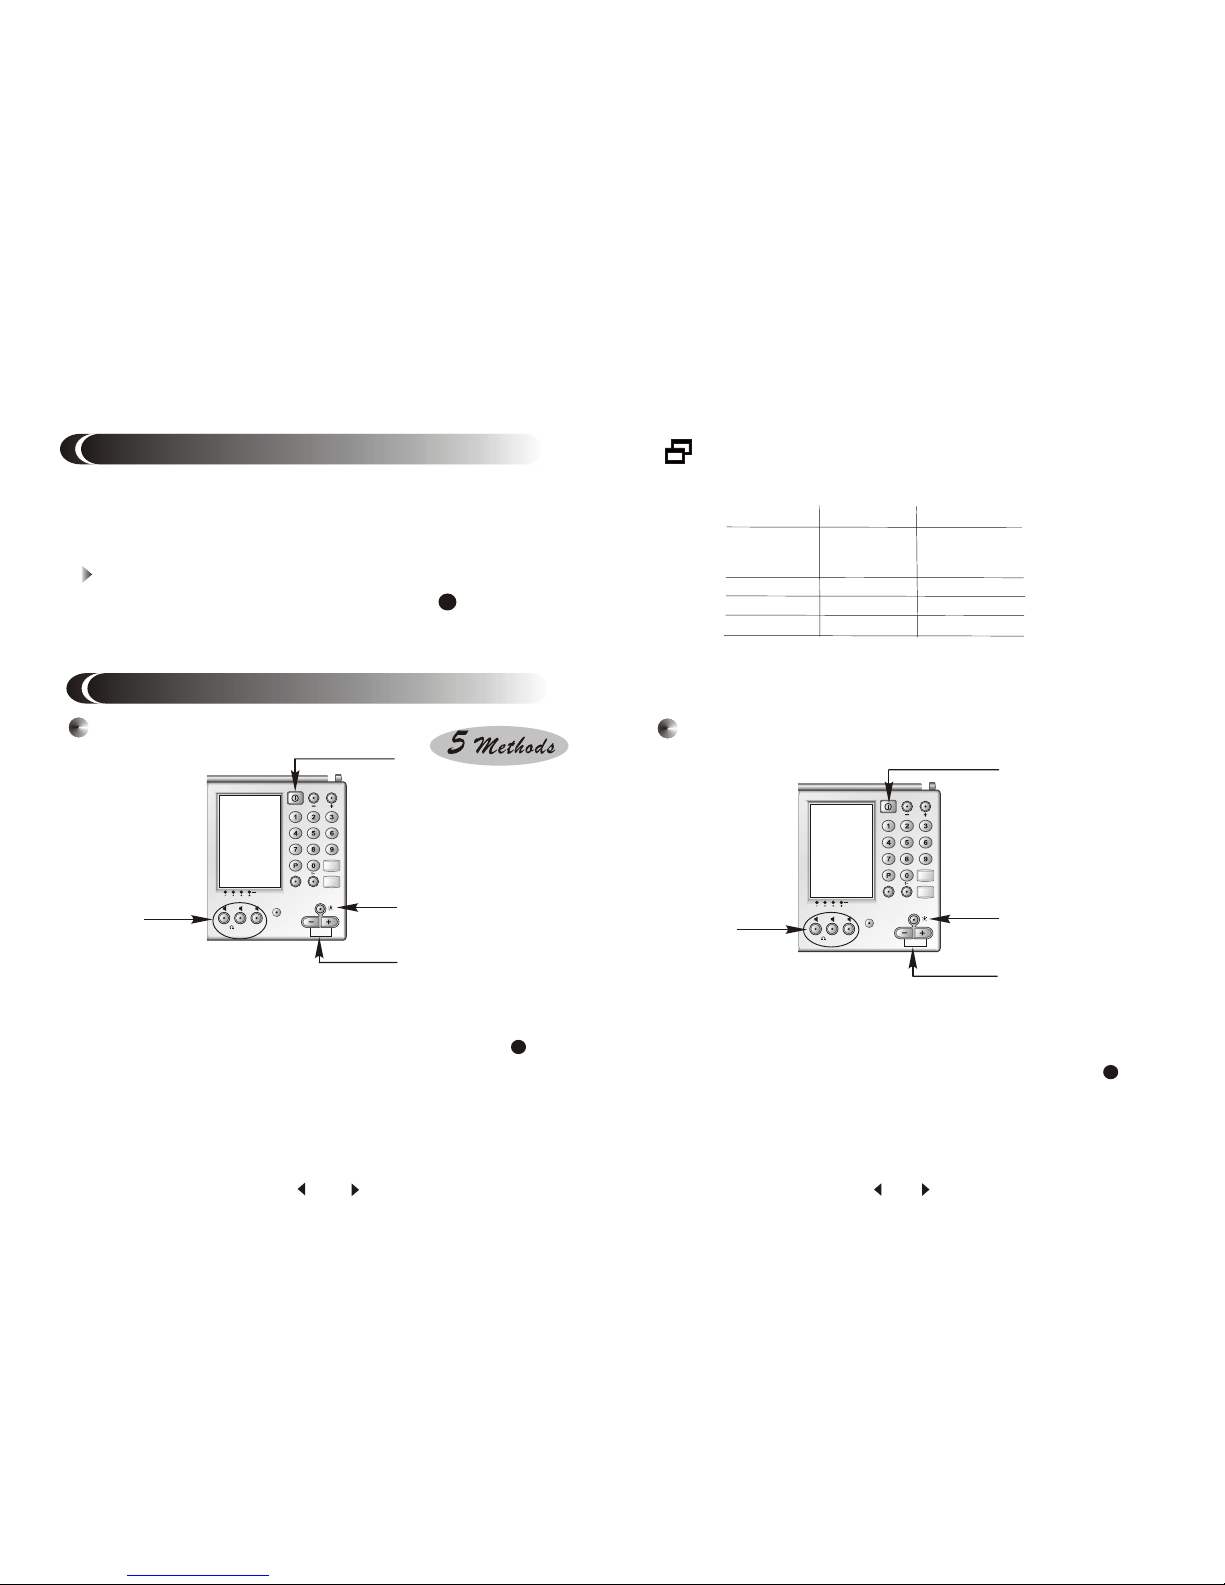
PAGE
9
There are total 10 pages for you to store stations. Each page
can store 19 stations. Stations can be random stored on page
1-6. Page 7-9 are assigned to different band. Page 0 is edit page.
Select Page
1. When the unit is on, press PAGE button , page indicator
P will flash for 3 seconds.
2. Press your desired page number while P is flashing.
123
DEL
CHARGE
SCAN
AM:W/N
POWER
VOL
S
.
STRENGTH
FM ST
FM:ST/MONO
ENTER
EXIT
M/LOCK
FM/BASS
MW
SW/METER
SSB/190MEMORY/ATS
ÊÖ¶¯ËÑË÷
1.
3.
4.
2.
Auto Scan Tuning
1. Press POWER button to turn on the unit.
2. Select desired band, select page from 1-6.
3. Set scan method to STEP by press SCAN button till
" STEP" appears in the display.
.
9
9
The frequency changes in the channel steps shown
below each time the button is pressed.
Manual scan is suitable for weak signal stations.
Page
Band
Step
0 - 6
FM
7
FM
10K
8
MW
SW
9
SW
MW
50K
5K
9K / 10K
1K
1K
123
DEL
CHARGE
SCAN
AM:W/N
POWER
VOL
S
.
STRENGTH
FM ST
FM:ST/MONO
ENTER
EXIT
M/LOCK
FM/BASS
MW
SW/METER
SSB/190MEMORY/ATS
1.
3.
4.
2.
 Loading...