

Page 1
ENGLISH
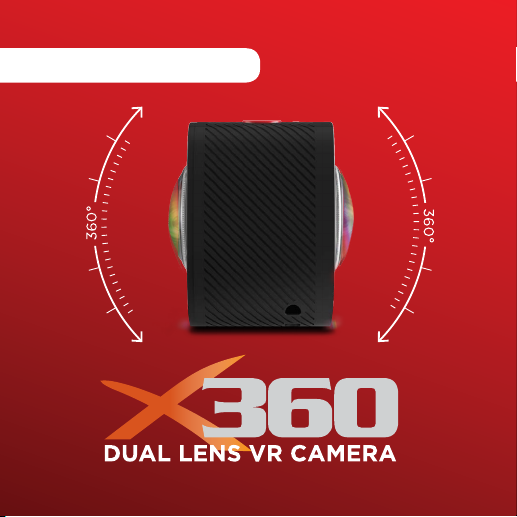
QUICK START GUIDE
Page 2

Getting Started
Hold the POWER button for 3
1
second to turn the X360 ON.
Video Mode is selected by default.
2
Press the Record Button to start
recording.
To toggle between Video and Photo
3
Mode, click the Power button.
Note: Before using the X360 for the first time it is recommended that you
fully charge the battery. It takes approximately 5 hours to fully charge.
X360 | Quick Start Guide
Page 3

Product Diagram
Power Button (Mode)
A
Power Indicator
B
Lens
C
Record Button (OK Button)
D
A B
FE
X360 | Quick Start Guide
C
C
Top View
Wi-Fi Button (Menu, Scroll)
E
Wi-Fi Indicator
F
Display
G
D
G
Page 4

Product Diagram
Micro USB
H
Micro SD card
I
Reset Button
J
J
IH
Right View
X360 | Quick Start Guide
Front View
Page 5

Format your Memory Card
Insert the Micro SD Card*
A Class-6 or Class-10 Micro SD Card up to 32GB is required. The X360
will not support a Micro SD card below class 6. There is only one correct
way to insert the Micro SD Card into the slot. Do not force the card into
the card slot, as it may damage both the X360 and the Micro SD Card.
It is recommended that you format new cards or cards that have been
previously used in other devices. To format the Micro SD card:
• Turn the X360 on, enter the Setup menu by holding
the Wi-Fi button.
• Use the Wi-Fi button to Scroll down and select the Format
option using the Record button.
• Scroll using the Wi-Fi button, select Yes and press Record
button.
• Hold the Wi-Fi button to exit the menu.
NOTE: Formatting the card will permanently delete contents of the card. Be sure to
save any important files.
* Micro SD cards are also called TF cards.
X360 | Quick Start Guide
Page 6

Upload to YouTube & Facebook
YouTube and Facebook support uploading and playback of 360°
interactive videos. In order to upload a 360° video file, you’ll need to
convert the spherical video file to panoramic video through the X360
Video Processing Tool application.
.
X360 | Quick Start Guide
 Loading...