

Page 1
BEDIENUNGSANWEISUNG
mit Montageanweisungen
Instructions for use and installation instructions
Instructions d’ utilisation et avis de montage
Gebruiksaanwijzing en montagehandleiding
Istruzioni di l’uso e di montaggio
Instrucciones de Uso e Instrucciones de Montaje
Instruções de uso com indicações para montagem
KC 960.30
07 21 53 FB
Page 2
For your information
Please read the information in this leaflet carefully. It contains important instructions for the safety, installation, use and maintenance of your cooker.
The cooker is to be used only for preparation of food in the home.
Please keep the instructions for use carefully in a safe place.
Conditions of guarantee
The conditions of guarantee applicable for this product are subjeci to those
published by the representative in the relevant country.
Details regarding same may be obtained from the dealer from whom the
appliance was purchased. For claims under guarantee the sales receipt
must be produced.
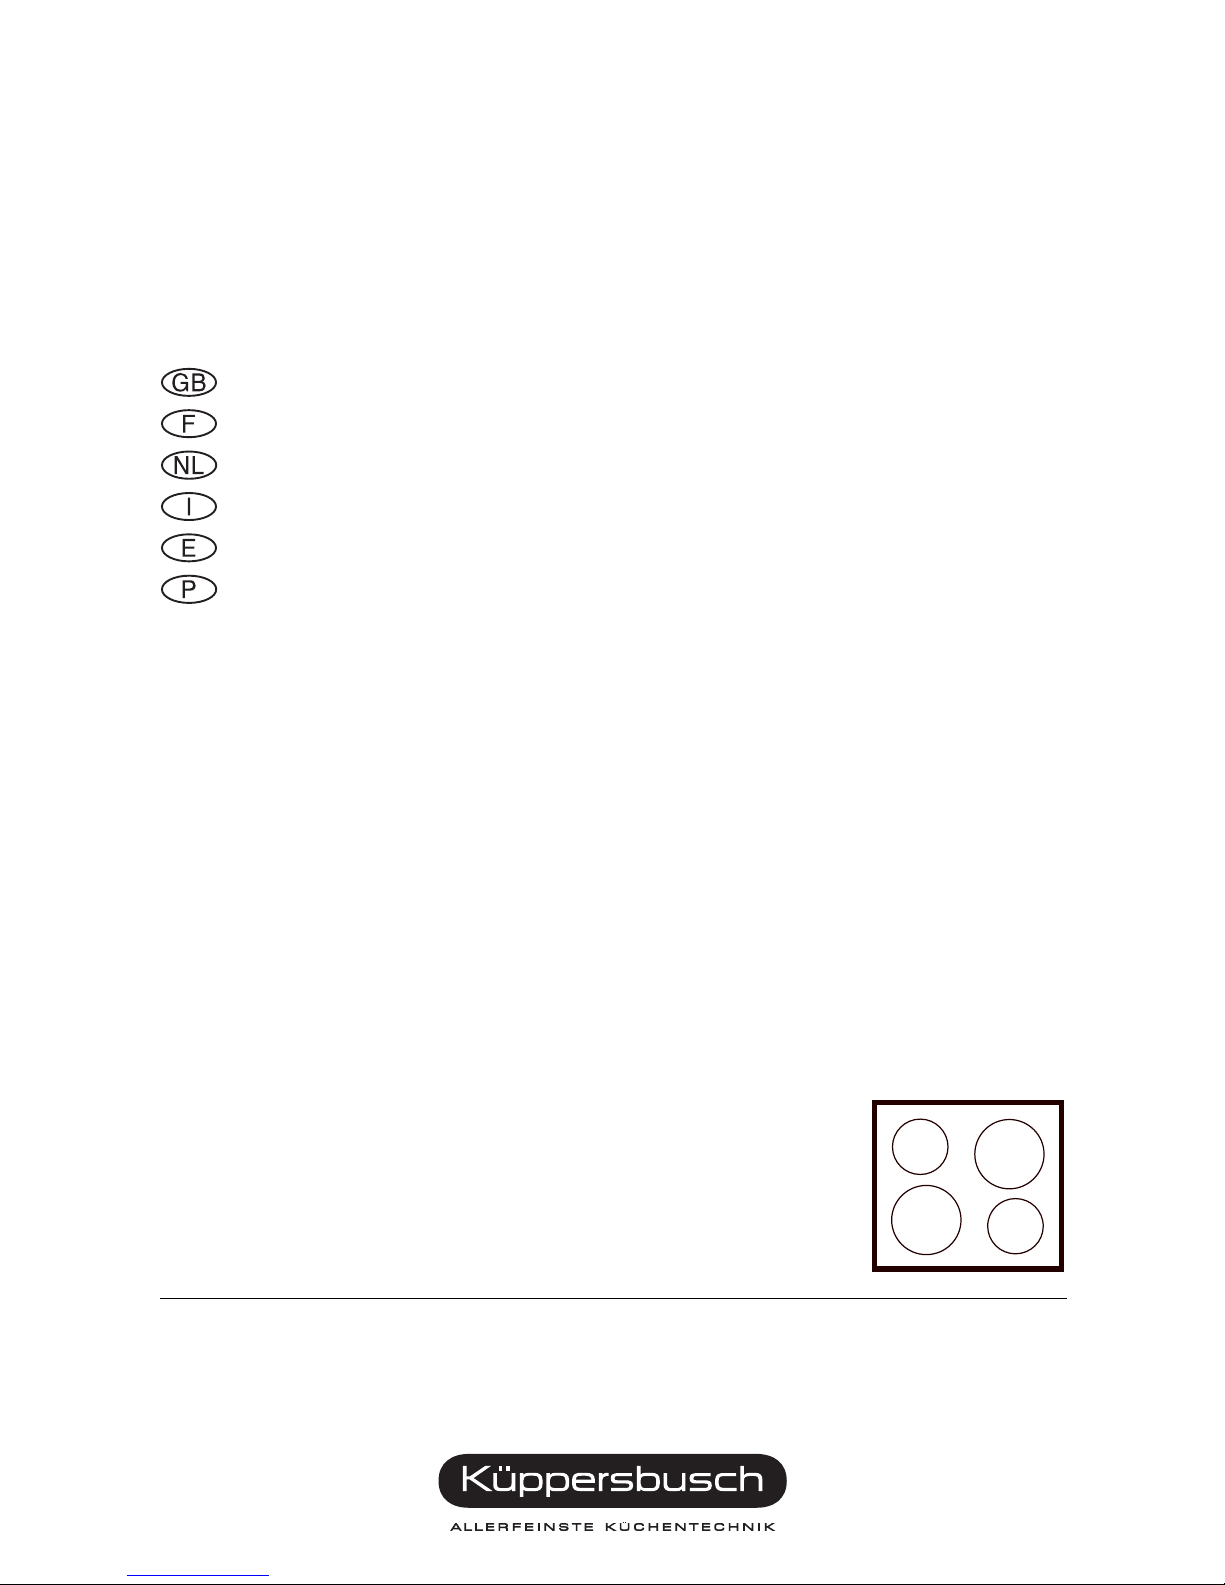
Your cooker at a glance
Available accessories:
High-grade steel- slide-out grid acc.- no. 439
High-grade steel- drawer with railing acc.- no. 451
High-grade steel- drawer with front cover acc.- no. 452
High-grade steel- revolving doors with bottoms acc.- no. 442
High-grade steel- front cover acc.- no. 454
KC 960.30
Contents
Safety instructions. . . . . . . . . . . . . . . . . . 9
for connecting up and functioning
for the cooking surface
Before first use . . . . . . . . . . . . . . . . . . . 9
Using the glass ceramic cooking area . . . . . 9
Switching the cooking zones on and off
Dual circuit cooking zone
Heating indicators
Which are the best pots and pans?
Cleaning and care. . . . . . . . . . . . . . . . . 10
Troubleshooting . . . . . . . . . . . . . . . . . . 10
Important note
Installation instructions for fitter . . . . . . . . 11
Electrics
Installing in a fitted kitchen
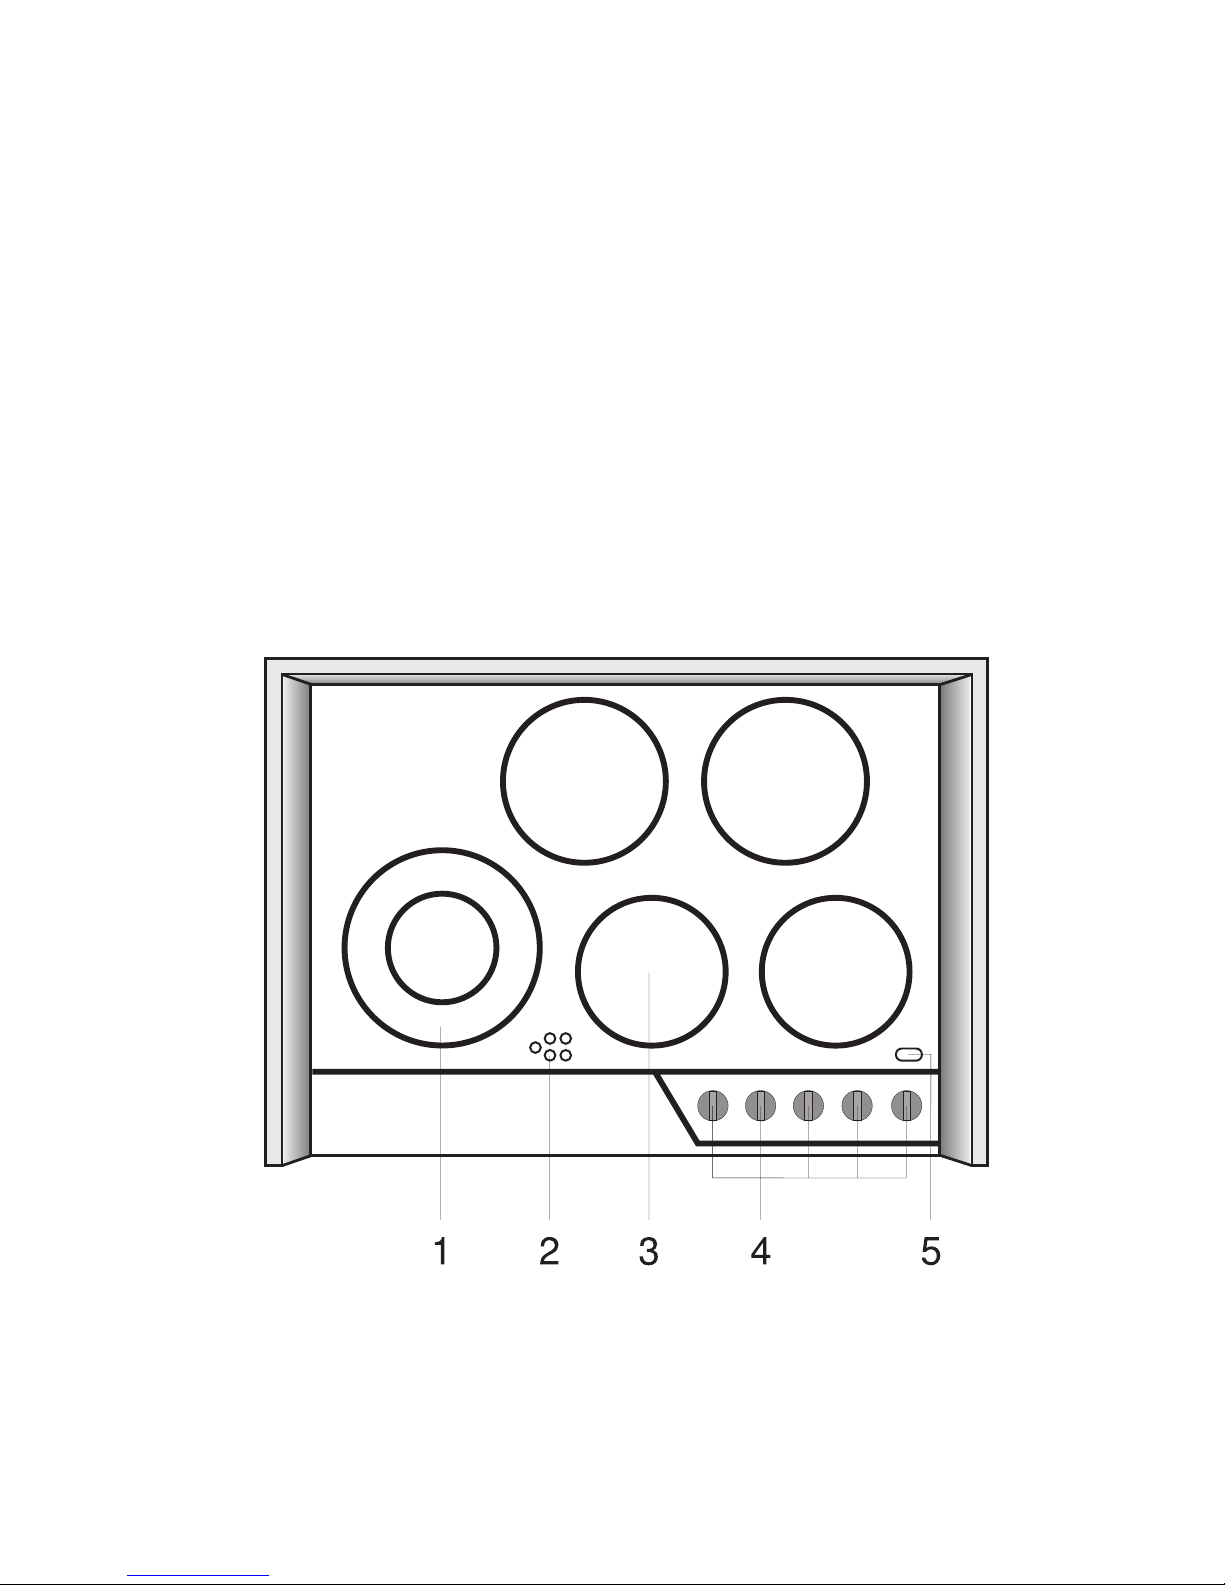
1 Dual circuit cooking zone
2 Heating indicators for cooking zones
3 Normal cooking zone
4 Cooking zone temperature settings
5 Function indicator
KC 960.30
8 KC 960.30
Page 3

Safety instructions
for connecting up and functioning
WARNING: The application must be earthed!
The appliance may only be connected and repaired by a qualified
electrician according to valid safety regulations. Work carried out incorrectly places your safety at risk.
When carrying out repairs and replacing light bulbs, the appliance must
be disconnected from the mains (switch off the fuse).
The surface of the glass ceramic cooking area is hot when in operation.
Always keep children away!
for the cooking surface
Overheated fats and oils may spontaneously ignite. Food involving the
use of fats and oils, e.g. chipped potatoes, may only be cooked under
supervision. Never extinguish ignited fats and oils with water! Put the lid
on, turn off the cooking zone and remove the pan from the hot hob.
If cracks, fractures or any other defects appear in your glass ceramic
cooking area, do not use your cooker. Disconnect the fuse.
Connection leads of electrical appliances may not be placed on the hot
glass ceramic cooking area.
Do not put inflammable objects or objects that easily go out of shape directly underneath the cooking area, for example into a drawer.
The glass-ceramic cooking area should not be used as a storage area.
Do not use the cooking zones without cookware.
Never place any aluminium foil or plastics on the cooking area. All objects that melt, like plastics or foil and especially sugar and food with a
high sugar content are to be kept away from the hot cooking zone. In order to avoid damaging, sugar, while still hot, should immediately be scraped off the cooking area with a scraper.
Avoid repeated burning of stains and boiling over.
Chalk deposits may damage the cooking area.
Please read through the cleaning and care instructions.
Before first use
Remove excess materials and packaging. Before preparing food for the first
time, clean the glass ceramic cooking area with a damp cloth and a little
detergent. The cooking area is insensitive to temperatures shocks (cold and
hot) and also extremely robust.
Avoid dropping sharp objects onto the cooking area.
Pointed objects falling onto your cooking area might break it.
When switching on the cooking zones you might hear a buzzing noise
coming from the heating. This is due to technical reasons and does not
influence quality or functioning of your cooking area.
KC 960.30
Using the glass ceramic cooking area
Please note the safety instructions!
Switching the cooking zones on and off
Each cooking zone has its own control. Nine cooking settings are marked
on the cooking zone controls, but you can also choose finer intermediate
settings. As far as possible, start cooking at the highest setting and continue at a smaller setting.
The operating indicator lights up, as soon as a cooking zone is switched on.
Setting suitable for
0
switching off
1-3
warming
keeping warm
swelling
defrosting
4-5
steaming
stewing
boiling
6-8
frying
deep-fat frying
9
heating large quantities
Dual circuit cooking zone
As a standard rule, the smaller cooking zone diameter is heated.
Change the control to the outer cooking zone circuit for frying pans or larger saucepans.
Turn the cooking zone control to the
right
as far as it will go.
Then set it to the required cooking setting.
Control to “0”:
Returns to the smaller diameter.
Heating indicators
The indicators are on for as long as the cooking zones are still very hot –,
even after the cooking zones have been switched off.
Caution! The indicator can be defect (defect light bulb). You will not not be
warned when the cooking zones are hot. Have the light bulb replaced immediately.
KC 960.30
KC 960.30 9
Page 4

Which are the best pots and pans?
You can save time and power by choosing the best pans.
Use pots and pans with flat, smooth bottoms.
Uneven pan bottoms prolong the boost times at the start of cooking and increase the power requirement. Rough pan bottoms scratch the glass-ceramic cooking area when shifted about. When using fireproof glass or
porcelain cookware, please follow the manufacturer‘s instructions.
Choose a pan with a diameter at least as large as the cooking area.
You will thus save power and cooking time and at the same time avoid an
overheating of the cooking area.
Wherever possible, always place a lid on the pan.
You will save a lot of energy by cooking in a closed pan. Liquids and foods
will only boil over if the temperature is too high. For the cooking zones, you
can precisely set the temperature required. With a little practice, you will
readily make the correct choice of cooking settings so that nothing boils
over even when a lid is in place.
Cleaning and care
Clean the cooking surface after every
use. Never use sharp or abrasive agents!
Clean with a damp cloth and a little washing-up liquid after each use. Wipe dry.
For most soiling, that is sufficient.
Remove incrustations and boiled over
food from the glass ceramic cooking
area with a grass scraper. Remove sugar and melted plastic immediately while
the cooking area is still hot.
You can treat stubborn stains with a
commercially available cleaner. Then liberally wash with water, and wipe dry
with a cloth.
Care for your glass-ceramic cooking area once a week.
Regular care builds up a protective layer and also eases day to day cleaning. Please follow the instructions of the cleaner or cleanser manufacturer concerned.
KC 960.30
Troubleshooting
Repairs may only be carried out by a qualified tecnician!
Check first whether you have made a mistake in operating the controls. You
can rectify some faults yourself, or call the service centre to carry out the repairs, as indicated.
Fault Cause Remedy
Function indicator
does not work.
Light bulb defect. Call the ser vice centre.
Fuse defect. Check and replace fuse.
Heat indicator does
not work.
Light bulb defect. Call the ser vice centre.
Risk of burning, as there is
no temperature warning.
Not possible to
switch off the appliance.
Electronic component
defect.
Disconnect fuse, call the
service centre.
Cooking zones do not
heat up.
Fuse defect. Check and replace fuse.
Important note
Even during the guarantee period repairs will not be free of charge if due to
incorrect operation or to non-adherence to our instructions given under
"Troubleshooting".
You should always give the data on the rating plate to your service centre in
case you have enquiries or want to order spare parts.
The rating plate is located underneath the hob and on the title page of these instructions.
KC 960.30
10 KC 960.30
Page 5

KC 960.30
Installation instructions
Electrics
WARNING! This appliance must be earthed!
The electrical connection may only be carried out by a
qualified and authorised trained installer.
Statutory regulations and the connection specifications issued by the
local power company must be observed to the letter.
The mains lead cable of your glass-ceramic cooking area must not
come into contact with the oven. Fasten the cable to the wall with cable
clamps.
Safeguard the cooker by means of line-protecting switches, fuses or contactors with at least 3 mm contact opening width.
Switch off the appliance by means of these safety devices before connecting, carrying out repair work or replacing the light bulb.
It must not be possible to touch components which are insulated under
operating conditions.
The mains connection box is located on the back of the cooking centre.
–
Fasten the mains lead.
Cable quality: HQ5RR-F or HQ7RN-F.
–
Carry out the connection
in accordance with the
connection diagram.
Appliance should be earthed, reset or the protection circuit should be
activated according to regulations.
Installation in a fitted kitchen
Be careful during fitting! Do not put or drop edged or pointed tools (screwdriver etc.) on the glass top!
Any cooker hoods or wall cupboards must have a vertical clearance of
at least 650 mm from the hob unit.
The appliance must be installed absolutely horizontally.
The Küppersbusch built-in oven EEB 970 can be fitted underneath the
profi-cooking centre KC 960.30.
The cooker is Y-type design, providing overheating protection for surrounding surfaces (fitted cupboard components). The plastic coating or veneer
must be applied with a heat-resistant adhesive (100 °C). This adhesive prevents the surfaces from warping or working loose.
This appliance can be placed with its back wall and one side wall next to
cupboard or room walls of any height. The other side wall may only be
placed next to a fitted cupboard of the same height at the most.
–
Have you connected the mains lead with the appliance?
–
Using 4.2 x16mm screws, install the supporting rails in horizontal position on the right and on the left onto the cupboard sides according
to measurements.
–
Fit in the appliance.
–
Fasten the appliance onto the supporting rails using 4.2 x 7 mm
srews.
–
Seal the appliance on the back and on the two sides with silicon.
Element 230 V
L 2L 1
2
230 V
L 1
34512
N
1 N
L 2
230 V
230 V
230 V
L 1 L 3
34512
3
L 2 L 2
230 V 230 V
230 V
230 V 230 V
L 1 L 1 L 3
3344551122
N
N
2 N 3 N
KC 960.30 11
 Loading...