

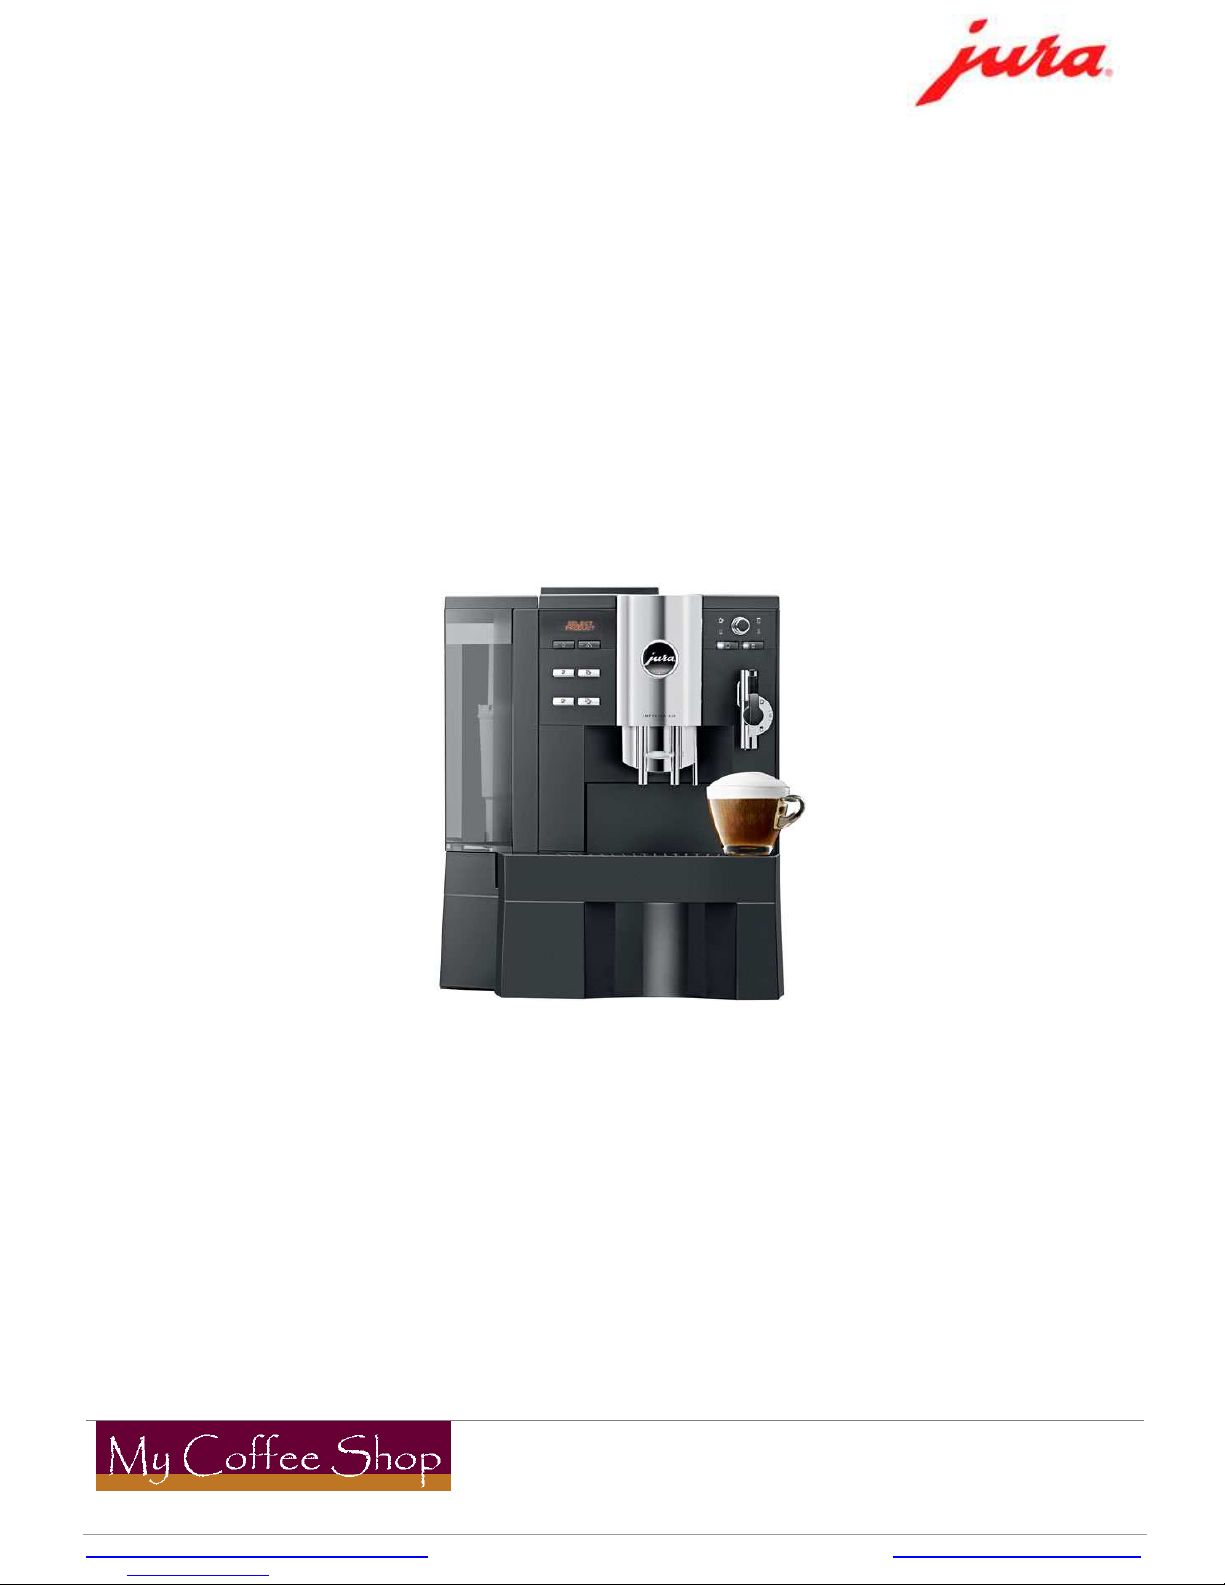
Jura Impressa Xs9 OT Classic Operating & Cleaning Instructions
My Coffee Shop Pty Ltd
ACN 102 850 037
9 Hall St
Hawthorn East VIC 3123
ph: 03 9946 4160
fax: 03 9822 6269
Shop 93,1-5 Harwood Street
Pyrmont NSW 2009
ph: 02 9034 6580
fax: 02 9034 6586
clientservices@mycoffeeshop.com.au 1300 365 487 www.mycoffeeshop.com.au
Jura Impressa Xs9 OT Classic
Operating & cleaning instructions
4
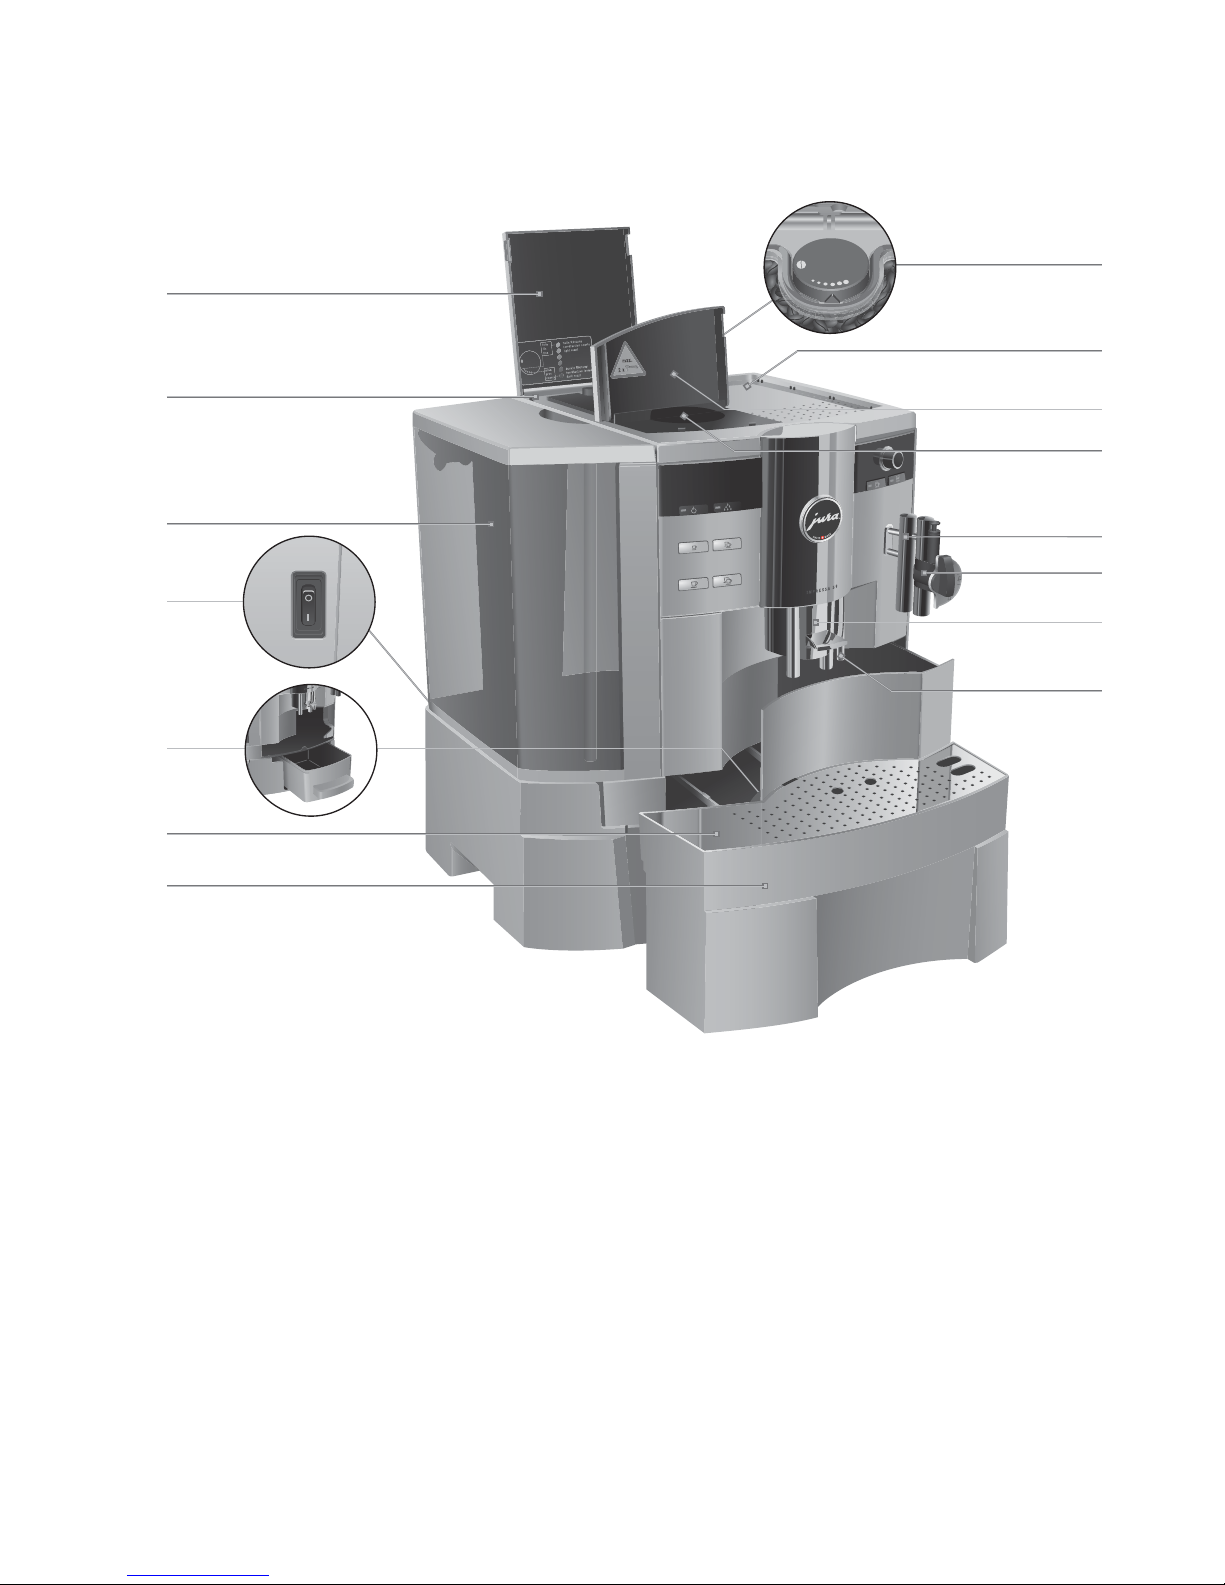
Control elements
Figure: IMPRESSA XS95 One Touch
Control elements
1 Bean container cover
2 Bean container with aroma preservation
cover
3 Water tank with handle
4 Power switch and power cable
(back of machine)
5 Coffee grounds container
6 Cup platform
7 Drip tray
8 Fineness of grind switch
9 Cup tray
10 Cover of filler funnel for pre-ground coffee
11 Filler funnel for pre-ground coffee
12 Connector System
©
for removable frothers
13 Professional Cappuccino Frother
14 Height-adjustable coffee spout
15 Hot water spout
12
1
2
3
13
14
4
8
11
10
15
9
5
6
7

5
Control elements
Front left
1 Display
2 Rotary Switch cover
3 f Rotary switch
Q On/off button
c Maintenance button
i 1 Espresso button
4 2 Espressi button
o 1 Coffee button
d 2 Coffees button
e Coffee à la Carte button
v Pre-ground coffee button
Front right
4 ö Selector switch
5 Professional Cappuccino Frother
6 Easy Cappuccino Frother
a Hot water portion symbol
m Hot water symbol
p Cappuccino button
z Milk portion symbol
n Milk symbol
q Latte Macchiato button
The Connector System
©
permits the use of different frothers. These are available from stockists.
2
3
4
1
5
56
Operating Instructions – Jura Xs9 OT
My Coffee Shop Pty Ltd
ACN 102 850 037
9 Hall St
Hawthorn East VIC 3123
ph: 03 9946 4160
fax: 03 9822 6269
Shop 93,1-5 Harwood Street
Pyrmont NSW 2009
ph: 02 9034 6580
fax: 02 9034 6586
clientservices@mycoffeeshop.com.au 1300 365 487 www.mycoffeeshop.com.au
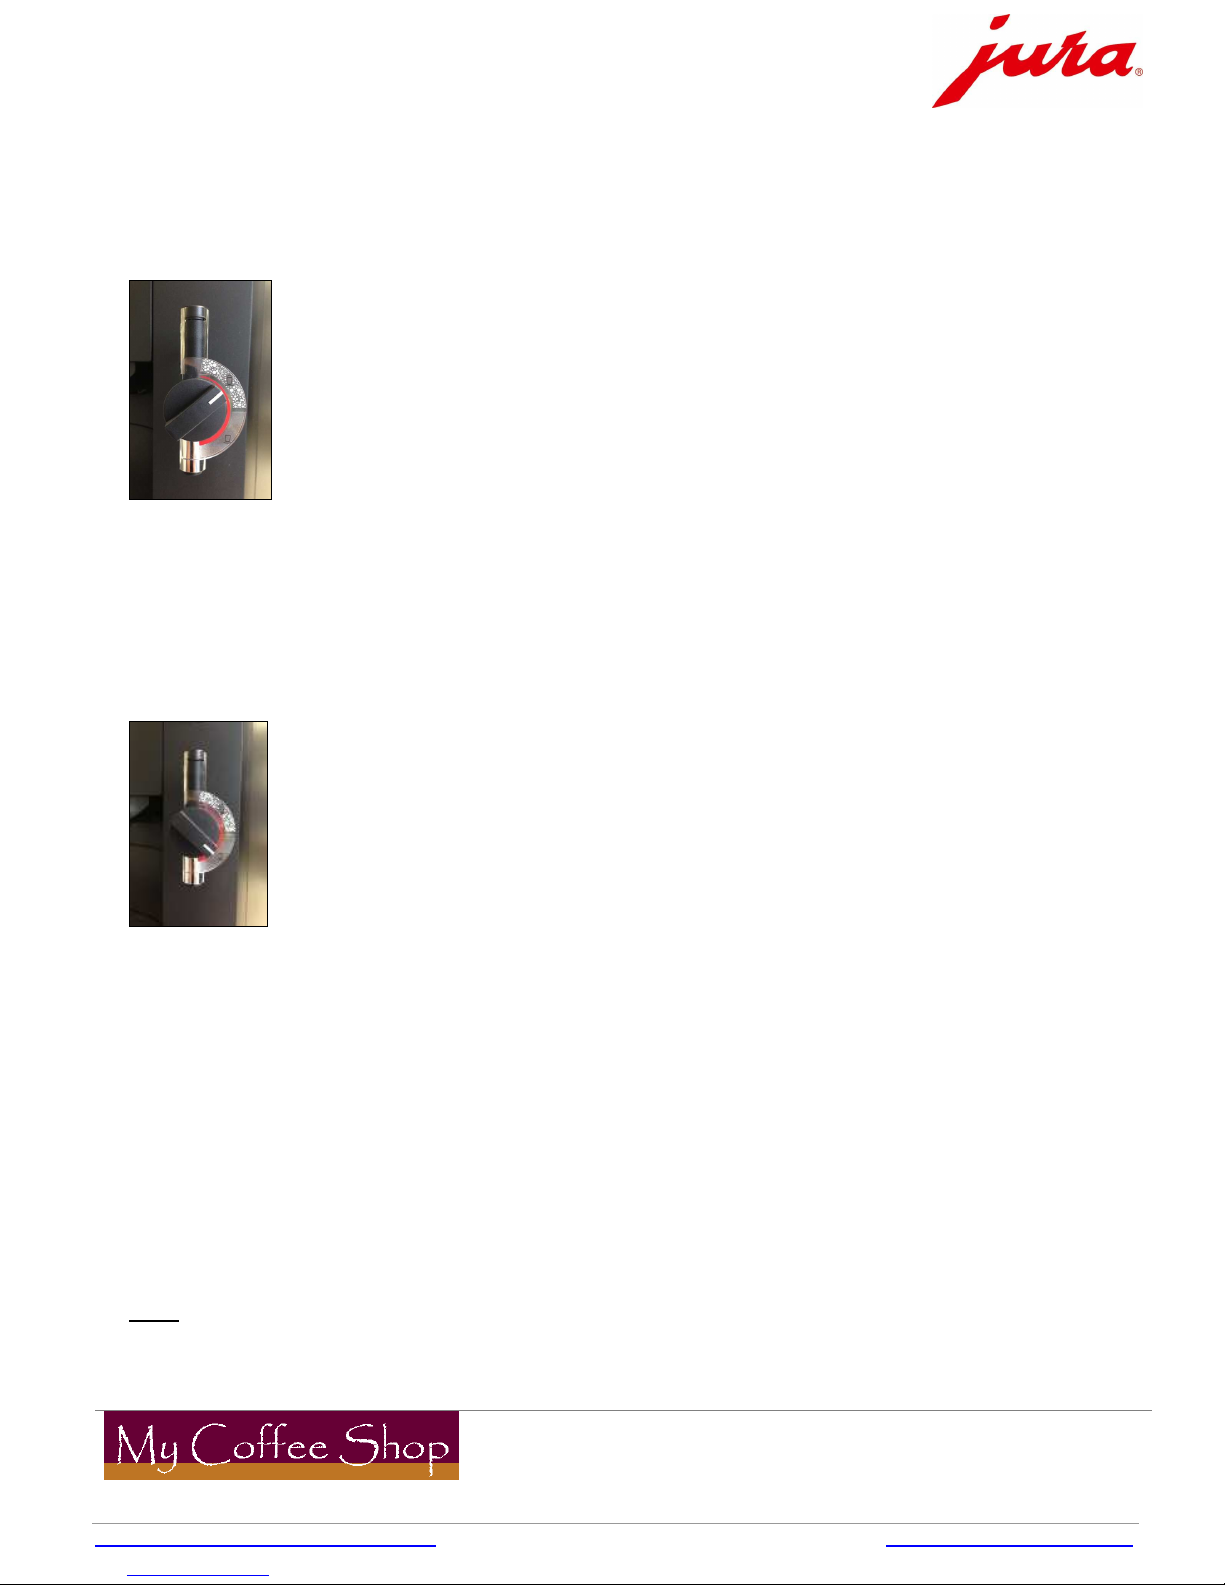
Cappuccino
1. Place your cup / mug under the milk / coffee spout on the right.
2.
Turn the milk selector to the foam milk position – See diagram below.
3. Press the cappuccino key. Your cappuccino will now be poured
Flat white
1. Place your cup/mug under the spout on the right.
2. Turn the milk selector to the flat milk position – See diagram below.
3. Press the Latte macchiato key. Your flat white will now be poured
Café Latte
1. Follow the procedure for making a cappuccino.
2. When your cup or glass 1/3 full of foam milk, turn the milk selector to the flat milk position.
Espresso or Long Black
1. Place your cup / mug under the middle spouts and press espresso or coffee key. Your drink
will now be poured. Press the button twice for a double espresso or two long blacks.
Note: Each key is fully programmed however you can stop the milk and coffee flow short by pressing
any key while it is pouring. Adjustments to suit personal preference can also be made using
the rotary dial. These changes do not affect the programmed settings.
 Loading...