

Page 1
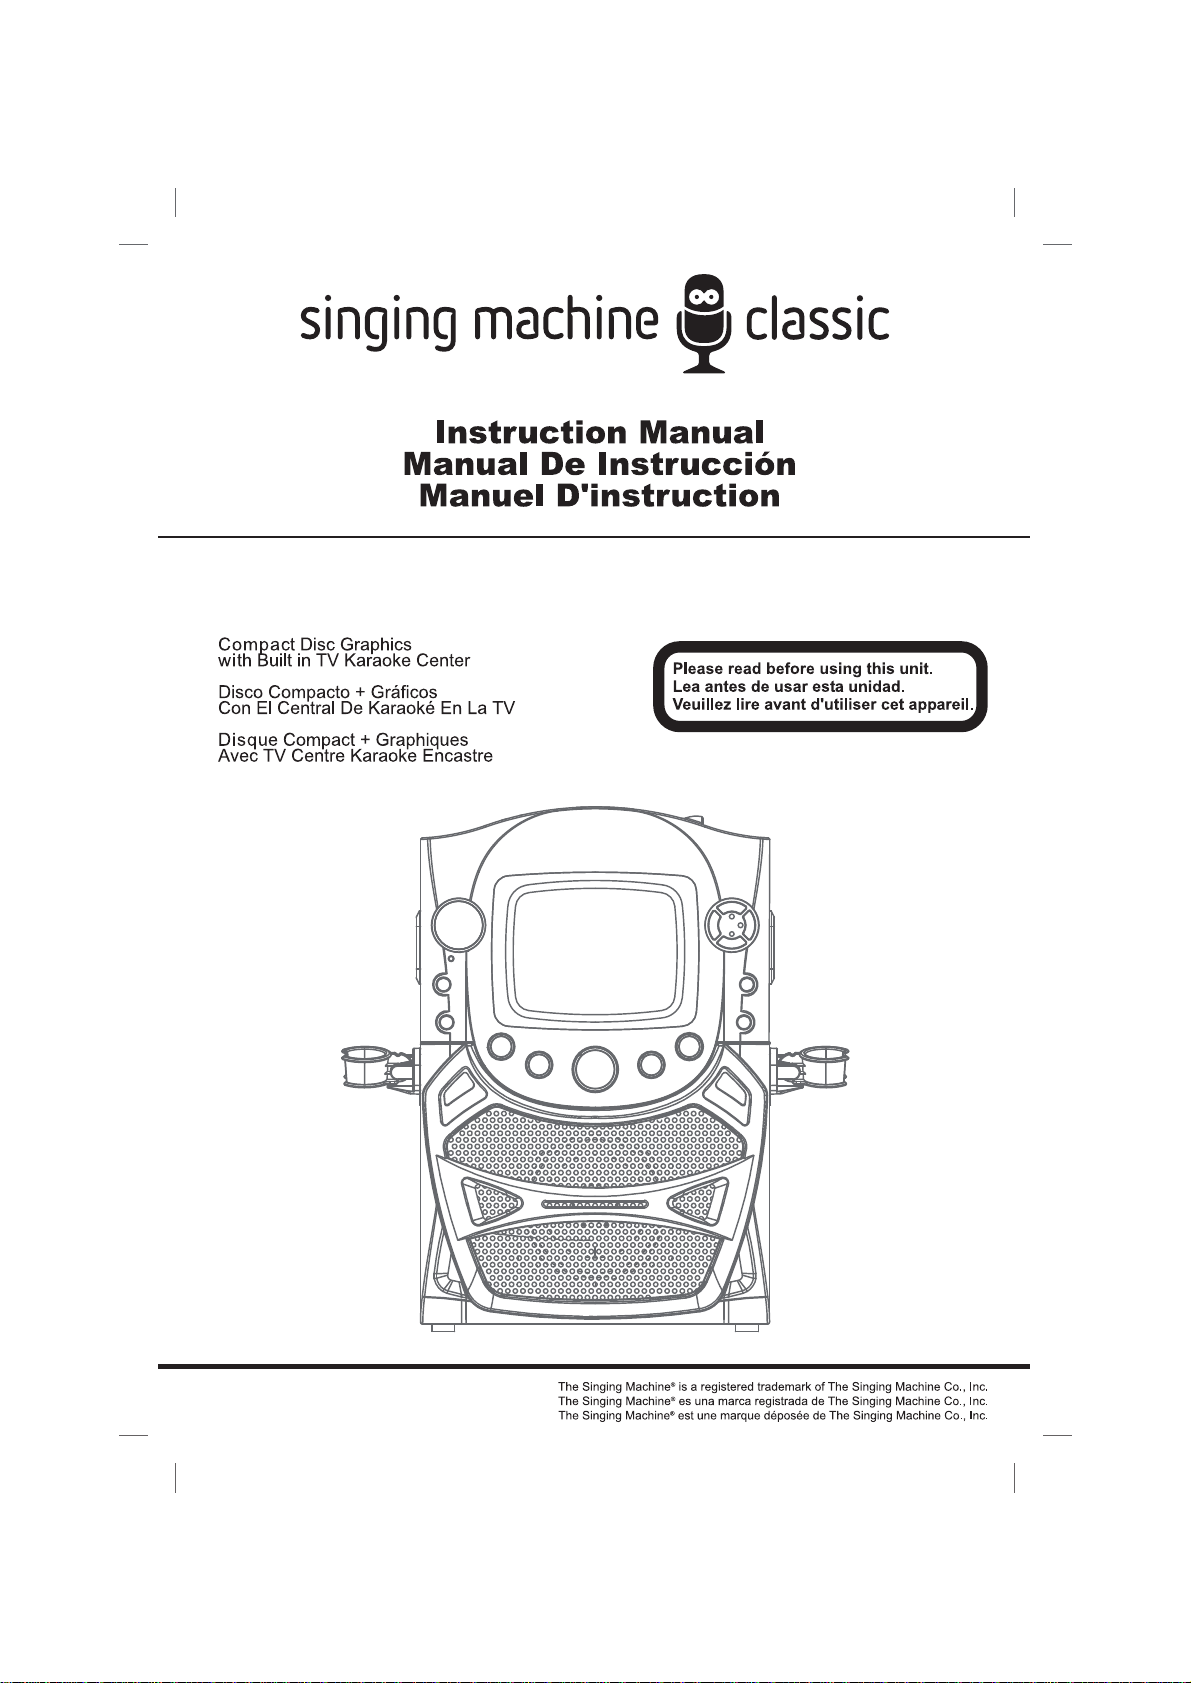
STVG569BT
Page 2
W
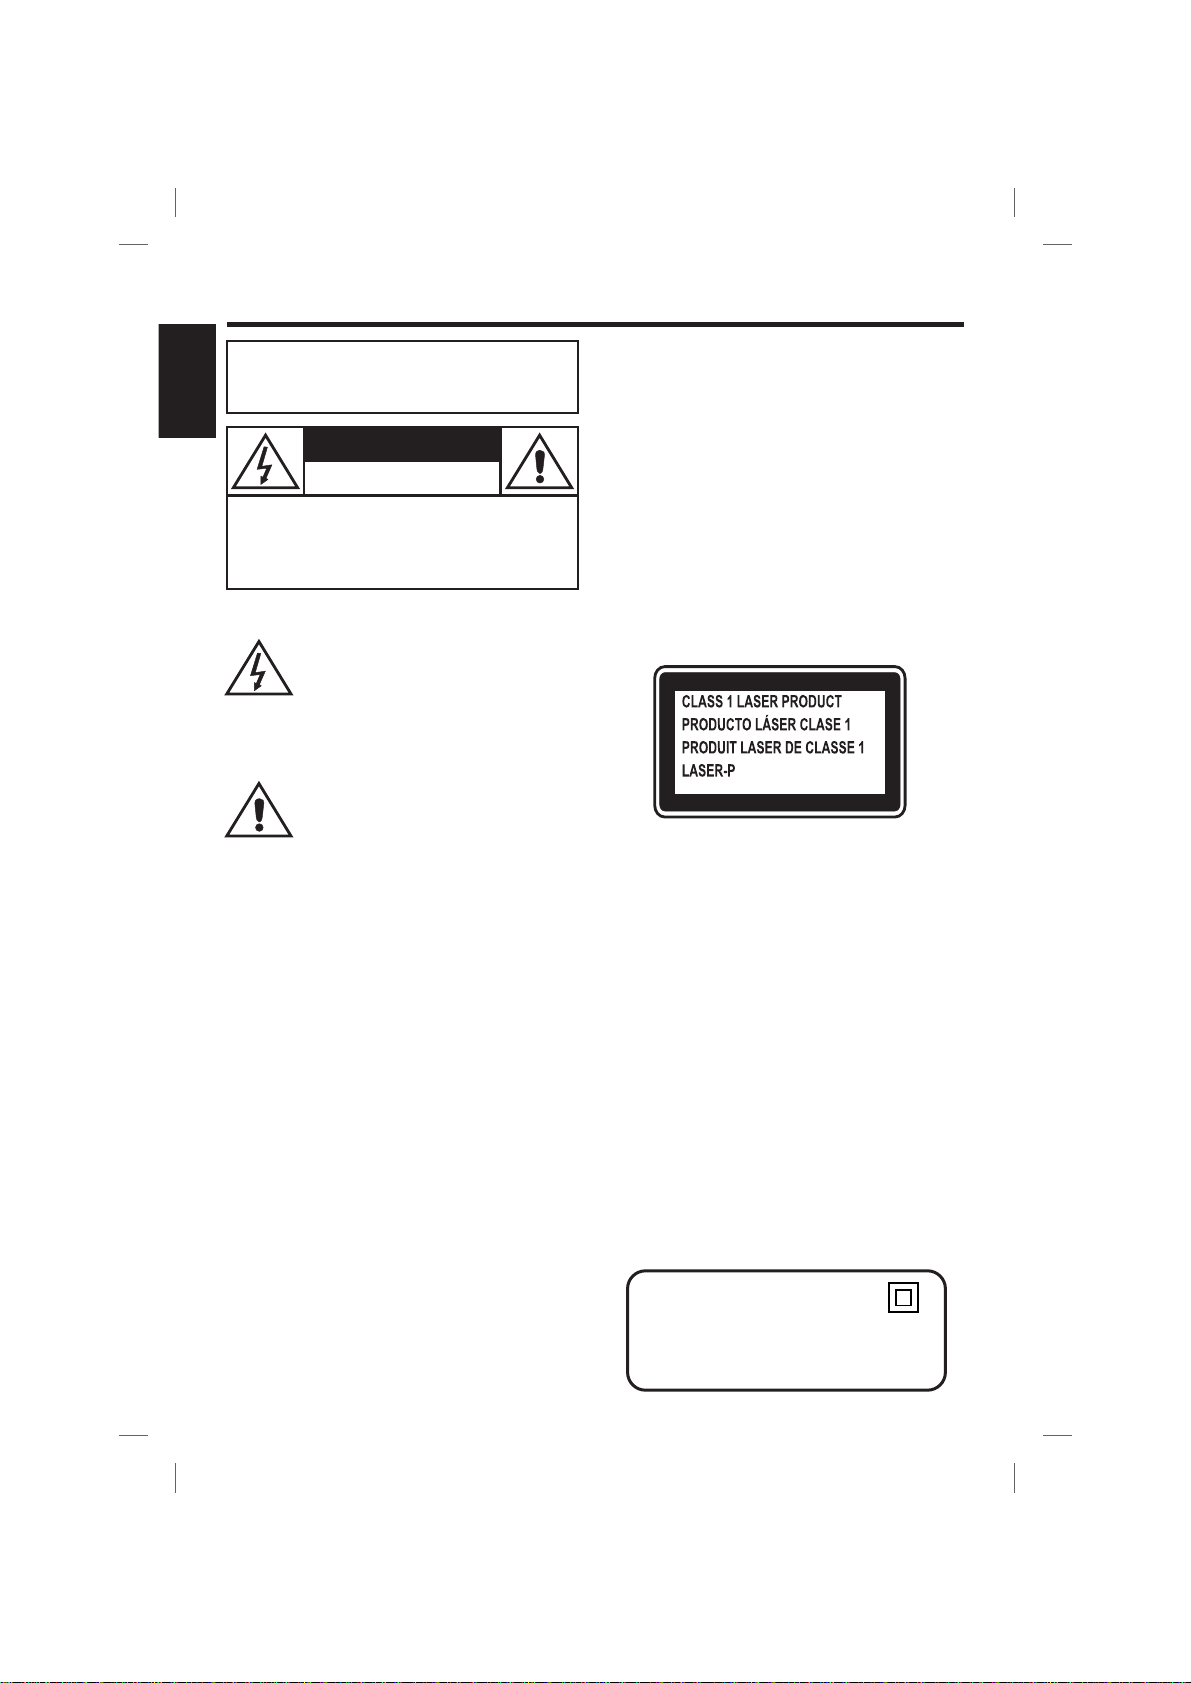
ARNINGS
W
ARNING:
FIRE OR SHOCK HAZARD, DO NOT EXPOSE
THIS PRODUCT TO RAIN OR MOISTURE.
T
O REDUCE THE RISK OF
ENGLISH
CAUTION
RISK OF ELECTRIC SHOCK
DO NOT OPEN
CAUTION: T
ELECTRIC SHOCK, DO NOT REMOVE COVER
OR BACK. NO USER-SERVICEABLE PARTS
INSIDE. REFER SERVICING TO QUALIFIED
PERSONNEL.
CAUTION marking is located on the rear panel.
The
DRIPPING
The product shall not be exposed to dripping or
splashing and that no objects filled with liquids, such
as vases,shall beplaced on the product.
VENTILATIONWARNING
The normal ventilation of the product shall not be
impeded forintended use.
Warning:
expressly approved by the party responsible for
compliance could void the user’s authority to
operate the equipment.
SAFETY CERTIFICATION
This device is made and tested to meet safety
standards of the FCC, requirements and
compliance with safety performance of the U.S.
Department of Health and Human Services, and
also with FDA Radiation Performance Standards
21 CFR SubchapterJ.
Main plug is used as disconnect device and it
should remain readily operable during intended
use. In order to disconnect the apparatus from the
mains completely, the main plug should be
disconnected from the main socket outlet
completely.
O PREVENT THE RISK OF
symbol is intended to alert you
This
to the presence of uninsulated
dangerous voltage within the
product's enclosure thatmightbe of
sufficient magnitude to constitute a
risk of electric shock. Do not open
the product's case.
symbol is intended to inform
This
you that important operating and
maintenance instructions are
included in the literature
accompanying this product.
WARNING
Changes or modifications to this unit not
arnings:
W
!
This CD player employs a laser light beam.
Only a qualified service person should
remove the cover or attempt to service this
device, due topossible eye injury.
!
The use of controls, adjustments, or
procedures other than those specified
herein might result in hazardous radiation
exposure.
!
apparatus shall be used in an open
The
area.
CAUTION
This compact disc player is classified as a
CLASS 1 LASERproduct.
The CLASS 1 LASER PRODUCT label is
located on therear panel.
CAUTION!
Invisible
laser radiation when open and inter locks
defeated. Avoid exposure to beam.
FCC IMPORTANT
Since CD circuitry may cause interference to other
radio tuners nearby, switch this unit off when not
in use or move it away from the affected radio
tuner.
This device complies with part 15 of the FCC rules,
operation is subject to the following two conditions:
(1) this device may not cause harmful
interference, and (2) this device must accept any
interference received, including interference
that may cause undesired operation.
RF Exposure Statement
To maintain compliance with FCC’s RF Exposure
guidelines, This equipment should be installed
and operated with minimum distance between
20cm the radiator your body: Use only the
supplied antenna.
CAN ICES-3(B)/NMB-3(B)
Class
II equipment symbol
This symbol indicates that the unit
has a double insulation system.
E1
E1
Page 3

WARNINGS
NOTE This digitalapparatus does not exceed theClass B limits for radionoise emissions fromdigital apparatus as:
set outin theRadio Interference Regulations of Industry Canada These limits are designed toprovide reasonable.
protection against harmfulinterference in aresidential installation This equipment generates uses andcan radiate.,
radio frequency energy and if not installed and used in accordance with the instructions may cause harmful,,
interference to radio communications However there is no guaranteethat interference will not occurin a particular.,
installation If this equipment does cause harmful interference to radio or television which can be determined by.(
turning the equipment off the user is encouraged to try to correct the interference by one or more ofthe following),
measures:
!
Reorient or relocatethe receiving antenna.
!
Increase the separationbetween the equipmentand receiver.
!
Connect the equipmentinto an outleton a circuitdifferent fromthat to whichthe receiver isconnected.
!
Consult the dealeror an experiencedradio TVtechnician for help/.
ENGLISH
IMPORTANT SAFETY INSTRUCTIONS
1. Read these instructions.
2. Keep these instructions.
3. Heed all warnings.
4. Follow all instructions.
5. Do not use this apparatus near water.
6. Clean only with dry cloth.
7. Do not block any ventilation openings. Install in accordance with the manufacturer's
instructions.
8. Do not install near any heat sources such as radiators, heat registers, stoves, or other
apparatus (including amplifiers) that produce heat.
9. Do not defeat the safety purpose of the polarized or grounding-type plug. A polarized
plug has two blades with one wider than the other. A grounding type plug has two
blades and a third grounding prong. The wide blade or the third prong are provided for
your safety. If the provided plug does not fit into your outlet, consult an electrician for
replacement of the obsolete outlet.
10. Protect the power cord from being walked on or pinched particularly at plugs,
convenience receptacles, and the point where they exit from the apparatus.
11. Only use attachments/accessories specified by the manufacturer.
12. Use only with the cart, stand, tripod, bracket, or table specified by the
manufacturer, or sold with the apparatus. When a cart is used, use
caution when moving the cart/apparatus combination to avoid injury
from tip-over.
13. Unplug this apparatus during lightning storms or when unused for long
periods of time.
14. Refer all servicing to qualified service personnel. Servicing is required when the
apparatus has been damaged in any way, such as power-supply cord or plug is
damaged, liquid has been spilled or objects have fallen into the apparatus, the
apparatus has been exposed to rain or moisture, does not operate normally, or has
been dropped.
E2
Page 4
CDG/
/PAIR
BT
(STOP)/PAIR
PAIR
Page 5
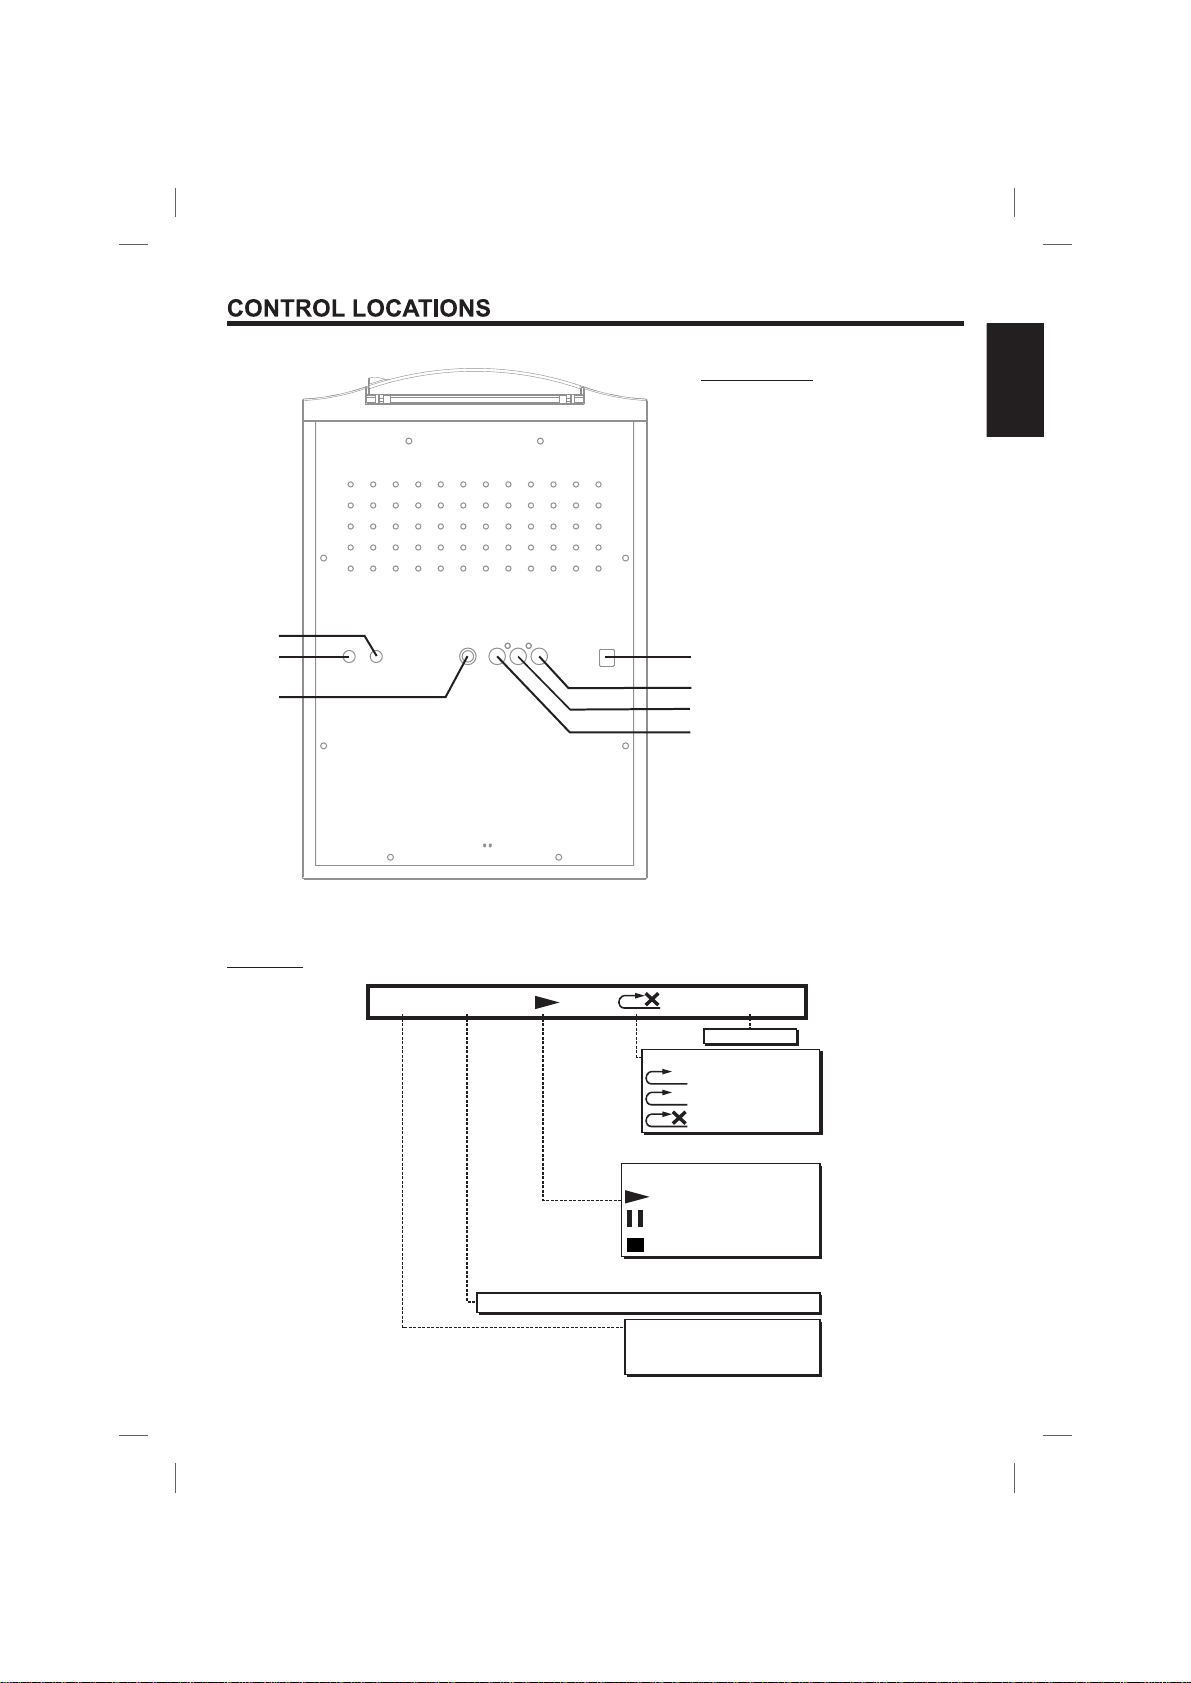
20
21
22
REAR VIEW
ENGLISH
20. MIC 2 Jack
21. MIC 1 Jack
22. LINE IN Jack
23. DC Jack (DC 5.8V)
24. AUX OUTJack (L)
25. AUX OUTJack (R)
26. VIDEO OUTJack
23
24
25
26
DISPLAY
CDG TRK 8/8 00:16:04
PLAYINGTIME
REPEATMODE
1
- REPEATONE
A
- REPEATALL
- NO REPEAT FUNCTION
PLAY/PAUSE/STOP INDICATOR
- PLAYING MODE
- PAUS E MODE
- STOP MODE
PLAYINGTRACK NUMBERAND TOTALTRACK NUMBER
PLAYING DISC MODE
- CD PL AYING
CD
- CDG P LAYING
CDG
E4
Page 6

5.8
Page 7

AUDIO OUTPUT
AUDIO OUTPUT
AUDIO INPUT
AUDIO INPUT
Page 8

CD OR CD+G OPERATION
This unit is designed toplay CDs and CD+Gs bearingthe identificationlogo . If the disc doesnot
respectively
conform to thestandard, it maynot play properly.
ENGLISH
TURNING POWER ON/OFF
To turn onthe unit, pressthe ON/OFF button,the ON/OFF LEDIndicator will lightup.
!
To turn itoff,press the ON/OFF buttonagain, the ON/OFFLED Indicator willturn off.
!
LOADINGA DISC
Open theCD door, place a CD or CD+G discin thecompartment with the printed side facing upward and
!
the shiny side facing down. Press the CDG/BT button to switch to CD mode.
Gently close the CD d
!
oor. The monitor will display total number of tracks. (If no disc is loaded, it will
display “NO DISC”.)
Note:
- Never place anything except a compact disc in the disc tray.Foreign objects can damage the unit.
- Only place one disc on the disc tray at a time.
(Refer to the Trouble Shooting Guide if a disc is loaded but the total tracks do not appear.)
PLAY/PAUSE
Adjust MASTER VOLUMEcontrol on yourunit, TV oraudio system toa comfortable level.
!
To start playing, press the PLAY/PAUSE butto
!
displayed on themonitor.
To temporarily stopplaying, press thePLAY/PAUSEbutton. The PAUSEindicator will bedisplayed.
!
To resume play,press this buttonagain.
!
Note:
- Pressing pause repeatedly when a CD+G is playing may cause distorted lyrics on your TV screen. Any distortion will
remain on the TV screen until it is refreshed either during an instrumental break or the song is stopped and/or the
song is started from the beginning.
n. The first track and total number of tracks will be
STOP
If the STOPbutton is pressed in thecourse
shown on thewindow.)
of playing, the disc willcease to play. (The STOPindicator will be
MASTER VOLUME
Rotate to theMASTER VOLUME controlto obtain thedesired sound level.
Note: The MIC Volume must be adjusted simultaneously with the master volume level.
SKIP (For bothCD and CDG discs)
!
During STOP mode you can skip forward or back to your desired track number by pressing
SKIP buttons - SKIP To resume playing the selected song press PLAY PAUSE button
!
,
().
,/ .
the
SEARCH (For audio CD disc only)
When playing any audio CD, press and hold the SKIP button ( -SKIP- ). The CDwill search at high
speed in theforward or backwarddirection. Normal playwill continue whenyou release thebutton.
REPEAT
!
To repeat the track currently playing, press the REPEAT button once.
indicator will lghtup.
!
To repeat all tracks, press the REPEAT butt
Press the PLAY/PAUSE button to
!
To clear the REPEATfunction, press the REPEAT button aga
begin.
on twice. The REPEATALL ( ) indicator will light up.
in. The NO REPEAT( ) indicator will
turn on.
E7E7
The REPEAT ONE ( )
A
1
Page 9

CD OR CD+G OPERATION
PROGRAM
!
Use this buttonto program and playback songs ina preselected order.
!
Step 1:Programming should be done in the stop mode only.
XX
Here " " stands for the total number of tracks, and it is blinking on the display.
!
Step 2: Pressthe SKIP buttons ( -SKIP- ) toselect a desired track.
!
Step 3: PressPROGRAM button to confirmentry.Youcan repeat thesame steps upto amaximum of 24tracks.
!
Step 4: PressPLAY button whenyou have completed programmingand youare ready tostart singing.
!
Press the STOPbutton twiceto clear allthe programmed entries.
MONITOR ON/OFF
!
Press MONITOR ON/OFF button to ON if you want to display a CDG lyrics on the Singing Machine’s
monitor.
KARAOKE FUNCTIONS
Sing along withthe music by pluggingin the providedmicrophone into either oneof themicrophone jacks onthe unit.
D
Warning - Tapping or dropping the microphone while it is on can permanently damage your microphone. Resist
the urge to swing the microphone around by the cord!
MIC VOLUME
Adjust the MICVOLUME control to adesired level andobtain the best performance.
D
Warning - To avoid Microphone feedback please avoid being too close to the speaker.
ECHO
Adjust the ECHOcontrol to enhance yourvoice for aconcert hall effect.
BALANCE
Adjust the BALANCE control to separate the prerecorded singer’s voice and music when using a multiplex karaoke disc.
AUTO VOICE CONTROL.(MULTIPLEX DISCS ONLY)
AUTO VOICE CONTROL can be activated by rotating the Auto Voice Control knob to right. The vocals on the multiplex
recording will be muted when using the microphone When the microphone is not in use the pre-recorded vocals will
resume on amultiplex disc.
Press thePROGRAM button, PROG SET :00 XX
ENGLISH
BLUETOOTH OPERATION
Press the CDG/BT Button to switch to Bluetooth mode, "BLUE TOOTH" will appear on display and the PAIR indicator
flashes, after a few seconds, a sound will be heard, now it is
on the external device, the pairing name "Singing Machine"
piece of sound, the "PAIR" indicator stop blinking after
During playing, press the NEXT or PREVIOUS button to skip to the track desired, press PLAY/PAUSE button to pause,
press again to resume. Press PAIR button to disconnect the current connection, press again to reconnect again.
NOTE: The unit will automatically connect with the device connected before after the Bluetooth function is switched on.
in pairing and searching mode, start the Bluetooth function
will appear, select it and make pairing, the unit will send a
successful connection.
E8
Page 10

LINE IN OPERATION
Your SingingMachine is designed to connect your favoriteDigital Music device (e.g. iPod/MP3 player, etc.)
You can connectyour device byusing an appropriatecable (
LINE IN function can always be
switched ON once the audio cable is
ENGLISH
plugged.
Note: Monitor will be turned off when the
audio cable is plugged.
3.5mm audio cablenot included).
YOUR DIGITAL PLAYER OR MP3 PLAYER
MASTER VOLUME
Rotate to the MASTER VOLUME
control to obtain the desired sound
level.
D
Warning - To avoid the overburst amplified volume output
or possible over-tuned sound
crack, you are recommended to
adjust the Digital Music device
volume to one third or lower at
the beginning.
REAR VIEW OF
SINGING MACHINE
LINE IN
LINE IN
AUDIO OUTPUT
/ HEADPHONE JACK
E9
Page 11

TROUBLE SHOOTING GUIDE
If you have followed the instructions and are having difficulty operating the unit, locate the
PROBLEM in the left column below. Check the corresponding POSSIBLE CAUSE column to
locate and remedythe problem.
PROBLEM
POSSIBLE CAUSE
SOLUTION
ENGLISH
No power when
POWER is on.
No power when plugged
in.
No sound.
CD PLAYER
C
annot work normally or
displayed.is
“”
No power plug connection at
theAC outlet.
The AC outlet may not have
power.
Volume control is set to
minimum.
Audio cable has not been
removed from the LINE IN
jack.
Volume control on TV set/PA
system is setto minimum.
TV set/PA system power is
OFF.
AUDIO OUT jacks not
connected.
Disc is insertedupside down.
Disc is dirty.
Disc is scratched.
Disc is warped.
A nonstandard disc is
inserted.
Insert the power plug into the AC
outlet.
Check the outlet with a working
lamp or otherelectrical appliance.
Turnup the volume.
Removed Audio cable from LINE
IN jack.
Turn up the volume at TV/PA
system.
Turnon the power at TV/PAsystem.
Follow directions ‘Audio
Connection’page.
Insert disc correctly.
Wipe clean withsoft cloth.
Use a newdisc.
Use a newdisc.
Only use discs bearing standard
logo.
Lens is dirty.
Moisture has formed inside
the CD deck.
Singing Machine needs to be
reset.
E10
Use a CDlens cleaner.
Wait about 20 to 30 minutes to let it
dry out.
Disconnect the machine from
power source for30 seconds.
Page 12

The Bluetooth device
can not be paired
Bluetooth on your device
not activated
Activate the Bluetooth
on your device
Bluetooth function is cut off
Press the (stop) /PAIR button
to restart Bluetooth pairing mode
Page 13

MONITOR SECTION
3.5
3
4
5.5” BLACK AND WHITE MONITOR
NTSC SYSTEM
220 LINE RESOLUTION
ENGLISH
LINE IN SECTION
DIMENSIONS (W x D x H)
3.5mm stereo headphone jack
DC 5.8V 2A
9.1 x 8.8 x 13.6 inches / 23.1 x 22.4 x 34.5 cm
7.9 lbs / 3.6 kgs
E12
Page 14

 Loading...