

Page 1
BLUETOOTH VOICE ACTIVATED GOOGLE/SIRI SPEAKER
MODEL: ISBV39
Please read this user manual carefully to ensure proper use of this product
and keep this manual for future reference
Page 2
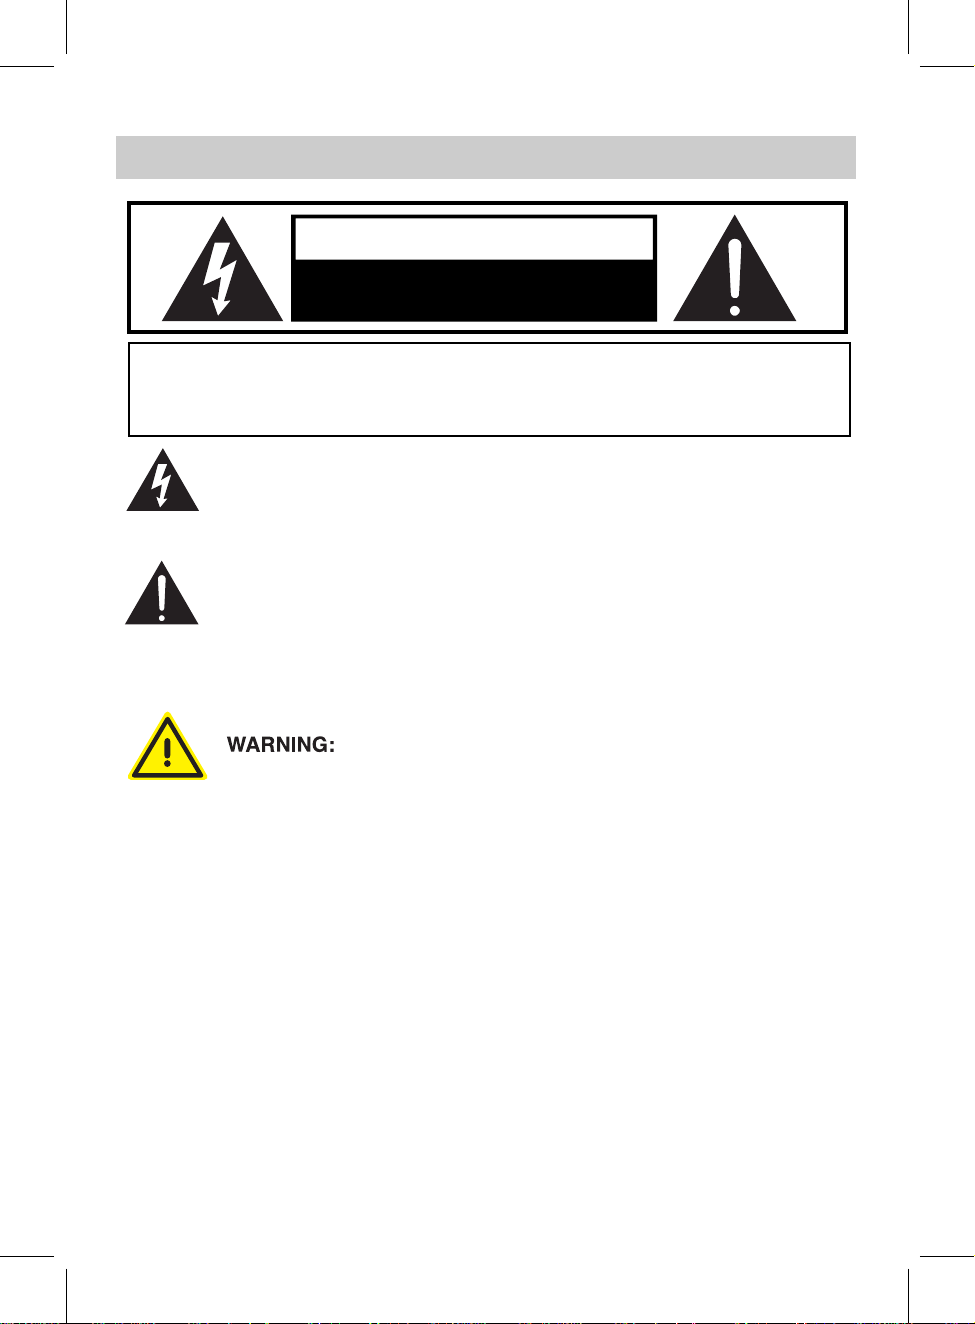
IMPORTANT SAFETY INSTRUCTIONS
A
CAUTION
RISK OF ELECTRIC SHOCK
DO NOT OPEN
CAUTION: TO REDUCE THE RISK OF ELECTRIC SHOCK, DO NOT REMOVE THE
COVER (OR BACK) OF THE DEVICE. NO USER SERVICEABLE PARTS ARE
INSIDE. PLEASE REFER SERVICING TO QUALIFIED SERVICE PERSONNEL.
DANGEROUS VOLTAGE:The lighting flash with arrowhead symbol within
an equilateral triangle is intended to alert the user to the presence of
uninsulated “dangerous voltage” within the product’s enclosure that may
be of sufficient magnitude to constitute a risk of electric shock to persons.
TTENTION:The exclamation point within an equilateral triangle is intended to
alert the user to the presence of important operating and maintenance
(servicing) instructions in the literature accompanying the appliance.
WARNING:TO PREVENT FIRE OR SHOCK HAZARD, DO NOT EXPOSE
THIS UNIT TO RAIN OR MOISTURE.
Cancer and Reproductive Harm-www.P65Warnings.ca.gov
Warning:
- Batteries (a battery pack or installed batteries) shall not be subject to excessive
heat, such as direct sunlight, fire, or the like.
* This product is built with an internal rechargeable battery.
- Changes or modifications not expressly approved by the manufacturer could void
the user’s
- Usage of controls or adjustments of performance procedures, other than those
specified
- Recharge the battery when the device indicates that the battery is low.
- It is highly recommended to charge the batte
- To prolong the life of the battery, it is NOT recommended to use the device when it
is
charging.
- To prolong the life of the battery, consider recharging its battery at least once per
month.
authority to operate this device.
herein, may result in hazardous exposure.
ry immediately when the battery is low.
2
Page 3

FCC STATEMENT:
This device complies wi
following two conditions:
(1)This device may not cause harmful interference, and
(2)This device must accept any interference received, including interference
that may cause undesired operation.
FCC NOTICE:
This equipment has been tested and found to comply with the limits for a Class
B digital device, pursuant to Part 15 of the FCC Rules. These limits are
designed to provide reasonable protection against harmful interference in a
residential installation. This equipment generates, uses and can radiate radio
frequency energy and, if not installed and used in accordance with the
instructions, may cause harmful interference to radio communications.
However, there is no guarantee that interference will not occur in a particular
installation. If this equipment does cause harmful interference to radio or
television reception, which can be determined by turning the equipment off and
on, the user is encouraged to try to correct the interference by one or more of
the following measures:
●Reorient or relocate the receiving antenna.
●Increase the separation between the equipment and receiver.
●Connect the equipment into an outlet on a circuit dif
the receiver is connected.
●Consult the dealer or an experienced radio/TV technician for help.
th part 15 of the FCC Rules. Operation is subject to the
ferent from that to which
RF Exposure Information
The device has been evaluated to meet general RF exposure requirement.
The device can be used in portable exposure condition without restriction
FCCWARNING:
o assure co
T
use o
modif
couldvoid
Tr
ademark & Regul
Bluetoo
ade-marks and names are those of thei
t
r
Google Play™ store and all Google Brand Features are trademarks or
distinctive brand features of Google Inc., LLC.
Apple App Store™ and Siri Assistant are registered trademarks of Apple Inc.
shield cableswhenconnec
nl
y
ca
t
i
ionsn
th®
ntin
e use
t
h
is a r
ued opera
ote
xpr
'
s au
r
egis
ess
ator
ered
t
o
t
i
n,followth
t
in
a
l
y
t
tyt
hori
S
tatements
y
ademark of Bluetoo
tr
ed b
rov
pp
o operate
e attachedinsta
o o
t
t
herdevi
g
y
3
epa
t
h
e equ
t
h
r r
especti
esponsibleforco
t
r
r
y
ipment.
SIG,
th
e owners.
v
a
t
l l
ion in
ces.Cha
nc. Othe
I
s
uc
t
r
es o
n
g
r
s and
t
ion
r
mplian
ce
Page 4

TOP VIEW
1
2
PRODUCT OVERVIEW
3
5
6
7
REAR VIEW
8 9 10
1. Play/Pause, Hands-Free Button
2. Charging Indicator
3. Volume Down Button
4. Volume Up Button
5. Built-in Microphone
4
6. Pairing Indicator
7. Power On/Off, Mode Switch Button
8. AUX-IN Jack
9. Micro-USB Charging Port
10. Rubber Cover
4
Page 5

RECHARGING THE UNIT
The unit has a built-in rechargeable battery, charge it before operation or when it is
drained as below:
1. Uncover the rubber cover of the unit.
2. Insert the Micro USB connector of the included charge cable into the DC 5V input,
which serves as the speaker’s Micro USB port.
3. Plug the other end of the USB cable into a computer or other compatible device,
as shown below.
4. While charging, the charging indicator light on the unit will turn red, it will turn off
when completely charged.
NOTES:
A. Before first time use, charge approximately 4 hours until the unit is completely
charged.
B. Recharge and store the unit within the temperature range of 5°C~35°C
(40°F~95°F).
C. Do not charge longer than 24 hours. Excessive charging or running the unit
until the battery fully drains will damage battery. Battery life will be extended
if you keep the battery fully charged.
D. Battery life naturally shortens slowly over time.
E. The rechargeable battery built into this product is not user replaceable.
5
Page 6

BLUETOOTH OPERATION
1. Press and hold the “ SOURCE ” button to turn the device on. After powering on,
the mode indicator will begin to blink, alternating between blue and green.
2. Activate the Bluetooth menu on the
a device search for the speaker. The pairing name " ISBV 39 " will appear on
the pairing
3. After a successful connection made, the mode indicator will be solid blue.
4. Play a track on your paired device as you would normally.
While playing:
Press the “ ” Button to pause, and press it again to resume playing.
Press and hold the “ ” Button to reactivating bluetooth pairing mode.
Press the “ - ” or “+” button to adjust the volume level.
Hands-Free Function:
During an incoming call, press the “ ”
again to end the call.
During an incoming call, press and hold the “ ” button to reject the call.
Double press the " " button to redial the last dialed number.
NOTE: In Bluetooth mode, it there is no connection for about 10 minutes, the unit
list. Select it to establish a connection.
will enter standby mode.
device you wish to connect to the unit. Begin
button once to answer the call. Press it
6
Page 7

INSTALLING GOOGLE ASSISTANT
1. Access the Google Play Store or Apple App Store from your smartphone device.
2. Install the Google Home app onto your
3. Establish a wireless connection from th
If Wi-Fi is not available, you can use data.
4 . Activate the Bluetooth functionality on your smartphone device.
* The Google Home app uses Bluetooth to identify the speaker.
5 . Open the Google Home app and follow the on-screen instructions to set the initial
settings for the speaker.
USING GOOGL
Once the speaker is set up as a Google Home device, you can control the operation
of the speaker with Google Assistant using just your voice.
1. Begin any Google Assistant voice comm
“Hey Google” or “Ok Google”.
2. Instruct the speaker to perform an activity using one of the Google Asssitant
voice commands, and the speaker will initiate immediately.
smartphone device.
e wireless router to your smartphone.
E ASSISTANT
and by addressing the speaker with
7
Page 8

SETTING UP SIRI ASSISTANT
1. To set up Siri Assistant on your speaker, you need an iPhone, iPod touch, or
iPad with iOS 12 or later.
2. To begin, ensure that your iOS device has Bluetooth mode turned.
3. Plug in and turn on the speaker. Then hold your unlocked iOS device within a few
centimeters of the speaker, until the setup screen appears. Tap “Set Up” and
follow the on-screen instructions.
Note: If the setup screen does not appear automatically, open the Home app on
iOS device, tap the , then tap Add Accessory. Tap “Don’t Have a Code or Can’t
Scan?”, then select the speaker in the Nearby Accessories list. If you do not have
Home app already installed, you can download it from the App Store.
4. Listen for “Hey Siri” in the Siri & Search settings menu of your iOS device.
USING SIRI ASSISTANT
Once Siri Assistant has been set up on your speaker, you can fully control the unit
using voice commands, allowing you to open and utilize any function on your phone.
1. When addressing the speaker, be sure to speaker clearly in your requests into
the microphone of the speaker, say “Hey Siri” to activate Siri for your iOS device.
2. Siri Assistant can be used for GPS purposes, to ask about the weather, the latest
traffic updates, check your flight times, play all of your favorite music and playlists,
browse through your photos, check your emails, and much more.
8
Page 9

AUX IN
1. Uncover the rubber cover at the rear o
f the unit.
2. Insert one end of the auxiliary cable into the external device’s Aux-output jack.
3. Insert the other end of the auxiliary cab
le into the speaker’s Aux-input jack.
AUX IN
MP3
Mobile Phone
Connect to the hone
audio device s
( MP3 layer, mobile phone , or
iPod/iPad, etc.)
4. Press and hold the “ S O UR C E ” button to turn the device on.
5. Press the “ S O UR C E ” button to switch to AUX IN mode. The mode indicator
will be solid Green.
6. Play music on the external device as you would normally.
9
Page 10

TROUBLESHOOTING GUIDE
Check the following before requesting service:
SYMPTOM POSSIBLE CAUSE POSSIBLE SOLUTION
Won’t turn on Built-in battery is dead Recharge the battery
No sound or
weak sound
Volume level of paired/connected device
is set to a low level
Raise the volume level of the
paired/connected device
Sound
distortion
BT not
f
unctioning
Volume level of the connected/paired
device is set too high
The external BT device did NOT pair to
the speaker successfully
The external BT device is too far away
from the speaker
Reduce the volume level of the
connected/paired device
Pair the external BT device to the
speaker
Place the external BT device
closer to the speaker
SPECIFICATIONS
Power source: Built-in DC 3.7V, 1800mAh rechargeable battery
Recharge by DC 5V through Micro USB port
Bluetooth Version: V5.0
Bluetooth working range: up to 32 feet in open area
Audio Output Power:
ACCESSORIES:
1 x User Manual
1 x USB Charging Cable
5 W (RMS)
SPECIFICATIONS AND ACCESSORIES ARE SUBJECT TO CHANGE
WITHOUT NOTICE
10
 Loading...