

Page 1
How to Set Up Your JSA7500 Appliance
Overview
Juniper Secure Analytics 7500 (JSA7500) is an enterprise and carrier-class appliance that provides a scalable network security
management solution for large, globally deployed organizations.
JSA7500 can be deployed as a console or as a distributed event or flow processor. It can also be deployed as a store-and-forward
event collector.
The JSA7500 appliance has a 2-U, rack-mountable chassis redundant DC power supplies (optional AC power supplies),
twenty-eight hot-swappable hard drives in a RAID10 array, 128 GB of memory, and four Gigabit Ethernet interfaces.
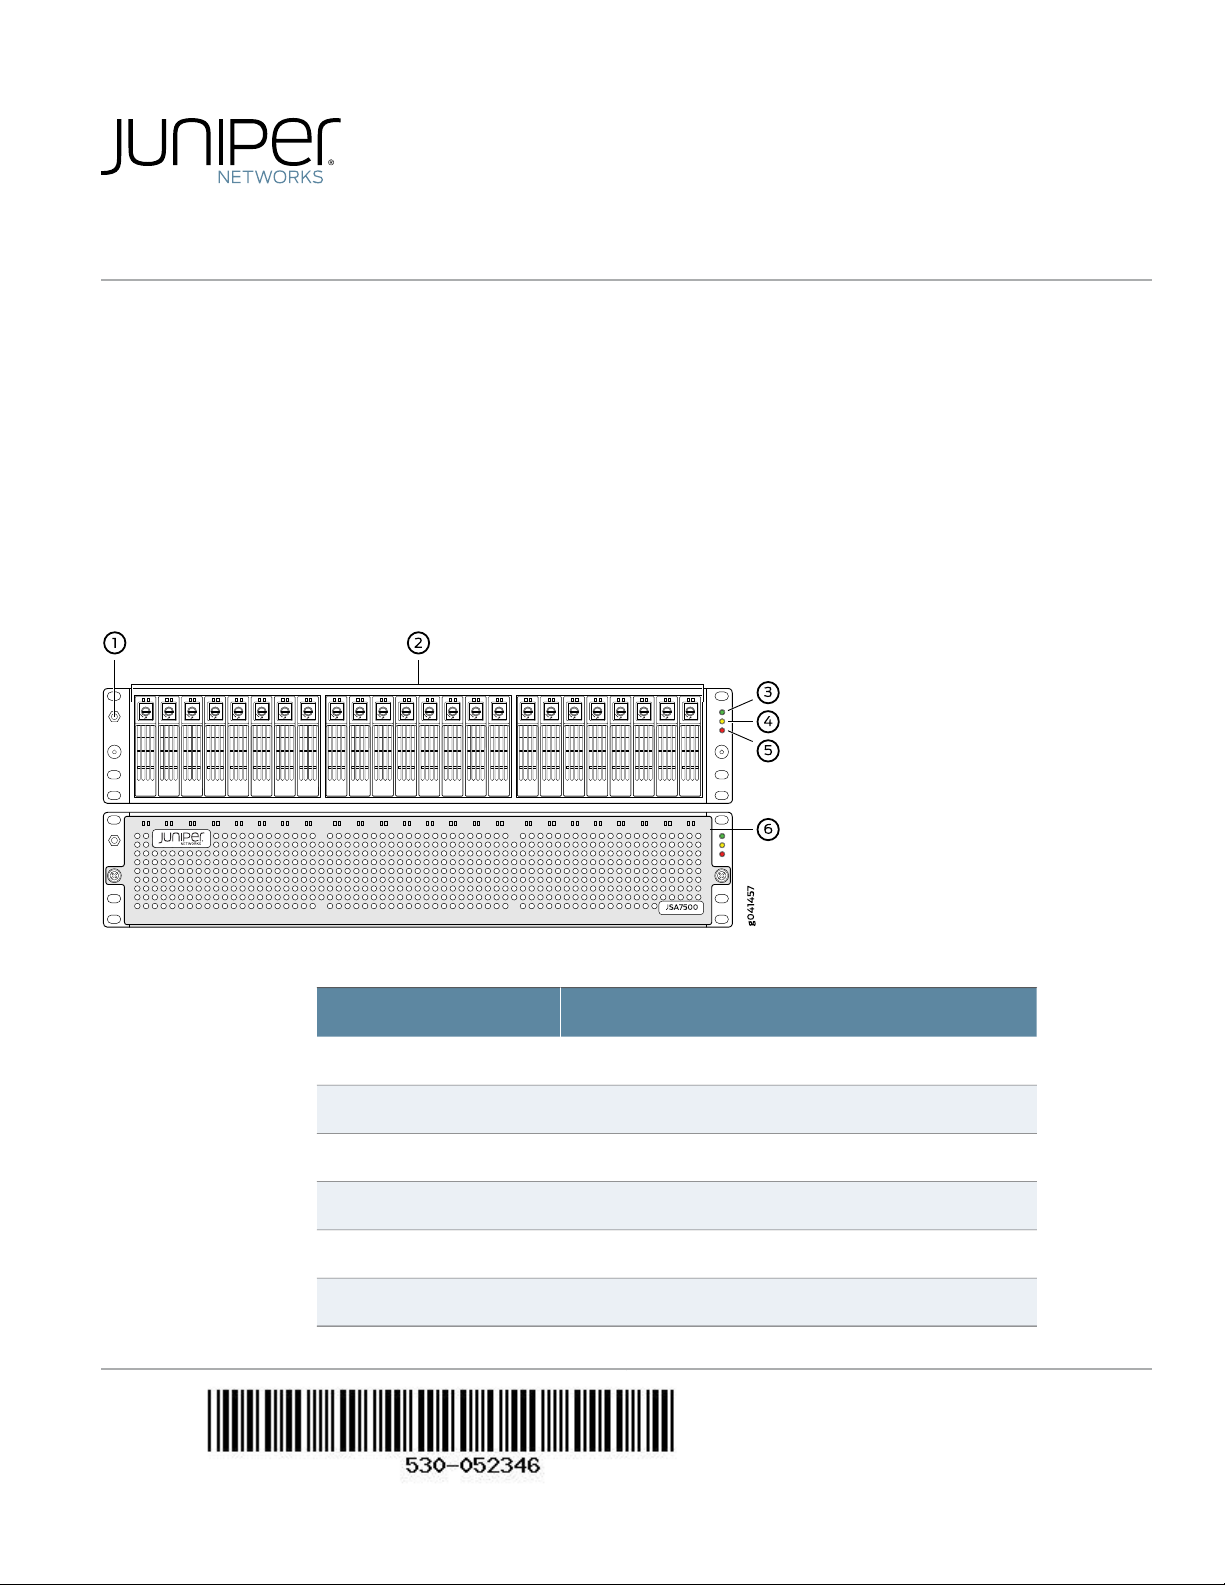
Front Panel
Table 1: JSA7500 Front Panel Ports
DescriptionCallout
ESD wrist strap grounding jack1
Hard drives2
Power LED3
Hardware disk activity LED4
Fault LED5
Front bezel with air filter6
Page 2
g041461
11
2 3
5 54
77 6
11 810 9
How to Set Up Your JSA7500 Appliance
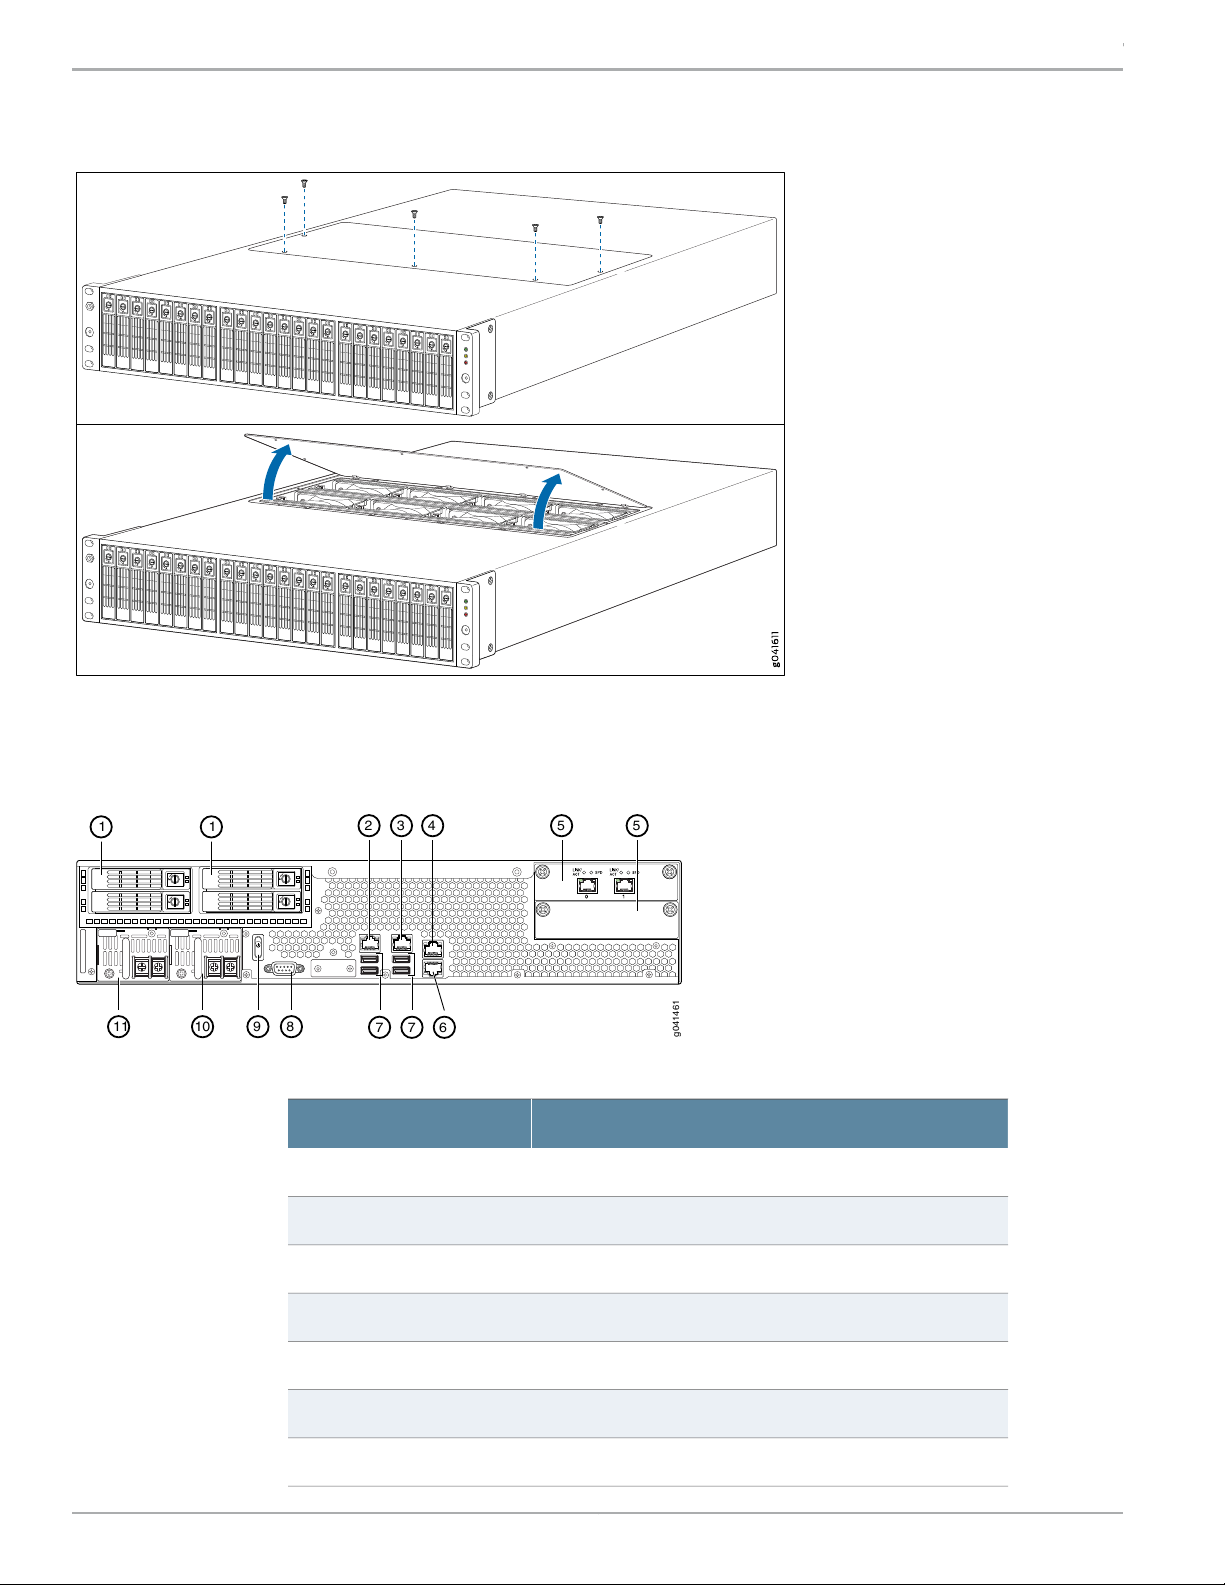
JSA7500 with Fan
The JSA7500 has internal hot-swappable cooling fans. See the above illustration for details on the fan location in JSA7500.
Back Panel
Table 2: JSA7500 Back Panel Ports
DescriptionCallout
Hard drive1
Network port 02
Network port 13
Network port 24
IOC expansion slots5
Network port 36
USB ports7
Copyright © 2018, Juniper Networks, Inc.2
Page 3
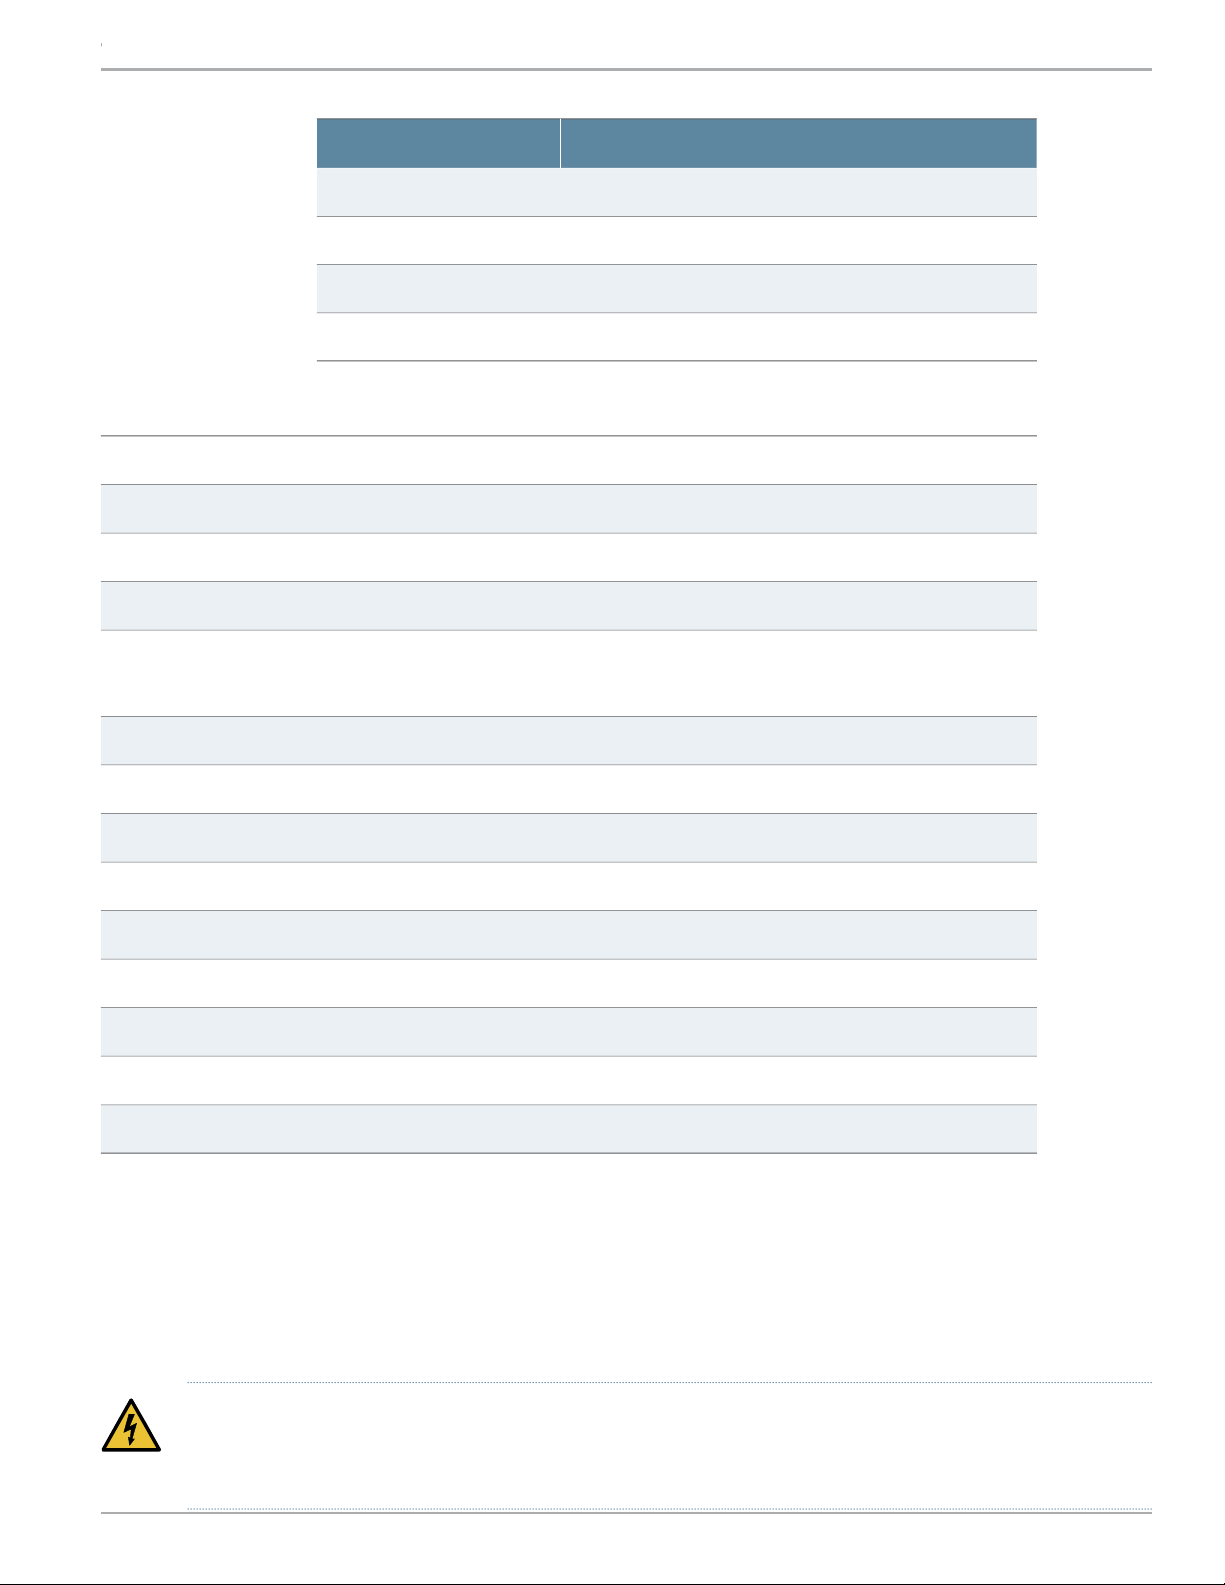
Table 2: JSA7500 Back Panel Ports (continued)
Hardware Specifications
How to Set Up Your JSA7500 Appliance
DescriptionCallout
DB-9 Serial Console port8
Power switch9
Redundant power supply10
Redundant power supply11
3.5 in. x 17.26 in. x 23.52 in.Dimensions (H x W x D)
60 lbWeight
1 year HW, 90 days SWWarranty
8 x 80mm redundant hot swapFans
Panel Display
Before You Begin
LEDs: Power, HW Alert
HD Activity and Fail LED on drive tray
Front-and-rear or mid-mount, flush or recessed mountingRack mountable
1 console, 4x RJ-45 10/100/1000Ports
750 W hot-swap modulePower
5° C – 40° CTemperature operating
-40° C – 70° CTemperature storage
8%- 90% non-condensingHumidity operating
5%- 95% non-condensingHumidity storage
10000 ft max.Altitude operating
40000 ft max.Altitude storage
Before you can install and configure your JSA appliance, you must have access to the following:
•
Java Requirements - You must install JavaTM Runtime Environment (JRE). You can download the required Java version at the
following website: http://java.sun.com/. Ensure that you install JRE on your desktop system, not on the JSA system.
•
Browser Requirements - You must have Internet Explorer 8.0 or 9.0 or Firefox 10.0.
WARNING: Before performing the installation and configuration procedures in this document, see the safety
instructions and important regulatory information in the JSA Installation Guide and the JSA Hardware Installation
Guide.
3Copyright © 2018, Juniper Networks, Inc.
Page 4

How to Set Up Your JSA7500 Appliance
Installing and Configuring JSA7500 Step 1: Unpack Your Appliance
Unpack the shipping carton. Verify the contents against the included parts inventory. Save the shipping materials in case you
need to move or ship the device later.
NOTE: Do not unpack the device until you are ready to begin installation.
Step 2: Install the Appliance in a Rack
1. Remove the rear screws on each side of the system’s front rails and the two small screws toward the front of the chassis.
2. Loosen the side-rail screws of the chassis and slide the front rail of the system backward, as far as it will move.
3. Tighten the side-rail screws. Insert the two small screws in the recessed holes on the front rails and tighten.
4. Do step 1 to step 3 again for the other side of the chassis.
5. Slide the rear-mount rail brackets into the backs of the front rails on either side of the chassis and align with your rear equipment
rack posts. Secure the rear-mount rail brackets to your equipment rack with two rack mount screws each.
6. Insert locking screws on the sides of the rear-mount brackets to secure the front and rear mounting brackets in place.
7. Verify that the mounting screws on one side of the rack are aligned with the mounting screws on the opposite side and that
the appliance is level.
For different rack-installation methods, see the JSA Hardware Installation Guide.
Step 3: Connect to External Devices
Connect external devices using the ports on the front panel of the appliance. If you use a laptop, connect the laptop to the RJ-45
console port on the front panel of the appliance. For JSA7500, connect the laptop to the DB-9 serial console port on the back
panel.
Step 4: Connect to the Network
1. Plug an Ethernet cable into the port labeled 0 on the front panel. For JSA7500, the network port is on the back panel.
2. Plug the straight-through cable into the console port.
The management interface with port labeled 0 is the communications port for your appliance. The other monitoring interfaces
allow you to connect to SPAN or TAP ports.
Step 5: Connect to Power Source and Power On the Appliance
1. Insert the appliance coupler end of the power cord into the AC receptacle on the rear panel of the appliance.
2. If your JSA contains two power supplies:
a. Plug a power cord into each of the AC receptacles.
b. Plug the other end of the power cord into an uninterruptible power supply (UPS) or a power distribution unit (PDU).
Step 6: Configure a JSA7500 Appliance
NOTE: When using a laptop to connect to the appliance, you must use a terminal program, such as HyperTerminal,
to connect to the appliance. Be sure to set Connect Using to the appropriate COM port of the serial connector and
Bits per second to 9600. You must also set Stop Bits (1), Data bits (8), and Parity (None).
Copyright © 2018, Juniper Networks, Inc.4
Page 5

How to Set Up Your JSA7500 Appliance
1. Using a serial connection, log in as root (default username) and the password is not required:
Username: root
NOTE: The username is case sensitive.
2. Press Enter. The End User License Agreement (EULA) appears.
3. Read the information in the window. Press the Spacebar to advance each window until you have reached the end of the
agreement. Type YES to accept the agreement, then press Enter. The Appliance ID selection window appears as shown in
Figure 1.
Figure 1: JSA7500 Appliance ID Selection
4. Select the appliance ID and then press Enter to select Next.
For more information on the appliance ID, see the KB article KB14832 at https://kb.juniper.net/KB14832.
5. Select normal from the following types of setup:
•
normal—Default setup.
•
recovery—HA recovery setup.
6. Select Next. The Tuning Template window appears.
7. Select Enterprise to use to tune your appliance.
8. Select Next. The Date and Time window appears.
9. Select the method you want to use to set the date and time.
•
Manual— Allows you to manually input the date and time. Select Next.
•
Server— Allows you to specify your time server. Select Next.
10. Select your time zone continent or area, and then select Next.
11. Select your time zone region, and then select Next.
5Copyright © 2018, Juniper Networks, Inc.
Page 6

How to Set Up Your JSA7500 Appliance
12. Select one of the following Internet protocol:
•
IPv6—Internet Protocol version 6.
•
IPv4—Internet Protocol version 4.
13. Select Next. The Management Interface window appears.
14. Select port 0 to specify as the management interface and then select Next.
15. Enter the values for the following parameters to configure the JSA Settings:
•
Hostname - Type a fully qualified domain name as the system hostname.
•
IP Address - IP address of the system.
•
Network Mask - Network mask for the system.
•
Gateway - Default gateway address.
•
Primary DNS - Primary DNS server address.
•
Secondary DNS—Optional. Secondary DNS server address.
•
Public IP—Optional. Public IP address of the server.
•
Email server— E-mail server name. If you do not have an e-mail server, specify the local host in this field.
16. Select Next. The New Root Password window appears.
17. Enter your new password, and select Next. The Confirm New Root Password window appears.
18. Re-enter your new password to confirm, and select Finish. A series of messages appears as JSA continues with the installation;
this process takes from three-to-five minutes. When the JSA installation process is complete, the message window appears.
Step 7: Finish Installation
1. Select OK to complete the installation.
2. Type exit and press Enter.
Step 8: Verifying the Settings
Verify the appliance configuration settings:
1. Open your Web browser.
2. Log in to JSA with the username admin and the password <root password>.
<root password> is the new root password that you set during the configuration process.
Copyright © 2018, Juniper Networks, Inc.6
Page 7

How to Set Up Your JSA7500 Appliance
3. Click Login.
With this step, you have successfully completed the configuration, and your JSA7500 appliance is ready for use.
Powering Off the Appliance
You can power off the appliance in one of the following ways:
•
Graceful shutdown— Press and immediately release the Power button.
•
Forced shutdown— Press the Power button, and hold it for five seconds. Use this method only if the appliance is not responding
to the graceful shutdown method.
References
•
JSA Product Documentation
JSA7500 Product Documentation
•
JSA7500 Hardware Documentation
JSA7500 Hardware Guide
•
Technical Support
https://www.juniper.net/support/requesting-support.html
Juniper Networks, the Juniper Networks logo, Juniper, and Junos are registered trademarks of Juniper Networks, Inc. in the United States and other countries.
All other trademarks, service marks, registered marks, or registered service marks are the property of their respective owners. Juniper Networks assumes no
responsibility for any inaccuracies in this document. Juniper Networks reserves the right to change, modify, transfer, or otherwise revise this publication
without notice. Copyright © 2019 Juniper Networks, Inc. All rights reserved. Part Number: 530-052346 January 2019.
 Loading...