

Jscale CJ-600 Manual
PLEASE READ COMPLETE INSTRUCTIONS BEFORE USE
Thank you for purchasing The Jennings CJ 600. With normal care and proper
treatment it will provide
years of reliable service. Please read all operating
instructions carefully. You can contact us at
www.Jsca
le.com
.KEEP THE FOLLOWING POINTS IN MIND:
, If the display becomes locked on Ou12please recalibrate the scale.
, Avoid lengthy exposure to extreme heat or cold, your scale works best when
operated at normal room temperature. Alway s a
llow
the
unit
to accli mate
to a
normal
room
tempera
ture
for
at least one
hour
before use .
, Allow sufficient warm up time. Turn the scale On and wait several seconds to
give the internal components a chance to stabilize before weighing.
' Thecleanerthe environment the better. Dust,dirt. moisture, vibration,aircurrents
and proximity to other electronic equipment can allcause anadverseeffect on the
reliability and accuracy of your scale.
, Handle with care.
Gently apply all items to be weighed onto tray top. Although
this scale is designed to
bequite durable, try to avoid rough treatment as this may
permanently damage the internal sensor and void your warranty.
, Avoid shaking, dropping or otherwise shocking the scale. This is a precision
instrument and MUST BE HANDLED WITH EXTREME CARE.
'IMPORTANT
ADV
ICE: Place the
item
to be weighed on the p
latform
,
after
the stable we
ight
Is di
splayed
remove
the
item
immed
iately.
This
will pro long the
longev
ity and
accuracy
of
thisweighing
Instrument.
..' These electronic scale are precision instruments. Do not operate near an inuse cell phone, cordless phone, radio, computer or other electronic device.
These devices emit RF and can cause unstable scale readings. If your scale
ever performs
poorly, try moving the scale to a different room or location. This is
a very precise scale - the display may seem to wander or jump when weighing.
This is due to air currents or vibrations. Stable weighing is achieved
wffen the
display remains fixed for 3 seconds.
This document hosted by: www.oldwillknottscales.com
OPERATION _
Battery Operation:
1) Three
"MA
" size ALKALINE batteries are required.
2) To install batteries:
a) Release the battery cover by sliding out-wards.
b) Place batteries into battery compartment aligned correctly.
c) Replace battery cover.
DO NOT USE EXCESSIVE FORCE & DO NOT PRESS ON THE TRAY!!!
3) The scale is now ready for battery operation.
(Advanced users only) CALIBRATION
IMPORTANT:
This scale was professionally factory calibrated before shipment
and does NOT need to be recalibrated by the end user. However, if you wish to
recalibrate your scale we provide these instructions for calibration: Repeat
calibration if the scale ever shows O
U12
. Incorrect calibration can occur if you do
not follow the steps exactly. If your scale does not perform accurately, please
try replacing your batteries before you calibrate. You will need a 500gram weight
or set of weights to calibrate this scale. NOTE: if you do not have access to a
500g weight you can purchase one at your local store or in emergency situations
you can use coins or weights (ie 100 US Nickels
=500g) as a 500g weight..
1)Tum the scaleOFFand Placethe it ona Flat,verystable surface
(Be certain the scale is OFF)
2)Press andholdthe"ZIT" key for5 secondsuntil a random large
number appearsonthedisplay- thenreleasethe key.
3)PresstheZITkey again,the displaywillshow2Erothen500.0
4)Gently place a 500gramweight onthe scale andwait 3 seconds.
5)Pressthe ZITkey. The displaywill showCAL andthen PASS,
calibrationis complete. Remove theweightandturnthe scale Off.
NOTE: if after calibration your scale does not read accurately, this indicates
calibration error and the calibration process should be repeated more slowly.
Please calibrate on a
very
stableflat
surface
INACCURACY I ERR
OR,
_
The primary reasons for inaccuracy or malfunction are low batteries. incorrect
calibration, overload or operating on an unstable surface. Please keep this in
mind and maintain and operate your scale properly. The scale is a precise
instrument and must be handled with the upmost care and caution.
FEATURE._ -:-:-_
--:
::--
_
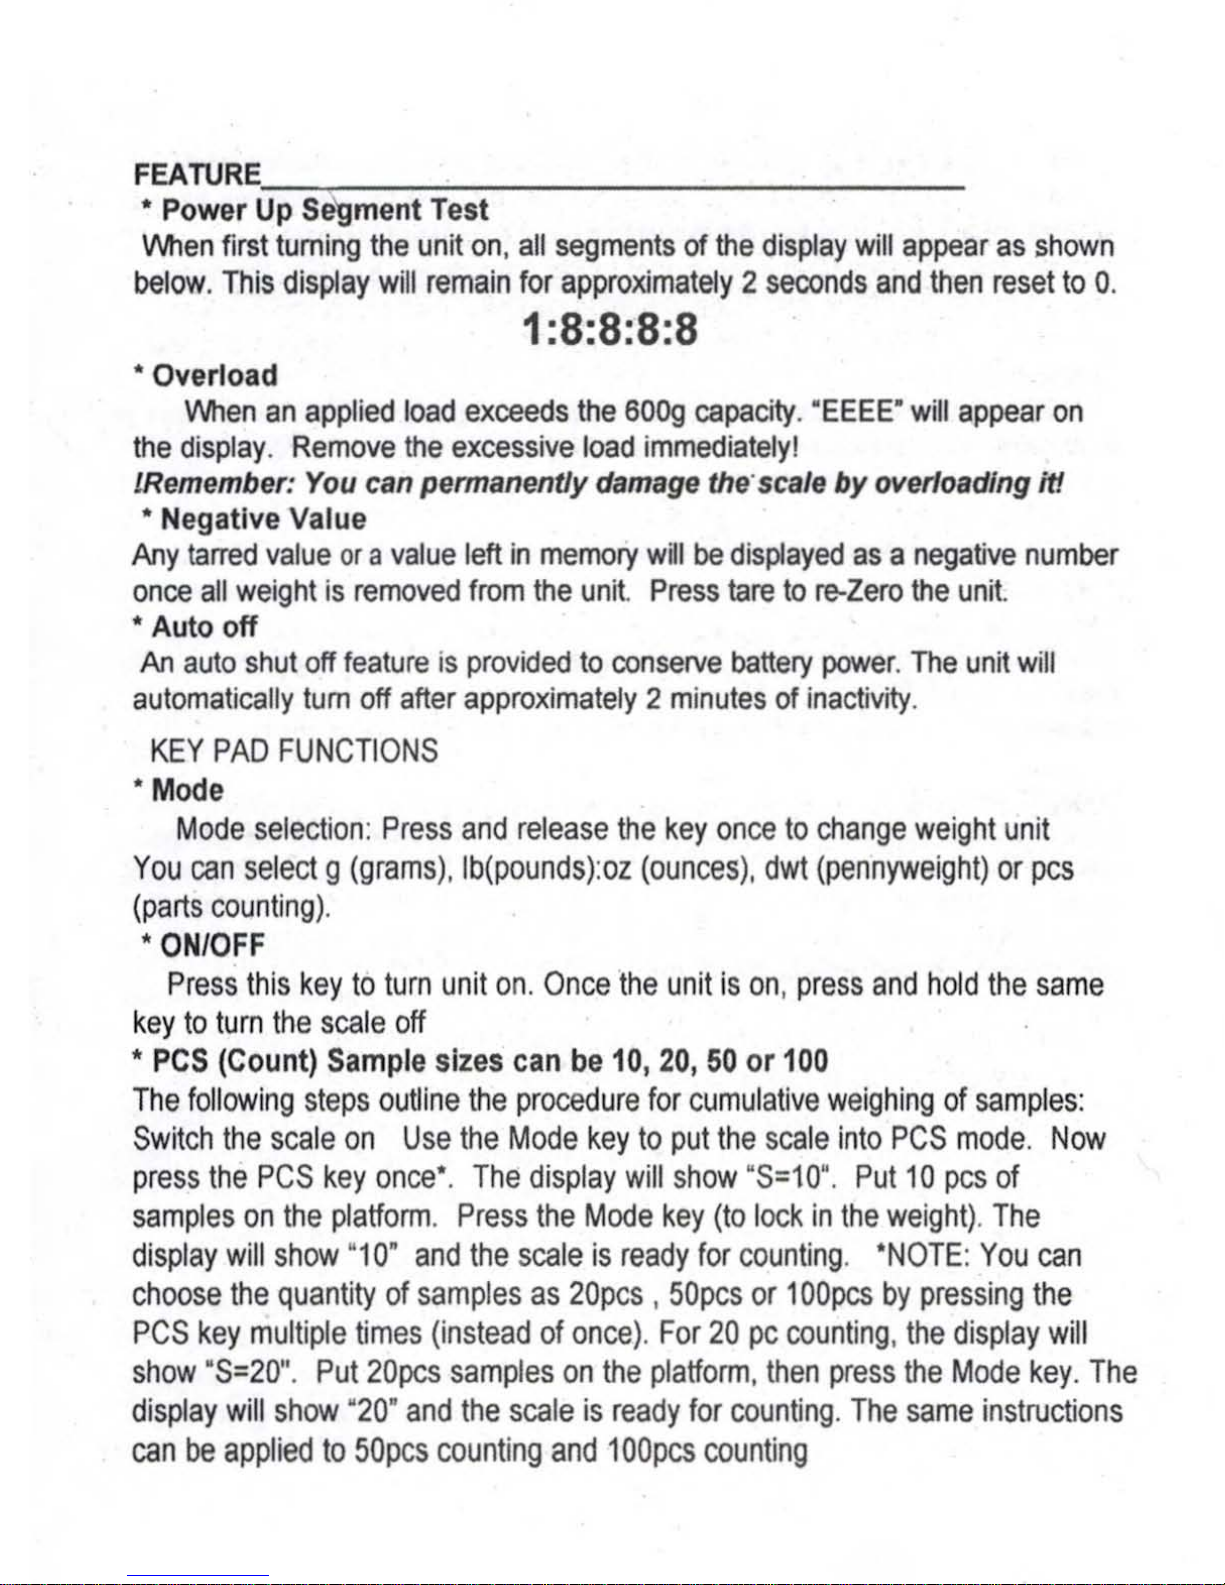
, Power UpSegment Test
VVhe
nfirsttuming theuniton, all
segments
ofthed
isplay
will
appear
ass
hown
below.This
display
will
rema
inforapp
roximately2secondsand
then
resettoo.
1:8:8:8:8
, Overload
VVh
enana
pplied
load
excee
dsthe
600g
capacity
."EEEE"willappearon
the display. Remove the
excess
iveload
immediate
lyI
IRemember: You can permanently damage the'scale by overloading it!
" NegativeValue
Any
tarred
value
ora
valu
eleft in
memory
willbe
displayed
asa
nega
tive
numbe
r
once
all
weightisremovedfrom
theunit
Press
tareto
re-Ze
rothe
unit.
' Auto off
An
auto
shutofff
eatu
reis
providedtoconserve
battery
power.
Theunit will
automat
icallytumoffafter
appro
ximately2minutes
ofinactivity.
KEYPAD
FUNCTIONS
, Mode
Mode
selection
: Press
and
releas
e thekey onceto
cha
ngeweight unit
Youcan
select
g(grams), Ib(pounds):oz(
ounces)
, dwt (pe
nnyweight)orpes
(partscounting).
, ON
IOFF
Pressthis keyto
turn
uniton. Once theunit ison, pressand
hold
the
same
keyto
turn
thescaleoff
,
PCS
(Count)
Sample
sizes can be10,20, 50 or 100
The
following
stepsoutlinethe p
roced
ureforcumulativewei
ghing
of samples:
Switchthescaleon Use the
Mode
key to put thescaleinto PCSmode. Now
pressthePCS keyonce'. The displaywill
show
"S=10". Put 10 pcsof
sampl
esonthe
platform.
Pres
sthe
Mode
key(tolock inthewe
ight)
. The
displaywillshow"10" andthescale isreadyfor
count
ing. 'NOTE: Youcan
choosethe
quantity
ofs
amples
as20pcs ,50pcs or
100pcsbypress
ingthe
PCSkey multipletimes(insteadof once). For20pc
count
ing, thed
isplay
will
show
"S=20". Put20pcs
samp
lesonthepl
atform,then
pressthe
Mode
key. The
displaywill
show
"20"andthe
scaleisready
forcounting.
The
same
instructions
canbe
appliedto50pcs
count
ingand
100p
escounting
• 'liT
Press 'liT to reset the scale to zero. This can be used for eliminating from a
sample (or a Tray/Container) the weight value oi a container weight is
permanenUyremoved for the remainder of the procedure .. Just turn the scale
ON, place the tray or container on weighing platform. and press the
ZfTkey.
The scale will show 0.0 (or 0.00) on the display and you can add items to the
container/tray.
NOTE:
lMle
n all weight are removed from the weighing tray. the tared value of
a container will be displayed as a negative number. . Cycle the power on the
scale to.reset the scale to zero.
• COVER /
BOW
L
The CJ comes with a cover that also acts as a unique pouring bowl. Please
keep
your CJ covered at all times when not in use to protect from damage
• AC
ADAP
TOR
The CJ can
be operated on AC power with a standard 4.5volt AC adaptor.
Please only use the correct AC adaptor for this scale
- an incorrect power
AC adaptor can cause damage to the scale and possible fire or injury.
·Weighmeter TM:
On the side of the display you will notice a series of bars that increase as the
load on the scale increases. This is our Weighmeter TM invention. It helps you
know the remaining capacity on the scale and also will indicate an overlo ad if
one occurs. Please use the Weighmeter TM to monitor your weighing loads
and please do not overload this scale.
(%.C
E)
 Loading...