

3 3
Robot-Arm-Assembly-Kit
Calibration
Robot 02
Release 18.08.2017 Copyright by Joy-IT 1

3 3
Index
1. Introducon & general Informaons
2. Connecng the motors & using the right values
3. Code to calibrate the motors
4. Easy calibraon with the calibraon tool
5. Service & Contact
Robot 02 - Calibration
Release 18.08.2017 Copyright by Joy-IT 2
Robot 02 - Calibration
3
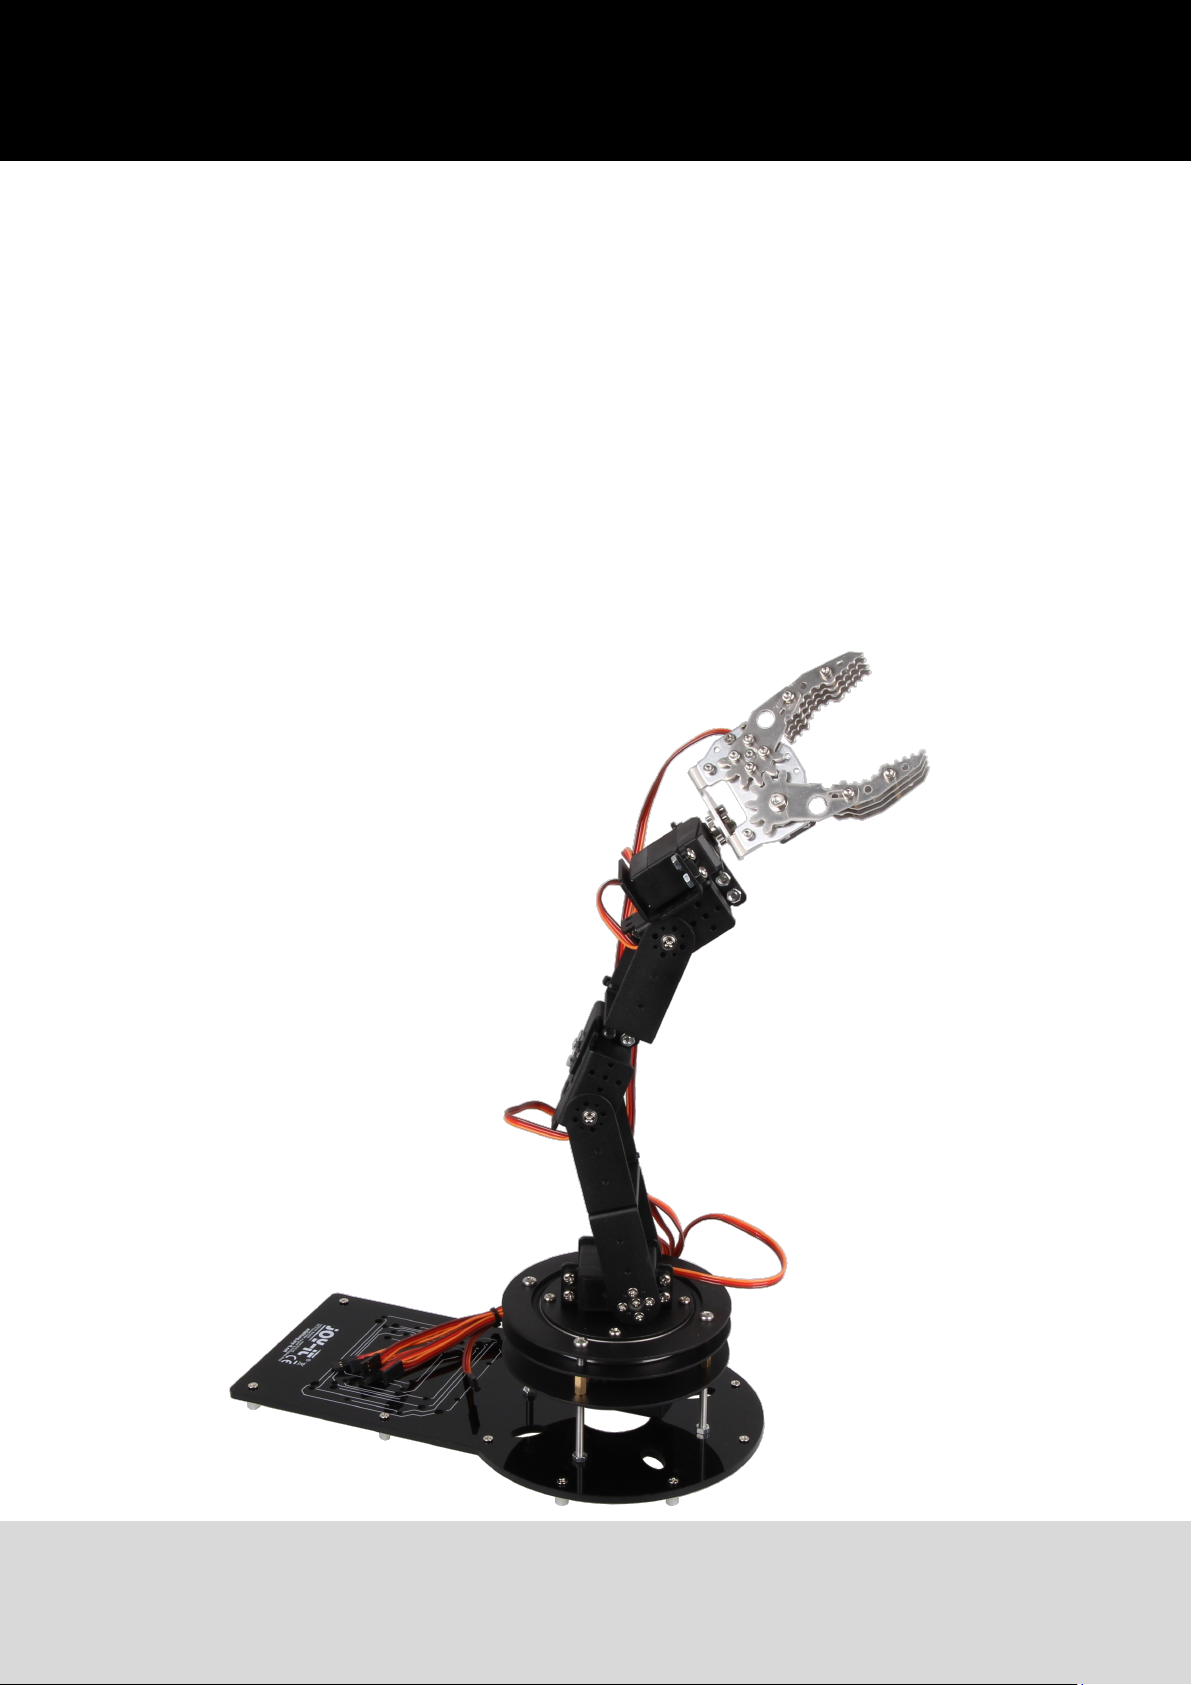
1. Introduction & general informations
Dear customer,
to ensure you a perfect product, it is necessary to calibrate the servo-motors in its posion before you
assemble them.
This is necessary due to its technical construcon. The motors are limited in their operang angle.
Therefore it is necessary to dene a preset posion before you assemble the motors into the robot arm.
This ensures that you are able to use the maximum range of moon and avoids unexpected problems
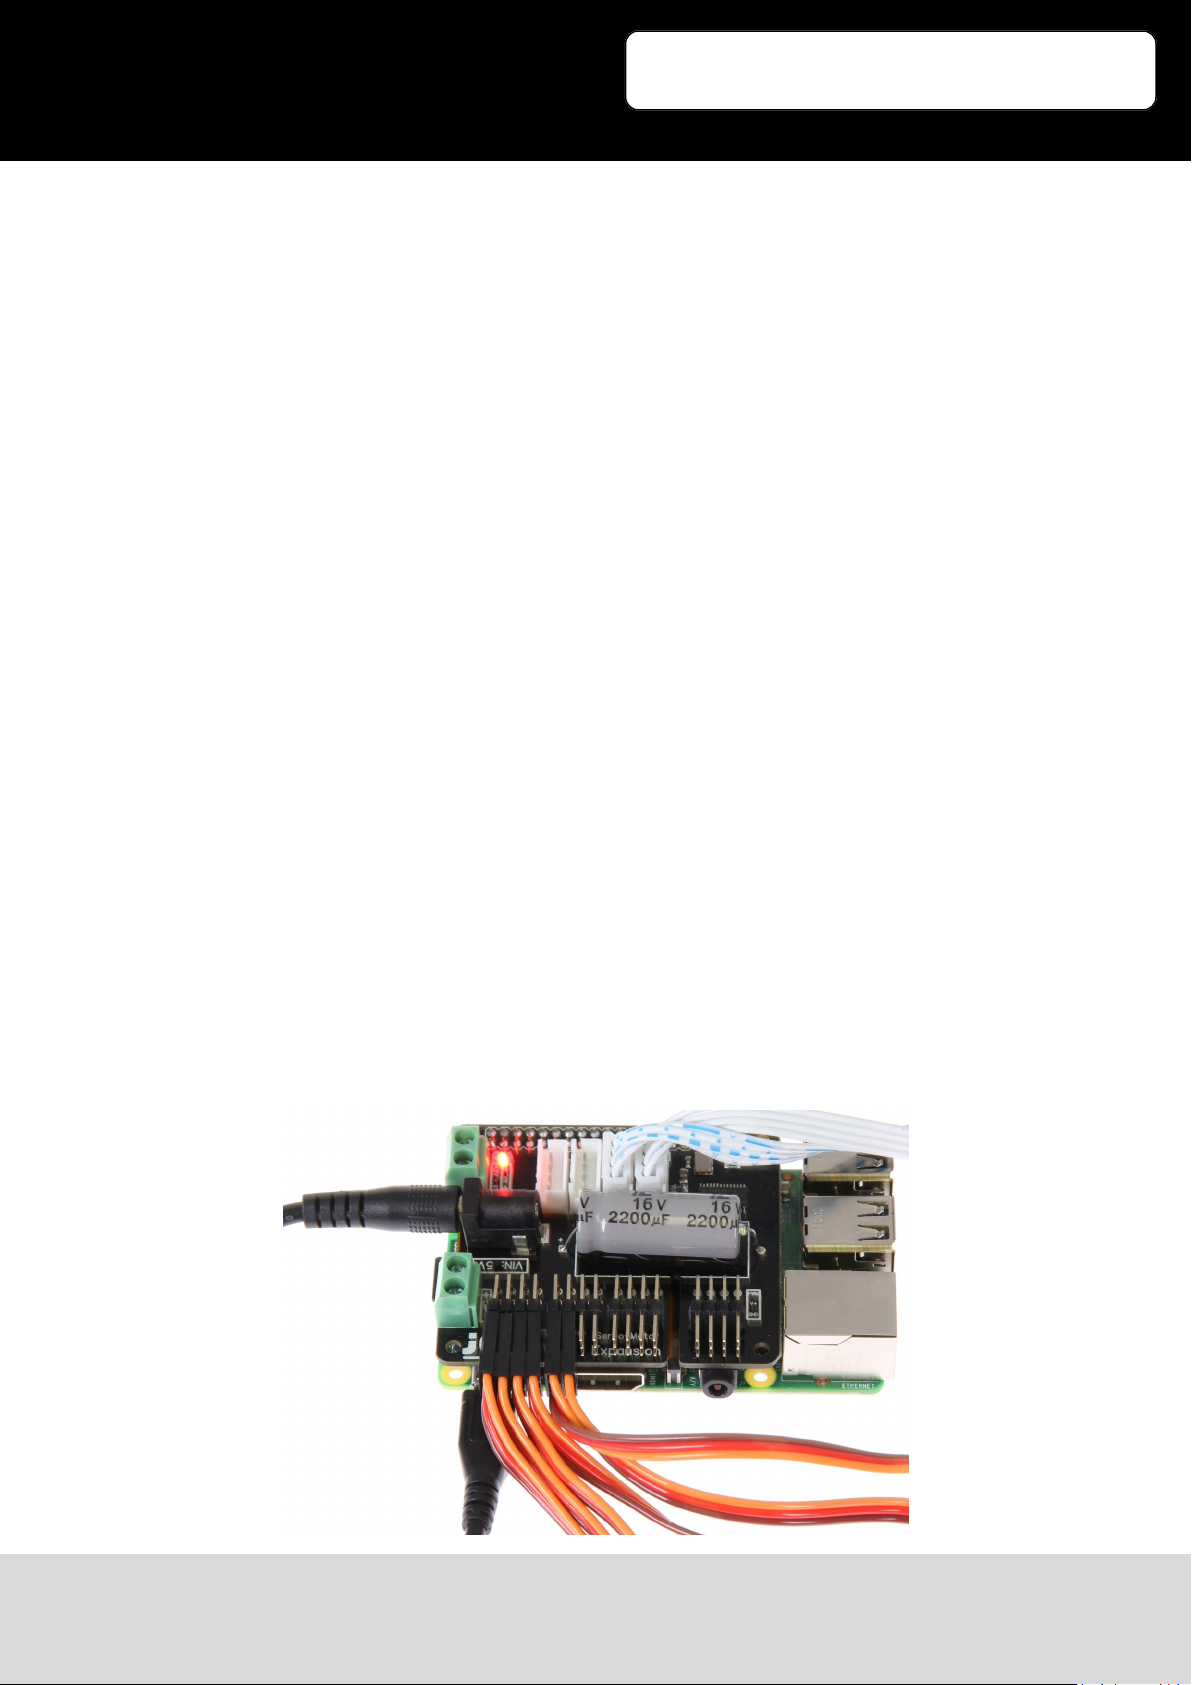
2. Connecting the motors & using the right values
For a perfect servo-motor calibraon, these should be posioned on a value of 1500.
The working angle of the last servo (the claw) has a small deviaon to the working angle of the other
motors.
Therefore this motor should be set to 1600.
Connect the motors to the channels 0-4 of the motor-control-unit.
The claw-motor should be connect to channel 5.
Connect all motors to the control-unit as seen in the image below.
Warning! You should only connect the motors when there is a controller-joysck-unit connected to the
device to avoid unexpected movements.
Release 18.08.2017 Copyright by Joy-IT 3

Robot 02 - Calibration
3
3. Code to calibrate the motors
You can calibrate the motors with the following code.
Please note that you need to connect the motor, which you are going to use for the claw, to channel 5.
Read the previous chapter for more informaons.
This code requires the installaon of our modied librarie.
If you haven‘t installed it yet, you can download the librarie here.
Copie the folder to your Raspberry Pi, navigate into the folder and install the librarie with the following
command:
sudo python setup.py install
Now you need to create a new le with the following command:
sudo nano calibrate.py
You can now write the code from the next page to the le.
Release 18.08.2017 Copyright by Joy-IT 4

3
from __future__ import division
import time
import Adafruit_PCA9685
# Initialise with alternative address
pwm = Adafruit_PCA9685.PCA9685(address=0x41)
# define the minimum & maximum pulselength
servo_min = 150 # Minimum pulselength
servo_max = 600 # Maximum pulselength
# Helper-function
def set_servo_pulse(channel, pulse):
pulse_length = 1000000
pulse_length /= 50
print('{0}us per period'.format(pulse_length))
pulse_length /= 4096
print('{0}us per bit'.format(pulse_length))
pulse *= 1000
print(pulse_length)
pulse /= pulse_length
print(pulse)
pulse = round(pulse)
print(pulse)
pulse = int(pulse)
print (pulse)
pwm.set_pwm(channel, 0, pulse)
# set frequency to 50 MHz
pwm.set_pwm_freq(50)
# Set Servo 0-4 to position 1500
# Set Servo 5 to position 1600
set_servo_pulse(0,1.5)
time.sleep(1.5)
set_servo_pulse(1,1.5)
time.sleep(1.5)
set_servo_pulse(2,1.5)
time.sleep(1.5)
set_servo_pulse(3,1.5)
time.sleep(1.5)
set_servo_pulse(4,1.5)
time.sleep(1.5)
set_servo_pulse(5,1.5)
time.sleep(1.5)
Robot 02 - Calibration
Release 18.08.2017 Copyright by Joy-IT 5

Robot 02 - Calibration
3
You can save the le with the combinaon CTRL+O and leave it with CTRL+X.
Start the calibraon with the following command:
sudo python calibrate.py
4. Easy calibration with the calibration tool
You can also use the calibraon tool which is sold separately.
With this device you can calibrate your motors easy and quick without connecng it to your Raspberry Pi.
Release 18.08.2017 Copyright by Joy-IT 6

Robot 02 - Calibration
3
7. Service & Contact
We also support you aer your purchase.
If there are any quesons le or if you encounter any problems, please feel free to contact us by mail,
phone or our cket-supportsystem.
E-Mail: service@joy-it.net
Ticket-System: hp://support.joy-it.net
Phone: +49 (0)2845 98469 – 66 (11- 18 Uhr an Werktagen)
For more informaons, visit our website
www.joy-it.net
Find latest downloads at
hp://downloads.joy-it.net
Declaration of conformity
As manufacturer we, the Joy-IT Europe GmbH, declare that our product Robot02 matches the essenal
requirements during the intended use:
EMV-Richtlinie 2014/30/EU RoHS-Richtlinie 2011/65/EU
You can request the detailed declaraon of conformity at the following address:
JOY-iT Europe GmbH , Pascalstr. 8, D-47506 Neukirchen-Vluyn or by mail service@joy-it.net
13.07.2017 Yue Yang director
Warning. This declaraon of conformity only applies for our delivered components of the kit.
The motors keep the condions of the EMV guideline during the use of the declared voltage.
By adding own parts, you become the manufacturer and need to ensure that your device matches the
regulaons.
Release 18.08.2017 Copyright by Joy-IT 7
 Loading...