

Ausgabe 30.06.2017 Copyright by Joy-IT 1
3
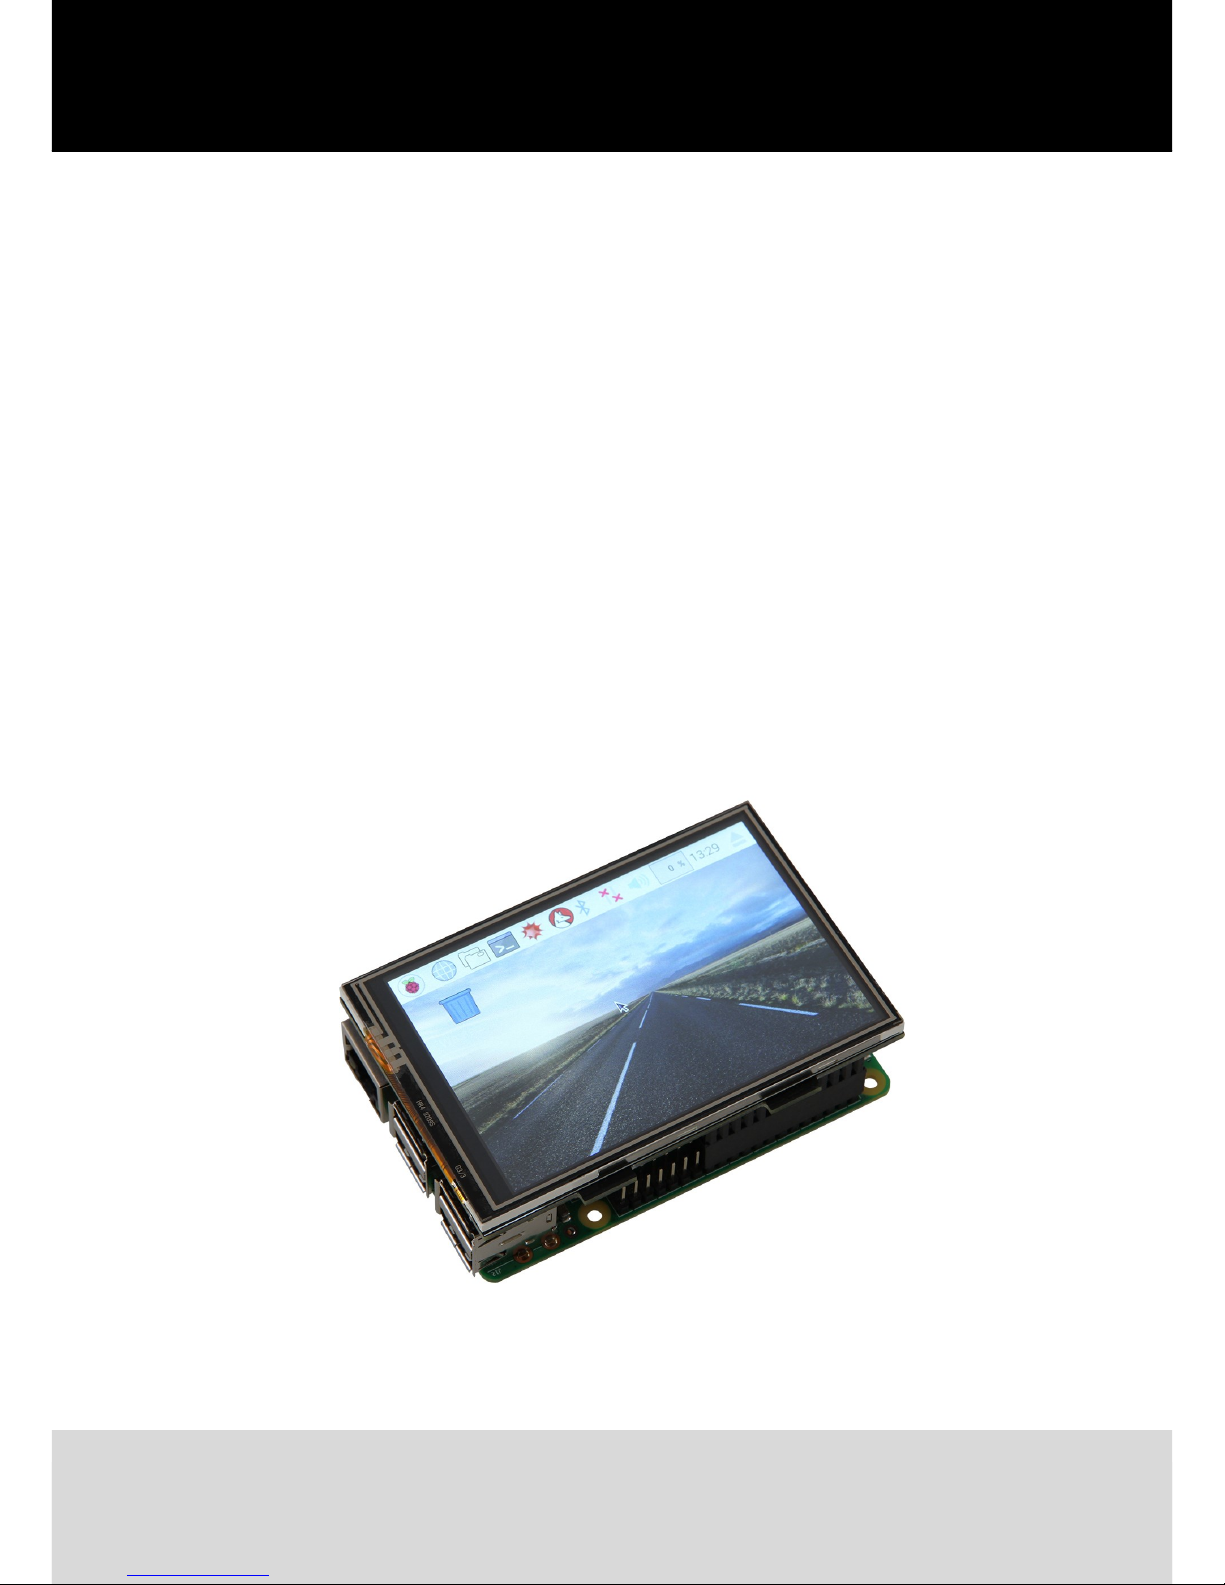
3.2 / 3.5 Touch-Display

Ausgabe 30.06.2017 Copyright by Joy-IT 2
3
3.2“ / 3.5“ Touch-Display
Index
1. Using with a Raspberry Pi
1.1 Connecon
1.2 Installing the soware
1.3 Using the buons on the 3.2“ TFT
1.4 Calibrang the touchscreen
1.5 Simultaneously using the LCD and the HDMI output
Ausgabe 30.06.2017 Copyright by Joy-IT 3
Dear customer
Thank you for purchasing our product.
Please note the following instrucons:
Plug the 3.2“/3.5“ TFT-Display on the Raspberry Pi so that the display is plugged onto the rst 26 PINs of
the GPIO connector strip.
The backlight should light up now.
1. Using with a Raspberry Pi
1.1 Connecon

Ausgabe 30.06.2017 Copyright by Joy-IT 4
1.2 Installing the soware
Wring a prepared Image-File to a SD-Card
Install, on your SD-Card, the FBTFT Image with the „Win32 Disk Imager“-Program. You can download the
image les here:
3,2“ LCD Image-Download
3,5“ LCD Image-Download
[Expert secon]
Manual installaon of the FBTFT-Modules
If you are already using a Raspbian Jessie Image and want to upgrade this with the 3.2“/3.5“ TouchscreenTFT, then you can also install the needed FBTFT modules.
First, the „cong.txt“-File needs to be edited.
Therefore, the following lines needs to be appended.
You can edit the le directly on your Raspberry Pi with the following command:
You can save your changes by pressing Ctrl+X and by conrming with „Y“ and „Enter“.
For the 3.2“ TFT:
For the 3.5“ TFT:
sudo nano /boot/config.txt
dtparam=spi=on
dtoverlay=joy-IT-Display-Driver-32b-overlay:rotate=270,swapxy=1
dtparam=spi=on
dtoverlay=joy-IT-Display_Driver-35a-overlay:rotate=270,swapxy=1

Ausgabe 30.06.2017 Copyright by Joy-IT 5
You also need to edit the „/boot/cmdline.txt“-File. Enter the following command:
Append to the already exisng rst line the following command:
This le can also be saved by pressing „Ctrl+X“.
Next, the „/usr/share/X11/xorg.conf.d/99-calibraon.conf“-File needs to be recongured.
Enter the command:
The following lines needs to be appended:
This le can also be saved by pressing „Ctrl+X“.
The „/usr/share/X11/xorg.conf.d/99-turbo.conf“-File also needs some changes.
Enter the command:
And change the line...
…, so that „0“ changes to „1“. The line should look like:
This le can also be saved by pressing „Ctrl+X“.
The required drivers are now needed to be installed.
Therefore, the Raspberry Pi needs to be connected to the internet.
sudo nano /boot/cmdline.txt
fbcon=map:10
sudo nano /usr/share/X11/xorg.conf.d/99-calibration.conf
Section "InputClass"
Identifier "calibration"
MatchProduct "ADS7846 Touchscreen"
Option "Calibration" "160 3723 3896 181"
Option "SwapAxes" "1"
Option "TransformationMatrix" "1 0 0 0 -1 1 0 0 1"
EndSection
sudo nano /usr/share/X11/xorg.conf.d/99-fbturbo.conf
Option "fbdev" "/dev/fb0"
Option "fbdev" "/dev/fb1"

Ausgabe 30.06.2017 Copyright by Joy-IT 6
Choose your display size and enter the three commands.
Commands for the 3.2“ LCD
Commands for the 3.5“ LCD
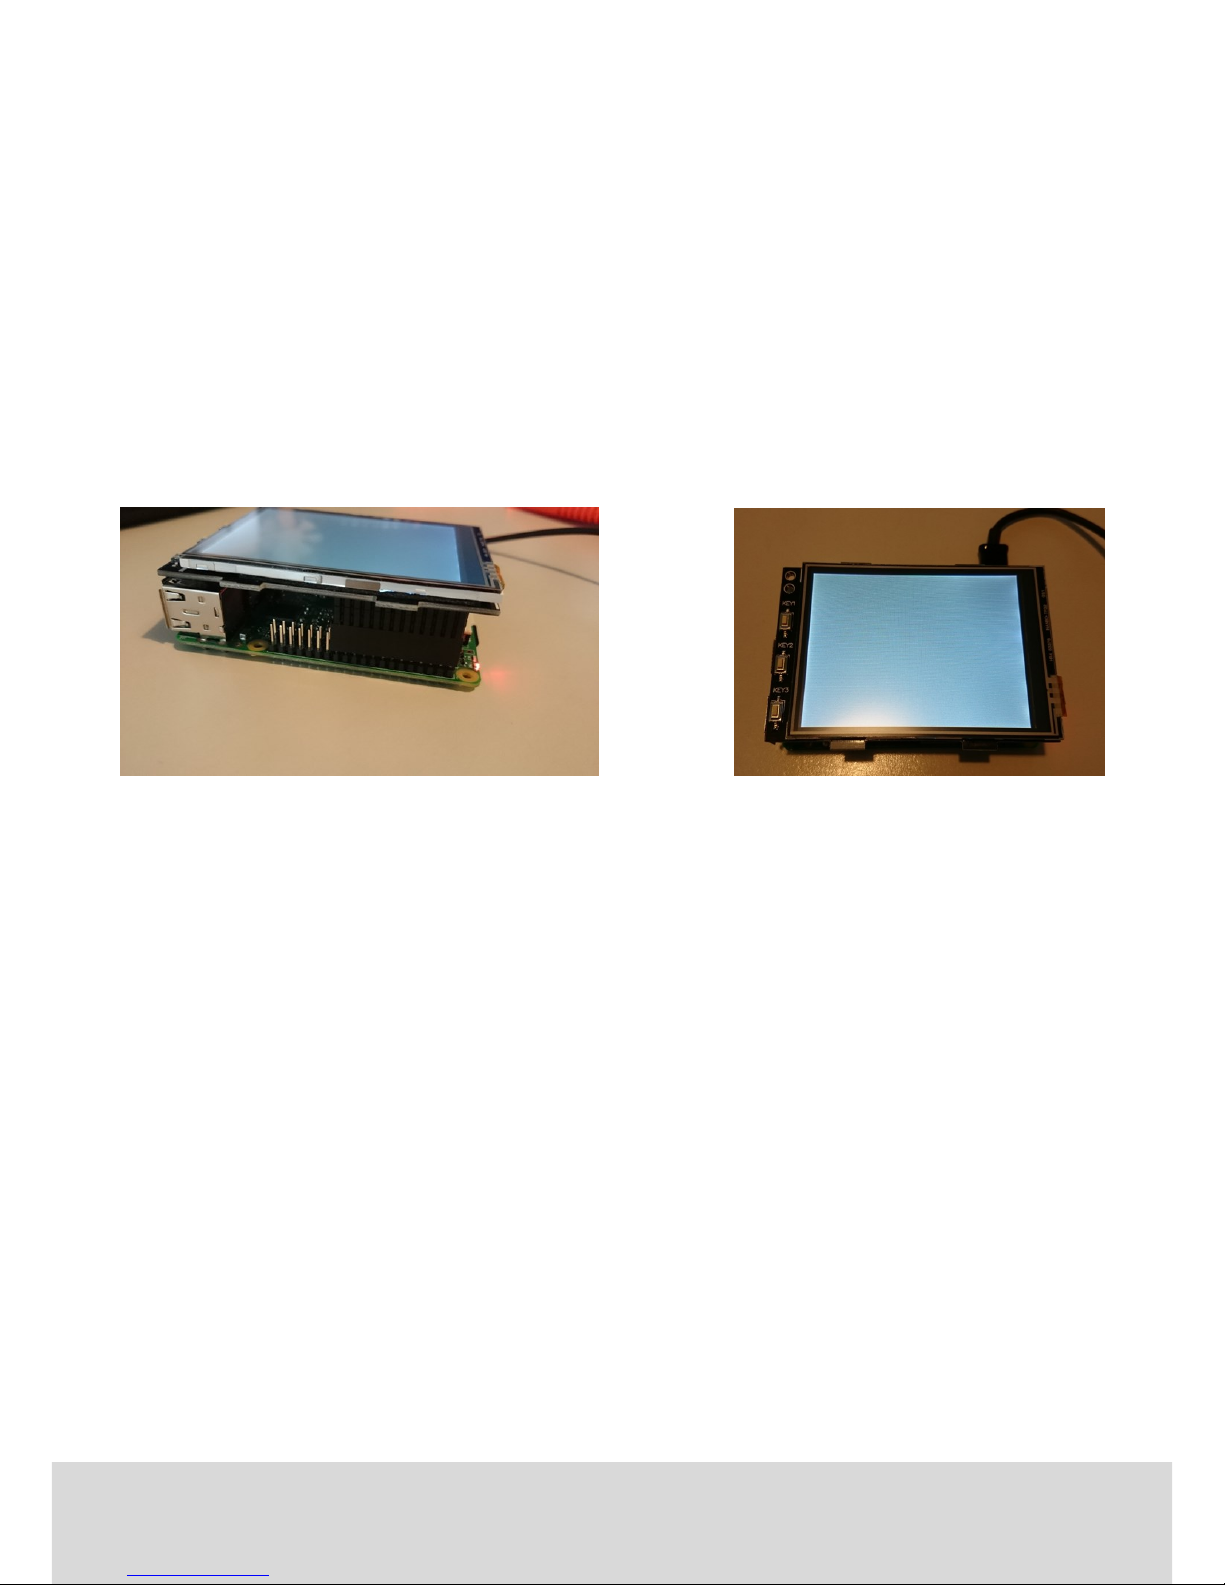
1.3 Using the buons on the 3.2“ TFT
There are three buons mounted to the side of the display. These buons are assigned to the following
GPIO connecons of the Raspberry Pi:
[Key1] - > GPIO12
[Key2] - > GPIO16
[Key3] - > GPIO18
By pressing the buon, the associated signal is pulled to GND (Acve_LOW).
1.4 Calibrang the touchscreen
If necessary, you can calibrate the touchscreen with the following steps:
At rst, download and install the calibraon-tool with the following command:
By using the command…
...you can start the tool.
You will now see 4 points, one aer another, on the display.
sudo apt-get install -y xinput-calibrator
DISPLAY=:0.0 xinput_calibrator
cd /tmp
wget anleitung.joy-it.net/upload/joy-IT-Display-Driver-32b-overlay.dtb
sudo cp joy-IT-Display-Driver-32b-overlay.dtb /boot/overlays/joy-IT-Display-Driver32b-overlay.dtbo
cd /tmp
wget anleitung.joy-it.net/upload/joy-IT-Display_Driver-35a-overlay.dtb
sudo cp joy-IT-Display_Driver-35a-overlay.dtb /boot/overlays/joy-IT-Display_Driver-
35a-overlay.dtbo

Ausgabe 30.06.2017 Copyright by Joy-IT 7
Aerwars, you will see 4 values which needs to be entered as new calibraon-data to the
„99-calibraon.conf“ at:
The rst value is assigned to „MinX“, the second to „MaxX“, the third to „MinY“ and the fourth to
„MaxY“.
Restart your Raspberry Pi, aer saving your changes, to load your new calibraon-prole.
1.5 Simultaneously using the LCD and the HDMI output
To simultaneously use the LCD display aswell as the HDMI output, some addional conguraon is needed.
At rst, the „Framebuer-Copy“-program needs to be compiled and installed with the following steps:
To automacally start this programm, while boong the Raspberry Pi, you need to edit the following le…
… and append the following line right before toe line with the „exit 0“.
Now you need to edit the „/boot/cong.txt“-File.
Here you can congure the resoluon of HDMI-output and LCD-Display by commenng the needed block
of “hmdi_group”,”hdmi_mode” and “hdmi_cvt”.
The following example is congured for a resoluon of 800x600.
“Option "Calibration" "160 3723 3896 181"
cd /tmp
wget http://www.joy-it.net/anleitungen/rpi/tft35a/waveshare35a-overlay.dtb
sudo apt-get install -y cmake
git clone https://github.com/tasanakorn/rpi-fbcp
mkdir -p rpi-fbcp/build
cd rpi-fbcp/build
cmake ..
make
sudo install fbcp /usr/local/bin/fbcp
sudo nano /etc/rc.local
fbcp &

Ausgabe 30.06.2017 Copyright by Joy-IT 8
For 4:3 resoluons:
hdmi_ignore_edid=0xa5000080
hdmi_force_hotplug=1
###########################################################################
#### Resolution-configuration - needed group needs to be uncommented ####
##### 4:3 ######
## Configuration for 320x240 (native resolution of the 3.2“ TFT-Display)##
#hdmi_group=2
#hdmi_mode=87
#hdmi_cvt=320 240 60 1 0 0 0
## Configuration for 640x480 ##
#hdmi_group=2
#hdmi_mode=87
#hdmi_cvt=640 480 60 1 0 0 0
## Configuration for 720x540 ##
#hdmi_group=2
#hdmi_mode=87
#hdmi_cvt=720 540 60 1 0 0 0
## Configuration for 800x600 ##
hdmi_group=2
hdmi_mode=87
hdmi_cvt=800 600 60 1 0 0 0
## Configuration for 1024x768 ##
#hdmi_group=2
#hdmi_mode=87
#hdmi_cvt=1024 768 60 1 0 0 0
################################

Ausgabe 30.06.2017 Copyright by Joy-IT 9
For 16:9 resoluons:
At last, the „/usr/share/X11/xorg.conf.d/99-calibraon.conf“ needs to be congured again.
Enter the following command:
And change the following line…
…, so that „1“ is changed to its original value „0“ (this is needed to use the Framebuer-Copy):
This le can also be saved by pressing „Ctrl+X“.
hdmi_ignore_edid=0xa5000080
hdmi_force_hotplug=1
###########################################################################
#### Resolution-configuration - needed group needs to be uncommented ####
##### 16:9 #####
## Configuration for 1280x720 ##
#hdmi_group=2
#hdmi_mode=87
#hdmi_cvt=1280 720 60 3 0 0 0
## Configuration for 1600x900 ##
#hdmi_group=2
#hdmi_mode=87
#hdmi_cvt=1600 900 60 3 0 0 0
## Configuration for 1920x1080 ##
#hdmi_group=2
#hdmi_mode=87
#hdmi_cvt=1920 1080 60 3 0 0 0
###############################
sudo nano /usr/share/X11/xorg.conf.d/99-fbturbo.conf
Option "fbdev" "/dev/fb1"
Option "fbdev" "/dev/fb0"
 Loading...