

StromPi 3

StromPi 3
Publis hed: 15.1 0.2018 Copyright by J o y-IT 2
1. Introduction
2. Overview
3. Power Sources
4. Serial Console
5. Input Prioritization
6. Time-Controlled Applications
6.1 Real Time Clock
6.2 Shut-Down Timer & Power-Off Alarm
6.3 Alarm Mode
7. Support
8. EU Declaration of Conformity
TABLE OF CONTENTS
StromPi 3
Publis hed: 15.1 0.2018 Copyright by J o y-IT 3
Dear customer,
thank you for choosing our product.
In the following, we will show you what to observe during the use.
If you encounter any unexpected problems during use, please do not hesitate to contact us.
Under heavy load the StromPi 3 can heat up. Do not touch the board during
operation to avoid burns. Also allow a good air supply to prevent the unit from
overheating.
1. INTRODUCTION
2. OVERVIEW
StromPi 3
Publis hed: 15.1 0.2018 Copyright by J o y-IT 4
The StromPi 3 can be supplied from three different power sources.
In the event of a power failure, the StromPi 3 automatically switches continuously to the
power source configured as secondary.
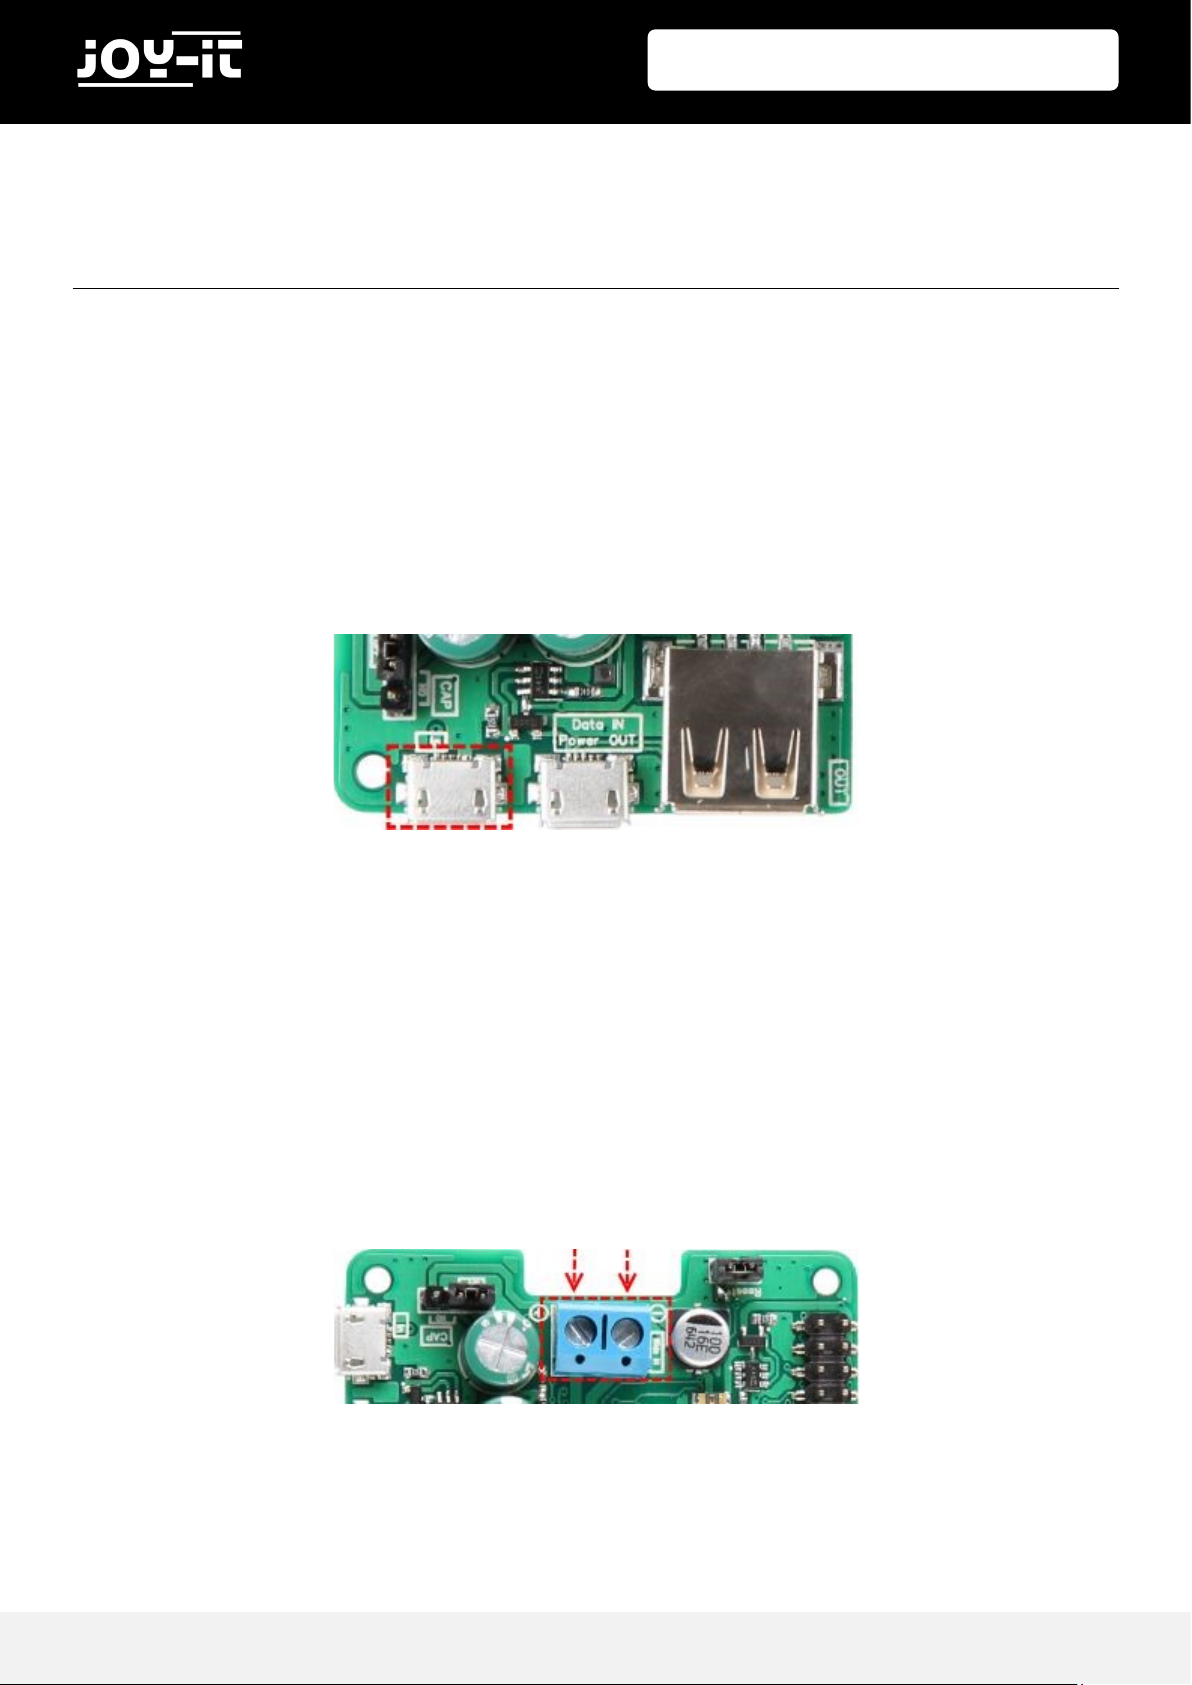
MICROUSB
The StromPi 3 can, as usual, be powered via a microUSB connector.
WI DE-RANGE
In "Wide" mode, the StromPi 3 can be operated via a voltage source in the range of 6 - 61V.
Simply connect any power source, such as power supplies or an on -board power supply, to
the marked connector.
Attention! The voltage source must be in the range of 6 - 61V when switched on. Please pay
attention to the polarity to avoid damage to the Raspberry Pi and the StromPi.
3. POWER SOURCES

StromPi 3
Publis hed: 15.1 0.2018 Copyright by J o y-IT 5
BATTERY-UNIT
The StromPi3 can also be extended with an optional 1000mAh LiFePO4 battery to include a
rechargeable emergency power source.
The separately available battery unit is simply connected to the StromPi 3
and can then be prioritized as a voltage source.
With the GPIO bar in place, there are no restrictions on the use of the battery unit.
A special innovation of the StromPi 3 is the configuration option.
You can configure and adapt your StromPi 3 according to your wishes.
These include input prioritization, optional shutdown, alarm and power -off modes.
ACTIVATING THE SERIAL COMM UNI CATION
To use these functions, the module screen is required.
Open the console on your Raspberry Pi and install the module by entering the following
commands:
sudo apt-get install screen
4. SERIAL CONSOLE
sudo apt-get install python-serial python3-serial
StromPi 3
Publis hed: 15.1 0.2018 Copyright by J o y-IT 6
Add the following line to the end of the file:
dtoverlay=pi3-miniuart-bt
enable_uart=1
core_freq=250
Save the file with the key combination Ctrl+O and exit the file with the combination Ctrl+X.
sudo nano /boot/config.txt
If you are using a 3rd generation Raspberry Pi, it is now necessary to
deactivate the Bluetooth interface, otherwise the serial interface cannot be used for communication.
Open the config.txt file with the following command:
StromPi 3
Publis hed: 15.1 0.2018 Copyright by J o y-IT 7
In addition, it is necessary to activate the serial interface of the Raspberry Pis and to
deactivate the serial console.
You can do this either via the Raspberry Pi Configuration or via the Raspi -Config.
To do this via the Raspi-Config, enter the following command in a terminal window on your
Raspberry Pi:
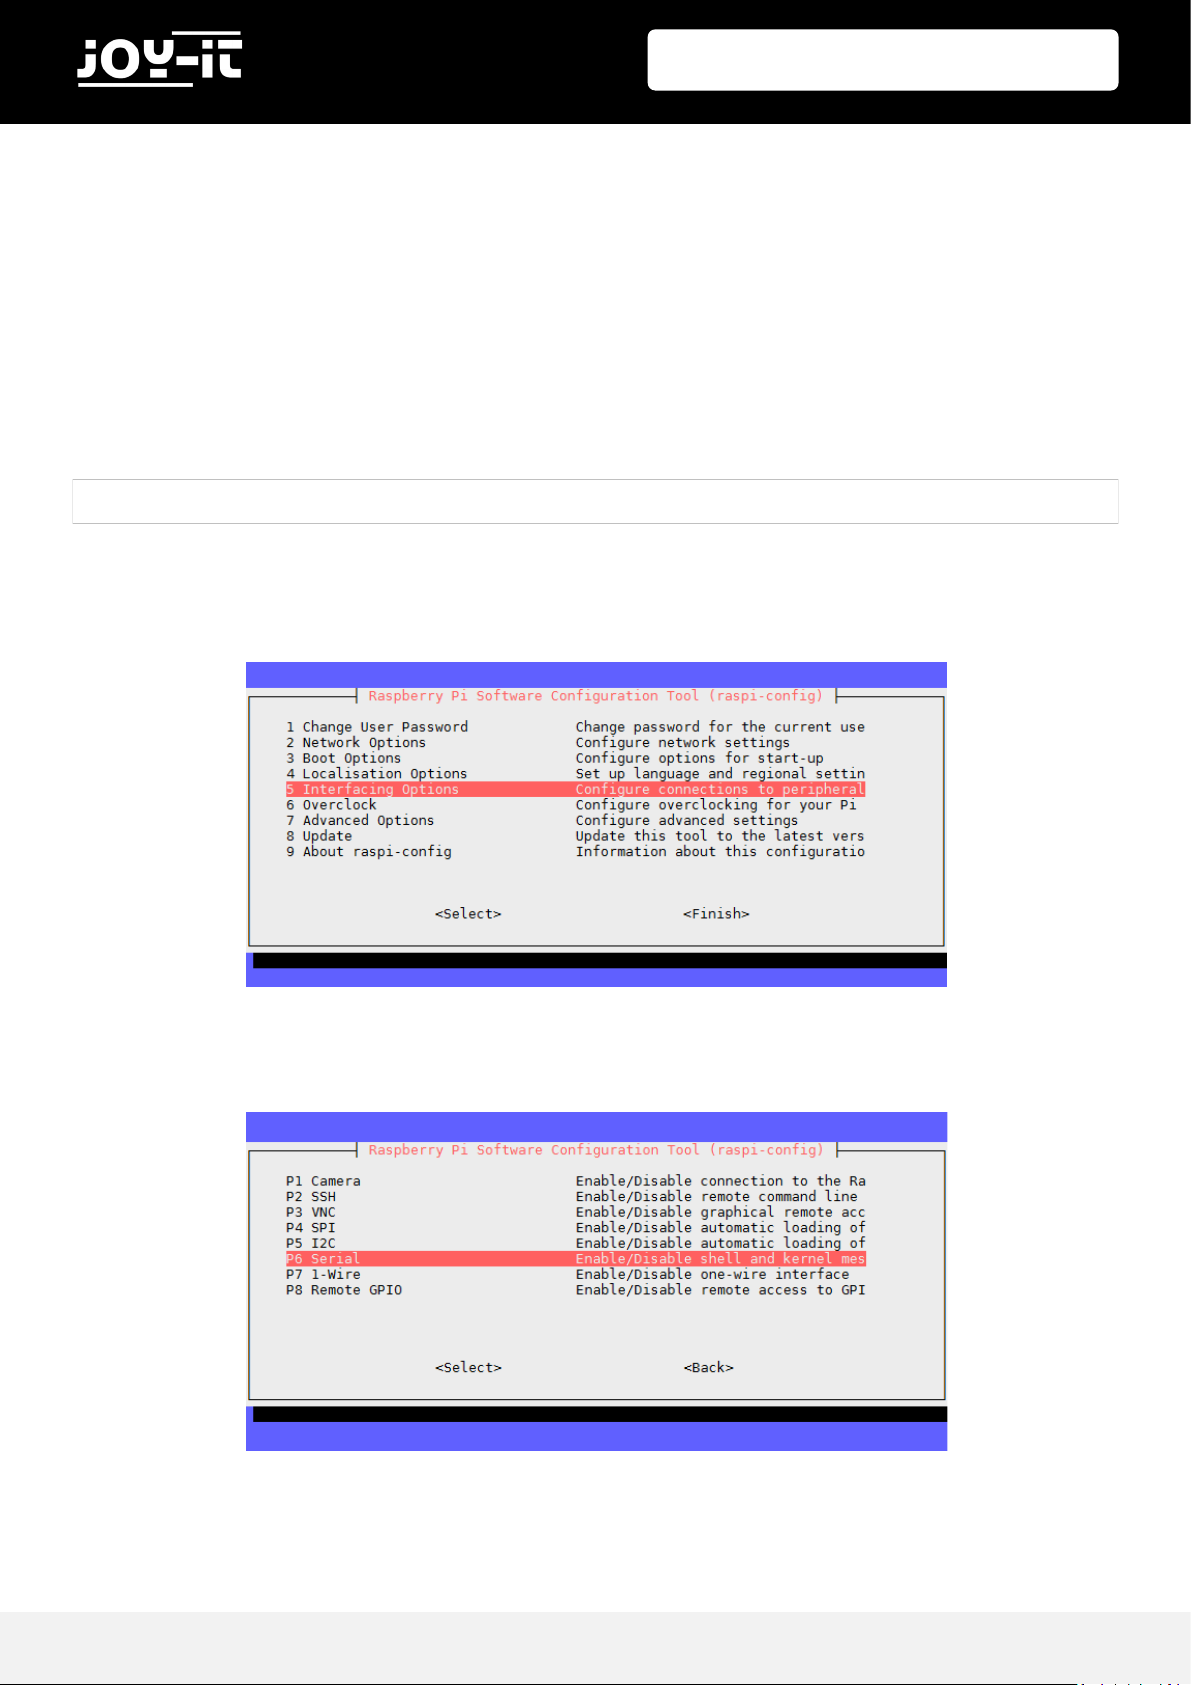
Use the arrow keys on your keyboard to navigate to the "5 Interfacing Options" menu item.
Select "P6 Serial" here.
sudo raspi-config

StromPi 3
Publis hed: 15.1 0.2018 Copyright by J o y-IT 8
Answer the question "Would you like a login shell to be accessible over serial?“ with
„No“.
Answer the question "Would you like the serial port hardware to be enabled?“ with „Yes“.
After a new confirmation you can leave the menu with " Finish".
Answer the question about restarting the device with "Yes".
The serial port is now enabled and the serial console is disabled.

StromPi 3
Publis hed: 15.1 0.2018 Copyright by J o y-IT 9
OPENING THE SERIAL CONSOLE OF THE STROMPI 3
You can open the StromPi 3 console with the following command:
The serial console of the StromPi 3 opens. You can view the current configuration setting of
your device with the show-status command.
The help command provides a general overview.
sudo screen /dev/serial0 38400
startstrompiconsole
Attention! The system now waits for another entry and may not display your next
keystrokes.
Enter the following command and confirm it with Enter, even if you may not see
your entry:

StromPi 3
Publis hed: 15.1 0.2018 Copyright by J o y-IT 10
The voltage source from which the StromPi 3 draws its energy can be set according to your
wishes and application.
In addition, a second power source can be selected, which automatically takes over the
supply in case the first source fails.
The factory setting is configured to use the microUSB input as the main power source. If
this fails, the wide-range input is automatically switched on as an alternative source.
A total of four different modes are available. The primary voltage source serves as the main
power source. The secondary voltage source is automatically switched on in case the
primary source fails.
You can activate the mode with the following command:
strompi-mode <modenumber>
MODE PRIM. POWER SOURCE SEC. POWER SOURCE
Mode 1 microUSB Wide-Range
Mode 2 Wide-Range microUSB
Mode 3 microUSB Battery
Mode 4 Wide-Range Battery
5. INPUT PRIORITIZATION

StromPi 3
Publis hed: 15.1 0.2018 Copyright by J o y-IT 11
6.1 REAL TIME CLOCK
The real-time clock (RTC) of the StromPi 3 can be configured with the following commands:
CONFIGURATI ON OF THE TIME
Example:
CONFIGURATI ON OF THE DATE
Example:
The entry "weekday" stands for the numeric day of the week:
1: Monday
2: Tuesday
3: Wednesday
4: Thursday
5: Friday
6: Saturday
7: Sunday
The right input format for the date would be „ set-date dd mm yy w“
set-clock <hour> <minute> <second>
set-clock 20 00 00
set-date <day> <month> <year> <weekday>
set-date 01 06 18 5
6. TIME-CONTROLLED APPLICATIONS
Attention! When entering commands, make sure that they are entered correctly.
The system does not accept any other entries.
The StromPi 3 also has a real-time clock.
If the power fails, even time-controlled applications are not endangered. Time controlled startup and shutdown of the Raspberry Pis are also no problem!

StromPi 3
Publis hed: 15.1 0.2018 Copyright by J o y-IT 12
AUTOMATIC TI ME-CONFIGURATI ON
The StromPi 3 is also capable of automatically detecting and correcting incorrect time
configurations.
This is done by a separate script, which must be active in the background.
With this script, if the times of the Raspberry Pis and the StromPi 3 differ from each other,
it is assumed that the more current of the two times is the correct time.
In this case, the older time is automatically adjusted to the newer time.
You can download the time update script here. Download the archive, extract the script
and copy it to your Raspberry Pi.
The script can be copied into the autostart of your Raspberry Pis as follows:
sudo nano /etc/rc.local

StromPi 3
Publis hed: 15.1 0.2018 Copyright by J o y-IT 13
Here you can add the script to the autostart. The following command must be inserted
before the "exit 0" command.
If you have not copied the script into the folder " /home/pi", you have to adjust the path
accordingly.
Save the file with the key combination CTRL+O, confirm with Enter and exit the editor with
the combination CTRL+X.
The changes take effect after a restart.
python /home/pi/RTCSerial.py &

StromPi 3
Publis hed: 15.1 0.2018 Copyright by J o y-IT 14
6.2 SHUT-DOWN TIMER & POWER-OFF ALARM
Download the archive, extract the script and copy it to your Raspberry Pi.
The script can be copied into the autostart of your Raspberry Pis as follows:
Here you can add the script to the autostart. The following command must be inserted
before the "exit 0" command.
If you have not copied the script into the folder " /home/pi", you have to adjust the path
accordingly.
Save the file with the key combination CTRL+O, confirm with Enter and exit the editor with
the combination CTRL+X.
The changes take effect after a restart.
sudo nano /etc/rc.local
python /home/pi/serialShutdown.py &
Attention! For the automatic shutdown and startup an additional script is necessary, which receives and processes the shutdown signal of the StromPis. You can
download the script here.

StromPi 3
Publis hed: 15.1 0.2018 Copyright by J o y-IT 15
SHUTDOWN-TIMER
The StromPi 3 has a shutdown timer that automatically shuts down your Raspberry Pi after
a primary power failure is detected.You can individually adjust the time span when the
shutdown takes place after the power supply fails to suit your needs.
For example, if you set the shutdown timer to 600 (600 seconds -> 10 minutes), the system
behaves as follows:
The time span can be set with the following command:
The timer can be activated or deactivated with the following command:
set-timer <seconds>
Attention! Only use single-digit numbers for the option entry. A 1 activates the
alarm, a 0 deactivates the alarm.
shutdown-enable <Option>

StromPi 3
Publis hed: 15.1 0.2018 Copyright by J o y-IT 16
POWER-OFF-ALARM
The StromPi 3 can shut down your Raspberry Pi time -controlled.
To configure a time you can use the following command:
You can activate or deactivate the power-off alarm with this command:
poweroff-set-time <hour> <minute>
poweroff-enable <option>
Attention! Only use single-digit numbers for the option entry. A 1 activates the
alarm, a 0 deactivates the alarm.
Attention! Only use two-digit numbers for the time entries (for example 05 15 for
05:15 AM).

StromPi 3
Publis hed: 15.1 0.2018 Copyright by J o y-IT 17
6.3 ALARM-MODE
The StromPi 3 can automatically start your Raspberry Pi at certain times.
The following modes are available:
To configure the alarm mode, use the following command:
The alarm can be activated with this command:
alarm-mode <modenumber>
Mode 1 Daily time alarm
Mode 2 Date controlled time alarm
Mode 3 Weekly time alarm
alarm-enable <option>
Attention! Only use single-digit numbers for the option entry. A 1 activates the
alarm, a 0 deactivates the alarm.
Attention! Your Raspberry Pi can only be started via the alarm mode if it has
previously been automatically shut down via the power-off alarm. A manual
shutdown is alternatively possible with the serial command "poweroff".

StromPi 3
Publis hed: 15.1 0.2018 Copyright by J o y-IT 18
Attention! Use only two-digit numbers for entering hours and minutes.
The following commands can be used to configure the alarm time:
Configuration of the alarm time:
Configuration of the alarm weekday:
The day of the week is the numeric day of the week:
1: Monday
2: Tuesday
3: Wednesday
4: Thursday
5: Friday
6: Saturday
7: Sunday
alarm-set-weekday <weekday>
alarm set-time <hour> <minute>
Attention! When entering commands, make sure that they are entered correctly.
The system does not accept any other entries.

StromPi 3
Publis hed: 15.1 0.2018 Copyright by J o y-IT 19
Configuration of the date alarm:
The alarm mode and the power-off alarm can of course be combined with each other. You
can configure an individual start-stop behavior for your Raspberry Pi (e.g. boot up every
Monday at 16:00 and shut down every Wednesday at 11:00).
Thus, your Raspberry Pi is only active in the time window in which the tasks that arise must
be processed.
alarm-set-date <day> <month>
Attention! Only use two-digit numbers to specify the day and month (for example:
01 01 for January 1).

StromPi 3
Publis hed: 15.1 0.2018 Copyright by J o y-IT 20
EXAMPLE OF PRACTICAL APPLI CATION
The Raspberry Pi is to be launched daily at 10:00 AM for the opening of a store.
An image is to be automatically displayed on a separate monitor for advertising purposes.
The Raspberry Pi should shut down punctually, at 6 PM. at the close of business, as it is not
needed after closing time.
Configuration and activation for automatic start:
Configuration and activation for automatic shutdown:
Add script to the autostart so that it runs every time the Raspberry Pi starts:
Add the following command at the end, before the "exit 0" statement:
alarm-mode 1
alarm-enable 1
alarm-set-time 10 00
poweroff-set-time 18 00
poweroff-enable 1
sudo nano /etc/rc.local
python /home/pi/StartScript.py &

StromPi 3
Publis hed: 15.1 0.2018 Copyright by J o y-IT 21
7. SUPPORT
We also support you after your purchase. If there are any questions left or if you encounter
any problems, please feel free to contact us by mail, phone, or by our ticket -supportsystem on our website.
E-Mail: service@joy-it.net
Ticket-System: http://support.joy-it.net
Phone: +49 (0)2845 98469 – 66 (11- 18 o‘clock)
For more information, please visit our website:
www.joy-it.net

StromPi 3
Publis hed: 15.1 0.2018 Copyright by J o y-IT 22
Manufacturer: Simac GmbH
Pascalstr. 8
47506 Neukirchen-Vluyn
Item Name: JOY-IT StromPi 3
Description: USV / Wide Range Power Supply
Raspberry PI 3 & other SBC (SingleBoardComputer) 5V
Intended use: Use for prototyping / test setups
Declares that the product is in compliance with the essential requirements of the following
directives when used as intended:
2014/30/EU (EMC) & 2011/65/EU (Rohs)
The following standards have been applied to assess the device:
EN 55022:2010+ AC:2011, EN 55024:2010, EN 61000-3-2:2014, EN 61000-3-3:2013
Date Name of the person responsible signature Position in the company
24.08.2018 Xu Lu chief execuve ocer
8. EU DECLARATION OF CONFORMITY
 Loading...