


LinkerKit LK-Temp2 | Raspberry Pi und Arduino
Articlenumber
LK-Temp2
Power supply
3.0V—5.5V
Temperature-Range
-55° to 125°C [recommended max. 100°C]
Chipset
DS18B20
Cablelength
1m
Features
9 Bit / 12 Bit resolution selectable
±0.5°C Sensitivity of -10°C to +85°C
unique One-Wire ID burnt to chip
Properties
waterproof, One-Wire, 1m cable-length
Dear customer,
thank you for purchasing our product. Please find our instructions below.
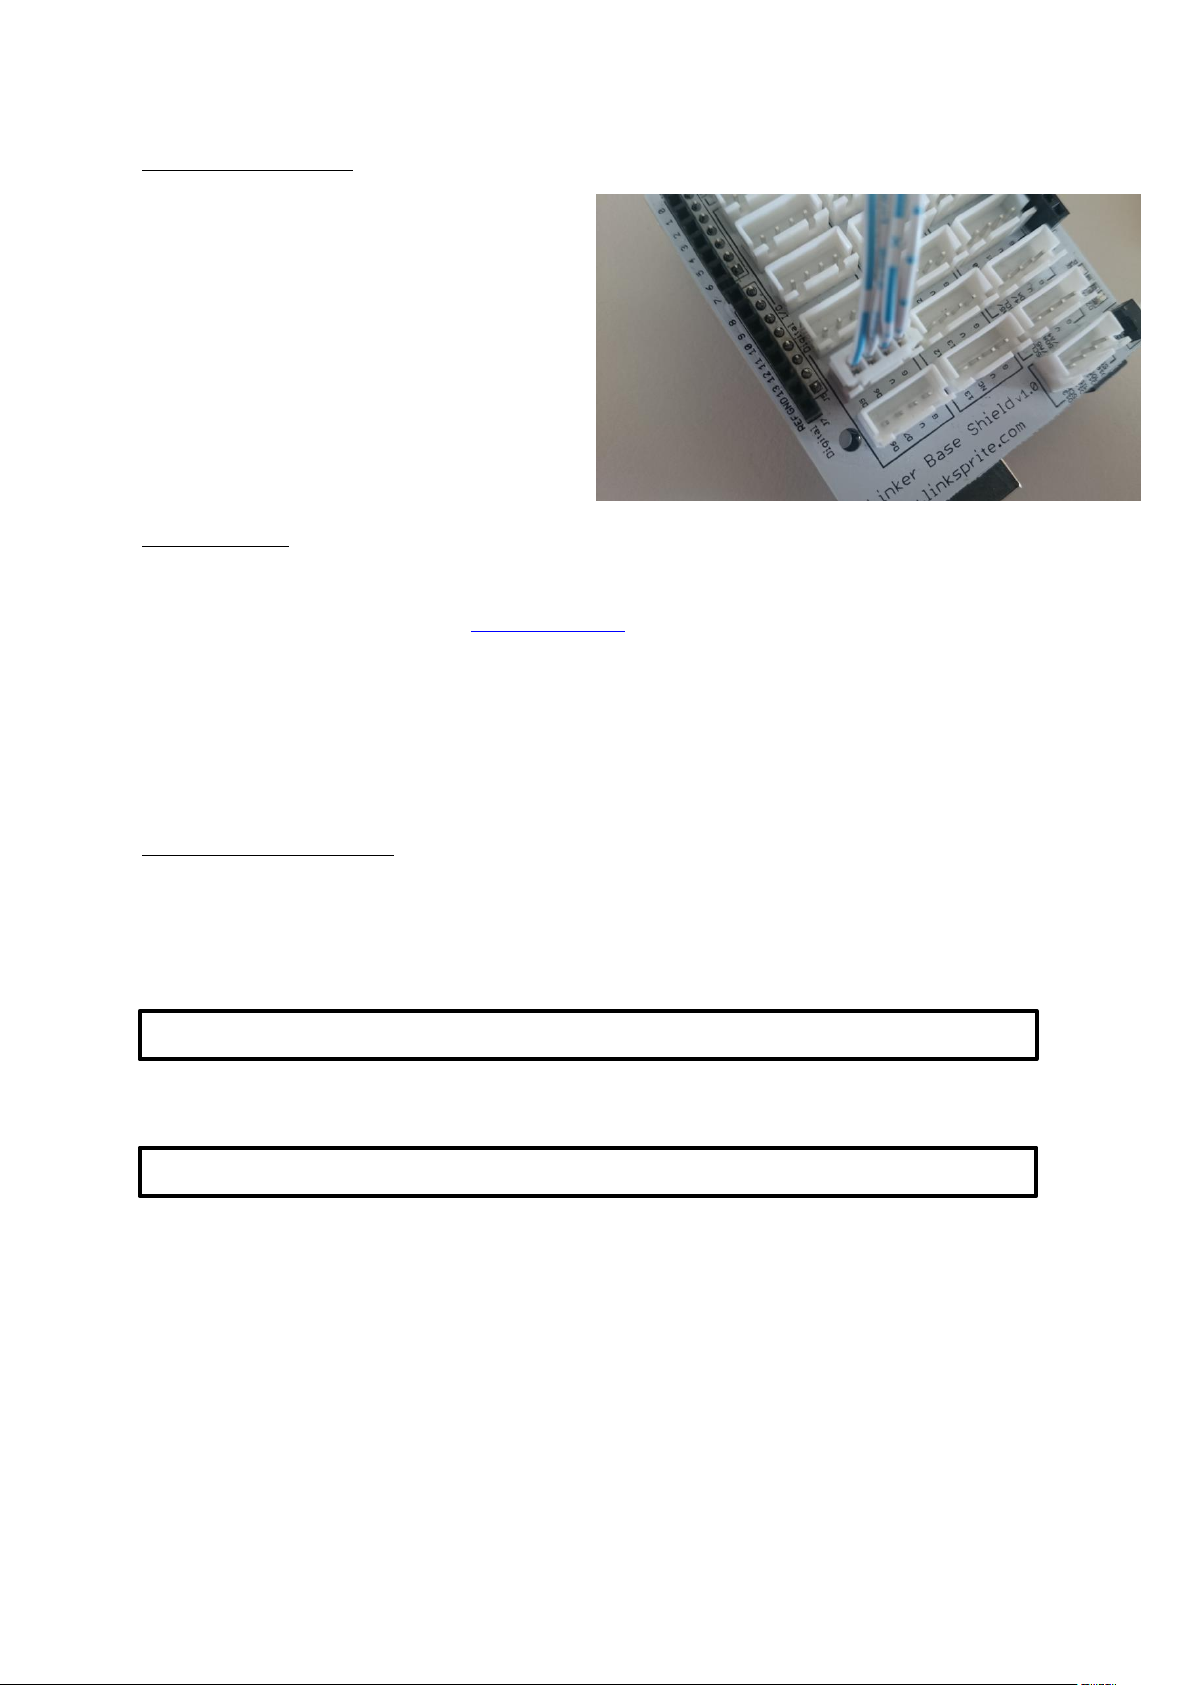
Pin Configuration
dtoverlay=w1-gpio,gpiopin=4
sudo nano /boot/config.txt
The LinkerKit module needs to be connected to
the digital-port 4. The appropriate LinkerKit slot
is: [ D4 | D5 | V | G ]
Usage notes
Please note that our LK-Temp2 is used with the build-in pull-up resistor. Therefore, a special library is
necessary which you can find on our LinkerKit website.
An adjusted code is also needed fort he Raspberry Pi but the use of your code-example is sufficient.
If you intend to use multiple sensors, or a sensor with a length of multiple meters, the build-in pullup resistor is not sufficient anymore.
In this case an external pull-up resistor of 4,7kΩ needs to be connected between the yellow signal-
cable and the red voltage-cable.
Codeexample Raspberry Pi
To allow the communication of the sensors measurement data, the specific configuration has tob e
enabled first. Therefore, add the following line to the "/boot/config.txt" file:
You can edit this file by typing…
... tot he console. You can save your progress with [CTRL+Y] and leave the editor with [CTRL+X].

sudo reboot
import glob
import time
from time import sleep
import RPi.GPIO as GPIO
# set the pause between the measurement
sleeptime = 1
# declare the One-Wire InputPin and activate the pull-up resistor.
GPIO.setmode(GPIO.BCM)
GPIO.setup(4, GPIO.IN, pull_up_down=GPIO.PUD_UP)
# Wait for connection-establishing to the DS18B20
print Waiting...'
base_dir = '/sys/bus/w1/devices/'
while True:
try:
device_folder = glob.glob(base_dir + '28*')[0]
break
except IndexError:
sleep(0.5)
continue
device_file = device_folder + '/w1_slave'
# define function to read the current sensor data
def TemperaturMessung():
f = open(device_file, 'r')
lines = f.readlines()
f.close()
return lines
# initialise sensor
TemperaturMessung()
After you restartet your Raspberry Pi with…
... you can use the following example.
Python-example:

def TemperaturAuswertung():
lines = TemperaturMessung()
while lines[0].strip()[-3:] != 'YES':
time.sleep(0.2)
lines = TemperaturMessung()
equals_pos = lines[1].find('t=')
if equals_pos != -1:
temp_string = lines[1][equals_pos+2:]
temp_c = float(temp_string) / 1000.0
return temp_c
# Mainloop
# Print temperature to console
try:
while True:
print '---------------------------------------'
print "Temperature:", TemperaturAuswertung(), "°C"
time.sleep(sleeptime)
except KeyboardInterrupt:
PIO.cleanup()
Codeexample Arduino
Please note that changed versions of the additional libraries „OneWire“ and „Dallas Temperature
Control Library“ are necessary.
You can find these versions on the LinkerKit website.
Both libraries needs, before starting the Arduino IDE, to be copied to the “library”-folder.
You can find these folders here: C:\Users\[Username]\Documents\Arduino\libraries

Codeexample Arduino
// import needed libaries
#include <DallasTemperature.h>
#include <OneWire.h>
// declare the input-pin which is connected to the sensor
#define KY001_Signal_PIN 4
// configure libraries
OneWire oneWire(KY001_Signal_PIN);
DallasTemperature sensors(&oneWire);
void setup() {
// initialise serial output
Serial.begin(9600);
Serial.println("KY-001 Temperaturmessung");
sensors.begin();
}
//Mainloop
void loop()
{
// Starting measurement
sensors.requestTemperatures();
// ... print measurement
Serial.print("Temperatur: ");
Serial.print(sensors.getTempCByIndex(0));
Serial.write(176); // UniCode-Output
Serial.println("C");
delay(1000); // 1s pause to next measurement
}
 Loading...