


©2018 Johnson Level & Tool 1
JLX®Series High-Accuracy Digital Level
Model No. 5700D
Instruction Manual
Congratulations on your choice of this JLX®Series High-Accuracy
Digital Level. Johnson Level’s JLX
®
series products are designed for
professional applications and are engineered to help you work faster and
more accurately.
We suggest you read this instruction manual thoroughly before using the
instrument and save this instruction manual for future use.
2842i_Manuals 4/27/18 2:08 PM Page 1

2 ©2018 Johnson Level & Tool
Table of Contents
1. Kit Contents
2. Features and Functions
3. Location of Parts/Components
4. Battery Installation
5. Using the Product
6. Calibrating the Product
7. Application Demonstrations
8. Troubleshooting Guide
9. Technical Specifications
10. Care and Handling
11. Product Warranty
12. Accessories
1. Kit Contents
Description for Model 5700D Qty.
JLX®Series High-Accuracy Digital Level 1
Quick Start Guide 1
Instruction Manual 1
Soft-Shell Carrying Case 1
2842i_Manuals 4/27/18 2:08 PM Page 2

©2018 Johnson Level & Tool 3
2. Features and Functions
• Pre-programmed ADA compliance and drainage modes
• Programmable operation mode
• Top-read LCD display and main LCD display
• Backlight feature on both LCD displays
• Both LCD displays automatically invert when the level is in the
inverted position
• Sub-display for reference angles
• Removable end caps with a durable rubber finish that is
wear-resistant
• Painted top surface to minimize glare
• Machined bottom surface for accuracy
• Ergonomic rubber molded handgrip for comfort
• Non-marring wall grip to ensure the level will not damage
your surface
• IP65 construction that provides complete protection against dust
and is water resistant
2842i_Manuals 4/27/18 2:08 PM Page 3

4 ©2018 Johnson Level & Tool
3. Location of Parts/Components
End Cap
Release Button
Ergonomic
Hand Grip
Top-Read Display
End Cap
Release Button
Horizontal
Bubble Vial
Unit of Measurement/
Operating Mode Button
Removable
End Cap
Removable
End Cap
Vertical
Bubble Vial
Level Indicators Level Indicators
Sub-Display
Alarm IndicatorsOperating
Mode
Indicators
Battery
Life
Indicator
Unit of
Measurement
Indicators
Unit of
Measurement
Indicators
(inverted)
Measurement Reading
Vertical
Bubble Vial
Main Display
Power/Backlight/
Calibrate Button
Unit Hold/Volume
Button
JLX®Series High-Accuracy Digital Level
LCD Display
2842i_Manuals 4/27/18 2:08 PM Page 4

©2018 Johnson Level & Tool 5
4. Battery Installation
1. Unscrew the battery cover screw in a
counterclockwise direction and remove
the battery cover.
2. Insert two “AA” alkaline batteries into the battery compartment
according to the polarity illustrated inside.
3. Replace the battery cover.
4. Screw in the battery cover screw in a clockwise direction to secure
the cover.
Note: Remove the batteries when storing the unit for an extended
time (more than three months) to avoid damage to the unit should
the batteries deteriorate.
The battery life indicator on the main LCD display will show the
current battery life:
Battery has 100% power
Battery has approximately 60% power
Battery has about approximately 25% power
Battery has approximately 5% power, and new batteries
are needed
2842i_Manuals 4/27/18 2:08 PM Page 5

6 ©2018 Johnson Level & Tool
5. Using the Product
Note: It is important to verify the calibration of the instrument. Please
refer to the calibration section for further information.
Power On the Level
Tap to power on the level. The unit will display a reading on both
the main display and top-read display. The level indicator arrows
on each side of both LCD displays indicate the direction that side
of the level must be moved to reach level.
If you invert the level, both the main display and top-read display will
automatically flip.
Note: If the level is tilted 30° or more, the main display and top-read
display will read “out,” indicating the sensor is out of its accuracy
range.
Automatic Shut Off / Manually Power Off the Level
To conserve battery life, this level features an automatic shut off fea-
ture. After 10 minutes of inactivity, the level will beep twice and
automatically shut off.
To manually power off the level, press and hold . It will beep twice
and turn off.
2842i_Manuals 4/27/18 2:08 PM Page 6

©2018 Johnson Level & Tool 7
Set Your Desired Unit of Measurement
When powered on, the level will default to the most recently
used unit of measurement. Tap to change the unit of
measurement.
Continue to tap to scroll through the following options:
1. Degrees
2. Percent
3. Inches/foot (decimal)
4. Inches/foot (fraction)
5. Inches/10 feet (decimal)
6. Inches/10 feet (fraction)
7. Millimeters/meter
Set Your Desired Operating Mode
Note: The pre-programmed modes set for this level may differ from
your specific jobsite requirements. You are responsible for adherence
to all federal, state and local building codes. Johnson Level & Tool
Mfg. Co., Inc. assumes no responsibility for misapplication of this
digital level by the user.
The bottom of the main display will show the current operating mode.
When powered on, the level will default to the most recently used
mode. Press and hold to change your operating mode.
If the level’s reading exceeds the set limits for the current operating
mode (ADA, ADA X, DMV and Custom modes only), the level will
begin beeping (if the volume is enabled) and either “HI” or “LO”
will flash at the bottom right of the LCD displays to alert you that
the unit is outside of its limits.
2842i_Manuals 4/27/18 2:08 PM Page 7

8 ©2018 Johnson Level & Tool
For those modes that do not establish set limits (Manual, Roof Pitch,
22.5° and 45.0° only), the unit will begin to beep as you approach
the desired angle. The level indicator arrows on the LCD displays
will direct you to move that side of the level up or down, and the
unit will beep faster the closer you are to the desired angle. Once
the level is at the desired angle, it will emit a long beep and the
level indicator arrows will change to a dash.
Continue to hold to scroll through the operating mode options:
1. Manual mode, for which no limits are set; the unit will alert you
when it reaches level.
2. ADA mode, for which the limit is that required for ramp angles by
the American with Disabilities Act (“ADA”). The limit is 8.3%, as
indicated in the sub-display. For non-standard ramp angles, use
Custom mode.
3. ADA X mode, for which the limit is that required for ramp crossangles (the slope across the width) by the ADA. The limit is 2.0%,
as indicated in the sub-display.
4. DWV mode, for which the limits are those required for setting the
drain waste venting slope for either piping or gutters.
a. When you enter DWV mode, the level will default to the
Pipe setting, which has a limit of ¼"/ft. to 3.0"/ft.
b. To switch to the Gutter setting, tap and
simultaneously to enter the configuration mode.
c. Tap . “Gutr” will flash for five seconds on both the
main display and top-read display.
d. After five seconds, the main display reverts back to the
preconfigured engineering unit, “Gutr” will be displayed
on the sub-display and the limit is ¼"/10 feet.
2842i_Manuals 4/27/18 2:08 PM Page 8
©2018 Johnson Level & Tool 9
e. To return to the Pipe setting, tap and
simultaneously to enter the configuration mode.
f. Tap . “Pipe” will flash for five seconds on both the
main display and top-read display.
g. After five seconds, the main display reverts back to the
preconfigured engineering unit, “Pipe” will be displayed
on the sub-display and the limit is set back to ¼"/ft.
5. Roof Pitch mode, for which no limits are set. The unit will display
in units of twelfths (i.e., 1/12 = 1 inch per foot) as is customary
for roofing applications.
6. Custom mode, where you can customize the high and low limits.
See the Set Customized Limits section below for instructions.
7. 22.5° mode, for which no limits are set. The unit will alert you
when it reaches 22.5°. A custom angle may also be set within this
mode. See the Set Customized Reference Angle section below for
instructions.
8. 45.0° mode, for which no limits are set. The unit will alert you
when it reaches 45.0°. A custom angle may also be set within this
mode. See the Set Customized Reference Angle section below for
instructions.
Set Customized Limits
Once the level is in Custom mode, follow these steps to set your
customized high limit, low limit or both. If the level is inactive for five
seconds during any of these steps, the level will return to the
measuring mode.
2842i_Manuals 4/27/18 2:08 PM Page 9

10 ©2018 Johnson Level & Tool
1. Tap and simultaneously.
2. Either “HI”, “LO”, “HILO” or “NONE” will flash on the LCD displays,
indicating that you can now set your customized alarm mode.
3. Tap to set the desired alarm mode; continuing to tap will
scroll through the programmable modes.
4. Tap and the rightmost digit will begin to flash, indicating that
it can be configured.
5. Tap to select the digit to set; continuing to tap will scroll
(from right to left) through the following digit options, where the
bolded digit is the one to be set. The options on the left are
applicable if you have set a non-fractional unit of measurement
(degrees, percent, inches/foot – decimal, inches/10 feet – decimal
, or
millimeters/meter). The options on the right are applicable if you
have set a unit of measurement of either inches/foot – fraction or
inches/10 feet – fraction. Note: Once you have scrolled through
the leftmost digit, the values will be set and the display will revert
back to the preconfigured engineering mode.
Non-Fractional UOM Options Fractional UOM Options
88.88 88.8/8
88.8888.8/8
88.88 88.8/8
88.88
6. To set the selected digit, press and hold to scroll through the
options of 0 through 9.
7. After five second of inactivity, the level will return to the measuring
mode. Repeat steps 1 through 6 above to set your customized low
(“LO”) limit.
2842i_Manuals 4/27/18 2:08 PM Page 10

©2018 Johnson Level & Tool 11
Set Customized Reference Angle
For some applications, it might be useful to set a reference other
than 0°. Once the level is in either 22.5° or 45.0° mode, follow these
steps to set your customized reference angle. If the level is inactive
for five seconds during any of these steps, the level will return to the
measuring mode.
1. Tap and simultaneously. The rightmost digit in the
sub-display will begin to flash.
2. Tap to select the digit to set; continuing to tap will scroll
through the following digit options, where the bolded digit is the
one to be set.
88.88
88.88
88.88
88.88
3. To set the selected digit, press and hold to scroll through the
options of 0 through 9.
4. After five seconds of inactivity, the level will return to the
measuring mode.
Turn On/Off the Backlight
Both the main display and the top-read display are equipped with a
backlight feature. The backlight feature has three options: off, 50%
and 100%.
1. With the level powered on, tap to activate the backlight
feature. The backlight will be set to 50%.
2842i_Manuals 4/27/18 2:08 PM Page 11

12 ©2018 Johnson Level & Tool
2. Tap a second time to set the backlight to 100%.
3. Tap a third time to set the backlight to off.
Adjust the “On” Time of the Backlight
The on time of the backlight refers to the time that the light remains
on during inactive use. Any movement within this time period resets
the internal backlight on timer. The on time of the backlight can be
configured for one minute, five minutes or ten minutes, with the
default setting being one minute. Although it is set for one minute,
the backlight will not turn off while the level is being moved.
1. With the level powered on, tap and simultaneously to
configure the backlight on time.
2. The LCD displays will either display “1on”, “5on” or “10on”
depending on how the unit was previously configured.
3. Tap to advance the on time to the next setting.
4. Continue to tap until you’ve reached your desired setting.
5. Note: Once you have entered this configuration mode, three
seconds of inactivity will revert the display back to normal
measuring mode.
Adjust the Volume
The level’s volume can be changed by pressing and holding . The
level will continue to scroll through the volume options of hi, low
and off until you release the button.
Set the Hold Feature to Freeze the LCD Displays or to Set
Reference Values
The main display and top-read display, including the current
measurement reading, can be frozen while you move the level. This
2842i_Manuals 4/27/18 2:08 PM Page 12

©2018 Johnson Level & Tool 13
feature works well if you are in an awkward position or cannot see
the LCD screen. It is also convenient to hold on an important
measurement until you are ready to write it down or cut your material.
It can also be used to set temporary reference values, where the
reference value plus the relative value equals the absolute value.
1. To enable the hold feature, tap . The held value will be frozen
on the main display. The sub-display will now show the relative
value with respect to the held value indicated in the sub-display.
2. To switch the held value currently in the main-display to the
sub-display, tap . The relative value will be transferred to the
main-display with the held value showing in the sub-display.
3. Tap to return to normal measuring mode.
Reset Factory Defaults
If you wish to restore the factory default settings for the level, press
and hold all three buttons – , and – for 10 seconds
while power is on. All customized settings will be reset to the
factory default settings.
Remove and Reinsert End Caps
The rubber end caps can be removed from the
level, making it ideal for cabinetry uses. To
remove each end cap, press while
pulling the end cap back, away from the
level. To reinsert the end cap, press while pushing the end
cap back into the level. Press to make sure the end cap is
fully inserted.
2842i_Manuals 4/27/18 2:09 PM Page 13

14 ©2018 Johnson Level & Tool
6. Calibrating the Product
IMPORTANT: Although this product is factory calibrated, there a
few environmental factors that can affects its accuracy. It is a
recommended practice, as with any high precision measuring
instrument, to check your level for accuracy.
Verifying the Product Accuracy
1. Position the tool on a fairly level surface, such as a countertop,
floor or table, with the top read LCD display facing up and the
main display facing you.
2. Record the displayed value as well as direction of level indicators.
3. Rotate the level 180°, with the top read display still facing up and
the main display facing away from you.
4. If the displayed valued is less than or equal to ±0.05° of the value
recorded in step 2, this product meets the stated accuracy and
calibration is not required.
5. If the displayed valued is greater than ±0.05° of the value recorded
in step 2, this product DOES NOT meet the stated accuracy and
calibration is required. Proceed to “Calibrating the Product”.
6. After “Calibrating the Product”, steps 1 through 5 should be
repeated. If the product fails to meet stated accuracy after
calibration has been completed, please reference section 11 of
this instruction manual.
2842i_Manuals 4/27/18 2:09 PM Page 14

©2018 Johnson Level & Tool 15
Calibrating the Product
It is recommended that the user calibrate the unit at the start of
each critical job or when the level is subjected to drastic changes in
temperature or has taken a fall. Do not move or shake the instrument
during calibration, as this might result in measuring errors.
There are two methods of calibrating the level. The first is a
two-point calibration method, and the second is a one-point bubble
calibration method.
Two-Point Calibration Method
7. With the level powered off, position the tool on a fairly level
surface, such as a countertop, floor or table, with the top read
LCD display facing up and the main display facing you.
8. Press and hold . “CAL 1” will appear on the LCD displays.
9. Tap . The level will beep, and “CAL 2” will appear on the LCD
displays.
10.Rotate the level 180°, with the top read display still facing up and
the main display facing away from you.
11.Tap . The level will beep and “rdy” will appear on the LCD
displays, indicating the level is calibrated and ready for use.
2842i_Manuals 4/27/18 2:09 PM Page 15

16 ©2018 Johnson Level & Tool
One-Point Bubble Calibration Method
1. With the instrument powered on, hold the level against a flat
surface such as a wall. Adjust the level until the bubble is
centered in the horizontal vial.
2. Making sure that the position of the bubble in the horizontal vial
does not change, press hold and simultaneously. The level
will display “Cal”
3. Press to enter the value.
4. The Cal will flash for 3 seconds, emit a short beep and “rdy” will
appear on the LCD displays, indicating that the level is calibrated
and ready for use.
2842i_Manuals 4/27/18 2:09 PM Page 16

©2018 Johnson Level & Tool 17
7. Application Demonstrations
ADA Compliant Ramps – Set ramp angles and
cross angles.
Relative Angles – Calculate relative angles using
the hold feature. Join conduit, piping and more at
any desired angle.
Roof Pitch – Measure the slope of any surface,
including roof pitches, directly in 12ths.
General Carpentry – While this level is generally
used in slope applications, its level vials make it
suitable for use anywhere a standard level is used.
Drainage Slope – Set drainage angles for proper
slope to ensure adequate effluent removal from
your piping systems.
2842i_Manuals 4/27/18 2:09 PM Page 17

18 ©2018 Johnson Level & Tool
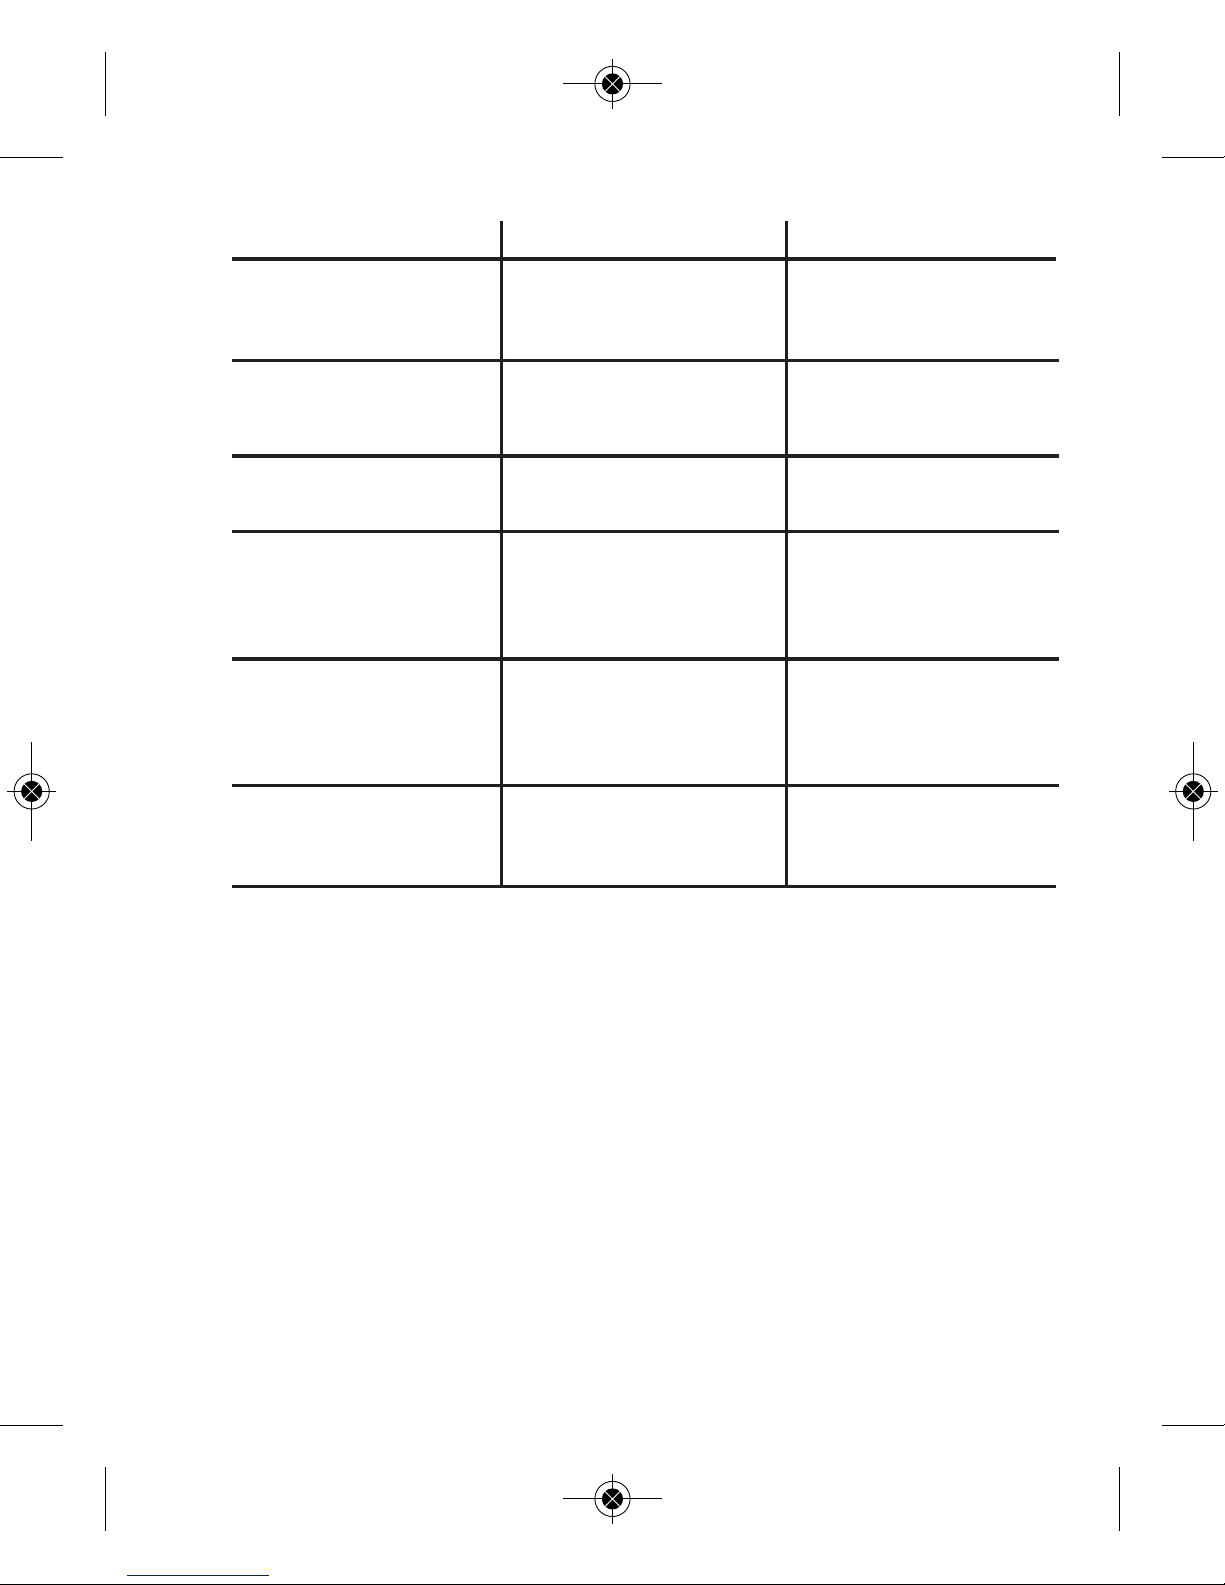
8. Troubleshooting
Symptom
Unit will not power on
Possible Cause
Batteries depleted
Battery case not secure
Polarity reversed
Solution
Replace batteries
Secure battery case
with set screw
Install batteries with
proper polarity
Unit powers on briefly
Batteries depleted Replace batteries
Unit will not turn off
Incorrect power button
operation
Press and hold power
button for 3 seconds to
power off the level
Battery indicator
flashing
Batteries are low Replace batteries
Display reads “OUT”
Unit tilted forward /
backwards in excess of
allowable range
Do not tilt the level
beyond its allowable
range
Backlight not on
Backlight is off
Backlight timed out
Turn on backlight
Turn on backlight or
move level to reactivate
the backlight
2842i_Manuals 4/27/18 2:09 PM Page 18
©2018 Johnson Level & Tool 19
Symptom
Backlight turns off too
quickly
Possible Cause
Backlight timer too
short
Solution
Adjust backlight timer
Backlight doesn’t turn
off
Backlight timer too long Adjust backlight timer
Display inconsistent
Unit out of calibration Calibrate unit
Display not changing
with movement
Hold feature is engaged Press hold button to
return to normal
operation
Numbers inverted
Hold feature active Press hold button to
return to normal
operation
Incorrect unit displayed
Wrong unit selected Press unit button to
change displayed unit
2842i_Manuals 4/27/18 2:09 PM Page 19

20 ©2018 Johnson Level & Tool
9. Technical Specifications
Operating Temperature Range 14°F – 122°F
Temperature Range -4°F – 149°F
Operating Humidity ≤85%
Electromagnetic Compatibility (EMC) Class II
Dust and Water Protection IP65, or better
Spirit Vial Accuracy 0.0005"/in, all positions /
0.5mm/m, all positions
Vial Sensitivity 36arcSec
Drop Resistance 1M
Accuracy at 70°F/21°C .05° at 0° and 90°, 0.10° at
all other angles
Accuracy over Full
Temperature Range 0.15°
Resolution 0.05°, 0.125", 1/8", 1.25mm,
0.1%
Power Supply 2 x AA alkaline batteries
(not included)
Battery Life 150 hours
Display Range 4x90°
Dimensions 16", 24", 48" or 72" L,
1.1" D, 2.3" W
Weight 1.3 lbs (16" level)
1.7 lbs (24" level)
3.2 lbs (48" level)
4.9 lbs (72" level)
2842i_Manuals 4/27/18 2:09 PM Page 20

©2018 Johnson Level & Tool 21
10. Care and Handling
• This level is a precision tool that must be handled with care.
• Avoid exposing unit to shock vibrations and extreme temperatures.
• Make sure that the unit is turned off before moving or transporting it.
• Remove the batteries when storing the unit for an extended time (more than
three months) to avoid damage to the unit should the batteries deteriorate.
• Always store the unit in its case when not in use.
• Avoid getting the unit wet.
• Keep the unit dry and clean. Remove any moisture or dirt with a soft, dry
cloth.
• Do not use harsh chemicals, strong detergents or cleaning solvents to clean
the unit.
2842i_Manuals 4/27/18 2:09 PM Page 21

22 ©2018 Johnson Level & Tool
11. Product Warranty
Johnson Level & Tool offers a limited warranty on each of its products. You can
obtain a copy of the limited warranty by contacting Johnson Level & Tool’s
Customer Service Department as provided below or by visiting us online at
www.johnsonlevel.com. The limited warranty for each product contains various
limitations and exclusions.
NOTE: The user is responsible for the proper use and care of the product. It is the
user’s responsibility to verify the calibration of the unit before each use.
For further assistance, or if you experience problems with this product that are
not addressed in this instruction manual, please contact our Customer Service
Department.
In the United States, contact Johnson Level & Tool’s Customer Service
Department at 888-9-LEVELS (888-953-8357).
In Canada, contact Johnson Level & Tool’s Customer Service Department at
800-346-6682.
2842i_Manuals 4/27/18 2:09 PM Page 22
©2018 Johnson Level & Tool 23
12. Accessories
Johnson®accessories are available for purchase through authorized
Johnson
®
dealers. Use of non-Johnson®accessories will void any
applicable limited warranty and there will be NO WARRANTY. If you need
any assistance in locating any accessories, please contact our
Customer Service Department.
In the U.S., contact Johnson Level & Tool’s Customer Service
Department at 888-9-LEVELS (888-953-8357).
In Canada, contact Johnson Level & Tool’s Customer Service
Department at 800-346-6682.
2842i_Manuals 4/27/18 2:09 PM Page 23

24 ©2018 Johnson Level & Tool
2842i_Manuals 4/27/18 2:09 PM Page 24
 Loading...