

Page 1
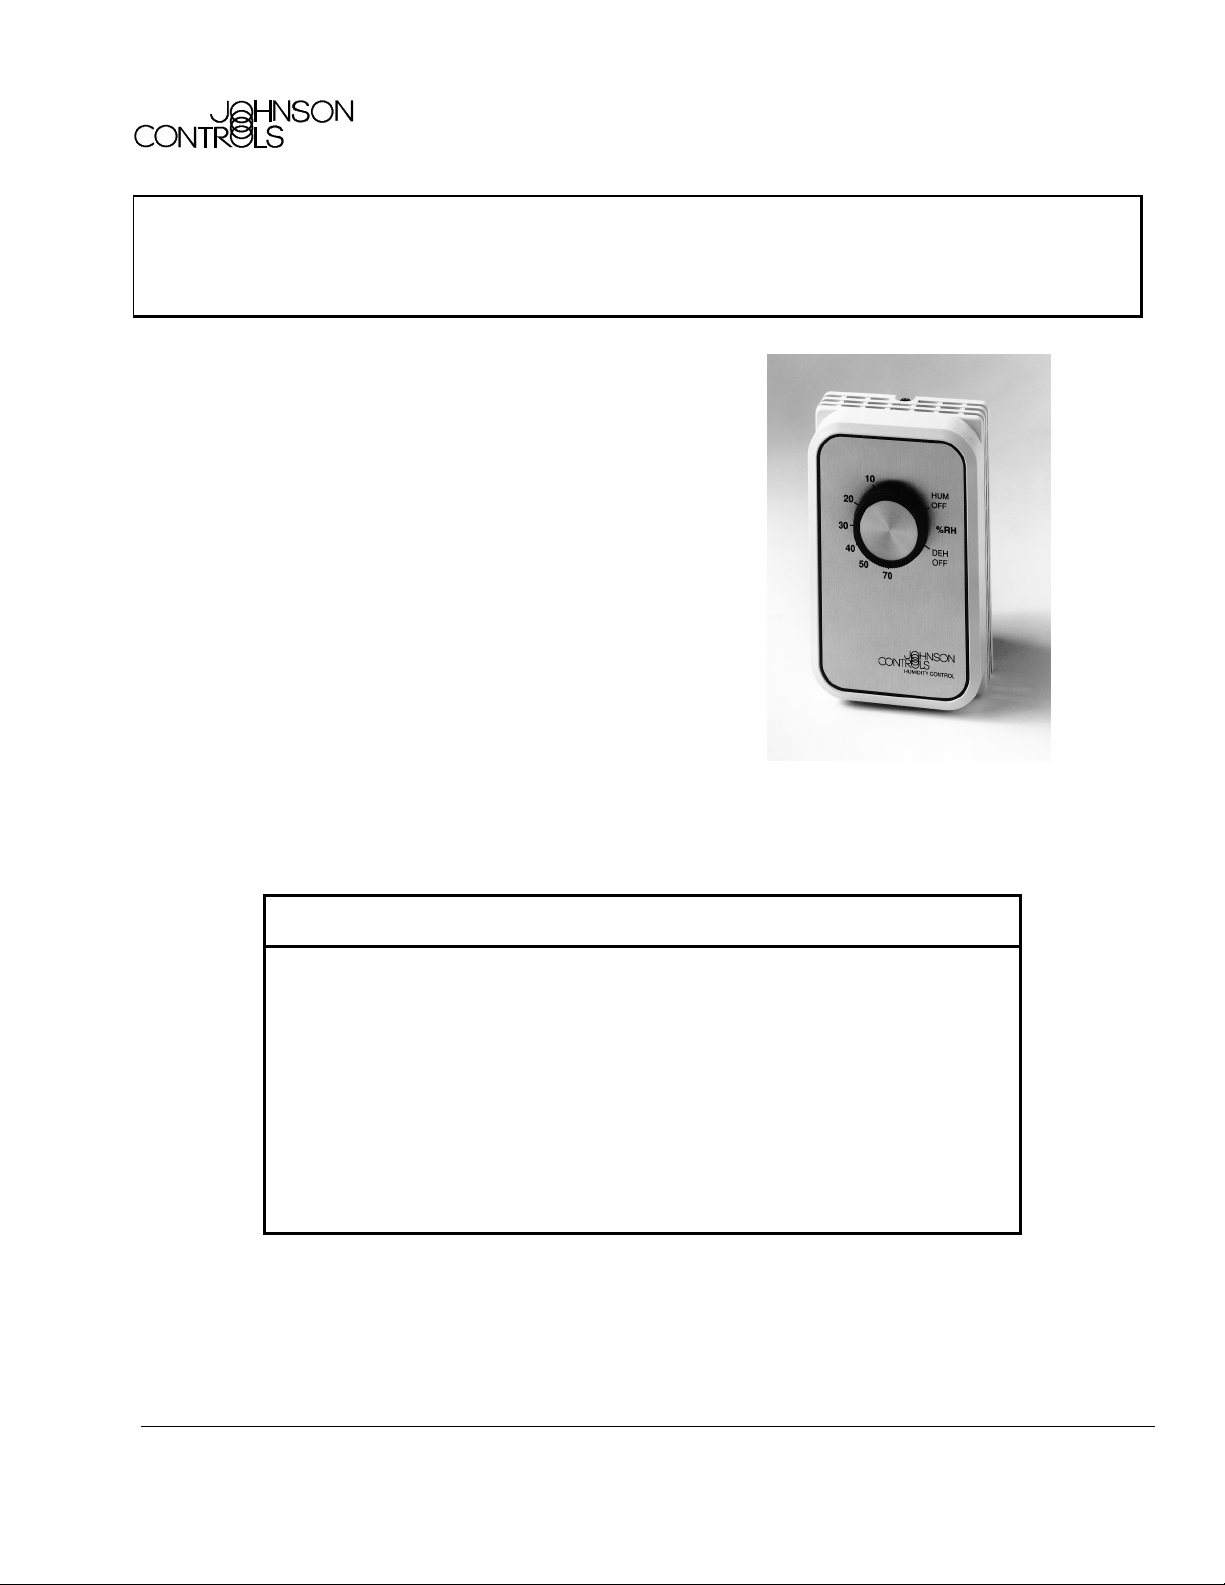
W43A Humidistat
The W43A Humidistat controls humidifying and/or
dehumidifying equipment. Typical uses include the
control of humidity by ventilation, air conditioning,
humidifiers, and dehumidifiers in residential,
commercial, and industrial installations.
The W43A has Single-Pole/Double-Throw (SPDT)
snap-acting contacts rated to switch 1/4 hp motors. It
has a wide setpoint range of 0 to 70% Relative
Humidity (RH), as well as “off” dial positions for
humidification and dehumidification. The differential of
the W43A is fixed at approximately 6% RH.
Master Catalog 125
Humidity Controls Section W
Product/Technical Bulletin W43A
Issue Date 1095
Figure 1: W43A Humidistat with Vertical Faceplate
Features and Benefits
❑
Human Hair Sensing Element Provides stable, accurate measurement
❑
1/4 hp (6A) Rated Contacts Permits direct operation of many fans in
commercial applications
❑
High/Low Adjustable Knob
Range Stops
❑
Enclosed Pennswitch Provides dust protection for contacts
❑
Mounting Plate Allows easy mounting and wiring without
Allows adjustments within a desired range
removing the cover
© 1995 Johnson Controls, Inc.
Part No. 24-8466-1, Rev. —
Code No. LIT-125715
1
Page 2
ntroduction
I
IMPORTANT: The W43A Humidistat is designed for
use only as an operating control.
Where an operating control failure
would result in personal injury and/or
loss of property, it is the responsibility
of the installer to add devices (safety,
limit controls) or systems (alarm,
supervisory systems) that protect
against, or warn of, control failure.
The W43A Humidistat provides SPDT control for use
on low or line voltage applications. It has a
thermoplastic cover with Allen-head locking screw to
discourage unauthorized tampering. The sensing
element consists of carefully selected and processed
human hair.
An adjusting knob and easy-to-read dial allow quick
selection of the desired setpoint. The humidistat is
supplied with the faceplate installed for vertical
mounting and knob adjustment. However, a horizontal
faceplate is enclosed for horizontal mounting and knob
adjustment if desired.
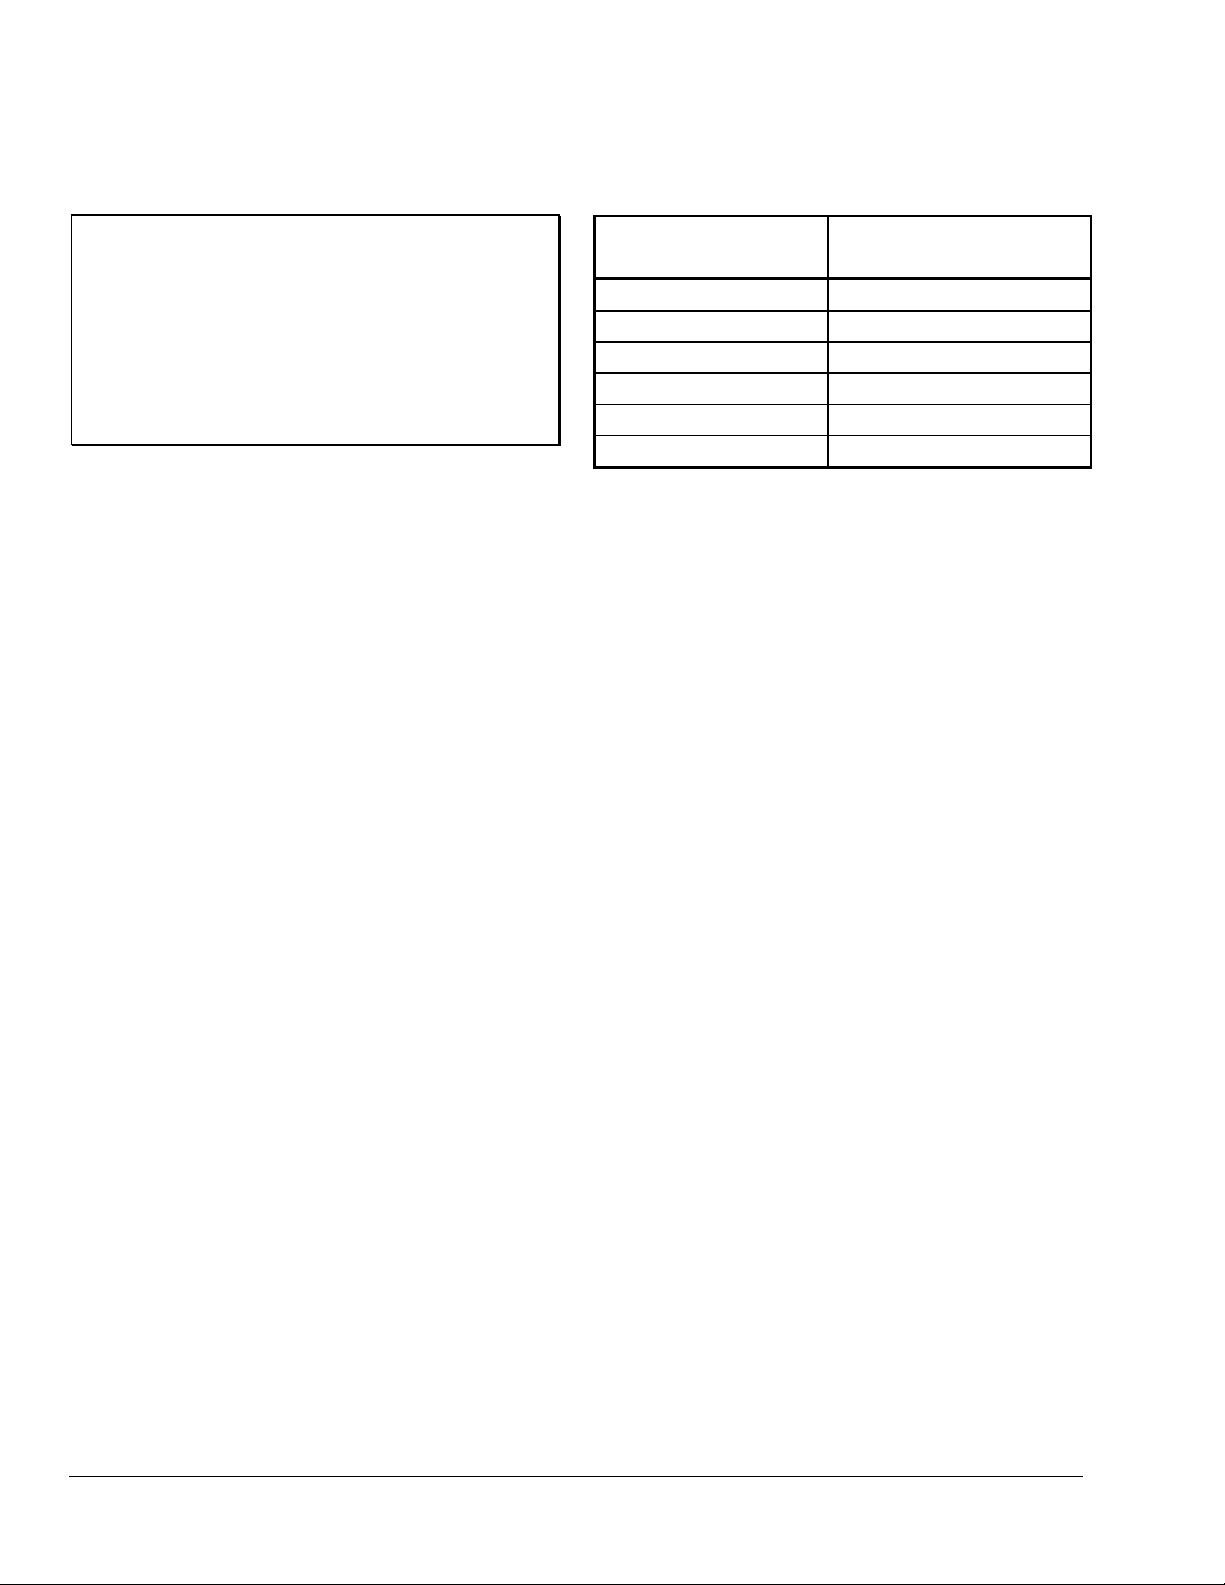
Table 1: Humidity Settings
Outside Temperature Suggested Humidity
Setting
-20°F (-29°C) and Below 15% RH
-10°F (-23°C) 20% RH
0°F (-18°C) 25% RH
10°F (-12°C) 30% RH
20°F (-7°C) 35% RH
Above 20°F (-7°C) 40% RH or Higher as Desired
nstallation
I
Supplies Needed
• 2 x 4 in. (51 x 102 mm) wall box (field supplied)
• 3-wire cable (field supplied)
• screwdriver (slotted standard)
• marking pencil
• wire strippers
umidity Settings
H
The humidistat has a setpoint range of 0 to 70% RH,
as well as humidification off (HUM OFF) and
dehumidification off (DEH OFF) positions. At the HUM
OFF position, the C to L terminal circuit is open and
the C to H terminal circuit is closed.
At the DEH OFF position, the C to H terminal circuit is
open and the C to L terminal controls the humidification
equipment.
At any given setpoint, the C to L circuit closes on a
decrease in relative humidity, and the C to H circuit
closes on an increase in relative humidity.
The usual setting in winter is 30 to 40% RH. Lower
settings may be necessary in extremely cold weather
to prevent condensation on windows, doors, etc. The
same setting should be used where reduction of
humidity by means of exhaust fans is provided in wellconstructed homes. Summer settings on air
conditioning or dehumidifying equipment will usually be
near 50% RH.
The suggested indoor humidity at 70°F (21°C) for
residential applications on humidifying or dehumidifying
equipment in winter is shown in Table 1.
Location Considerations
Locate the W43A Humidistat as follows:
• on an inside wall away from ranges, sinks,
bathrooms, or other areas of extreme moisture and
temperature
• where natural air circulation is unrestricted
• where lamps, sunlight, fireplaces, heat registers,
radiators, concealed air ducts or pipes, or room
occupants will not affect its operation
2 W43A Humidistat Product/Technical Bulletin
Page 3

Dimensions
1.59
40
6-32 Mounting
Screws (2 Places)
1.20
30
0.69
18
2.96
75
1.27
32
Mounting and Wiring
4.71
120
1.28
33
0.25
6
1.41
36
Figure 2: W43A Dimensions (in./mm)
2.34
59
3.22
82
0.80
20
Mounting Plate
Locking Screw
Adjustment
Knob
Optional
Concealed
Adjustment
Faceplate
Grounding
Screw
Mounting
Plate
Vertical
Faceplate
Cover
Locking Screw
Figure 3: W43A Humidistat
Wall
Box
W43A Humidistat Product/Technical Bulletin 3
Page 4

IMPORTANT: Do not remove the humidistat cover
during installation. The sensing
element must be carefully protected
against accidental damage. All wiring
and mounting can be completed
without removing the cover.
!
CAUTION: Shock hazard. Disconnect
power supply before wiring
connections are made to prevent
electrical shock or possible
damage to the equipment.
ptional Horizontal Faceplate Installation
O
1. Mount and wire the humidistat according to the
steps outlined in the
Installation
section.
2. Pull the adjustment knob off the humidistat cover.
3. Peel off the backing of the horizontal faceplate.
4. Position the horizontal faceplate over the factoryinstalled vertical faceplate. Be sure to position the
plate straight and even over the existing plate.
5. Firmly press the horizontal faceplate onto the
humidistat cover.
6. Replace the adjustment knob.
To mount the W43A Humidistat:
1. Select the proper mounting location (refer to the
Location Considerations
section) and install a
vertical or horizontal wall box 4 to 5 feet
(1.2 to 1.5 m) above the floor.
2. Run conduit or cable, as required by national
and/or local electric codes, from the wall box to the
equipment to be controlled. Leave approximately
6 in. (152 mm) of wire for connection to the
humidistat terminals.
3. Remove the humidistat mounting plate by
loosening the mounting plate locking screw (see
Figure 3), and lifting and removing the plate from
the base.
4. Pull wires through the mounting plate and fasten
the plate, grounding screw end up, to the wall box
with the screws provided.
5. Strip the wires and connect to the proper terminals
on the back of the humidistat. See
Diagrams
section.
Wiring
Note: Use the terminal screws furnished
(8-32 x 1/4 in. binder head). Substitution
of other screws may cause problems in
making proper connections.
6. Connect the grounding provision of the humidistat
to the branch circuit ground.
7. Hook the two slots in the humidistat base over the
projections on the mounting plate and swing the
humidistat into place. Push the wires back flush
into the wall box.
iring Diagrams
W
Manual
Fan
Switch
Exhaust
Fan
120 VAC
N
Range
L
Relay
Kitchen
H C
Humidistat
Dining Area
or Hall
Figure 4: Typical Wiring Diagram of a W43A Used to
Reduce Excessive Humidity in a Well-Constructed
Building by Manual or Automatic Control
of Exhaust Fan
Humidistat
L
H
C
Dehumidifier
120
VAC
L
N
Figure 5: Dehumidification Control Wiring Diagram
8. Securely tighten the mounting plate locking screw.
4 W43A Humidistat Product/Technical Bulletin
Page 5

120
VAC
L
N
Humidistat
L
H
C
Humidifier
ange Stops
R
High and low range stops of the humidistat can be field
adjusted as desired. Use the following procedures to
set the high and low range stops.
High Range Stop
Figure 6: Humidification Control Wiring Diagram
Manual
Changeover
Switch
Humidifier
Dehumidifier
120
VAC
Humidistat
L
H
C
L
N
Figure 7: Schematic Wiring Diagram of a W43A
Automatically Operating a Humidifier or Dehumidifier
as Selected by Manual Changeover Switch
Exhaust
Fan
Motor
120
VAC
L
N
Humidistat
L
H
C
Fan Speed Selector
with Manual "On/Off"
Switch
1. Set the adjustment knob to the maximum desired
RH setting.
2. Pull the adjustment knob off the humidistat cover.
3. Loosen the bottom cover screw and remove the
humidistat cover.
!
CAUTION: Equipment damage hazard.
Avoid contact with human hair
sensing element. Contact with
hair element can affect control
accuracy and/or product life.
4. While holding the dial firmly in place, keeping the
setting in line with the calibrating mark, depress
the tab “A” (see Figure 9) and rotate it
counterclockwise until it is against the stop pin “C”.
5. Release the tab making sure it fits into the nearest
notch.
6. Replace the humidistat cover, tighten the bottom
cover screw, and replace the adjustment knob.
7. Rotate adjustment knob to desired normal
operating setpoint.
Low Range Stop
1. Set the adjustment knob to the minimum desired
RH setting.
Figure 8: Schematic Wiring Diagram of a W43A
Automatically Operating an Exhaust Fan at Full
Speed to Control Excessive Humidity; a Combination
Speed Control and “On/Off” Switch Permits Manual
Operation of Exhaust Fan at Selected Speeds
2. Pull the adjustment knob off the humidistat cover.
3. Loosen the bottom cover screw and remove the
humidistat cover.
W43A Humidistat Product/Technical Bulletin 5
Page 6

!
CAUTION: Equipment damage hazard.
Avoid contact with human hair
sensing element. Contact with
hair element can affect control
accuracy and/or product life.
4. While holding the dial firmly in place, keeping the
setting in line with the calibrating mark, depress
the tab “B” (see Figure 9) and rotate it clockwise
until it is against the stop pin “C”.
5. Release the tab making sure it fits into the nearest
notch.
6. Replace the humidistat cover, tighten the bottom
cover screw, and replace the adjustment knob.
7. Rotate adjustment knob to desired normal
operating setpoint.
Stop Pin "C"
OFF
DEH
OFF
HUM
10
20
High Range
Stop Tab "A"
Low Range
Stop Tab "B"
Calibrating
Mark
Sensing
Element
70
50
40
30
ial Lock
D
The high range stop and low range stop can be set to
keep the adjustment knob from rotating. To lock the
dial:
1. Set the adjustment knob to the desired RH setting.
2. Pull the adjustment knob off the humidistat cover.
3. Loosen the bottom cover screw and remove the
humidistat cover.
!
CAUTION: Equipment damage hazard.
Avoid contact with human hair
sensing element. Contact with
hair element can affect control
accuracy and/or product life.
4. While holding the dial firmly in place, keeping the
setting in line with the calibrating mark, depress
the tab “A” and rotate it counterclockwise until it is
against the stop “C”. Depress the tab “B” and
rotate it clockwise until it is against the stop
pin “C”. See Figure 9.
5. Make sure each tab fits into the notch closest to
the stop.
6. Replace the humidistat cover, tighten the bottom
cover screw, and replace the adjustment knob.
heckout Procedure
C
Figure 9: W43A Humidistat Range Tabs and Stop
6 W43A Humidistat Product/Technical Bulletin
Before applying power, make sure installation and
wiring connections are according to job specifications.
After all necessary adjustments and electrical
connections have been made, put the system into
operation and observe at least three complete
operating cycles before leaving the installation.
epairs and Replacement
R
Field repairs must not be made except for replacement
of the adjustment knob or mounting plate. Refer to
Table 4: Replacement Parts
for replacement part
ordering information. For a replacement W43A,
contact the nearest Johnson Controls representative.
Page 7

rdering Information
O
Table 2: Ordering Information
Item Product Code Number
Humidistat W43A-14C
ccessories
A
Brand Name Faceplates
Brand name faceplates are available on quantity
orders. Contact Customer Service.
Humidistat Guards
Plastic, wire, or cast aluminum guards are available at
extra cost. See the GRD Series in the
Controls HVAC/Refrigeration Controls Catalog
Johnson
.
Concealed Adjustment Faceplates
Concealed adjustment faceplates are available on
factory order at no extra cost. For field changeover,
use the concealed faceplate kit and install directly over
the faceplate on the cover. See Table 3 for ordering
information.
Table 3: Optional Accessories
Item Product Code Number
Concealed Adjustment Faceplate, Vertical Mounting PLT333-12R
Concealed Adjustment Faceplate, Horizontal Mounting PLT333-9R
eplacement Parts
R
Table 4: Replacement Parts
Item Product Code Number
Thermoplastic Push On Adjustment Knob KNB26A-600R
Humidistat Mounting Plate PLT51A-602R
W43A Humidistat Product/Technical Bulletin 7
Page 8

pecifications
S
Product
Contact Ratings 120 VAC 208 VAC 240 VAC
Measurement Range
Differential
Contact Action
Switch
Sensing Element
Material
Finish
Mounting
Wiring Terminals
Minimum Ambient
Temperature
Maximum Ambient
Temperature
Agency Listings
Dimensions (H x W x D)
Shipping Weight
The performance specifications are nominal and conform to acceptable industry standards. For application at conditions beyond these specifications,
consult the local Johnson Controls office. Johnson Controls, Inc. shall not be liable for damages resulting from misapplication or misuse of its products.
W43A-14C Humidistat
Full Load Ampere 6.0 3.5 3.0
Locked Rotor Ampere 36.0 21.0 18.0
Pilot Duty 125 VA at 24/277 VAC
0 to 70% RH
Fixed at approximately 6% RH
SPDT
Snap-acting Contacts in a Dust-protected Enclosure
Selected Human Hair
Base: 0.050 in (1.27 mm) Cold Rolled Steel
Cover: Beige Thermoplastic
Base: Zinc Plate Dichromate Dipped
Cover: Brown Markings on Gold Anodized Alum inum
Vertical or Horizontal 2 x 4 in. (51 x 102 mm) Wall Box
Large 8-32 x 1/4 in. Binder Head Screws
40
(4.4°C)
°
100
F (38°C)
°
UL Guide No. XAPX; File E6688
CSA Class No. 4813 02: File LR948
4.71 x 2.96 x 2.94 in. (120 x 75 x 75 mm)
0.9 lb (0.4 kg)
Controls Group
507 E. Michigan Street
P.O. Box 423
Milwaukee, WI 53201 Printed in U.S.A.
8 W43A Humidistat Product/Technical Bulletin
 Loading...