

Page 1
Instructions
Page 2
Page 3
Contents
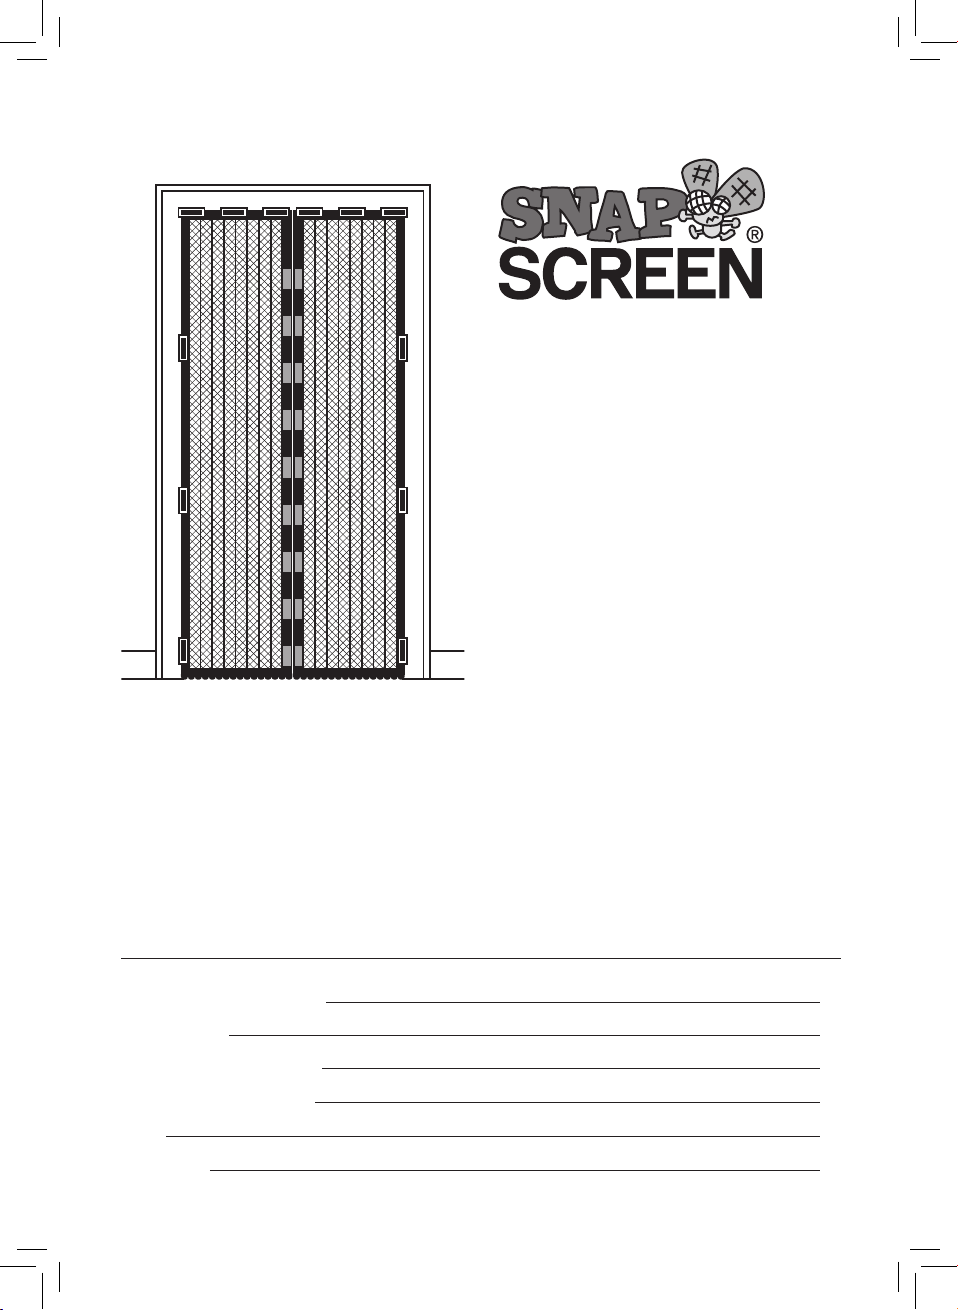
Thank you for purchasing Snap
®
Screen
from JML. This clever and
practical magnetised door screen
will help you to enjoy fresh air in
your home, without any flies, wasps,
bees, mosquitoes, and moths
getting in.
To make the best use of this
product and to use it safely, please
read these instructions carefully and
keep for future reference.
Safety Warnings & Advice
Components
Before Use - Preparation
Hanging Snap Screen
Care
Guarantee
®
3
3
4
6
6
6
2
Page 4
Safety Warnings & Advice
• CHOKING HAZARD - this is not a toy;
keep securing pins away from children.
• Dispose of the packaging in an
appropriate manner, ensuring any plastic
bags are kept away from children.
• If you have an implanted medical
device, please consult your doctor
before using due to the potential risk of
interference caused by the magnets.
• Keep away from heated elements
such as ovens, stovetops and electric
heaters.
Components
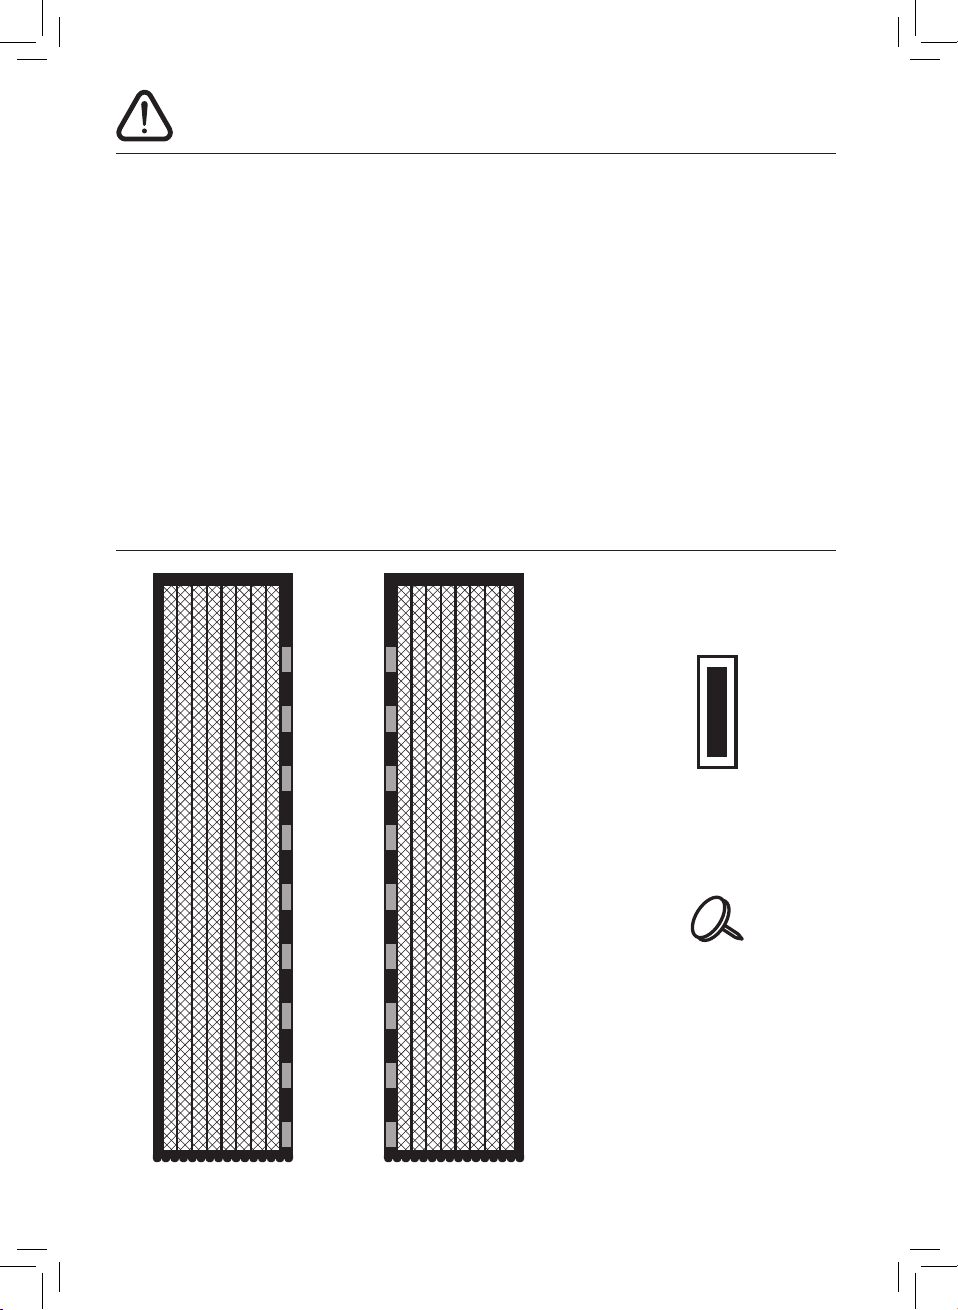
• Snap Screen
used as a barrier for children, pets or
the weather.
NOTE - This product may not work properly
if installed incorrectly.
Please refer to the diagrams provided for
positioning instructions (page 5).
®
is not designed to be
12 x
3.
20 x
4.
Left Snap Screen® Panel
1.
®
Right Snap Screen
2.
Fibre fix strips
3.
Securing Pins
4.
1. 2.
3
Panel
Page 5
Before Use - Preparation
Door Frame Preparation
1. First you must determine which side of
your door Snap Screen
®
needs to be
Snap Screen® Preparation
1. Position both Snap Screen® door panels
fitted to.
• If your door opens inwards,
Snap Screen
®
must be fitted to the
outside of your door frame.
• If your door opens outwards,
Snap Screen
®
must be fitted to the
inside of your door frame.
2. Ensure the surface is completely dry
and free from debris before applying the
fibre fix strips to the frame. To ensure the
surface is clean we recommend using an
alcohol wipe on UPVC and wood frames.
2. Allow the magnets to snap together.
3. Identify the top of the Snap Screen
3. Mark the centre of the top of your door
frame.
TIP - Measure the full width at the top of
your door to determine where the centre
is and mark with a piece of tape to ensure
accuracy.
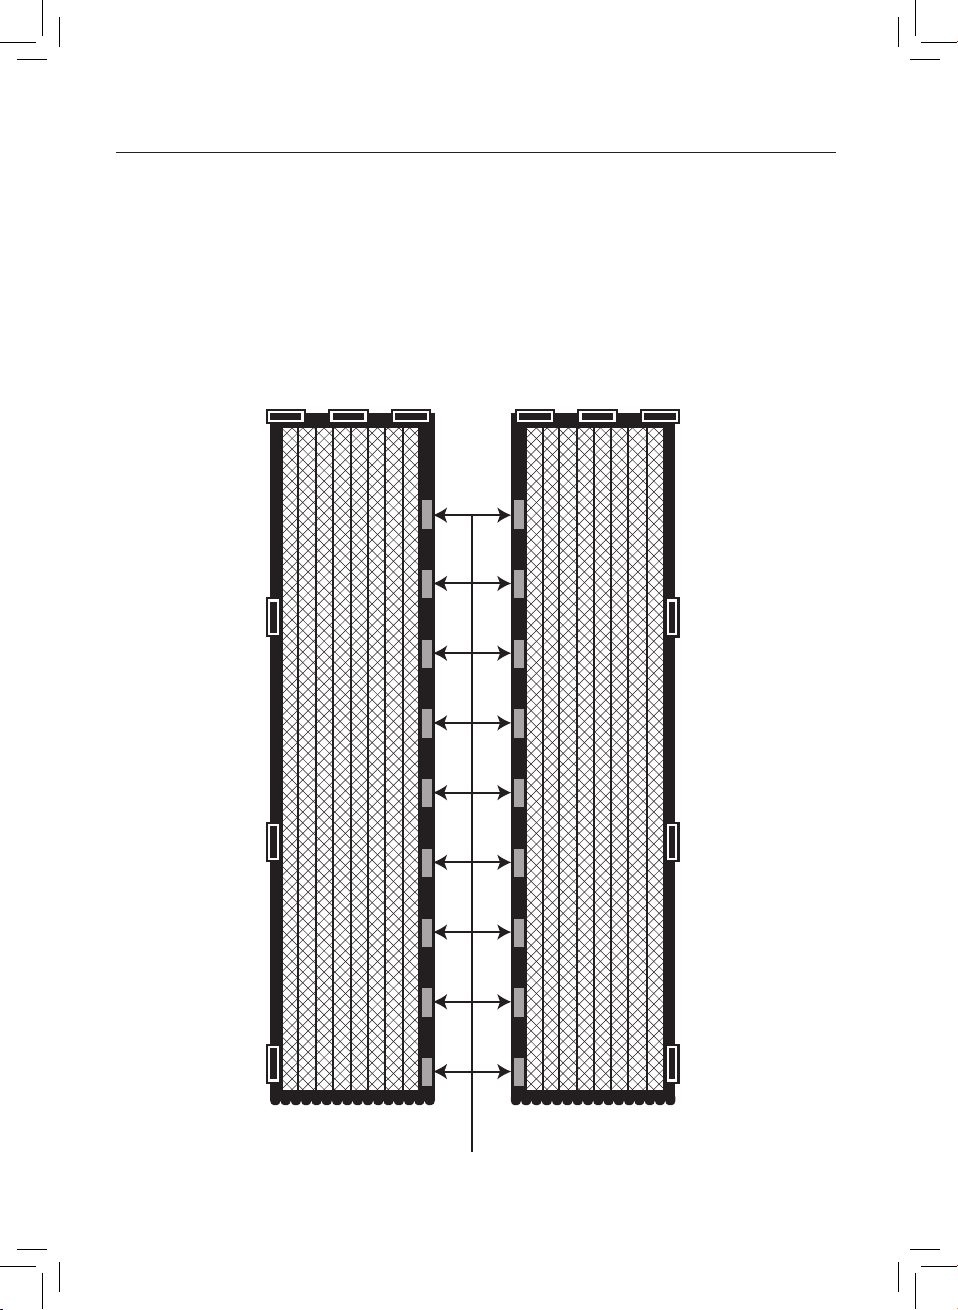
Snap Screen® fibre fix strip positioning
1. Snap Screen® requires 3 fibre fix strips
(labelled A, B, C on the diagram on the
following page) to be positioned at the top
of each panel and a further 3 fibre fix strips
(labelled 1, 2, 3) positioned down each
side.
• Please refer to the diagram on page 5
for fibre fix strip positioning
• It is recommended that you lay the
fibre fix strips in the correct position
before removing the white backing to
ensure correct spacing.
IMPORTANT
Plastic frames - it is recommended that
you use the fibre fix strips only.
Wooden frames - a combination of fibre
fix strips and securing pins (provided) can
be used.
Snap Screen
frames, it should not be fixed to normal
wall space as it may cause damage to the
paintwork.
NOTE - The securing pins, if used, will leave
a small hole in the wood. If the fibre fix strips
are used on painted wood, they may cause
a small amount of damage to the paint if
later removed.
2. Once you are happy with the positioning of
3. Repeat this process until all the fibre fix
on the floor parallel to each other, with
the thick side of the magnets facing
upwards. This side will be attached to
your door frame.
IMPORTANT - When you lie the Snap
®
Screen
Screen
panels on the floor, the left Snap
®
door panel should be positioned
on the right-hand side and the right Snap
®
Screen
door panel should be positioned
on the left-hand side. Please refer to the
diagram on page 5.
®
.The
top of the Snap Screen
®
can be identified by
the approx. 18cm gap between the top of
the panel and the first magnet. The bottom
can be identified by the decorative frill.
®
should only be fixed to door
the fibre fix strips remove ONE side of the
white backing and stick into place directly
onto the Snap Screen
®
, applying plenty of
pressure.
strips are stuck in position.
4
Page 6
Before Use - Preparation continued
DIAGRAM
Right panel attaches to the right-hand side
of your door frame.
Left panel attaches to the left-hand side of
your door frame.
C B A A B C
NOTE - Ensure the fibre fix strips are evenly
spaced.
Left panelRight panel
1
2
3
Back of
right panel
Magnets
Back of
left panel
1
2
3
5
Page 7
Hanging Snap Screen
®
1. Ensure you position the Snap Screen® high
enough so the bottom does not drag on
the floor.
2. Take the left Snap Screen
remove the other side of the white backing
from the top 3 fibre fix strips, A, B and C.
3. Align strip A (see diagram) next to the
centre of the door frame and stick into
position, by applying plenty of pressure
ensuring it is high enough not to drag on
the floor.
4. Stretch the Snap Screen
of the door frame and stick strips B and C
into place.
®
panel and
®
across the top
Care
DO NOT use any harsh chemicals to clean
your Snap Screen
CLEAN your Snap Screen
cloth and warm soapy water, and allow to
air dry.
®
.
®
using a clean
®
in the
®
is
5. When you are happy the Snap Screen
in the correct position, and at the correct
height, remove the white backing from
the fibre fix strips 1, 2 and 3 and stick into
place down the side of the door frame by
applying plenty of pressure.
6. Repeat the process, from point 2, for the
right Snap Screen
Snap Screen
closed.
NOTE - If the Snap Screen
snap together it may be necessary to adjust
the distance between the panels.
DO NOT put your Snap Screen
washing machine or dry in a tumble dryer.
®
panel, ensuring that the
®
magnets are able to snap
®
panels do not
Guarantee
This product is unconditionally guaranteed for one year against all defects of workmanship
and materials. This guarantee does not affect your statutory rights. If you have any problems
or queries about this product please contact JML.
JML Customer Helpline: 0800 781 7831
6
Page 8
Product codes: V19150 / V19148
©JohnMillsLtd/MB/09.13/ALS/C
Distributed by JML
JML, Unit 1 Eastside
Port of Tyne, South Shields
NE33 5SP
www.jmldirect.com
Freephone 0800 781 7831
 Loading...