

Page 1
info@jmc.se
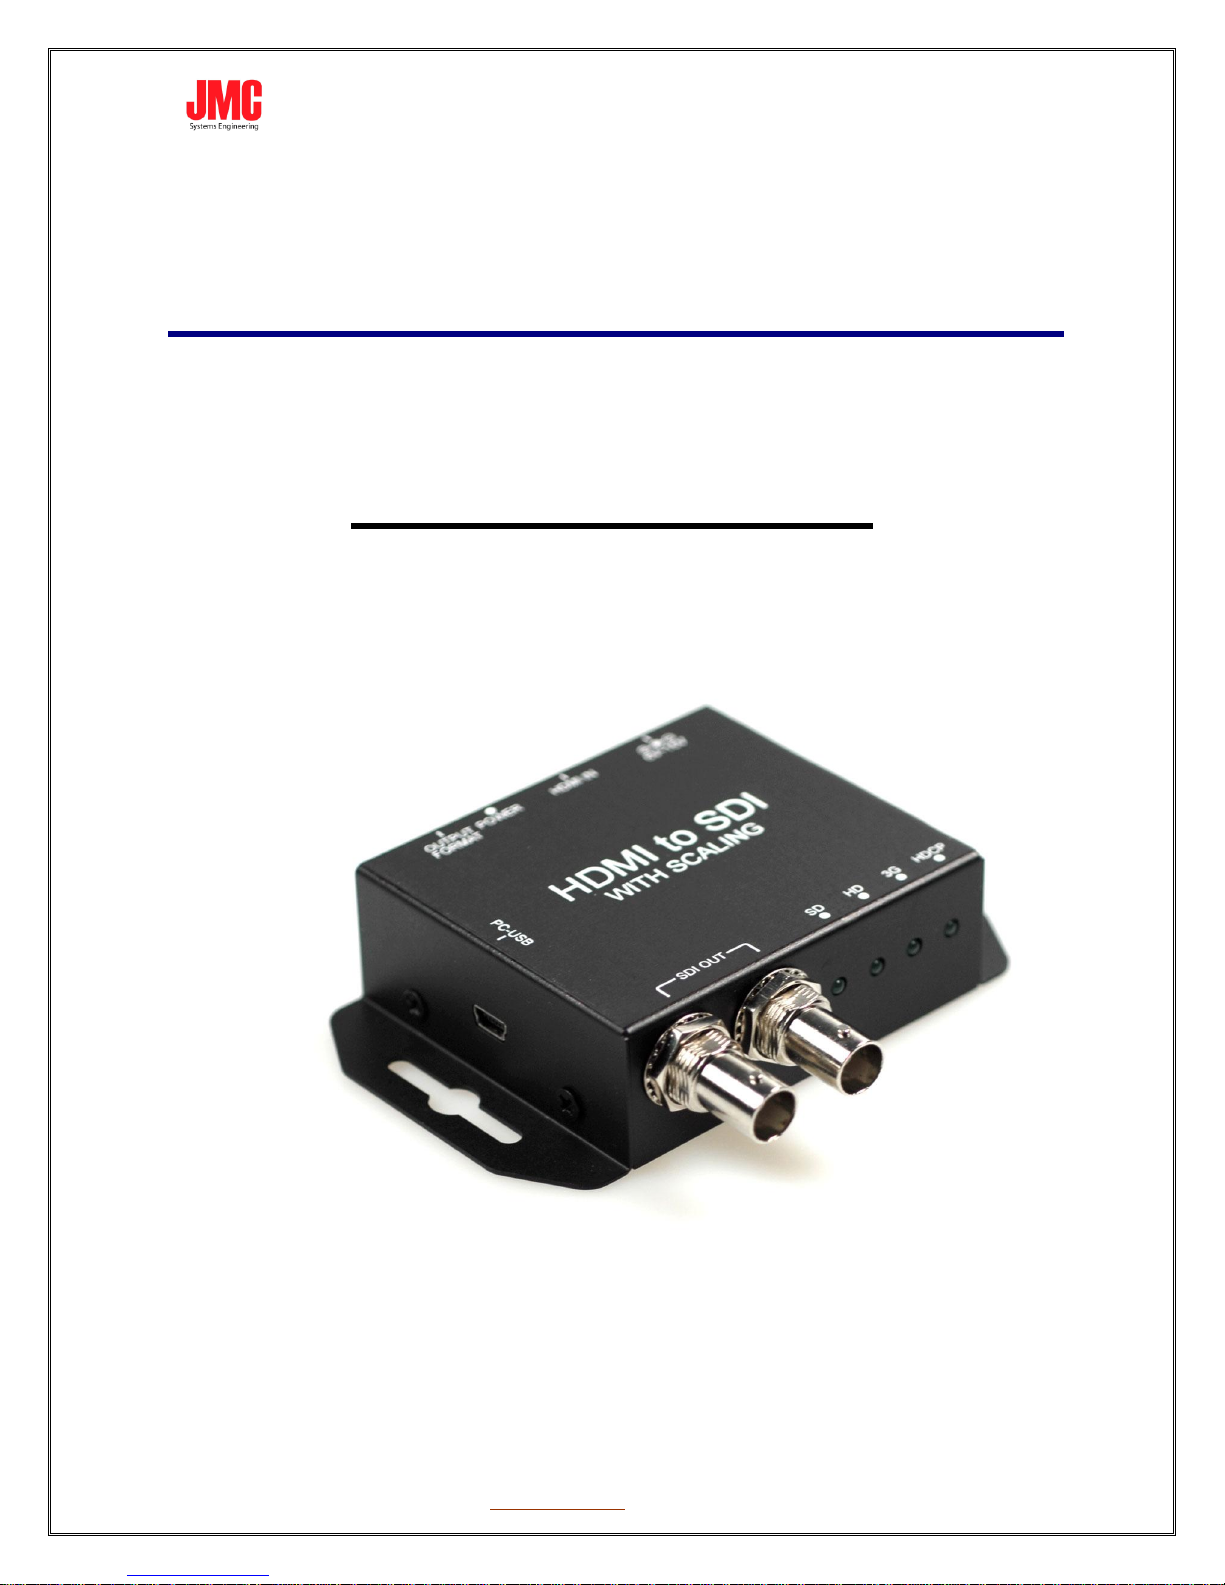
HDMI2SDI-Scaling
User Manual
JMC Systems Engineering AB www.jmc.se +46 8 828270
2012.04.26
Page 2

info@jmc.se
Content
Feature ................................................................................... 3
Side Panel ................................................................................ 4
Front Panel ............................................................................... 4
Rear Panel ................................................................................ 5
Dip Switch/LED Indicate ............................................................... 6
Installation ............................................................................... 7
Package Contents ....................................................................... 7
Specifications ............................................................................ 8
Firmware Upload ...................................................................... 10
JMC Systems Engineering AB www.jmc.se +46 8 828270
Page 3

info@jmc.se
Supports HD formats :
720p50 & 60
1080i50 & 60
1080p24, 25, 30, 50 & 60
Support 525i & 625i SD D1 format
Support up to 7.1ch of audio output
Auto 3G/HD/SD-SDI detection
HDMI 1.4 supported
SDI compliant outputs
Frame rate conversion
External DIP Switch Configuration
Firmware is upgradable in the field using the integrated USB port
Feature
The converter is Plug-and-Play
Support OSD
Support VESA Mode
JMC Systems Engineering AB www.jmc.se +46 8 828270
Page 4

info@jmc.se
NO
Component
Function
1
USB Port
Firmware Upgrade/Control Box from PC
by usb Cable
NO
Component
Function
1
SDI Output Port
From your SDI Display Device plug into
these ports ( Pass Through)
2
LEDs indicate
The LEDs is indicate Output Format
(SD/HD/3G/HDCP)
1
2
1
Side Panel
Front Panel
JMC Systems Engineering AB www.jmc.se +46 8 828270
Page 5

info@jmc.se
NO
Component
Function
1
Power Jack
The Power adapter plug into here.
2
HDMI Input Port
From your HDMI Source plug into these
ports
3
Power/Locked LED
The LEDs is indicate Signal indicate
4
DipSwitch Control
Control the Output Format
1
2
3
4
Rear Panel
JMC Systems Engineering AB www.jmc.se +46 8 828270
Page 6

DipSwitch
Pin 1
Pin 2
Pin 3
Auto Scaling
↑ ↑ ↑
1920 x 1080 p60
↑ ↑ ↓
1920 x 1080 p50
↑ ↓ ↑
1920 x 1080 i60
↑ ↓ ↓
1920 x 1080 i50
↓ ↑ ↑
1280 x 720 p60
↓ ↑ ↓
1280 x 720 p50
↓ ↓ ↑
720 x 576 i50
↓ ↓ ↓
Resolution
3G LED
HD LED
SD LED
HDCP LED
NTSC / PAL
○ ○ ●
○
720p / 1080i /
1080 [24p, 25p, 30p]
○ ● ○
○
1080 [50p,60p]
● ○ ○ ○ HDCP Content
○ ○ ○
●
POWER/SIGNAL LED
SINGAL LOCKED
●
SIGNAL UN-LOCKED
●
DipSwitch:
LED Mode:
info@jmc.se
Dip Switch/LED Indicate
↑:Switch to High
↓:Switch to Down
Output Mode:
Input Singal Mode:
JMC Systems Engineering AB www.jmc.se +46 8 828270
Page 7

info@jmc.se
The HD2SDI-S package contains the following items:
User Manual x 1
+12 DC Adapter x 1
HD2SDI-S installation consists of the following:
1. Disconnect +12DC adaptor to converter.
2. Connect Video Source (HDMI) to the HDMI Connector.
3. Connect SDI equipment to the BNCs connector
4. Connect the +12DC adaptor to the converter.
Package Contents
Installation
JMC Systems Engineering AB www.jmc.se +46 8 828270
Page 8

info@jmc.se
DESCRIPTION
SDI format
SD-SDI, HD-SDI & 3G-SDI
Audio Support
Stereo 2-Channel
Audio Sample
Auto Ra-sample to 48Khz (For Stereo)
Coaxial Cable Type
RG6/RG59(75Ω)
Cable Equalization
3G: 140m of RG6/ 100m of RG59
HD: 200m of RG6/ 140m of RG59
SD: 400m of RG6/ 280m of RG59
Input
1 x HDMI
Output
2 x BNC [SDI]
BNC Connector
3G 75 Ω inter-locked socket
HDMI Connector
TYPE A [19-pin female]
DIP Switch
Output Format Select
Housing
SECC
Dimension
L:104mm x W:63.3mm xH:26mm
Power Source
Power Adapter: AC 100 ~ 240 V/DC (+6 ~ 15 V)
Operation Temperature
0~50°C [32~114°F]
Storage Temperature
-20~+60°C
720x480i60
720x576i50
720x480 p60
720x576 p50
1280x720p60
1280x720p50
1920x1080i60
1920x1080i50
1920x1080p24
1920x1080p25
1920x1080p30
1920x1080p60
1920x1080p50
640x350p85
640x400p85
720x400p85
640x480p60
640x480p72
640x480p75
640x480p85
800x600p56
800x600p60
800x600p72
800x600p75
800x600p85
848x480p60
1024x768p60
1024x768p70
1024x768p75
1024x768p85
1152x864p70
1152x864p75
1280x768pRB
1280x768p60
1280x768p75
1280x768p85
1280x800p60
1280x800p75
1280x800p85
1280x960p60
1280x960p75
1280x960p85
1280x1024p60
1280x1024p75
1280x1024p85
1360x768p60
1366x768p50
1366x768p60
1400x1050p50
1400x1050p60
1400x1050p75
1440x900p60
1440x900p75
1440x900p85
1600x1200p50
1600x1200p59
1600x1200p60
1600x1200pRB
1680x1050pRB
1680x1050p60
1920x1080pRB
2048x1052p60
Specifications
Support CEA-861/VESA Format
JMC Systems Engineering AB www.jmc.se +46 8 828270
Page 9

info@jmc.se
Firmware Upload
Firmware is upgradable in the field using the integrated USB port
How to Firmware upgrade:
Step 1.Open Upload Firmware Program tools.exe and connect USB and PC
Step 2.Plug and Play “AC power” (Show Connect message)
Step 3.Plug and Play “AC Power” again (Show Connected message)
and Select Firmware File (Bin File)
JMC Systems Engineering AB www.jmc.se +46 8 828270
Page 10

info@jmc.se
Step 4.Push Start Button and show the “Pass” Message.
Step 5.Close Upload Firmware Program tools
JMC Systems Engineering AB www.jmc.se +46 8 828270
 Loading...