

JL Audio Stealthbox SB-T-TUNDC/8W7, SB-T-TUNDC/8W7/BK, SB-T-TUNDC/8W7/GA, SB-T-TUNDC/8W7/TN Installation Manual
INSTALLATION GUIDE
for the
SB-T-TUNDC/8W7
SB-T-TUNDC/8W7
2007-Up Toyota Tundra Double Cab
2007-Up Toyota Tundra Double Cab
will not fit the Tundra Crew Max
will not fit the Tundra Crew Max
Thank you for choosing a JL Audio Stealthbox® for your automotive sound system. With proper
installation, your new vehicle-specific enclosed subwoofer system will deliver years of listening pleasure.
We strongly recommend that you have your new Stealthbox® installed by your authorized JL Audio
dealer. The installation professionals employed by your dealer have the necessary tools and experience
to disassemble and reassemble your vehicle properly. Also, keep in mind that your warranty coverage
extends to 2 years if your system is installed or approved by your authorized JL Audio dealer. If you
prefer to perform your own installation, please read this installation guide completely
before beginning the process.
If you choose to per form the installation yourself, it is absolutely vit al that
the Stealthbox
®
be properly m ounted to the vehicle according to these
instructions. Failure to mount the enclosure properly presents two pro blems:
1) The sub-bass performance will suf fer due to the movement of the enclosure
caused by the force exerted by the woof er(s).
2) A loose enclosure presents a seriou s safety hazard in the event of a collis ion
or sudden deceleration.
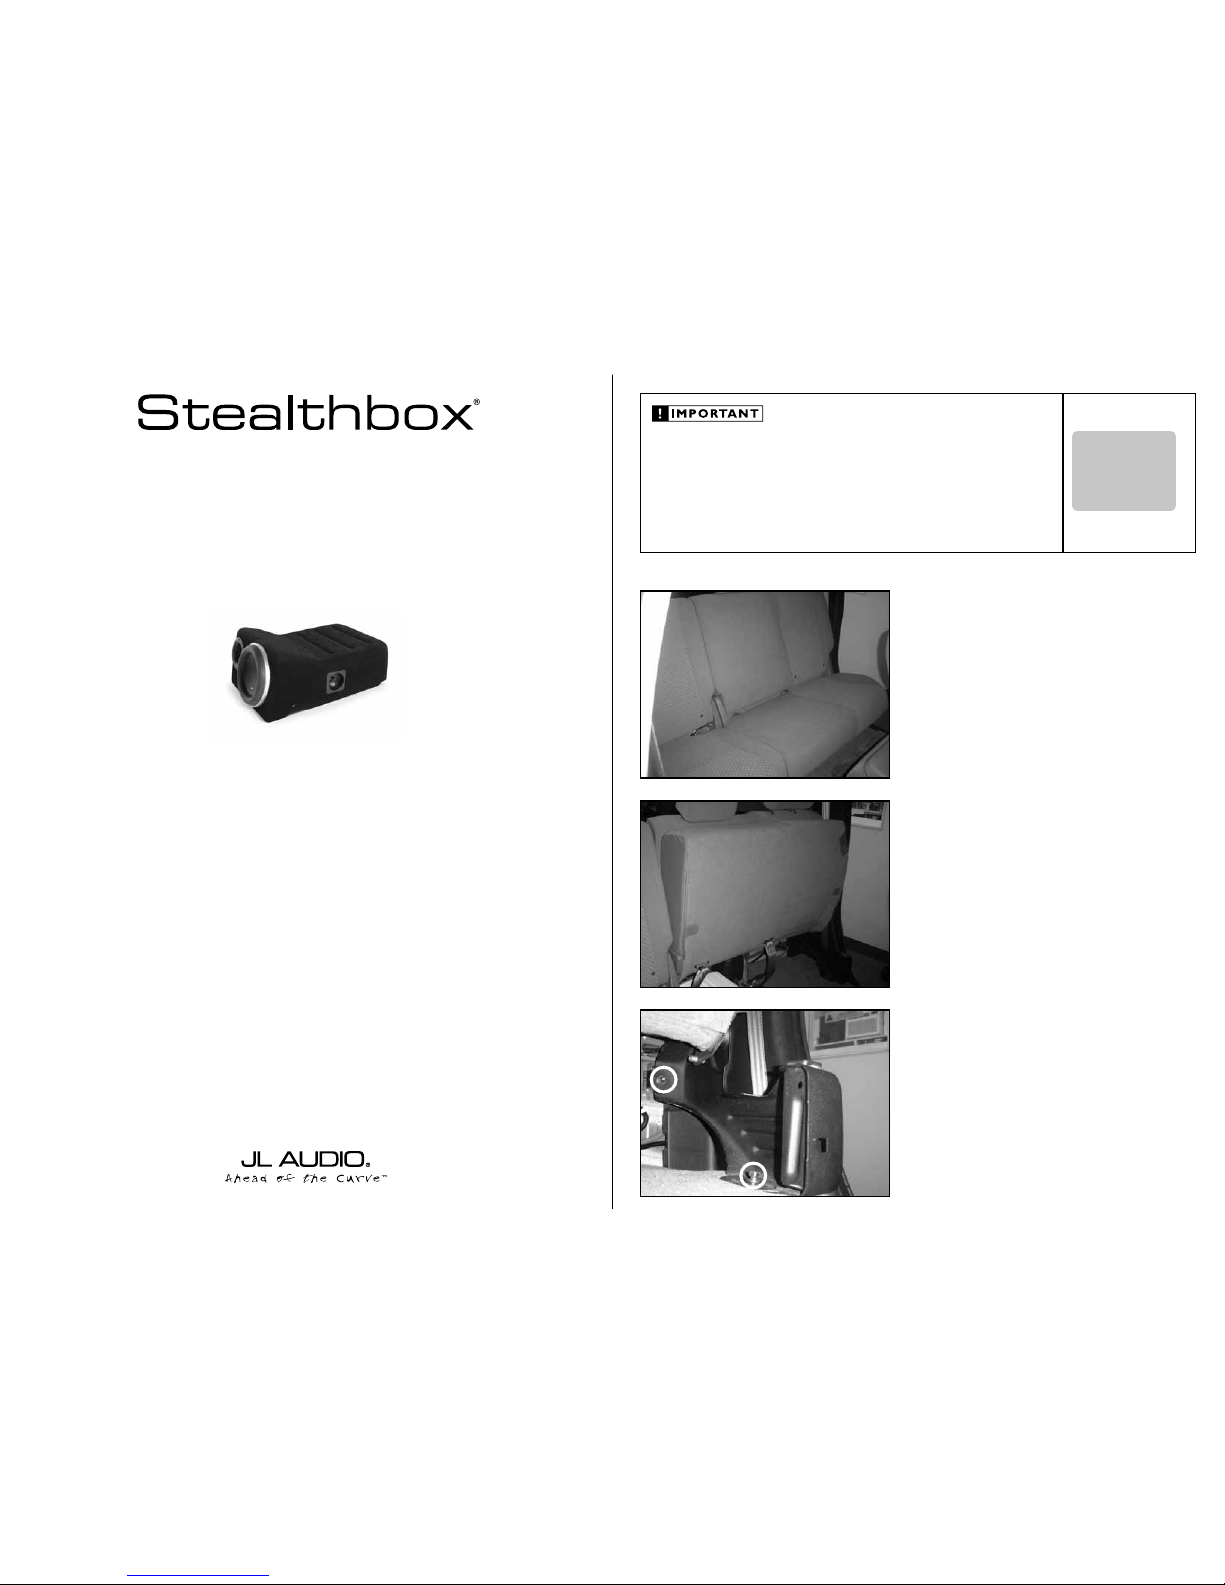
STEP 1
Remove any contents from the rear seats.
Continued on Next Page
STEP 2
Flip up the driver’s side rear bottom cushion.
STEP 3
Remove the two bolt s that secure the mounting foot to the
rear bulkhead and floor.
SB-T-TUNDC/8W7_INSTR_SKU#011247
SB-T-TUNDC/8W7_INSTR _SKU#011247
INSTALLATION
DIFFICULTY:
1
5
OUT
OF
ESTIMATED TIME:
1 HO UR
1 HOUR
Continued on Next Page
SB-T-TUNDC/8W7_INSTR_SKU#011247
SB-T-TUNDC/8W7_INSTR _SKU#011247
STEP 7
Run spe aker wire from t he ampli fier’s loca tion to th e
Stealthbox® location and ch e ck for pro p er operatio n of
the woofer.
STEP 6
Secure the other L-bracket to the right side of the
Stealthbox ®.
STEP 5
Place a supplied lock washer and then flat washer onto each
supplied hex bolt.
Place a supplied L-bracket onto each bolt assembly. The bolt
assembly is to pass through the hole on the longer side of
each L-bracket.
Secure a L-bracket to the left side of the Stealthbox®.
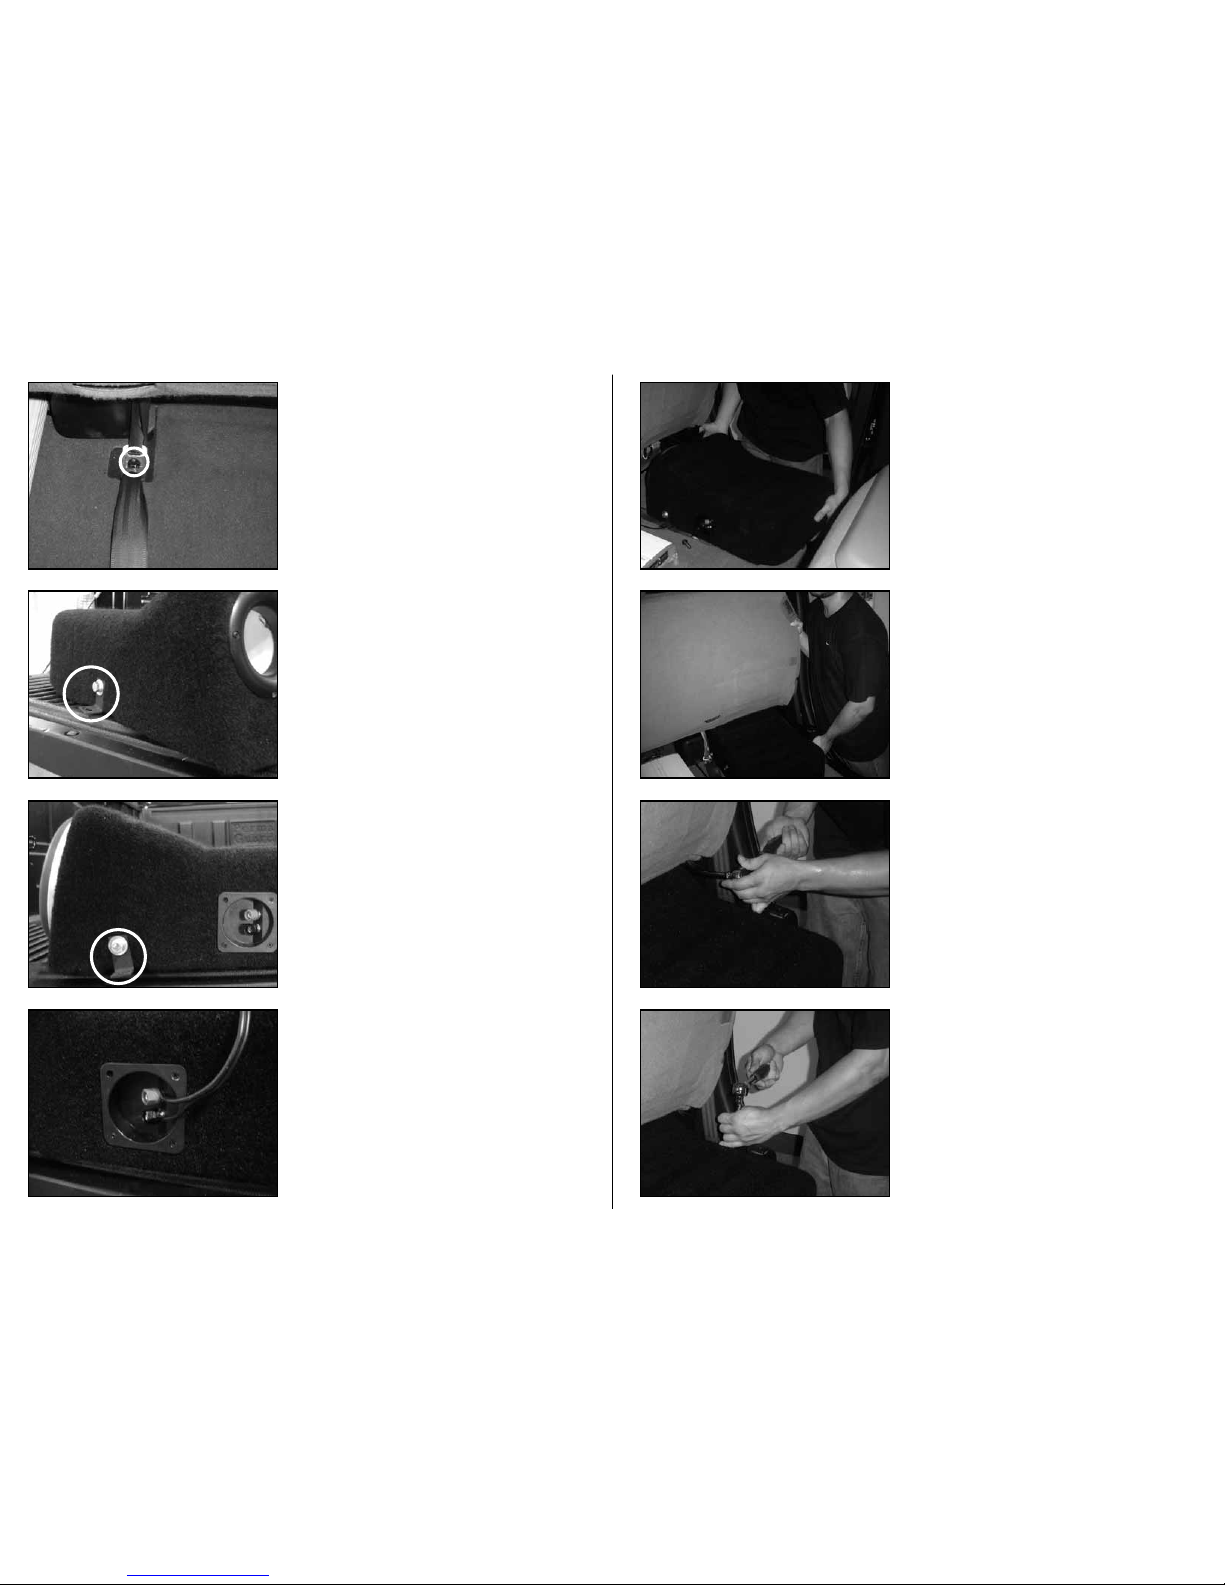
STEP 4
Remove the bolt that secures the seat belts to the f loor.
Page 2 • JL Audio, Inc 2007
STEP 9
Lift the rear seating up and slide the Stealthbox® under the
seating. The woofer and port faces the rear of the truck.
When placing the rear seat back down. Make sure that the
hooks that are locat e d on the bac kside o f the seat i s aligned
with t h e hooks on the re ar wall. If these h ooks do not align,
then the rear seating will not function correctly.
STEP 11
Using the factory bolt that was removed in STEP 3, secure
the L-bracket and the rear seat mount to the floor.
STEP 10
Using the factory bolt that was removed in STEP 3, secure
the rear seat mount to the bulkhead.
STEP 8
Place the Stealthbox® into the mounting area.
 Loading...