

JL Audio Stealthbox SB-S-LWAG/10W6v2/DG, Stealthbox SB-S-LWAG/10W6v2/TP, Stealthbox SB-S-LWAG/10W6v2 Installation Manual
INSTALLATION
DIFFICULTY:
INSTALLATION GUIDE
for the
SB-S-LWAG/10W6v2
SB-S-LWAG/10W6v2
2005 - Up
2005 - Up
Subaru Legacy & Outback Wagon
Subaru Legacy & Outback Wagon
(will not fit the sedans or the “Outback Sport”)
(will not fit the sedans or the “Outback Sport”)
Thank you for choosing a JL Audio Stealthbox® for your automotive sound system. With proper
installation, your new vehicle-specific enclosed subwoofer system will deliver years of listening pleasure.
We strongly recommend that you have your new Stealthbox® installed by your authorized JL Audio
dealer. The installation professionals employed by your dealer have the necessary tools and experience
to disassemble and reassemble your vehicle properly. Also, keep in mind that your warranty coverage
extends to 1 year if your system is installed or approved by your authorized JL Audio dealer. If you
prefer to perform your own installation, please read this installation guide completely
before beginning the process.
If you choose to per form the installation yourself, it is absolutely vital t hat
the Stealthbox
®
be properly m ounted to the vehicle according to these
instructions. Failure to mount the enclosure properly prese nts two problems:
1) The sub-bass performance will suff er due to the movement of the enclosure
caused by the force exerted by the woofer (s).
2) A loose enclosure presents a serious s afety hazard in the event of a collisio n
or sudden deceleration.
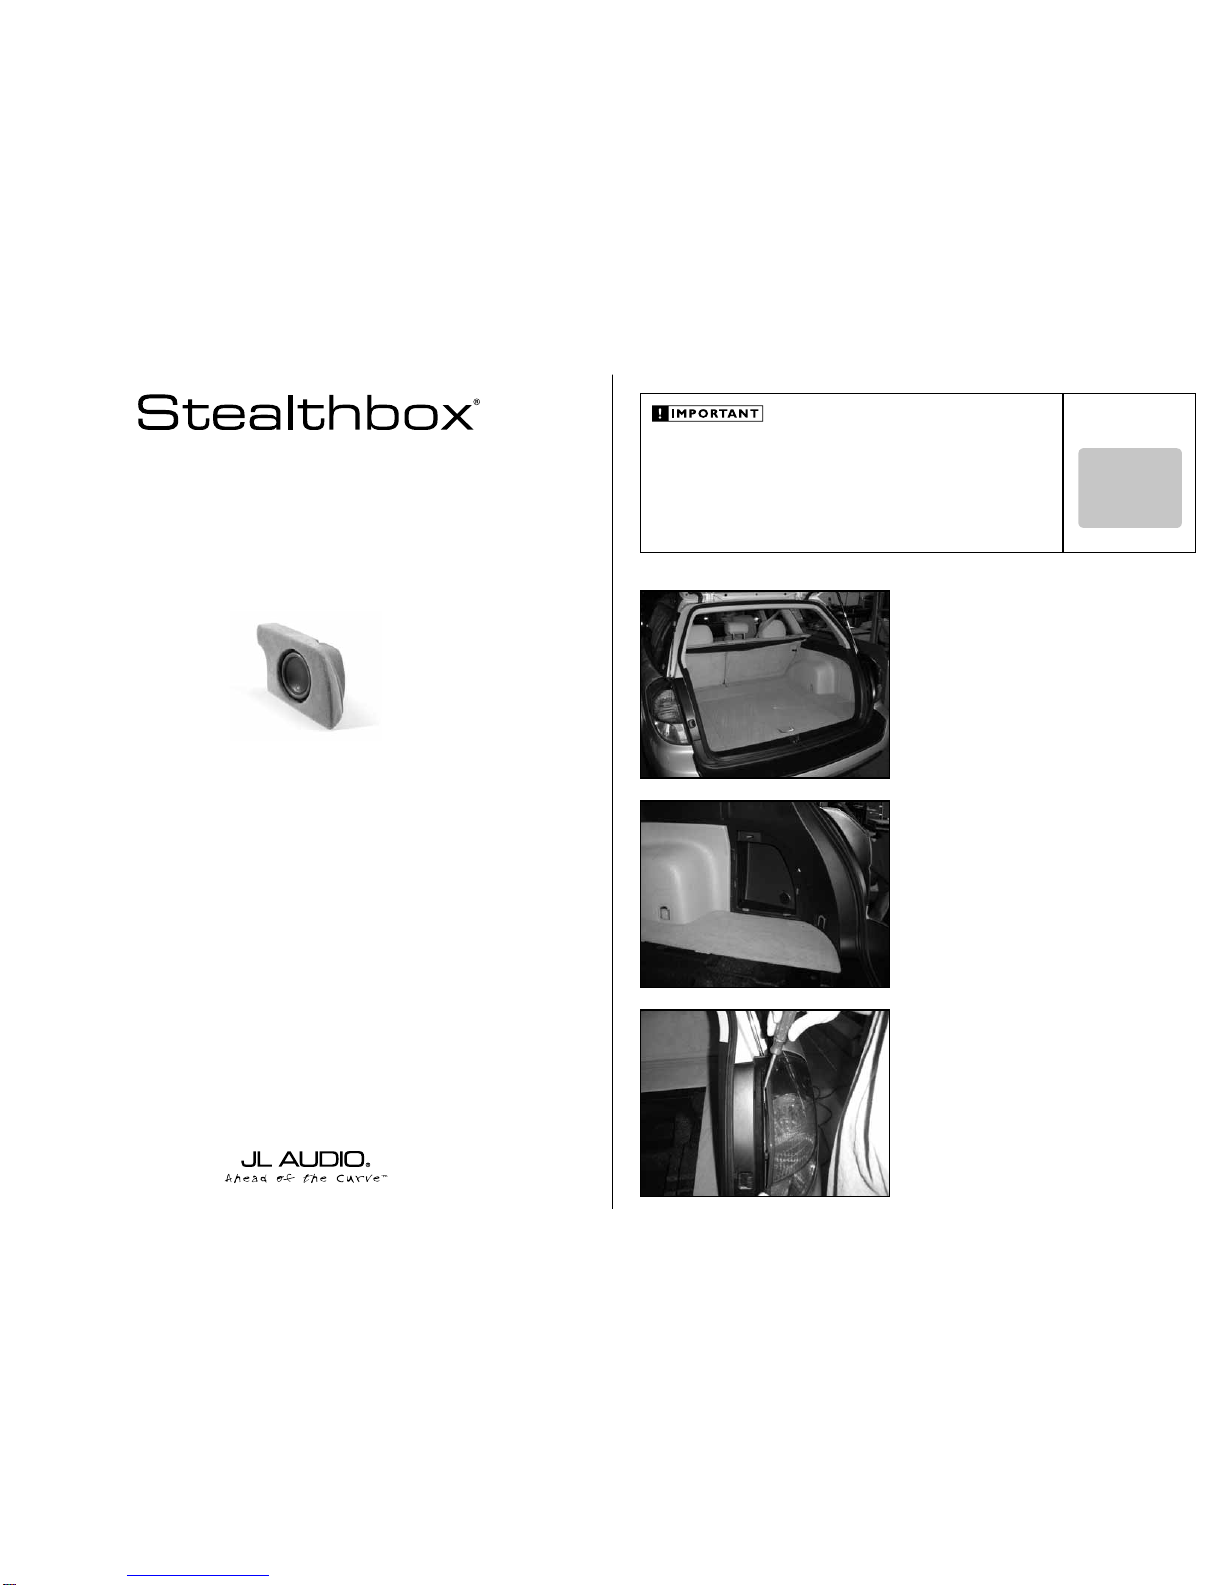
STEP 1
Remove all contents from the cargo area.
Continued on Next Page
STEP 2
Remove the passenger’s side rear pocket door and the
separation wall.
STEP 3
With a small flat blade, carefully pop off the black plastic
trim from the passenger’s side rear taillight.
SB-S-LWAG/10W6v2_INSTR_SKU#011207
SB-S-LWAG/10W6v2_INSTR _SKU#011207
2
5
OUT
OF
Continued on Next Page
SB-S-LWAG/10W6v2_INSTR_SKU#011207
SB-S-LWAG/10W6v2_INSTR _SKU#011207
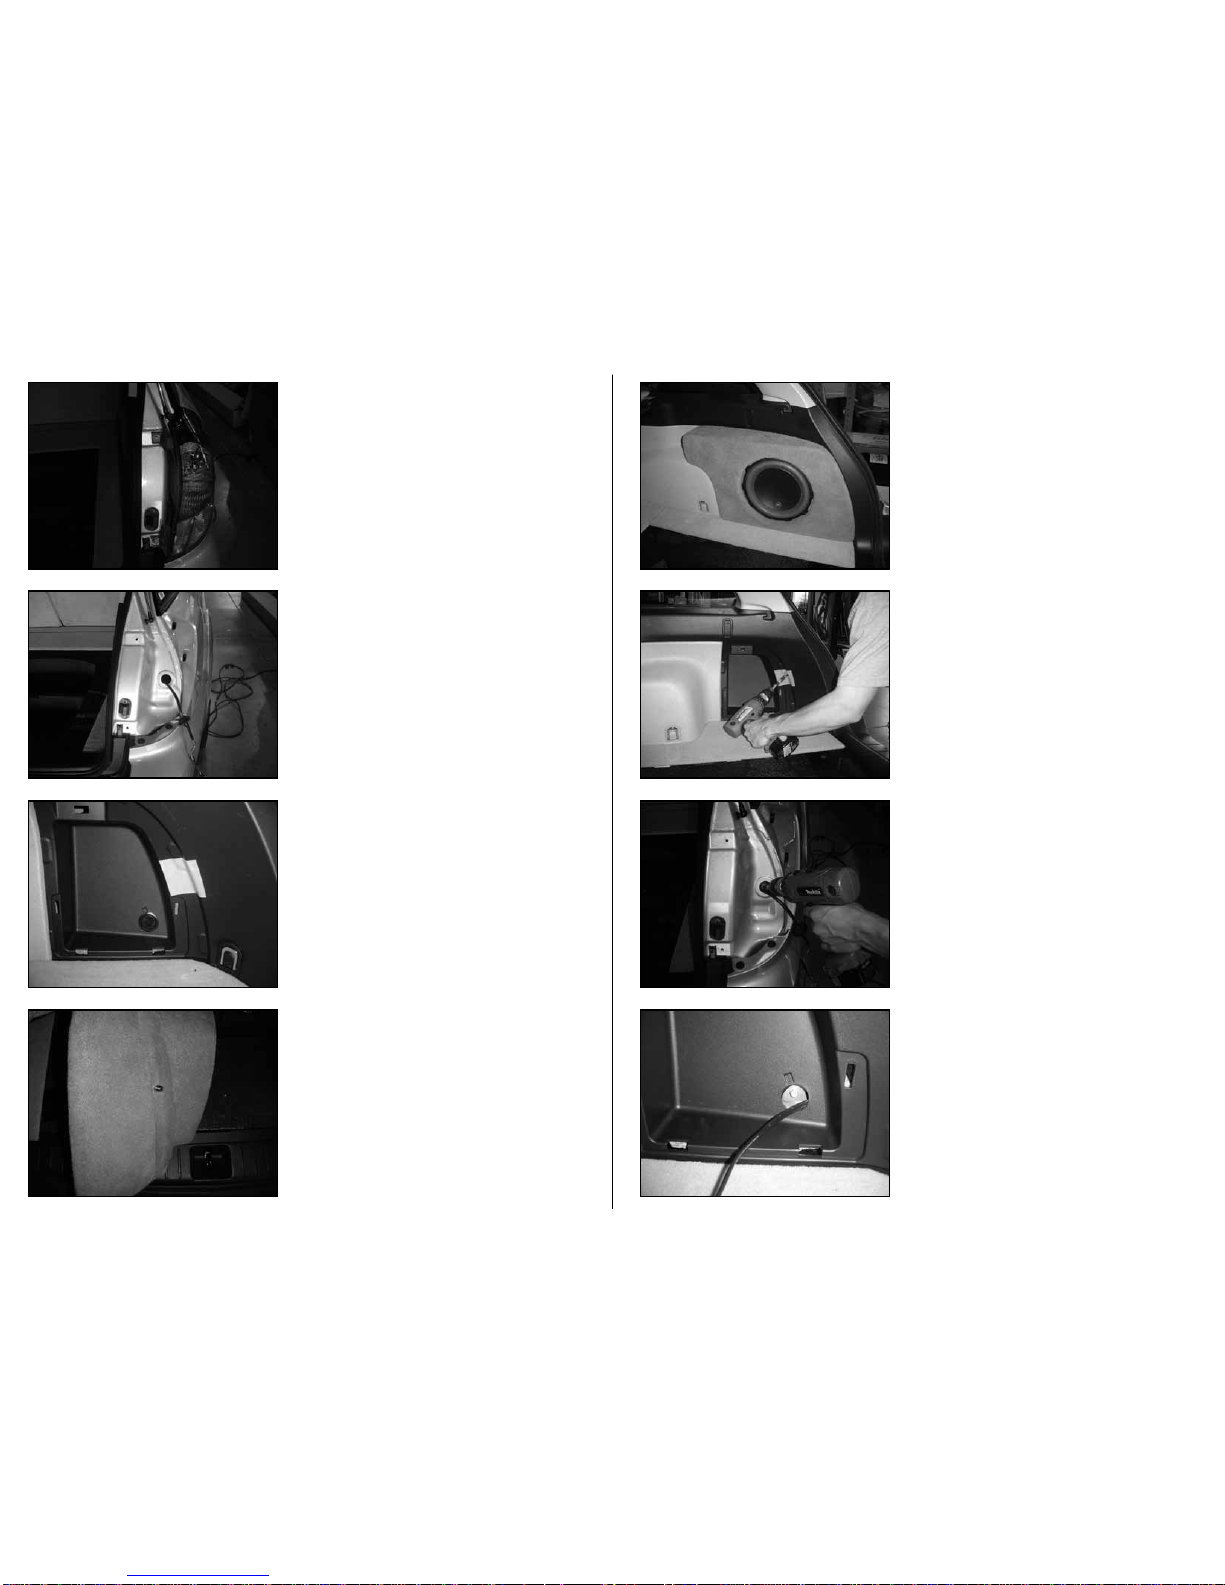
STEP 7
Thread the supplied sock et cup set sc rew into the
Stealthbox®, leaving 1 /4-in c h o f thread e xposed.
STEP 6
Apply the supplied wa x square into place. The left side is
lined up with the left edge of the pocket opening and ab ove
the emboss portion of the inner lower corner.
STEP 5
Remove the taillight assembly from the wiring harness.
Pull the wire harness out of the p ass through hole.
STEP 4
Remove the pair of screws that secure the passenger’s side
rear taillight.
Page 2 • JL Audio, Inc 2006
STEP 9
Note : B e fo re d ri ll in g , m ake s ur e t ha t you a re n ot g oi ng
to be drilling into electrical wiring or anything else that
might cau se a re d uc t i on i n you r wee k l y p ay. Alw ays
wear eye protection when drilling!
From inside the vehicle .
With a d rill and a 1/4-in c h drill bit, drill at the same angle as
the imp ression on the wa x s quare . Drill through t he plas t ic
panel and metal body. Remove the wax s q uare.
With a 3/8-inch drill bit, enla rge the pil ot hole.
STEP 11
Run spe aker wir e f rom the amplif ier location to the
Stealthbox
®
location.
STEP 10
From th e o utsid e of the vehic l e.
Place the 3/8-inch d rill bi t through the pass through hole,
enlarge the pil o t h ole.
STEP 8
Posit ion the Steal thbox
®
in the mounting location and press
on it firmly.
Remove the Stealthbox
®
carefully, leavi n g the wax s q uares
in place . The socke t cup set scr e ws will leav e i mpress ions in
the wax.
 Loading...